Contents
Acoustic Panels vs Acoustic Foam: Which One Do You Actually Need?
TL;DR: Acoustic panels and acoustic foam both treat room reflections, but they work differently and cost differently. Broadband acoustic panels absorb a wider frequency range — including low-mids — making them the better choice for mixing and recording. Acoustic foam is cheaper and easier to install, but misses bass frequencies almost entirely. For most home studios, panels are the correct long-term investment; foam works as a budget starting point for vocal booths and reflection control only.
Acoustic Panels vs Foam: The Core Difference
Acoustic panels are rigid frames packed with dense, thick absorptive material — typically rockwool or rigid fiberglass — that absorb frequencies from roughly 250 Hz upward, often lower with air gaps. Acoustic foam is a lightweight, open-cell polyurethane product that primarily absorbs high frequencies above 1–2 kHz. The distinction matters: most problematic room reflections in home studios occur in the low-mid range, where foam does almost nothing.
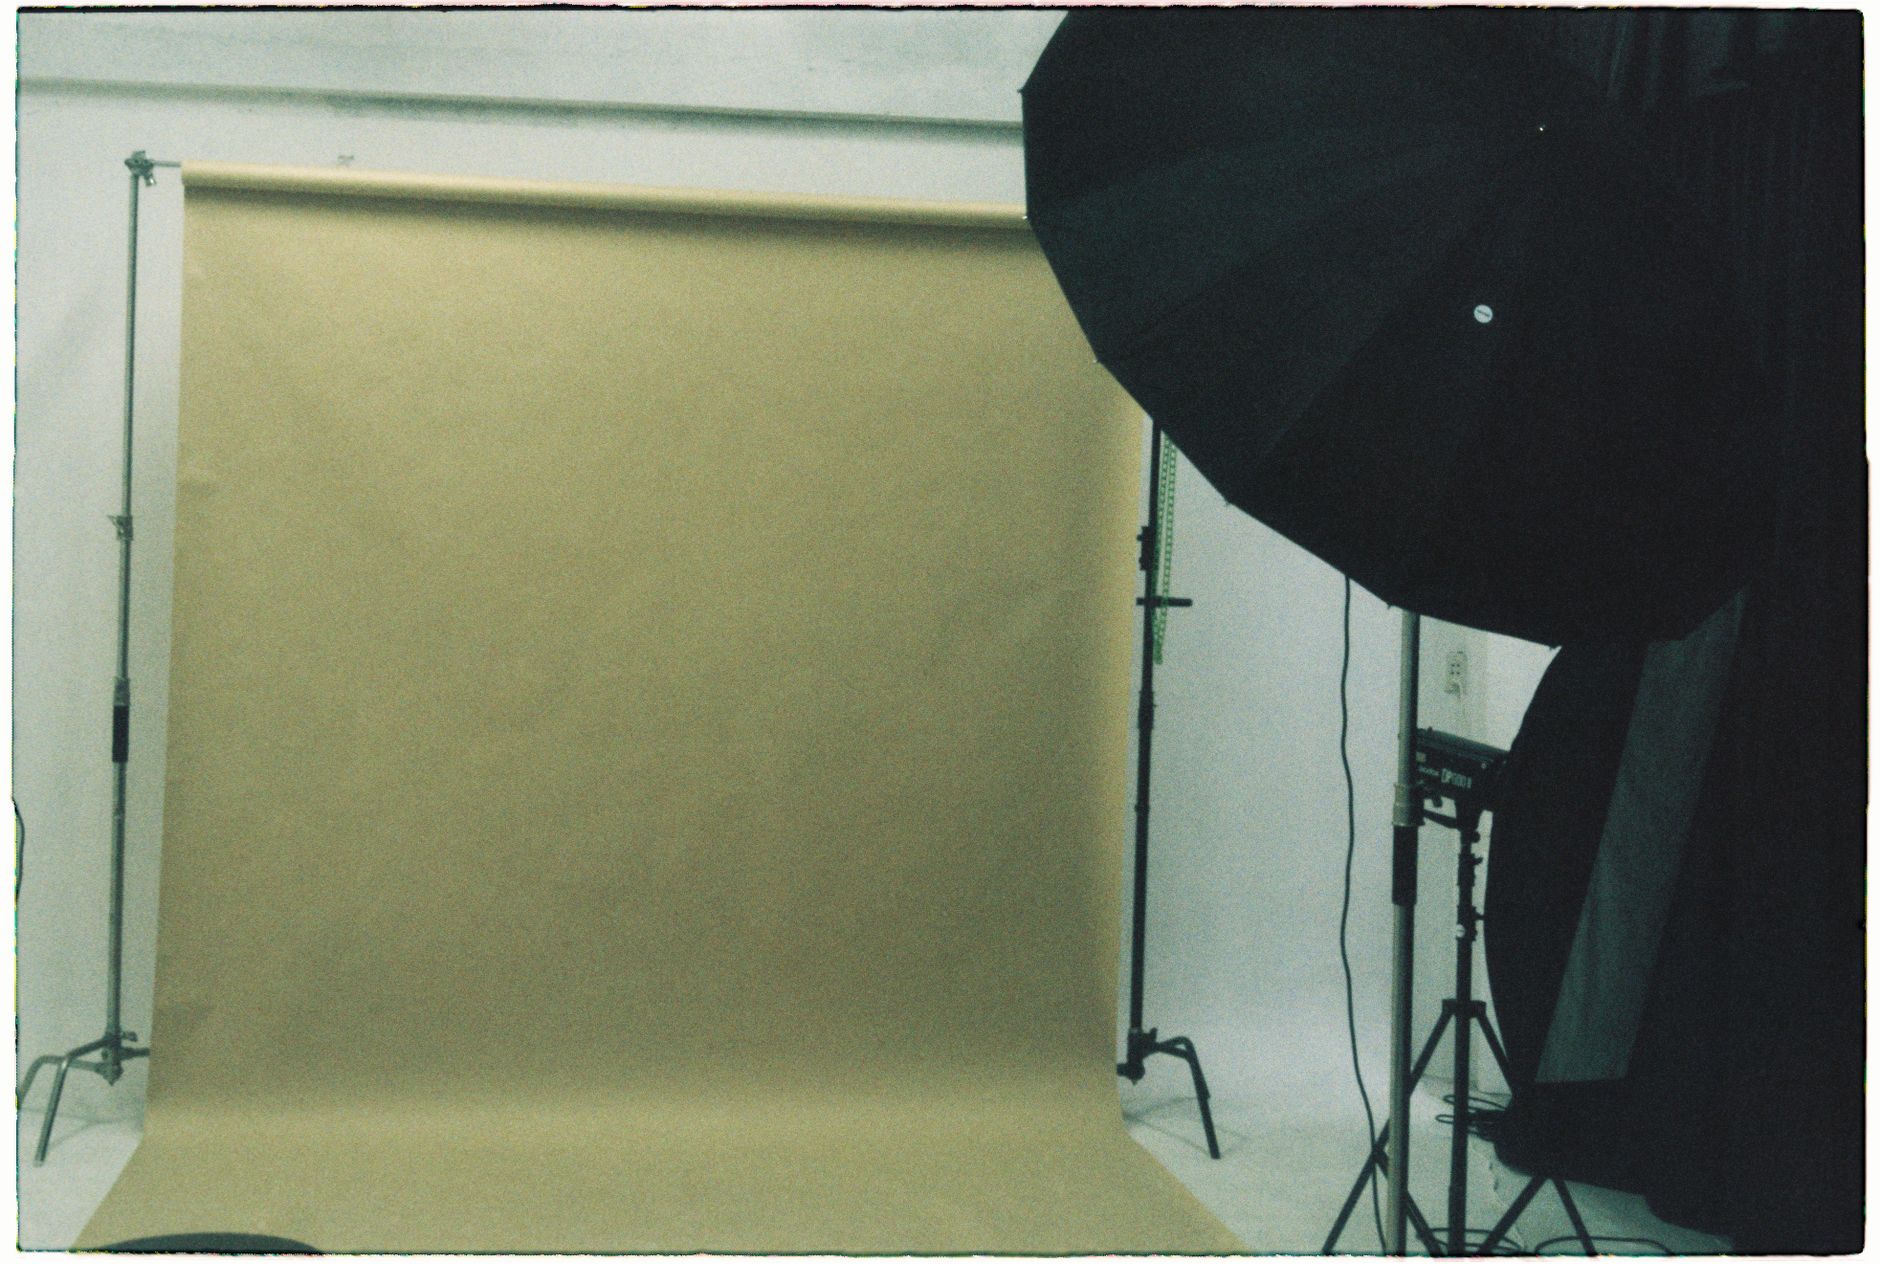 Photo: Kunno Jayson via Pexels
The confusion between the two is understandable — they look similar in product photos and both get labeled “acoustic treatment.” But their absorption coefficients tell the real story. A 2-inch wedge foam panel will have a high NRC (Noise Reduction Coefficient) score at 2 kHz and above, dropping sharply below 500 Hz. A 4-inch rockwool panel with a 2-inch air gap behind it can maintain meaningful absorption down to 125 Hz.
For recording vocals in a tightly-treated closet, that difference is less critical. For mixing decisions — where you need to hear what’s actually happening at 200–400 Hz — it’s the difference between a room that lies to you and one that doesn’t.
How Acoustic Panels Work
Panels convert sound energy into heat through friction as sound waves pass through a dense fibrous material. The thicker the material and the denser the fill, the lower the frequency that gets absorbed. Air gaps between the panel and the wall extend low-frequency performance without requiring proportionally thicker panels.
 Photo: Sergey Meshkov via Pexels
Common fill materials:
- Rockwool Safe ‘n’ Sound / RockBoard — the go-to for DIY panels; dense, fire-resistant, dimensionally stable
- Owens Corning 703/705 — rigid fiberglass, industry standard in commercial studios, slightly higher performance per inch
- Bonded acetate fiber (BAF) — used in some manufactured panels; performs well but harder to source in DIY quantities
Panel Thickness and Frequency Coverage
| Panel Thickness | Effective Low-Frequency Limit (approx.) | Best Use |
|---|---|---|
| 2 inch | ~400–500 Hz | First reflection points (high-mid control only) |
| 4 inch | ~250–300 Hz | Primary wall treatment, mixing rooms |
| 4 inch + 4 inch air gap | ~150–200 Hz | Maximizes absorption without adding material cost |
| 6 inch | ~125–150 Hz | Corner placement, broadband control |
The air gap rule is practical and free: mounting a 4-inch panel 4 inches from the wall costs nothing extra and meaningfully extends its bass absorption.
How Acoustic Foam Works
Foam absorbs sound through the same friction mechanism as panels, but its lower density and typical 1–2 inch thickness means it runs out of absorption capacity below roughly 500–1000 Hz. It’s genuinely effective at reducing harsh high-frequency reflections and flutter echo, which is why it works reasonably well in vocal recording applications.
 Photo: Anna Pou via Pexels
Where foam earns its place:
- Vocal recording booths where high-frequency reflections create harshness
- Podcast and voiceover setups where flutter echo is the primary problem
- Reflection filter alternatives when budget is a hard constraint
- Temporary treatment on tour or in rental studios
Where foam fails:
- Mixing environments where low-mid accuracy matters
- Rooms with obvious bass buildup or low-frequency modes
- Any situation where you’re making mastering or critical tonal decisions
Foam vs Panels: Quick Comparison
| Factor | Acoustic Foam | Acoustic Panels |
|---|---|---|
| Cost per sq ft | $1–4 | $5–20 (DIY $2–6) |
| Low-frequency absorption | Minimal below 500 Hz | Effective to 150–250 Hz |
| Installation | Peel-and-stick, pins, command strips | Wall anchors, impaling clips, or Z-clips |
| Reversibility | Adhesive can damage paint | Z-clips leave minimal damage |
| Fire rating | Usually not rated | Rockwool/703 are non-combustible |
| Aesthetic | Studio gear look, limited colors | Fabric wrap in any color |
| DIY viability | Low (not much to build) | High — panels are a common DIY project |
How-To: Treat Your Home Studio Step by Step
Signal Chain Context
Before treating acoustics, understand what you’re solving for:
Source → Room → Ears/Monitors — room acoustics sit between your monitors and your decision-making. Untreated first reflection points introduce comb filtering and frequency buildup that make every mix decision unreliable downstream.
 Photo: subham saha via Pexels
Step-by-Step Treatment Workflow
1. Identify your primary problems first. Clap once in the center of the room. A sharp flutter echo (rapid repeating slap) indicates parallel bare walls needing broadband absorption. A low, boomy tail indicates bass buildup in corners.
2. Treat first reflection points before anything else. Sit at your mix position. Have someone slide a mirror along the side walls while you watch — wherever you can see your monitor in the mirror is a first reflection point. These get panels first, minimum 4-inch thickness.
3. Cover the ceiling reflection point. The mirror trick works on the ceiling too. The ceiling reflection between you and your monitors is frequently overlooked and audibly significant.
4. Address corners for bass control. Bass frequencies pile up in corners. Floor-to-ceiling corner bass traps (thick panels placed diagonally across corners) address modal buildup more effectively than any other single treatment. If budget is limited, treat the two front corners behind your monitors first.
5. Check rear wall treatment. A fully dead rear wall creates a “dead end” room that feels uncomfortable and kills the room’s useful early reflections. Aim for roughly 50–60% coverage with a mix of absorption and diffusion on the rear wall rather than 100% foam everywhere.
6. Measure before calling it done. Free tools — REW (Room EQ Wizard) with a calibrated measurement microphone — show you your actual frequency response and RT60 (reverb time). A room with 250–400ms RT60 is a workable mixing environment. Don’t guess; measure.
Troubleshooting Matrix
| Symptom | Likely Cause | Fix |
|---|---|---|
| Mixes sound bass-heavy on other systems | Insufficient low-mid treatment; bass nodes at mix position | Thicker corner traps; move mix position; add low-frequency absorption behind monitors |
| Vocals sound harsh and phasey | Untreated first reflection points; parallel wall flutter | Panels at side-wall and ceiling reflection points |
| Room sounds boxy and midrangey | Standing waves between parallel walls; insufficient broadband absorption | Floor-to-ceiling panels on short wall; air-gapped panels on long walls |
| Over-damped room; dry, uncomfortable to work in | Too much absorption, no diffusion | Remove 20–30% of foam; replace with QRD diffusers or irregular bookshelves on rear wall |
| Treatment is up but monitoring still inconsistent | Residual bass modes not addressed by panels | Add corner traps; consider DSP room correction (Sonarworks, ARC) as supplement, not replacement |
DIY Acoustic Panels: Is It Worth It?
Published build data shows a standard DIY 24×48-inch rockwool panel with a wood frame and fabric wrap costs $15–35 in materials, compared to $80–200+ for a comparable commercial product. For a typical room requiring 8–12 panels, that’s a significant difference.
The build process is genuinely straightforward:
- 1×4 or 1×6 lumber frame
- Rockwool or OC 703 cut to fit (rigid fiberglass requires an N95 mask and gloves)
- Breathable fabric (guilford of maine or similar acoustic fabric; avoid vinyl, canvas, or anything that blocks airflow)
- Z-clips for wall mounting (allows easy removal and repositioning)
The main reason to buy commercial panels: time. If you need treatment this week and have no tools or workshop space, a manufactured panel like the GIK Acoustics 242 Panel or the Acoustimac DMD Panel arrives ready to hang.
When Foam Is Actually the Right Answer
Foam is not useless — it’s just frequently misapplied. Specific cases where it’s the correct tool:
Portable vocal treatment: A reflection filter like the sE Electronics Reflexion Filter combined with foam tiles on the wall behind the singer handles high-frequency reflections in a live room without permanent installation.
Short-term rental situations: Command strips and foam tiles leave no damage. When you can’t put holes in walls, foam gives you something.
Budget vocal booths: A 4×4-foot recording space lined with 2-inch foam panels will reduce flutter echo and harshness for voice. It won’t fix bass buildup, but voice doesn’t carry much bass information to treat.
Treating a room that already has some bass control: If your room has thick carpet, heavy furniture, and low ceilings that naturally limit low-frequency buildup, adding foam for high-frequency treatment at reflection points is a cost-effective finishing move.
→ See Also
- Home Studio Acoustic Treatment Guide (2026)
- How to Acoustically Treat a Room for Recording
- How to Soundproof a Room for Recording
FAQ
Does acoustic foam actually work for recording? Yes — for reducing high-frequency flutter echo and harshness in vocal recordings, foam is genuinely effective. Its limitation is that it does almost nothing below 500 Hz, so for mixing environments where low-mid accuracy matters, foam alone is insufficient. Use it for vocal booths and podcast setups; use panels for mixing rooms.
How many acoustic panels do I need for a home studio? Expert consensus suggests starting with 4–6 panels covering first reflection points (two side walls, ceiling) and 2–4 corner bass traps as a baseline for a typical 10×12-foot room. Measurement with REW after initial placement tells you where gaps remain. Over-treating is a real problem — a completely dead room is uncomfortable and makes mix decisions harder, not easier.
Can you mix acoustic foam and acoustic panels in the same room? Absolutely — the two complement each other. A practical approach: broadband panels at first reflection points and corners for frequency-range coverage, foam tiles on the rear wall sections between diffusers for additional high-frequency control. The key is ensuring your panel coverage handles the low-mid range before foam fills the high end.
What’s the minimum thickness for acoustic panels that actually works? 4 inches is the practical minimum for broadband treatment in a mixing environment. 2-inch panels provide meaningful absorption above 400–500 Hz and work for first reflection point control if bass buildup isn’t a primary issue in your room. Going thinner than 2 inches produces panels that are essentially decorative at most frequencies relevant to mixing.
Is there a difference between rockwool and fiberglass panels? Both perform similarly at comparable densities. Owens Corning 703 (rigid fiberglass) has published NRC data showing slightly higher absorption coefficients at lower frequencies versus standard Rockwool Safe ‘n’ Sound, but published testing data shows the real-world difference is marginal in typical panel builds. Rockwool is easier to work with, widely available at hardware stores, and the safer material handling choice. OC 703 is the commercial standard and worth sourcing if you’re building panels you expect to last 10+ years.
Do acoustic panels help with soundproofing? No — acoustic panels and soundproofing are different problems. Panels control reflections and absorption inside your room; they do not stop sound from transmitting through walls. Effective soundproofing requires mass, decoupling, and air sealing. Adding foam or panels to walls will not meaningfully reduce how much sound travels to adjacent rooms.
Editorial methodology: Assessments are based on manufacturer specifications, published user reviews, and editorial research. Physical hands-on testing is noted explicitly where it occurred. Rankings reflect our editorial judgment and are not influenced by affiliate commission rates. Full editorial policy · Affiliate disclosure