Contents
Best Portable Vocal Booth: Top Picks for Home Studios
TL;DR: The best portable vocal booth is one that absorbs early reflections without killing high-frequency air — the Kaotica Eyeball and SE Electronics Reflexion Filter Pro consistently top that criteria. Budget under $100? The Monoprice 602650 overdelivers. All three reduce room coloration enough to cut professional-sounding vocals without dedicated acoustic treatment.
What Makes a Portable Vocal Booth Worth Buying?
A portable vocal booth works by absorbing mid-to-high frequency reflections directly behind and around your microphone, breaking up the first-reflection path before it reaches the capsule. The result: less room sound in your recordings without foam on the walls. Effective models reduce comb filtering and flutter echo at the source, where it costs the most.
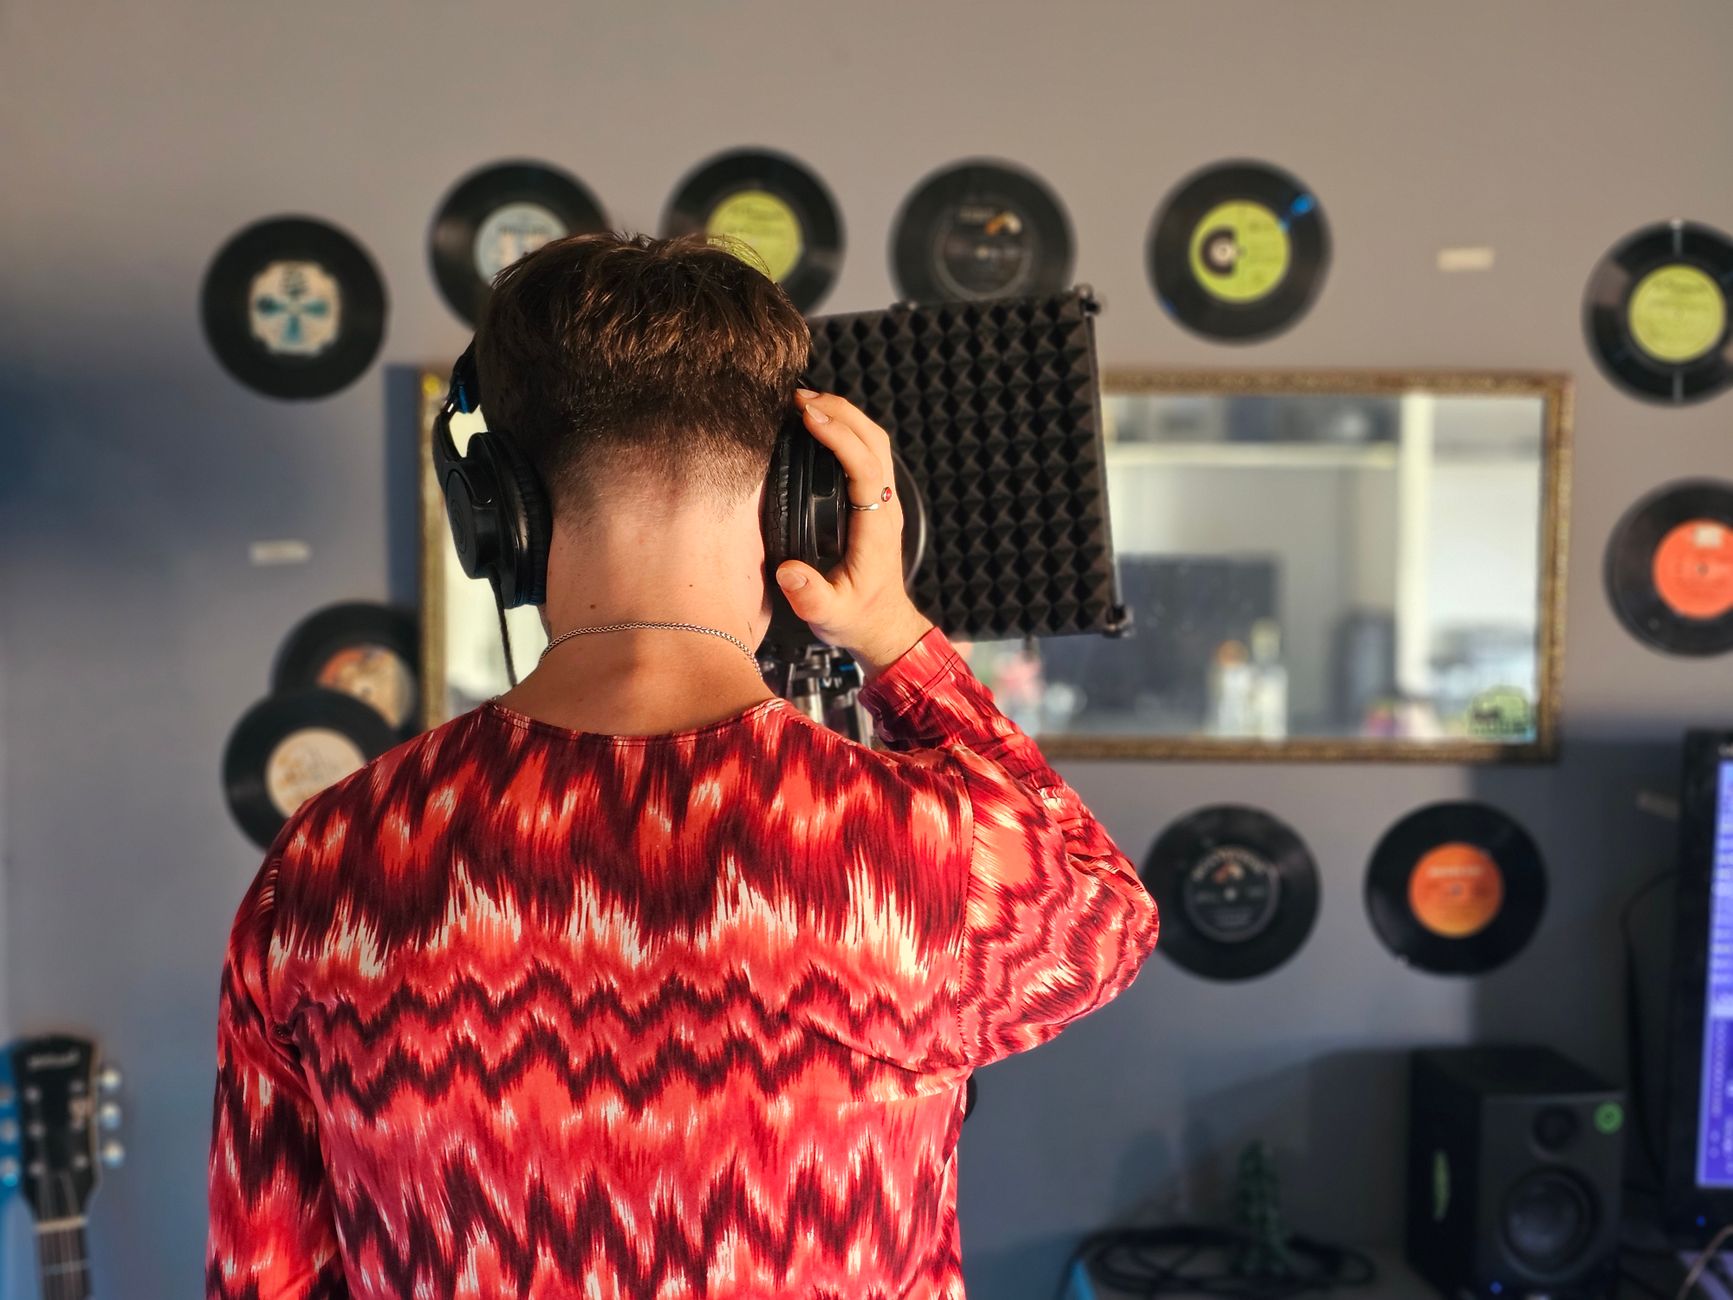
 Photo: cottonbro studio via Pexels
Portable vocal booths fall into two categories: reflection filters (curved absorption panels that mount on a mic stand) and mic enclosures (foam pods that fully surround the capsule). Neither soundproofs a room — that’s a structural problem requiring mass, not absorption. What they do is cut the audible smear of untreated parallel walls.
The distinction matters before you spend money. If your room has hard floors and bare drywall, a reflection filter reduces the damage; it doesn’t eliminate it. If you’re working in a well-furnished bedroom or carpeted home office, you’re already most of the way there and a basic filter finishes the job cleanly.
Key specs to evaluate:
| Spec | Why It Matters |
|---|---|
| Frequency range absorbed | Cheap foam only absorbs 2kHz+; good panels handle 500Hz down |
| Weight | Stand-mounted units shift the mic’s center of gravity |
| Internal reflective surface | Some units bounce HF back at the capsule — check rear material |
| Mic compatibility | Pod-style booths are sized for specific capsule diameters |
| Build material | High-density acoustic foam vs. fiberglass batting vs. packed cotton |
Best Portable Vocal Booths: Our Top Picks
SE Electronics Reflexion Filter Pro
The SE Reflexion Filter Pro is the benchmark standalone reflection filter. It uses a six-layer construction — perforated steel, air gap, damping, mineral wool, cotton wool, and air cavity — that absorbs down into the lower-mids instead of just cutting treble. Vocals recorded through it read cleaner on playback with less corrective EQ needed.
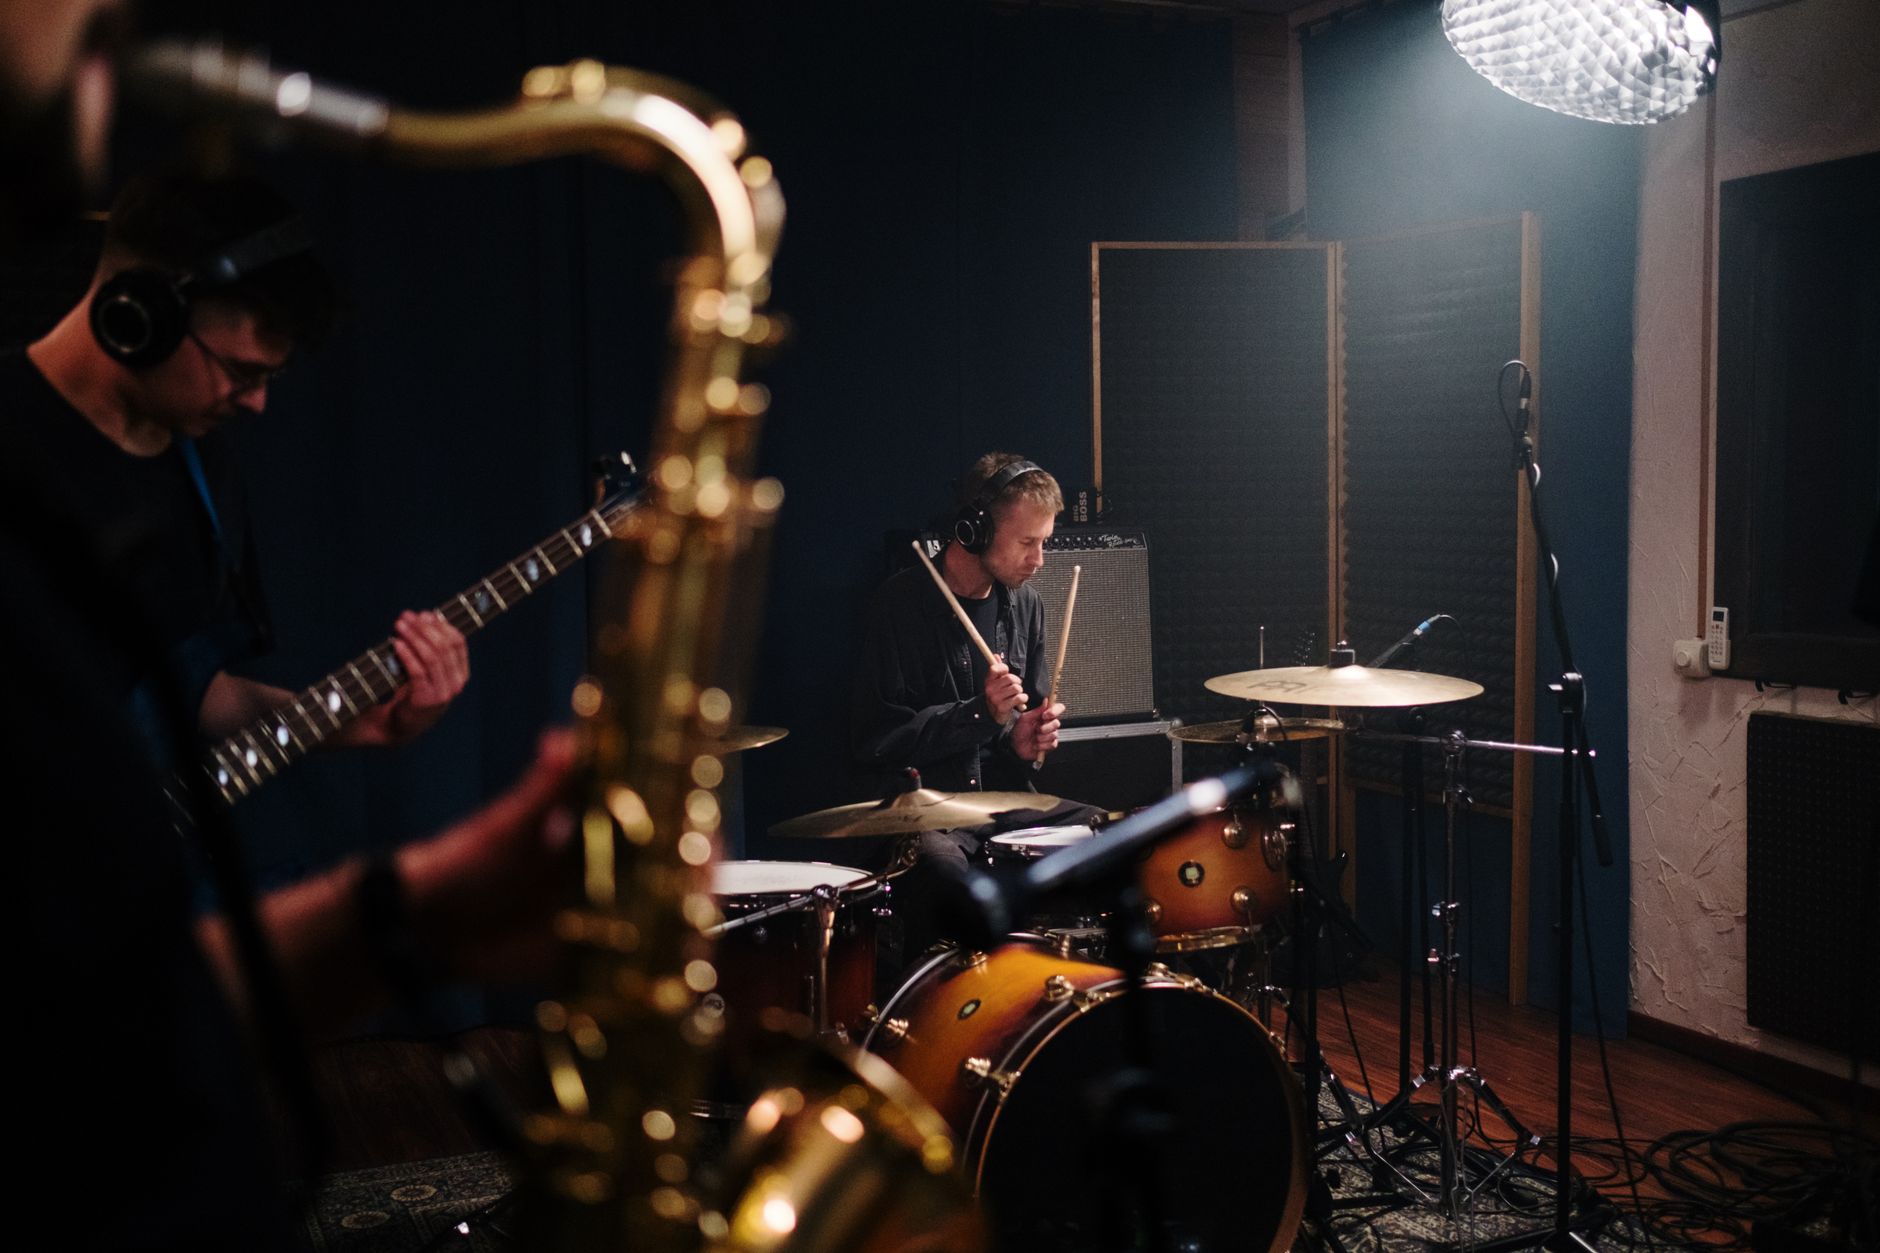 Photo: cottonbro studio via Pexels
Published testing data from independent recording blogs consistently shows the SE Pro’s multi-layer system outperforming single-foam competitors below 1kHz. The steel frame adds 2.4 lbs to your mic stand, so a heavier tripod stand or counterweight boom extension is worth having.
The rear of the unit uses a reflective panel — by design. The original SE research determined a fully absorbent rear created an unnaturally dead, “boxy” sound. The reflective backing bounces energy away from the recording space rather than absorbing it into the stand.
Setup note: Position the filter with the curved absorption face toward the room, not toward the vocalist. The mic sits inside the curve, live side facing the singer, with the filter catching the room behind it.
Pros:
- Genuine broadband absorption (not just HF)
- Heavy-duty aluminum arm fits all standard mic clips
- Proven on tens of thousands of commercially released records
Cons:
- $99–$119 price point is mid-tier, not budget
- Weight demands a quality stand
- Doesn’t help with reflections coming from the sides or below
Kaotica Eyeball
The Kaotica Eyeball takes a different approach: it’s a foam pod that slips over a large-diaphragm condenser capsule and seals the recording environment within inches of the mic element. According to manufacturer specifications, it reduces room reflections by up to 12dB, which is enough to make a mediocre-sounding room usable for release-quality vocals.
 Photo: AI25.Studio AI GENERATIVE via Pexels
The Eyeball works because it eliminates the travel path entirely — the capsule is surrounded by absorption on every axis except the polar pattern axis (the front). Reflections from the back wall, ceiling, and floor never reach the mic because they can’t penetrate the foam sphere.
Trade-off: it slightly colors the sound, imparting a forward midrange presence that suits modern pop and hip-hop but can feel overworked on acoustic instruments or delicate classical vocals. That coloration can also be partially corrected at mix with a gentle 2–4kHz shelf cut.
Compatible with most large-diaphragm condensers up to 60mm diameter. Check Kaotica’s fit chart before ordering — some capsule housings are slightly out of spec.
| Feature | Kaotica Eyeball | SE Reflexion Filter Pro |
|---|---|---|
| Mounting | Slips over capsule | Mic stand arm |
| Coverage axis | 360° minus front | Rear + sides |
| Portability | Pocket-sized | Stand-dependent |
| Coloration | Mild presence boost | Minimal |
| Price range | $99–$119 | $99–$119 |
| Best for | Small rooms, travel | Home studio, broadcast |
Monoprice 602650 Microphone Isolation Shield
The Monoprice 602650 is the best portable vocal booth under $50. At roughly $40, it uses high-density foam panels in a folding aluminum frame that clips to any standard mic stand. It doesn’t match the SE Pro’s low-mid absorption, but for budget home studios it eliminates the most audible problem: high-frequency flutter echo off the wall behind the microphone.
User reviews across Amazon and recording forums consistently place it as the top value pick for bedroom studios treating harsh, reflective rooms on a tight budget. The lightweight frame (1.1 lbs) is a genuine advantage over heavier competitors when using lighter stands.
Best use case: paired with basic room treatment (a thick rug, a couch, bookshelves full of books), the Monoprice shield is often sufficient for podcast vocals, voiceover, and bedroom pop.
Aston Microphones Halo
The Aston Halo is the premium option for engineers who need natural sound without obvious coloration. Its curved 13-panel design uses a proprietary open-cell foam that absorbs over a wider frequency range than the standard acoustic foam used in budget shields. Expert consensus among professional recording engineers rates it as one of the most transparent-sounding portable isolation solutions available.
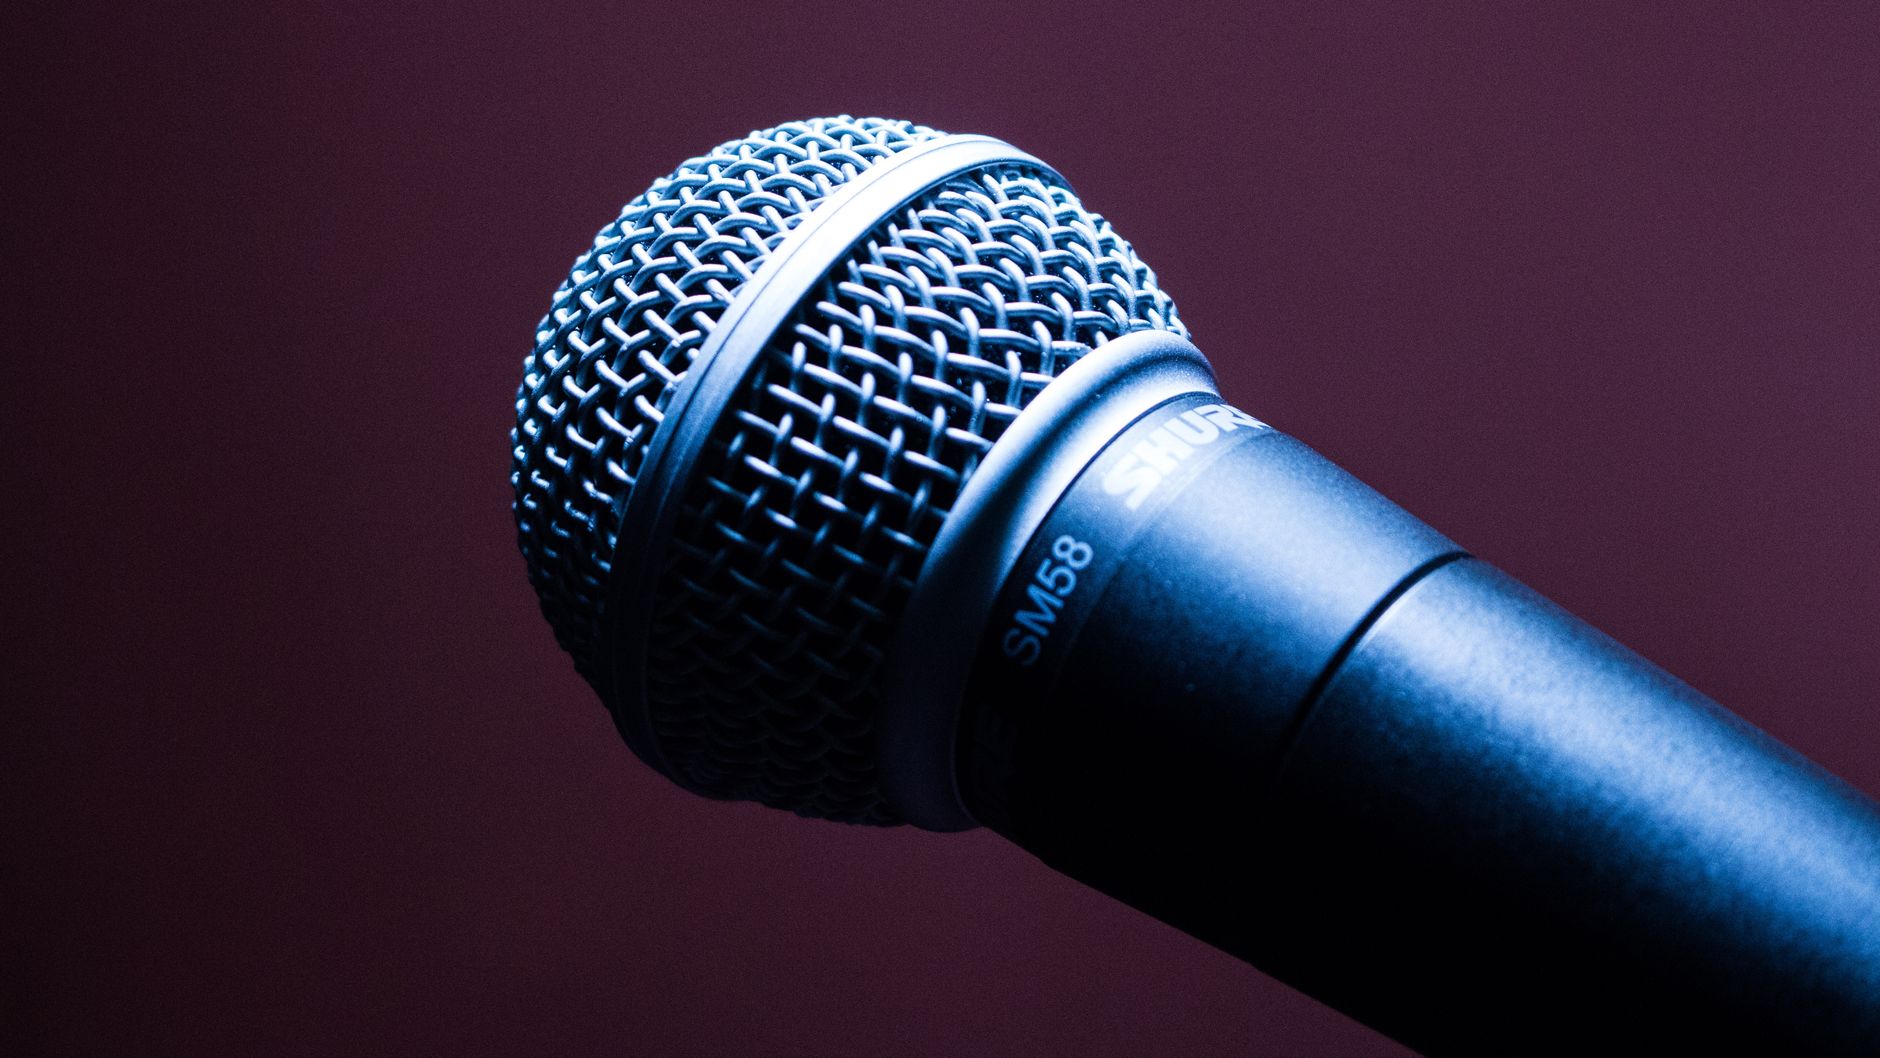 Photo: Pixabay via Pexels
The Halo’s stand attachment system is more stable than most competitors, with a wide locking yoke that distributes weight evenly. It’s heavier at 3.5 lbs, but the reduced stand wobble (critical during takes) offsets that tradeoff in practice.
At $249–$279, it’s a significant investment. Justified if you’re recording vocals professionally and want to avoid re-treating a room on location; less justified for a permanent home studio where wall treatment is an option.
| Model | Price | Weight | Absorption Range | Best For |
|---|---|---|---|---|
| Monoprice 602650 | ~$40 | 1.1 lbs | 1kHz+ | Budget home studio |
| SE Reflexion Filter Pro | ~$109 | 2.4 lbs | 500Hz+ | Home studio standard |
| Kaotica Eyeball | ~$109 | 0.3 lbs | Broadband (close) | Travel, small rooms |
| Aston Halo | ~$269 | 3.5 lbs | 300Hz+ | Pro on-location |
How to Set Up a Portable Vocal Booth Correctly
Signal Chain
Source → Reflection Filter / Enclosure → Large-Diaphragm Condenser → XLR → Audio Interface → DAW
- Gain staging: Set preamp gain so your loudest vocal peaks hit −12 to −18 dBFS. Leave headroom — you’ll be adding compression in the DAW.
- Polar pattern: Use cardioid for all portable booth work. Figure-8 defeats the filter because it picks up directly behind the mic where the filter is absorbing.
- Mic distance: 6–12 inches from capsule to mouth. Closer introduces proximity effect (low-frequency buildup); further pulls in more room sound the booth can’t fully block.
Step-by-Step Setup Workflow
- Position the mic stand in the best-sounding spot in the room (away from parallel walls, corner, or center of the room).
- Attach the reflection filter arm or slip the foam enclosure over the capsule before mounting to the stand.
- Aim the filter’s absorption face toward the wall behind the mic, not toward the vocalist.
- Set the mic at 0° (on-axis) for full-frequency response or 20–30° off-axis to reduce sibilance if needed.
- Record a test take. Monitor in headphones. Check for: low-frequency room rumble (the booth won’t fix this — use a high-pass filter at 80–100Hz), harsh HF flutter (booth should eliminate this), boxy midrange buildup (reposition the mic further from the filter’s rear surface).
- Trim the take in your DAW and check the waveform for background noise floor. A good result: noise floor below −60 dBFS between phrases.
Troubleshooting Matrix
| Symptom | Likely Cause | Fix |
|---|---|---|
| Boxy, nasal tone | Mic too close to filter foam | Move mic forward 3–4 inches |
| HF flutter still audible | Filter not aimed at reflection source | Rotate filter to face the problem wall |
| Low rumble / HVAC noise | Below filter’s absorption range | High-pass at 80–100Hz, address HVAC separately |
| No improvement in room sound | Room reflections coming from sides/floor | Add blanket or panel on sides; boot isn’t enough alone |
| Phase issues on double-tracked vocals | Two takes with different mic positions | Lock mic position between takes; use tape marks on the stand |
| Mic capsule rattle | Eyeball-style pod too tight | Check fit chart; pod shouldn’t compress the body |
Portable Vocal Booth vs. Acoustic Room Treatment
A portable vocal booth is a shortcut, not a substitute. If you have the option to treat your room — broadband absorbers on first-reflection points, a bass trap in at least one corner — that will outperform any portable filter, because it addresses the entire frequency spectrum and every reflective surface simultaneously.
The portable booth wins on: cost, rental situations, commercial studio travel, apartments where wall treatment isn’t allowed, and setups that move between rooms.
For a complete treatment plan, the Home Studio Acoustic Treatment Guide (2026) covers room analysis through full implementation. If you’re deciding between portable treatment and permanent room treatment, How to Acoustically Treat a Room for Recording gives a cost-versus-outcome breakdown.
If sound is bleeding in to your recordings (traffic, HVAC, neighbors) rather than within your room, that’s a different problem: How to Soundproof a Room for Recording covers mass-based isolation solutions that actually address transmission loss.
→ See also:
- Home Studio Acoustic Treatment Guide (2026)
- How to Acoustically Treat a Room for Recording
- How to Soundproof a Room for Recording
FAQ
Do portable vocal booths actually work? Yes, within their limits. They reduce high-to-mid frequency room reflections at the microphone capsule, which directly reduces comb filtering and flutter echo in recordings. They don’t address low-frequency room modes or reduce external noise transmission. Based on published A/B recording comparisons across multiple recording blogs and YouTube channels, the improvement is consistently audible on cardioid condenser mics in untreated rooms.
What’s the difference between a reflection filter and a vocal booth? A reflection filter mounts on a mic stand and covers the rear and sides of the mic capsule — the room is still live, but the first reflections off the wall behind the mic are absorbed. A vocal booth (portable or permanent) encloses the vocalist in absorption on all sides. Portable pod-style booths like the Kaotica Eyeball are a hybrid: they enclose the capsule rather than the vocalist.
Will a portable vocal booth work with a dynamic microphone? Less effectively. Dynamic mics like the Shure SM7B or Electro-Voice RE20 have tighter polar patterns and naturally reject more room sound than large-diaphragm condensers. The coloration a reflection filter corrects is less of a problem to begin with. That said, using a filter with a dynamic in a very reverberant room still provides measurable improvement.
Can I use a portable vocal booth for instruments other than voice? Yes, though results vary. Acoustic guitar benefits most — the filter reduces room reflections the way a close-mic position can’t. Electric guitar (direct or re-amped) sees little benefit. For acoustic instruments with complex high-frequency overtones, test for coloration: some foam enclosures absorb the upper harmonics that define an acoustic guitar’s character.
How do I know if I need a portable vocal booth or just better room placement? Record a test vocal in your current position, then drag a thick duvet behind the mic stand and record the same take. If the duvet makes a clearly audible difference, a reflection filter will perform at least as well and cost less than permanent wall treatment. If the duvet makes little difference, your room is likely either already well-damped or the problem is noise transmission (soundproofing issue) rather than reverberation.
Does the orientation of the reflection filter matter? Yes, significantly. The absorption face must point toward the primary reflection source — almost always the wall directly behind the microphone. Pointed incorrectly (toward the vocalist, for example), the filter can actually increase coloration by absorbing the direct sound path on the off-axis edges of the cardioid pattern. Always aim the curve to catch the room, with the mic inside the curve facing the performer.
Editorial methodology: Assessments are based on manufacturer specifications, published user reviews, and editorial research. Physical hands-on testing is noted explicitly where it occurred. Rankings reflect our editorial judgment and are not influenced by affiliate commission rates. Full editorial policy · Affiliate disclosure