Contents
How to Treat a Room Acoustically for Better Recordings
TL;DR: To treat a room acoustically, you address three problems in order: excessive reverb (absorption), flutter echo (diffusion), and low-frequency buildup (bass traps). A bedroom studio with acoustic panels in first-reflection points and bass traps in corners will sound dramatically better than untreated drywall. This guide shows you exactly where to place treatment and why.
Why Acoustic Treatment Actually Matters
Direct answer: Untreated rooms add their own “sound” to every recording — a smeared, boomy, echoey character that no EQ or plugin can fully remove. Acoustic treatment controls how sound bounces around your room so what you record and monitor is accurate, clean, and translatable to other playback systems.
 Photo: Francesco Ungaro via Pexels
Most home studios sit in rectangular rooms — bedrooms, spare offices, converted garages. Parallel walls create standing waves. Hard surfaces reflect sound at predictable angles. The result is a mix that sounds great on your monitors but falls apart on earbuds, car speakers, or anything else.
The good news: you don’t need to rebuild your walls. Strategic placement of absorptive and diffusive materials — targeting the specific frequencies and reflection points causing problems — gets you 80% of the way there for a fraction of the cost of professional acoustic construction.
Understanding the Three Problems You’re Solving
Direct answer: Room acoustics problems break into three categories — high/mid flutter echo (comb filtering), low-frequency standing waves (room modes), and early reflections that blur stereo imaging. Each requires a different treatment type and placement strategy.
 Photo: Maurício Mascaro via Pexels
Flutter Echo and Early Reflections
Clap your hands in an untreated room and listen for the metallic “ping” that follows. That’s flutter echo — sound bouncing between parallel walls. It smears transients on drums, muddies vocals, and makes acoustic guitar sound like it was recorded in a bathroom.
Early reflections are the first bounces off walls, ceiling, and floor that reach your ears milliseconds after the direct sound. Your brain doesn’t process these as separate sounds — it folds them into the original signal, widening and blurring it in ways that confuse your stereo image.
Standard 2“ acoustic foam or rigid fiberglass panels (Rockwool Safe’n’Sound, Owens Corning 703) absorb mid and high frequencies effectively. They do nothing meaningful below 250 Hz.
Low-Frequency Standing Waves (Room Modes)
Every room has resonant frequencies determined by its dimensions. Sound waves at these frequencies reinforce themselves, creating “peaks” where bass sounds louder and “nulls” where it nearly disappears. Mix position matters enormously here — move a foot forward and an 80 Hz kick drum can jump 10 dB.
Bass traps are thick, dense absorbers (4“+ of rigid fiberglass or purpose-built foam) placed in corners — where pressure is highest — to attenuate these modes. They’re the single most important treatment in a home studio, and the most commonly skipped.
Reverberation Time (RT60)
RT60 is how long it takes sound to decay 60 dB after a source stops. Untreated small rooms often measure 400–600ms RT60. A well-treated home studio should land between 150–300ms — enough life to sound natural, not so much that it muddies recordings.
How to Treat a Room Acoustically: Step-by-Step
Direct answer: Start with bass traps in all four vertical corners, add absorption panels at first-reflection points on side walls and ceiling, then add diffusion behind the mix position. Do this before buying new gear — treatment has more impact on recording quality than upgrading a mid-tier interface.
 Photo: Matheus Bertelli via Pexels
Signal Chain and Monitoring Context
Before placing a single panel, understand what you’re treating for:
Recording chain: Instrument/voice → microphone → audio interface → DAW
Monitoring chain: DAW → audio interface → studio monitors → your ears → the room
Treatment affects both directions. A reflective room corrupts what you hear during mixing. It also couples with microphones during recording — a vocal recorded 12 inches from a condenser will pick up room reflections that define its character.
Gain staging note: Acoustic treatment doesn’t change input levels, but it reduces noise floor contamination from room resonance — you may find you need less high-pass filtering on vocals once early reflections are controlled.
Step 1: Bass Traps in the Corners (Do This First)
Place floor-to-ceiling bass traps in as many vertical corners as possible, prioritizing the front two corners (behind and flanking your monitors). Tri-corner placement — where a wall meets the ceiling or floor — is even more effective; if you can only do four positions, put them there.
Materials: 4“–6“ thick rigid mineral wool (Rockwool RW3, Owens Corning 703 or 705) works better than foam for low frequencies. Published acoustic measurement data shows 703 at 4“ thickness has an NRC of ~1.0 at 250 Hz but drops sharply below 125 Hz — thicker is always better for bass.
Construction: Build a simple wood frame, wrap in breathable fabric (acoustically transparent burlap or guilford of maine), mount with Z-clips or construction adhesive. Leaving a 2“–4“ air gap between the panel and wall extends effective absorption to lower frequencies.
Step 2: First-Reflection Points on Side Walls
Sit in your mix position. Have someone hold a mirror flat against the side wall and slide it until you can see a monitor reflected in it — that’s a first-reflection point. Mark it and repeat for both walls and the ceiling above your mix position.
Cover these points with 2“–4“ absorption panels. Size: 2’×4’ or 2’×2’ panels cover the range adequately. The goal isn’t deadening the entire wall — it’s interrupting the direct path from monitor to wall to ear.
Common mistake: Treating only the side walls and ignoring the ceiling. The ceiling reflection between monitors and mix position is often the worst offender for stereo imaging.
Step 3: Diffusion Behind the Mix Position
Hard absorption behind you creates a “dead end” that can feel unnatural and make it harder to judge space and reverb in your mixes. Diffusion scatters sound in multiple directions without absorbing it, maintaining a sense of life in the room.
Purpose-built diffusers (skyline diffusers, QRD panels) or even bookshelves filled with irregularly-sized objects achieve this. Place them on the rear wall at ear height. The minimum effective distance from the listener is roughly 3 feet — closer than that and they behave more like absorbers.
Step 4: Recording Position Treatment
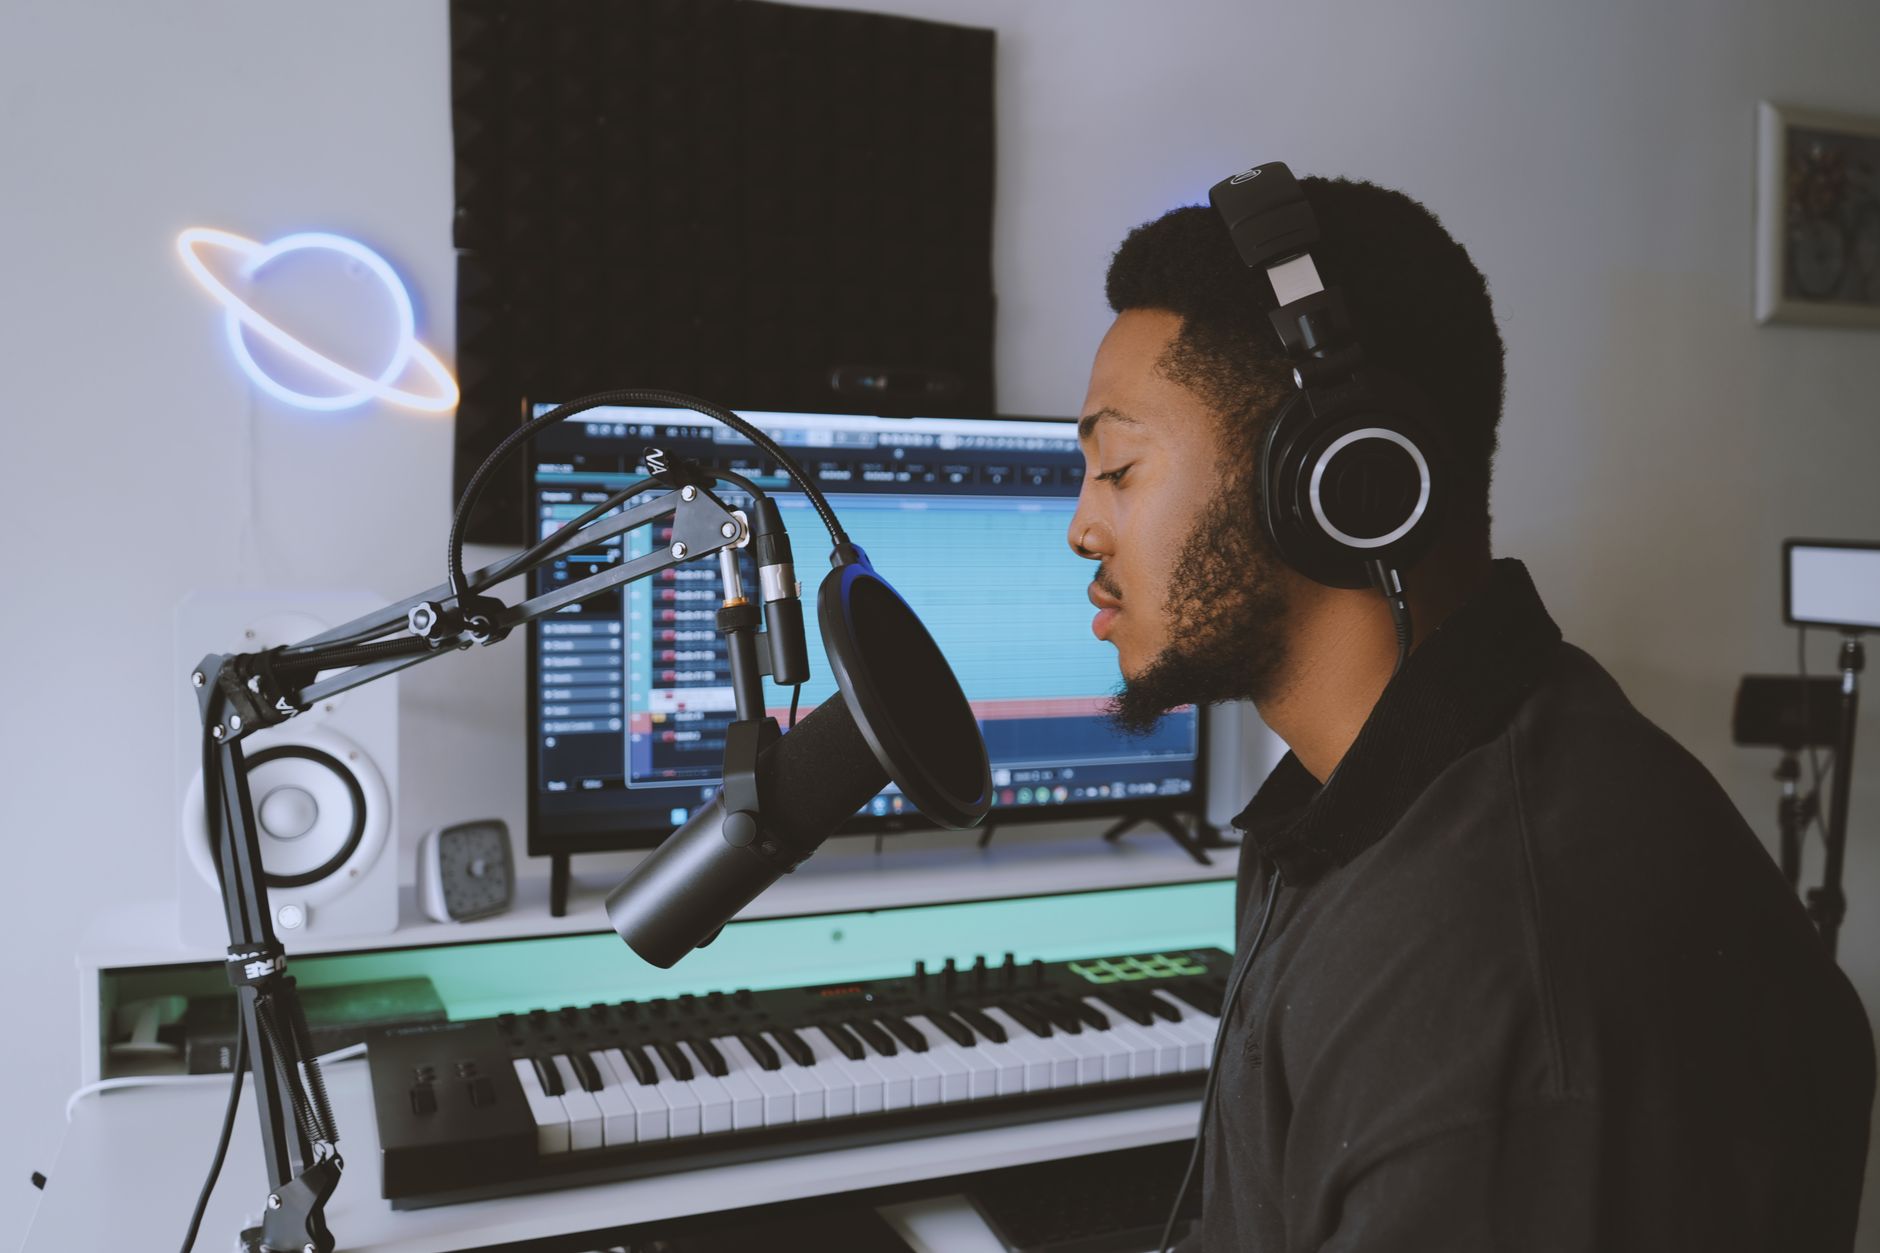 Photo: Precious Usman via Pexels
For recording vocals or acoustic instruments, your goal shifts: you want a reflection-free zone immediately around the source microphone.
Vocal recording: Position the singer with their back to an absorptive surface. Use a reflection filter (SE Electronics Reflexion Filter {{SE_ELECTRONICS_REFLEXION_FILTER}}, sE RF-X) behind the mic, not just behind the singer. Two absorption panels forming a corner behind the singer, angled at 45°, works better than any portable reflection filter at controlling the room.
Acoustic guitar/strings: Record in the most treated corner of the room with panels around the source. Close-mic positioning (6“–12“) naturally reduces room pickup; pulling back to 18“+ makes room acoustics dominate.
Step 5: Measure Before You’re Done
You can’t treat what you can’t measure. Free tools like Room EQ Wizard (REW) with a calibrated measurement microphone (Dayton Audio EMM-6 {{DAYTON_AUDIO_EMM6}}, miniDSP UMIK-1 {{MINIDSP_UMIK1}}) show you your actual frequency response and RT60 before and after treatment.
Take measurements at your mix position across a 250 Hz–8 kHz range. Look for response variation under ±6 dB — anything worse indicates reflection or resonance problems that need more treatment. RT60 measurements show whether you’ve over-treated (too dead) or need more absorption.
How Much Treatment Do You Actually Need?
| Room Type | Minimum Treatment | Full Treatment |
|---|---|---|
| Bedroom (10’×12’) | 4 corner bass traps + 2 side panels | Above + ceiling cloud + rear diffusion |
| Spare room (12’×14’) | 6 corner bass traps + 4 side panels | Above + ceiling cloud + rear diffusion + front wall absorption |
| Garage/large space | Bass traps + broadband panels every 4 ft | Full perimeter treatment + hanging baffles |
| Closet vocal booth | 2“ foam on all surfaces + door seal | Rigid fiberglass lining + ventilation |
Troubleshooting Matrix
| Symptom | Likely Cause | Fix |
|---|---|---|
| Kick and bass sound uneven at different positions | Room modes / standing waves | More bass traps in corners, especially front corners |
| Vocals sound “roomy” even close-mic’d | Early reflections from side walls near mic | Absorption panels flanking the recording position |
| Mix translates poorly — too bright on other systems | Over-treatment of mids/highs, untreated bass | Balance: check bass trap coverage, reduce broadband panels |
| Flutter echo (metallic ring after clap) | Parallel reflective surfaces | Add absorption or diffusion to at least one parallel wall pair |
| Stereo image blurs with panned sources | Ceiling and side-wall reflections at mix position | Add ceiling cloud panel, check side-wall first-reflection coverage |
| Room sounds unnaturally dead | Too much absorption, not enough diffusion | Replace some rear-wall absorption with diffusion panels |
→ See also:
- Home Studio Acoustic Treatment Guide (2026) — complete reference for treatment types, materials, and room calibration
- How to Soundproof a Room for Recording — soundproofing vs. treatment: what each solves and when you need both
- How to Treat a Bedroom Studio — specific strategies for small rooms with limited budget and no permanent modifications
FAQ
Does acoustic foam actually work for home studios? Acoustic foam absorbs mid and high frequencies effectively, but most thin foam products (1“–2“) do almost nothing below 500 Hz where room modes and bass buildup live. For a balanced treatment, use foam panels at first-reflection points but rely on dense mineral wool (Rockwool, OC 703) for corner bass traps. Foam-only treatment leaves the most damaging frequency range completely uncontrolled.
How many acoustic panels do I need for a bedroom studio? A 10’×12’ bedroom typically needs 4 corner bass traps plus 4–6 absorption panels (two side walls, one ceiling cloud) as a baseline. Expert consensus suggests covering roughly 20–35% of total surface area with treatment — more than that and the room starts sounding unnaturally dead, which makes reverb judgment difficult during mixing.
Can I treat a room without permanent wall damage? Yes. Z-clips and French cleats allow panels to hang from a single screw per cleat, leaving small holes. Construction adhesive on removable backing materials (3M Command strips rated for the panel weight) works for lighter foam panels. Freestanding panel frames on weighted bases — common in rental situations — require zero wall contact and can be repositioned as needed.
What’s the difference between soundproofing and acoustic treatment? Soundproofing reduces sound transmission between spaces — it stops sound from leaving or entering a room. Acoustic treatment controls how sound behaves inside a room — it reduces reflections, echoes, and resonance. They solve different problems with different materials. Adding foam panels to your walls will not stop your neighbor from hearing your drum recordings; it will make those recordings sound cleaner.
Should I treat the whole room or just the mix position? Prioritize the mix position — bass traps in corners, first-reflection panels on side walls and ceiling above your monitors. This gives you accurate monitoring, which is the foundation of everything else. Recording position treatment (vocal corner setup, baffles around instruments) comes second. Full-room treatment improves both but the mix position returns the most value per dollar and per panel.
How do I know if my room is over-treated? An over-treated room sounds unnaturally dead and anechoic — voices sound “small” and dry in a way that doesn’t match how anything else sounds. Measured RT60 below 100ms at mid frequencies is a reliable indicator. Musically, you may find it harder to judge reverb and space on your mixes because your room gives no spatial reference. Replace some absorptive panels on the rear wall with diffusion to restore a natural sense of life.
Editorial methodology: Assessments are based on manufacturer specifications, published user reviews, and editorial research. Physical hands-on testing is noted explicitly where it occurred. Rankings reflect our editorial judgment and are not influenced by affiliate commission rates. Full editorial policy · Affiliate disclosure