Contents
Bass Traps Explained: Do You Need Them?
TL;DR: Bass traps are acoustic absorbers designed to control low-frequency energy buildup in small rooms. If you’re mixing or recording in a home studio, you almost certainly need them — untreated bass buildup causes mix decisions that don’t translate to other playback systems. Corner placement gives you the highest return per dollar.
What Are Bass Traps?
Bass traps are broadband or tuned absorbers that convert low-frequency sound energy into heat through friction. They target frequencies below 300 Hz — the range where standard acoustic panels are largely ineffective — and are the single highest-impact acoustic treatment you can add to a small room.
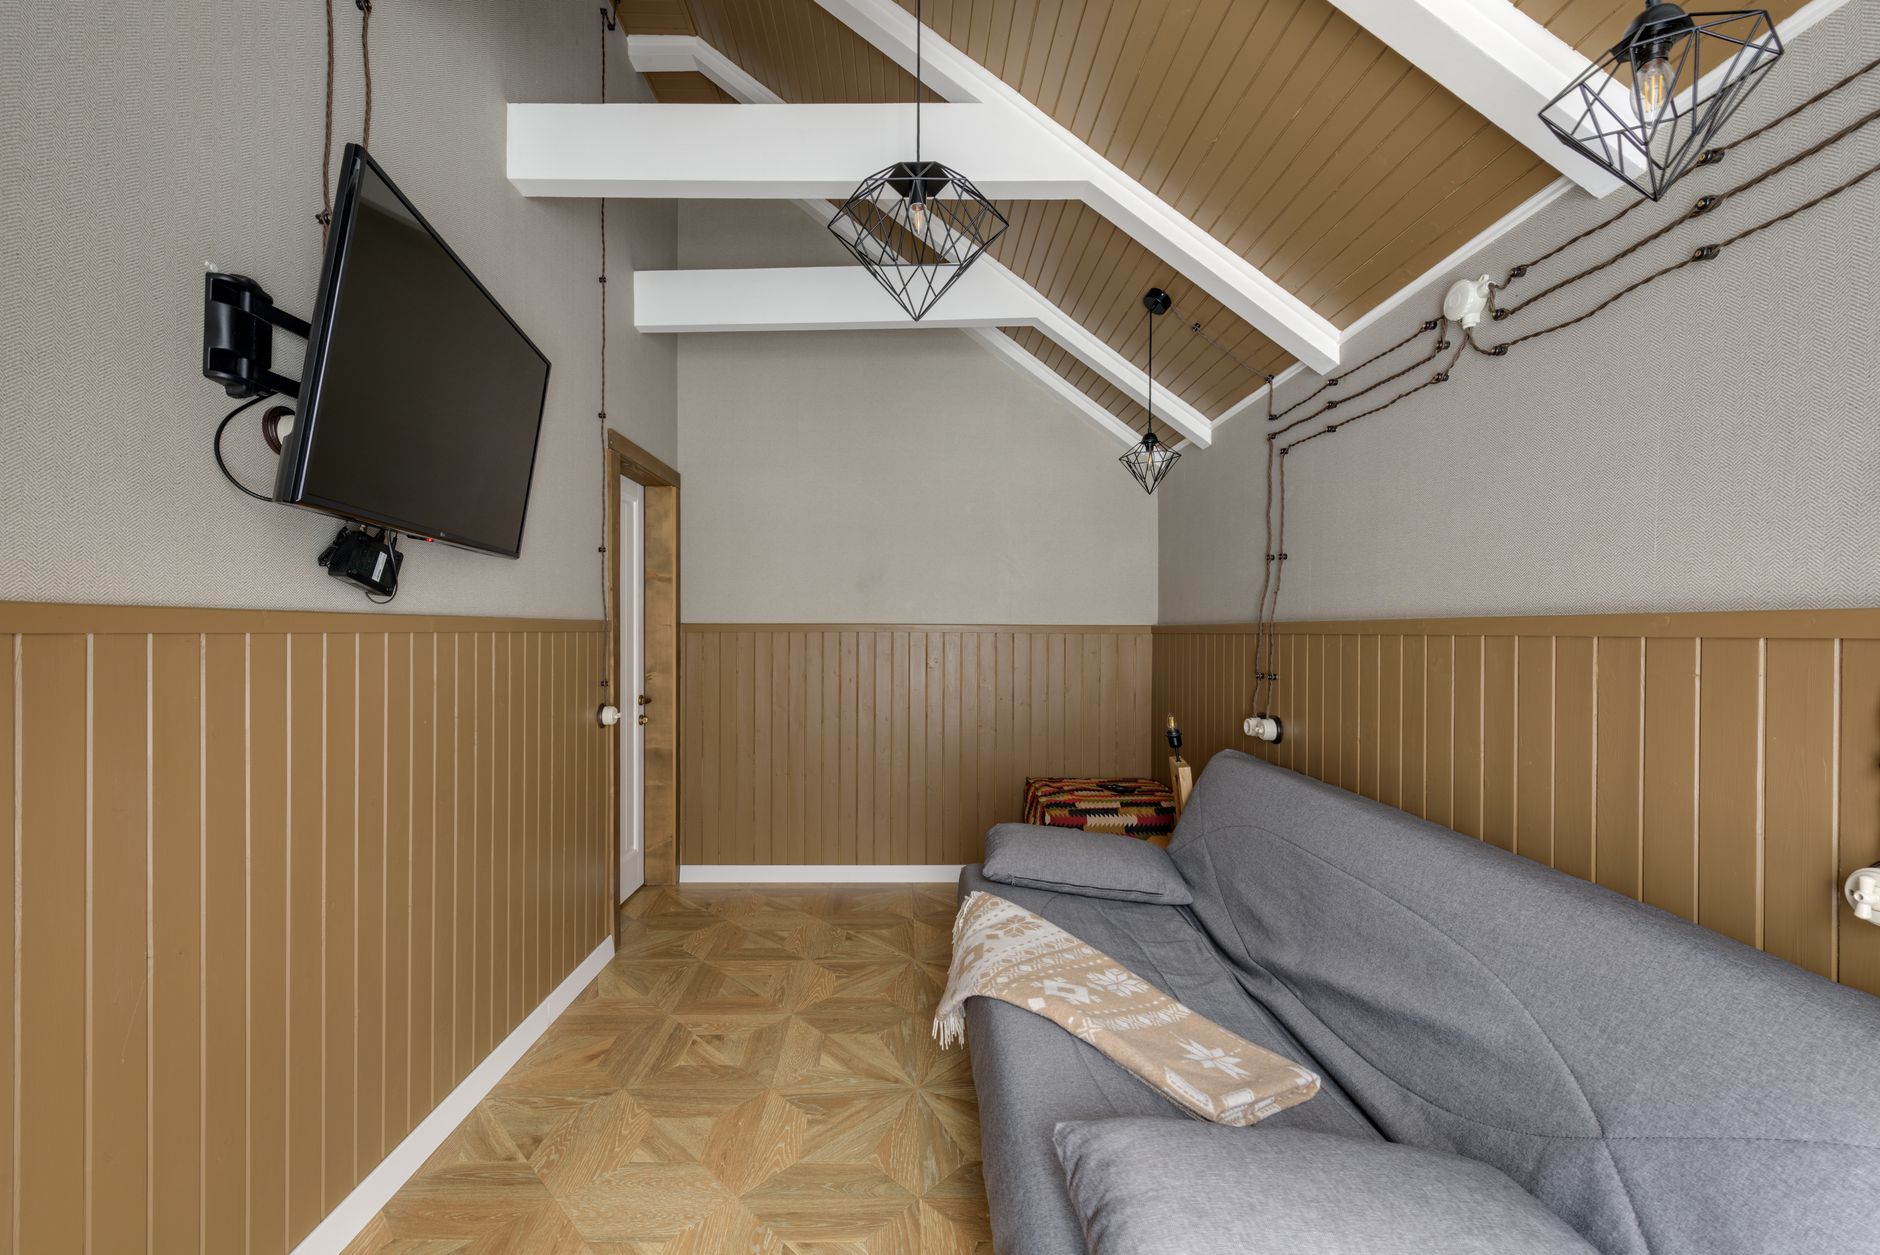 Photo: Max Vakhtbovych via Pexels
Sound below 300 Hz has long wavelengths (over 1 meter at 100 Hz). Standard 2-inch foam panels don’t have enough depth to interact with those wavelengths meaningfully. Bass traps are typically 4–12 inches thick and made from dense porous materials — rigid fiberglass, mineral wool (Rockwool Safe’n’Sound, Owens Corning 703), or open-cell acoustic foam.
Two main types exist:
| Type | How It Works | Best For |
|---|---|---|
| Porous (broadband) | Friction absorbs energy across a wide band | General room treatment, corners |
| Resonant (tuned) | Panel or Helmholtz resonator tuned to a narrow band | Targeting a specific room mode |
For most home studios, porous broadband traps are the practical choice. Resonant traps require precise measurement and room modeling to place correctly — they can make things worse if you tune them to the wrong frequency.
Why Bass Builds Up in Small Rooms
Small rooms create standing waves — also called room modes — where bass frequencies reinforce or cancel at predictable points determined by room dimensions. The result is that certain notes boom while others disappear entirely, making accurate low-end monitoring impossible.
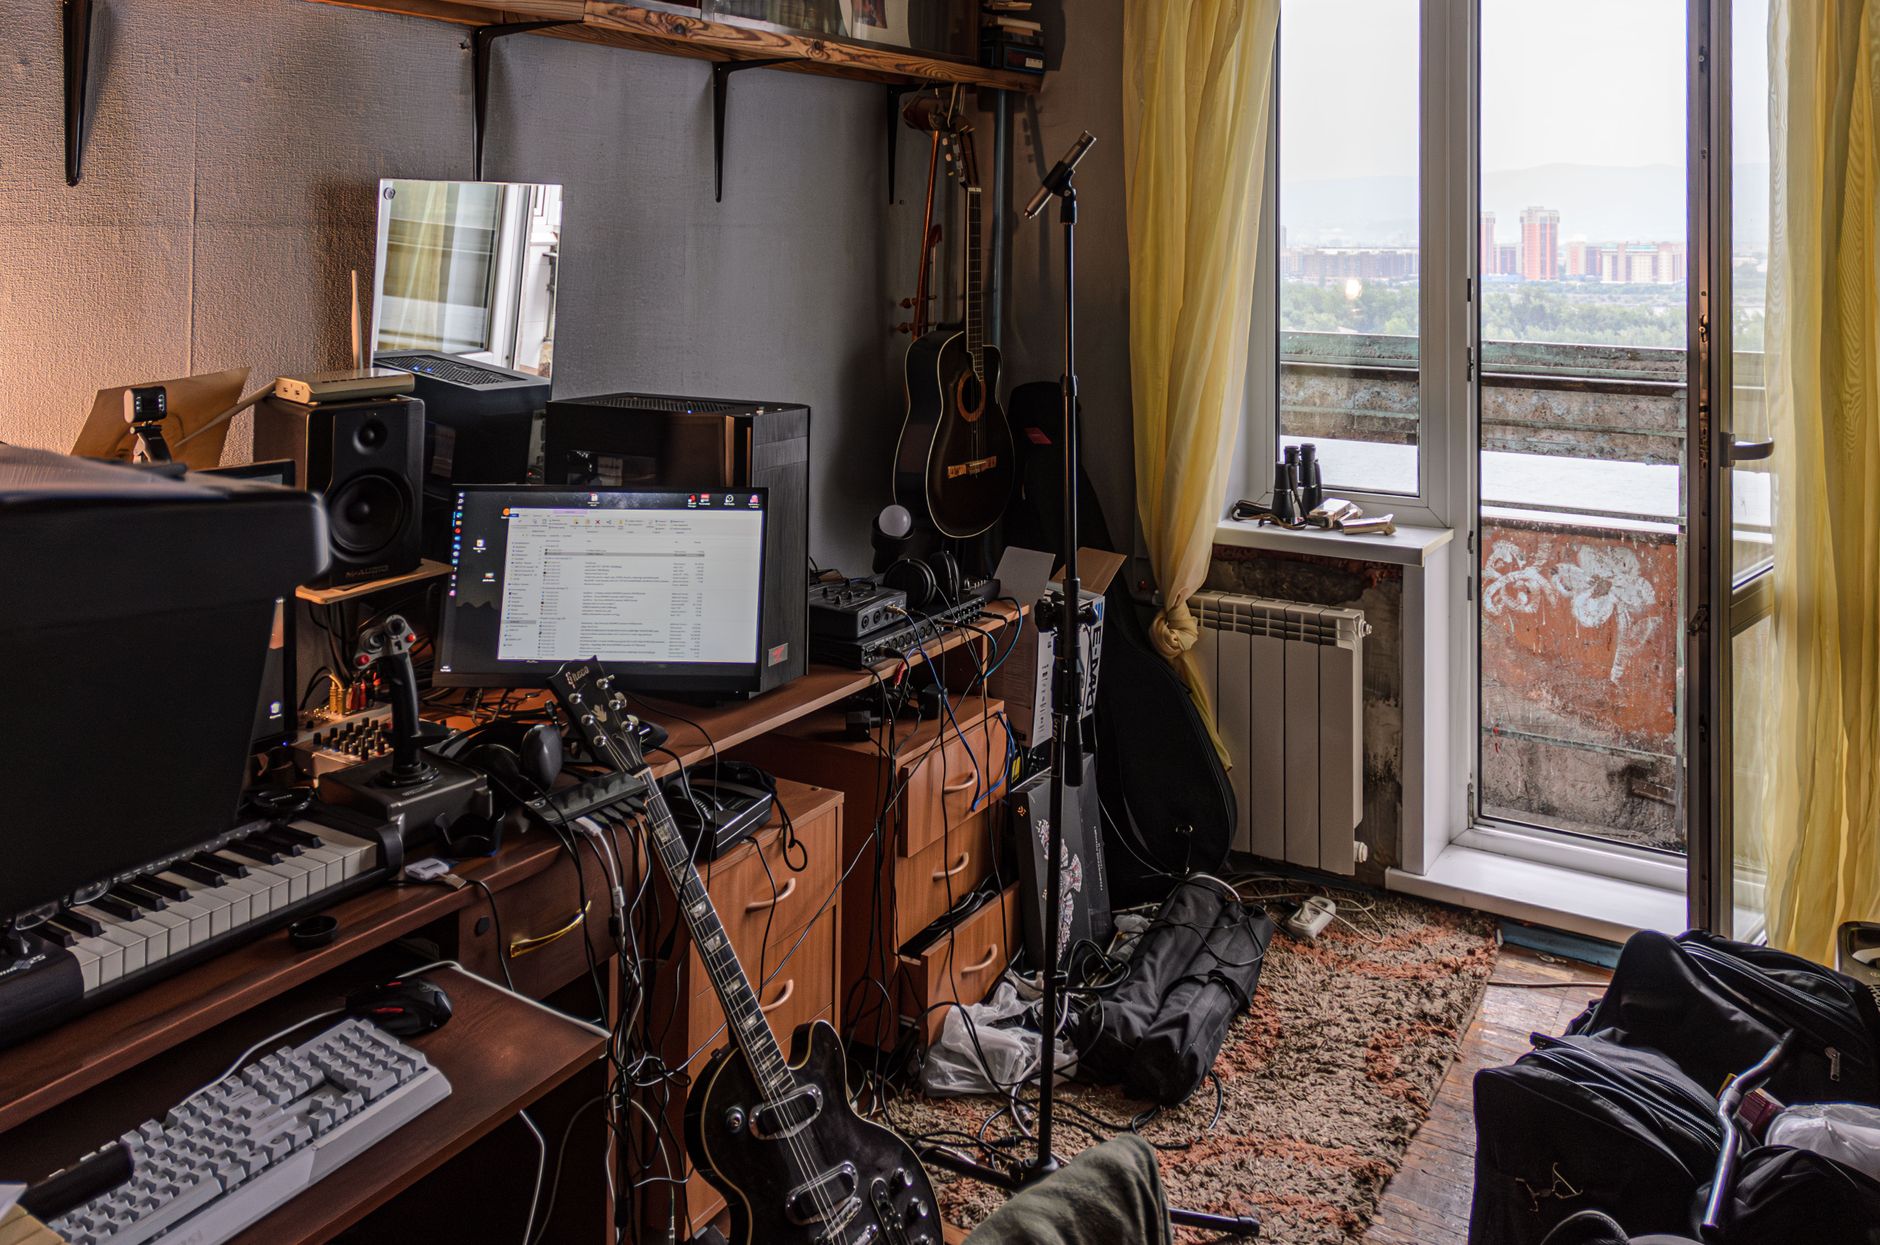 Photo: Radik 2707 via Pexels
Room modes are calculated from room dimensions. A room that’s 4 meters long has an axial mode at roughly 43 Hz (speed of sound ÷ 2 × room length). Every multiple of that frequency gets a mode too. In a typical bedroom studio, you’ll have a cluster of modes between 40–200 Hz that stack up in the corners.
This is why corner placement is so effective: corners are where the boundaries of all three axes meet. Pressure from axial, tangential, and oblique modes all converge there. A floor-to-ceiling trap in a corner is simultaneously treating modes from the length, width, and height of the room.
Symptoms That Tell You Bass Trapping Is Needed
- Kick and bass sound full in the studio but thin everywhere else
- Certain notes in a bass line are louder than others
- Your mixes have excessive low-end compared to reference tracks
- Bass-heavy genres (hip-hop, electronic, R&B) are particularly hard to mix accurately
How to Choose Bass Traps
For home studio use, 4-inch-minimum rigid fiberglass or mineral wool panels outperform acoustic foam at the same price point. Owens Corning 703 (2 lb/ft³ density) and Rockwool Safe’n’Sound are the standard DIY materials. Commercial options like the GIK Acoustics 244 Bass Trap offer comparable performance pre-built.
| Material | Density | Low-End Performance | Cost |
|---|---|---|---|
| Rockwool Safe’n’Sound | 2.5 lb/ft³ | Excellent below 200 Hz | Low (DIY) |
| Owens Corning 703 | 3 lb/ft³ | Excellent, industry standard | Low (DIY) |
| Owens Corning 705 | 6 lb/ft³ | Better below 100 Hz | Medium (DIY) |
| GIK Acoustics 244 | — | Good, broadband | Medium (pre-built) |
| Acoustic foam traps | Varies | Poor below 200 Hz | Low–Medium |
Thickness matters more than material above a baseline density. A 4-inch 703 panel absorbs meaningfully down to around 125 Hz. An 8-inch panel pushes useful absorption closer to 80 Hz. If your room is particularly problematic in the sub-100 Hz range, stacking panels or building corner-fill traps (triangular cross-section, floor to ceiling) is the most cost-effective solution.
 Photo: Steve A Johnson via Pexels
Avoid relying on open-cell foam (like typical Auralex foam traps) for serious bass control. Published absorption coefficient data shows these materials have minimal impact below 200 Hz, regardless of thickness.
How to Install Bass Traps: Step-by-Step
Signal Chain for Verification
Before placing traps, take a room measurement so you have a reference point:
Measurement mic → audio interface → REW (Room EQ Wizard, free) → frequency response plot
Use a calibrated measurement mic like the Dayton Audio EMM-6 or MiniDSP UMIK-1 . A flat measurement mic exposes what EQ can’t fix — genuine acoustic problems vs. monitor placement issues.
Placement Workflow
- Start with the four vertical corners — floor-to-ceiling is the goal. Treat all four before treating anything else.
- Add tri-corner treatment at the ceiling-wall junctions above and behind your mix position. These are where three boundaries meet at once.
- Address the front wall behind the monitors with broadband panels if budget allows.
- Re-measure with REW after each placement stage. You’re looking for a smoother frequency response below 300 Hz, not a perfectly flat line.
- Don’t add high-frequency absorption (1–2 inch panels) until bass is controlled — a room with dead highs and boomy lows is harder to mix in than an untreated room.
- Check your mix position with a sweep tone or REW’s RTA. Walk around the room — if bass dramatically changes with position, you still have untreated modes.
 Photo: Big Bag Films via Pexels
Troubleshooting Matrix
| Symptom | Likely Cause | Fix |
|---|---|---|
| Kick sounds thin after treatment | Over-absorbed high-mids, bass still present | Add more bass trapping; remove some broadband panels |
| One frequency still booms | Axial mode aligned with room dimension | Measure with REW; add thickness or relocate trap |
| Treatment made the room feel dead | Too much high-frequency absorption added first | Remove thin foam panels; bass traps alone are less absorptive in the highs |
| Mix position sounds better 1 foot back | Boundary effect from front wall | Move monitors away from wall or add front-wall treatment |
| Bass disappears at certain notes | Cancellation node at mix position | Move the mix position or add diffusion behind listener |
How Many Bass Traps Do You Actually Need?
For a typical 10×12 ft bedroom studio, four floor-to-ceiling corner traps (minimum 4 inches thick) produce a measurable and audible improvement. Eight traps — covering all four vertical corners plus the four ceiling-wall junctions at front and back — is the realistic target for accurate monitoring.
This isn’t an exact science because every room has different proportions, furniture, and construction materials. Concrete-block rooms have more bass energy than drywall rooms. Rooms with vaulted ceilings have different modal patterns. Measurement is the only honest answer — REW is free, and a $25 USB measurement mic is cheaper than one misguided mixing decision on a paying client’s record.
A common mistake is treating only the rear corners (behind the listener). The front corners — between the monitors and the side walls — are equally important. Bass energy from the monitors builds up in all four corners, not just the ones you can see from the mix position.
DIY vs. Pre-Built Bass Traps
Building with Rockwool or 703 costs roughly $1–2 per square foot of material. Pre-built panels from GIK Acoustics run $60–120 each but are ready to hang and aesthetically finished. For a first studio, GIK panels are a reasonable starting point. For a permanent room where you’re treating 8+ corners, DIY saves significant money with no acoustic compromise.
If going DIY, cover panels with acoustically transparent fabric (Guilford of Maine FR701 is the industry standard). Avoid burlap or canvas — they can reflect high frequencies if the weave is tight enough.
→ See also:
- Home Studio Acoustic Treatment Guide (2026)
- How to Acoustically Treat a Room for Recording
- How to Soundproof a Room for Recording
FAQ
Do bass traps help with soundproofing? No. Bass traps absorb sound energy inside a room to improve acoustic quality, but they don’t block sound from traveling through walls. Soundproofing requires mass and decoupling — different materials and a different approach entirely. A thick bass trap will have a marginal effect on transmission loss, but it’s not a meaningful substitute.
Can I put bass traps anywhere other than corners? Corners are the highest-leverage placement because modal pressure peaks there, but you can also place bass traps along wall-ceiling boundaries and behind monitors. Anywhere two or three surfaces meet gives you better low-frequency interaction than a flat wall surface.
How thick do bass traps need to be? At minimum 4 inches of rigid fiberglass or mineral wool for useful absorption above 125 Hz. For meaningful absorption down to 80 Hz, 8 inches or more is required. Stacking two 4-inch panels in a corner costs the same as one custom-built thick trap and performs comparably.
Will bass traps make my room too dead? Porous bass traps are less absorptive in the upper midrange and high frequencies than thin foam panels, so they’re unlikely to over-damp a room on their own. A room treated only with broadband bass traps typically remains lively enough for tracking. The “dead room” problem usually comes from adding too many thin foam tiles to the walls before addressing the low end.
Do I need bass traps if I’m only recording vocals or acoustic guitar? Less critical for tracking, but still relevant for mixing. Even if you’re not producing bass-heavy music, low-frequency room modes affect how you hear everything in the mix — including where you set vocal levels relative to other elements. If you’re making final mix decisions in the room, accurate bass reproduction matters regardless of genre.
Are commercial bass traps worth the price over DIY? Published absorption data from GIK Acoustics and comparable manufacturers shows their panels perform on par with well-built DIY panels using the same core materials. You’re paying for consistent construction, finished aesthetics, and convenience. If you have the tools and time, DIY using 703 or Rockwool is acoustically equivalent and significantly cheaper at scale.
Editorial methodology: Assessments are based on manufacturer specifications, published user reviews, and editorial research. Physical hands-on testing is noted explicitly where it occurred. Rankings reflect our editorial judgment and are not influenced by affiliate commission rates. Full editorial policy · Affiliate disclosure