Contents
Best Acoustic Treatment for Recording Vocals
TL;DR: The most effective acoustic treatment for vocals combines absorption panels at first reflection points with a corner bass trap setup — a reflection-free zone around the mic is more important than treating the entire room. A well-placed 2-inch thick absorber behind and beside the mic will eliminate most room problems before they hit your recording chain.
Why Room Acoustics Matter More Than Your Mic
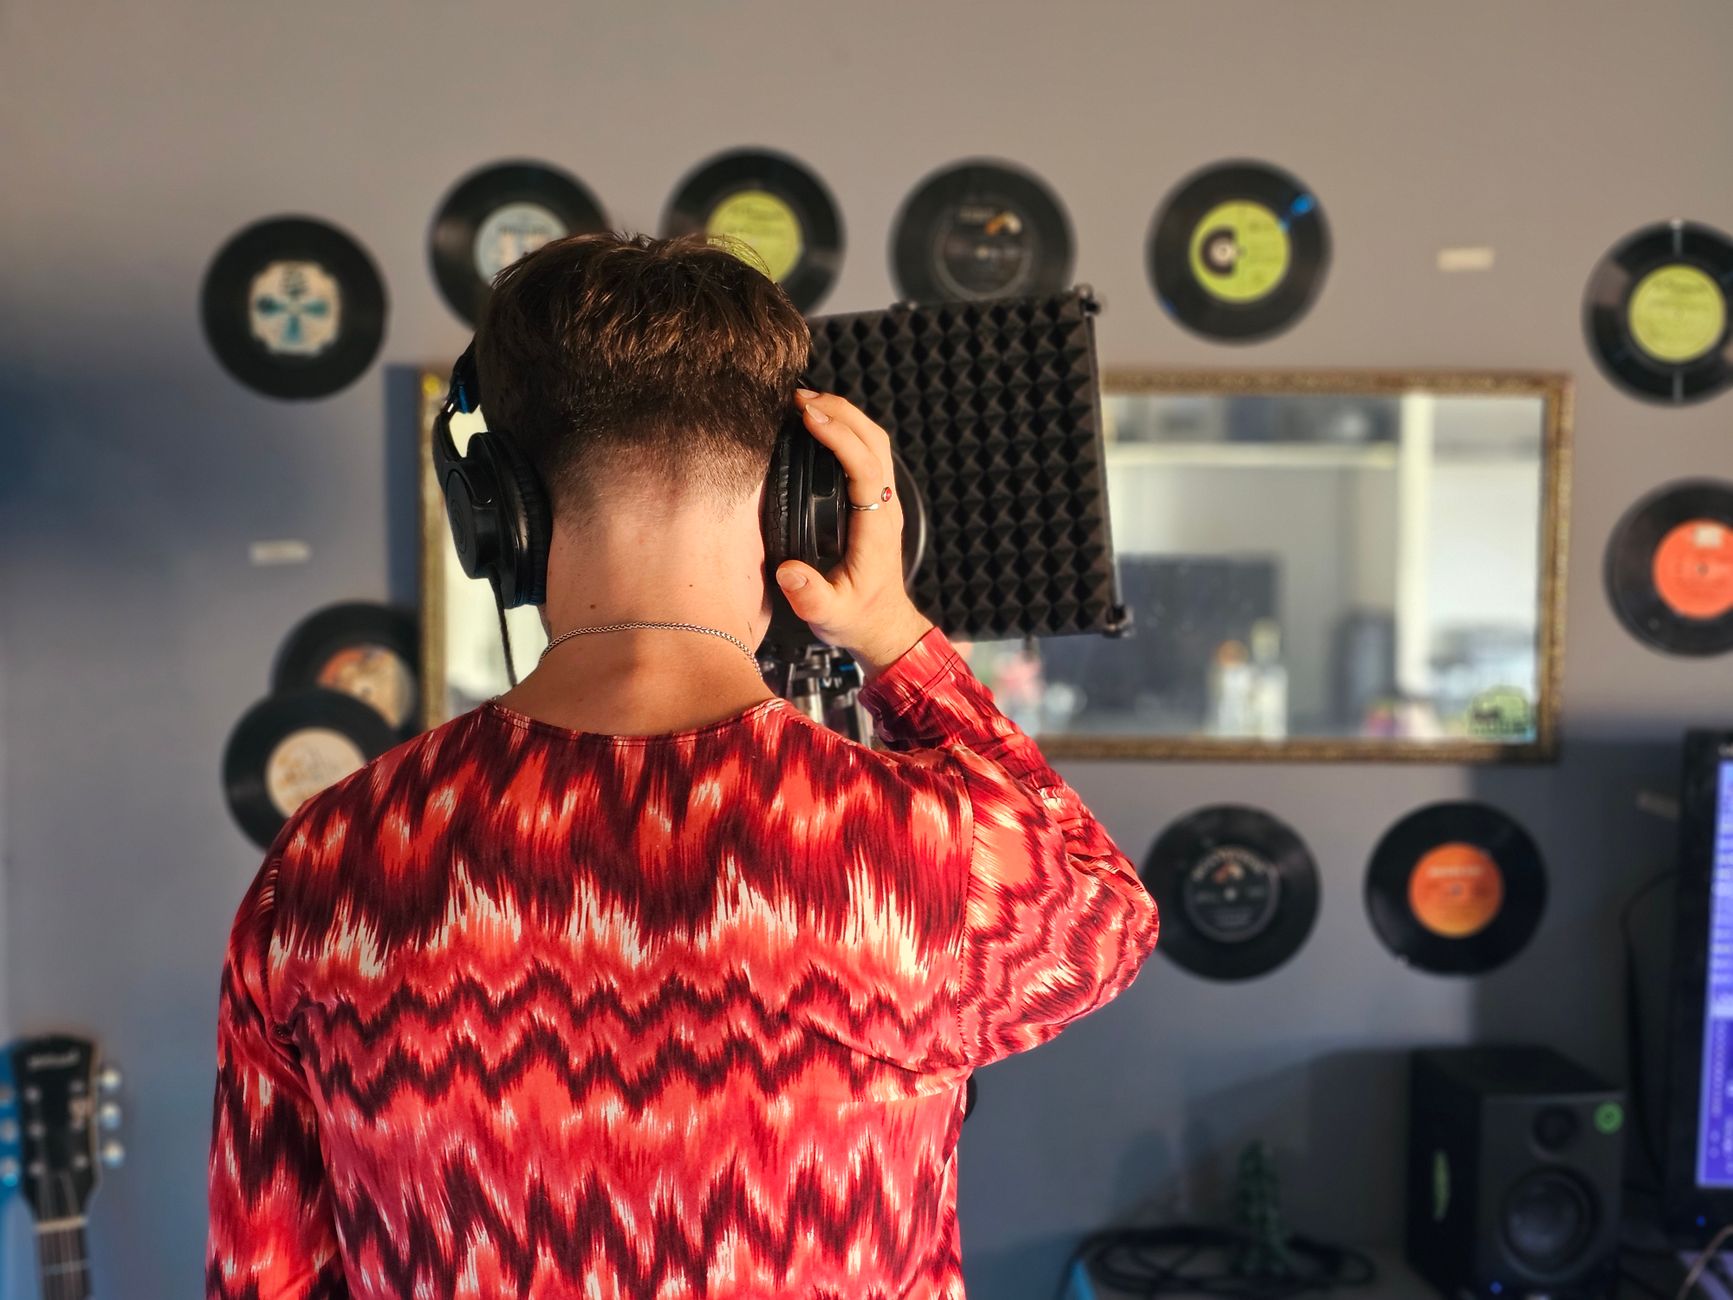
Acoustic treatment for vocals is the single highest-leverage upgrade a home studio can make. An untreated room adds flutter echo, comb filtering, and low-mid buildup to every take — problems that no plugin can cleanly remove after the fact. Fixing the room means fixing the source, not the symptom.
 Photo: Simeon Galabov via Pexels
Most bedroom producers focus on mic upgrades while their parallel walls create standing waves that smear transients and inflate low-mids. A $150 set of panels placed correctly will do more for a vocal recording than a $500 microphone upgrade in an untreated space.
The goal is not a dead, anechoic room. It’s a controlled environment — enough absorption to kill flutter echo and tame harsh reflections, with the low end managed at corners.
The Four Problem Zones Every Vocal Space Has
Every rectangular room has the same four acoustic problems in order of severity: parallel-wall flutter echo, first-reflection slap from side walls, low-frequency buildup in corners, and ceiling bounce. Treating them in that priority order gives the fastest return on budget.
 Photo: Tima Miroshnichenko via Pexels
Flutter Echo
Clap your hands once in an untreated room and listen for the rapid “ping-ping-ping” decay — that’s flutter echo between parallel walls. It smears consonants on vocal takes and makes sibilants ring.
Fix: 2-inch thick rigid fiberglass or rockwool panels on at least one of each parallel pair of walls. You don’t need full coverage — breaking up the reflection path is enough.
First Reflections
Sound from your mic capsule bounces off the side walls and ceiling before reaching the back wall, arriving at the mic position slightly delayed. That creates comb filtering that changes with head movement.
The mirror trick: sit at your mic position, have someone hold a mirror flat against the side wall and slide it until you see the mic in it — that’s your first reflection point. Same for the ceiling. Those are your priority treatment locations.
Low-Frequency Corner Buildup
Low frequencies stack at corners where three room boundaries meet (floor/wall/wall and ceiling/wall/wall intersections). This creates the boomy, undefined low-mid sound on vocal chest resonance and proximity effect from directional mics.
Bass traps in floor-to-ceiling corners address this. A single 4-inch thick panel in each corner — four corners minimum — makes a measurable difference in low-mid clarity.
Ceiling Bounce
Often overlooked, the ceiling reflection is the hardest first reflection to eliminate with head position. A cloud panel — a horizontal absorption panel suspended above the mic position — is the cleanest solution.
What to Buy: Material Breakdown
Rigid fiberglass (703 or 705 density) and rockwool/mineral wool (Rockwool Safe’n’Sound or acoustic-grade) are the two materials worth buying for DIY panels. Foam wedge tiles are a distant third — they absorb high frequencies but do almost nothing below 500 Hz, which is exactly where room problems are worst.
 Photo: Mikhail Nilov via Pexels
| Material | Best Use | Absorption (Low-Mid) | Cost/Panel |
|---|---|---|---|
| 703 Rigid Fiberglass (2“) | Wall panels, first reflections | Good | $$ |
| 705 Rigid Fiberglass (4“) | Bass traps, corners | Excellent | $$$ |
| Rockwool Safe’n’Sound (3.5“) | DIY panels, bass trapping | Very Good | $ |
| Acoustic foam (2“) | High-freq absorption only | Poor | $ |
| Mass Loaded Vinyl | Soundproofing (not treatment) | N/A | $$ |
Ready-made panels like the Acoustimac DMD Series or Acoustics panels from GIK Acoustics cost more than DIY but ship pre-built and wrapped. For a vocal booth setup, 4–6 panels plus 2 corner bass traps is a functional starting configuration.
DIY route: a 2x4 wood frame filled with 2-inch Rockwool, covered in breathable fabric (guilford of maine or standard burlap), costs roughly $25–40 per 2’x4’ panel based on current material pricing.
Building a Reflection-Free Zone for Vocals
A reflection-free zone (RFZ) around the mic position is the core concept for acoustic treatment for vocals. You need absorption at every surface the mic “sees” within the first 15–20ms of sound travel time — that’s approximately the first 15–17 feet of path length.
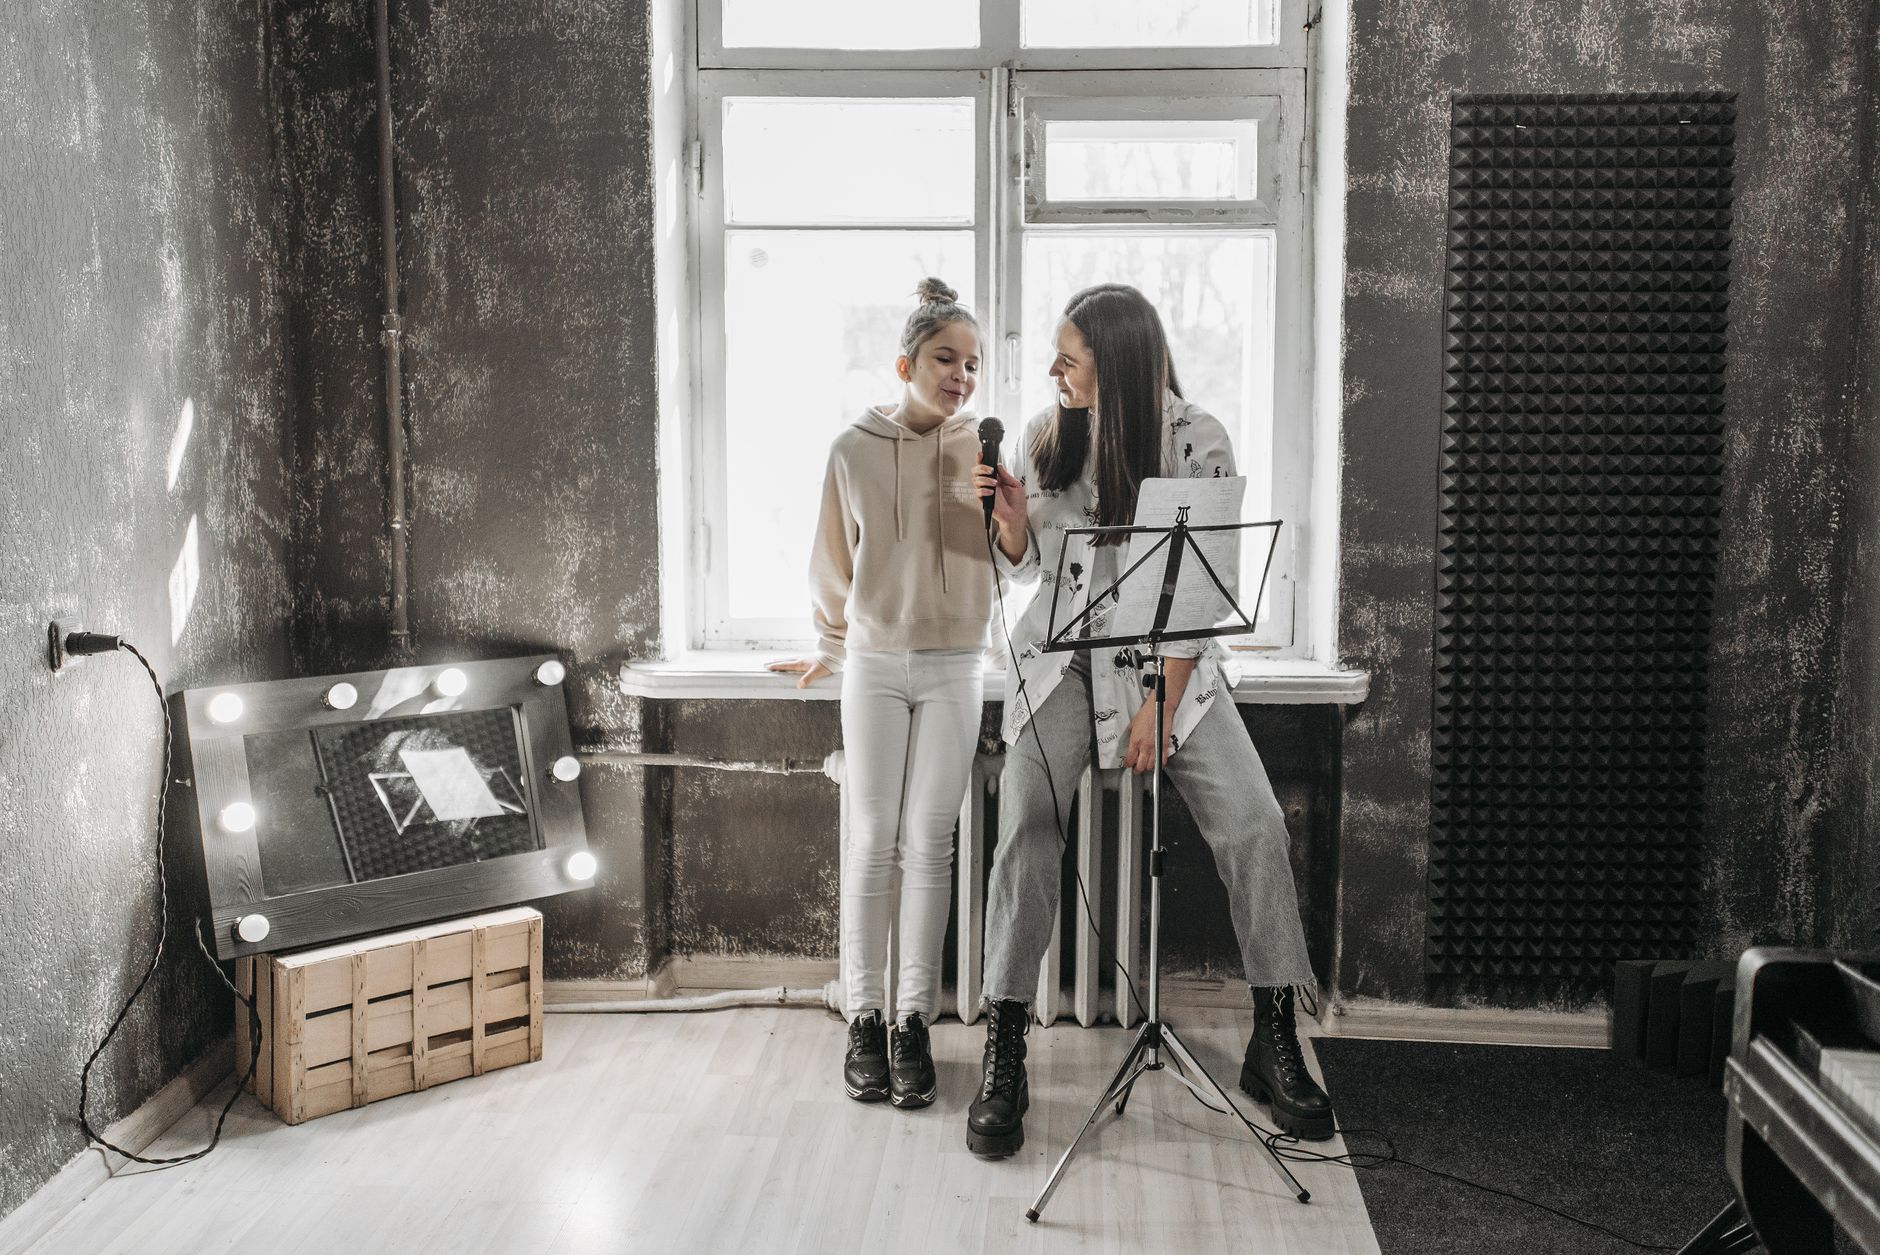 Photo: Pavel Danilyuk via Pexels
Minimum Effective Treatment Layout
This setup works in a 10x12 bedroom and can be assembled for under $400 DIY:
- Behind the vocalist: 2x4 broadband panel, centered at head height
- Left and right side walls at mic position: 2x4 panels at first reflection points (use the mirror trick)
- Ceiling above mic: 2x4 cloud panel, suspended 12–18 inches above capsule height
- Rear of room (behind monitors): 2x4 panel behind each monitor, aimed at their coverage angle
- Floor-to-ceiling corners: 4-inch thick bass traps, minimum two adjacent corners
This doesn’t require a dedicated vocal booth. It creates a localized treated zone where the mic operates cleanly while the rest of the room is less critical.
Signal Chain for Vocal Recording in a Treated Room
Vocalist → Condenser/Dynamic Mic → Pop Filter → XLR Cable
  → Audio Interface (gain staged to -18 to -12 dBFS peaks)
  → DAW (record at 24-bit/48kHz, no processing on input)
Gain-staging note: record without compression or EQ on the input track. The room treatment does the acoustic work — input compression masks room problems rather than solving them, and it’s non-reversible. Leave all processing for the mix stage.
Step-by-Step Vocal Room Setup Workflow
- Clap test first. Stand in the recording position and clap sharply. Note flutter echo (rapid repeating decay) and slap echo (single distinct reflection). These tell you where to focus treatment.
- Place bass traps in corners. Floor-to-ceiling placement in the two corners behind the mic position. If budget allows, do all four.
- Find first reflection points using the mirror method on both side walls. Mark them.
- Mount side-wall panels centered on those first reflection points, positioned so panel center aligns with mic capsule height.
- Add the rear wall panel behind the vocalist, approximately 1–2 feet from the back of their head.
- Suspend the cloud panel. Use eye hooks and wire. Position so the panel’s front edge is even with or slightly ahead of the mic capsule.
- Clap test again. Flutter echo should be significantly reduced. If residual flutter remains, add a panel to the opposing wall.
- Record a dry vocal pass and listen for room character. A well-treated space sounds slightly dead and dry — that’s correct. Reverb and space are added in the mix, not captured from the room.
Troubleshooting Matrix
| Symptom | Likely Cause | Fix |
|---|---|---|
| Flutter echo on consonants | Parallel untreated walls | Add panel to one wall of the reflective pair |
| Boominess on chest voice | Corner low-end buildup | Add or thicken corner bass traps |
| Harsh, ringy sibilance | Hard ceiling reflection | Add or lower cloud panel |
| Hollow, phasey sound | Mic too close to rear wall | Move mic 2–3 feet away from wall or add panel |
| Inconsistent tone with head movement | Insufficient side-wall absorption | Widen coverage of side panels or add a second panel |
| Room still sounds “roomy” after treatment | Panels too thin (foam or 1“) | Replace with 2“+ rockwool or fiberglass |
Budget-Tier Comparison
| Setup | Cost (DIY) | Cost (Ready-Made) | Best For |
|---|---|---|---|
| Minimal (2 panels + 2 bass traps) | ~$100 | ~$250 | Bedroom, limited space |
| Standard RFZ (6 panels + 4 bass traps) | ~$250 | ~$500–600 | Dedicated recording corner |
| Full vocal booth conversion | ~$500–800 | $1,200+ | Serious home studio |
The Kaotica Eyeball and similar mic-mounted isolation shields are a portable middle ground — they treat the zone immediately around the capsule rather than the room. Published frequency response data from manufacturer testing shows they’re effective above 400 Hz but don’t address room modes. Useful for location recording or untreatable spaces; not a substitute for proper room treatment in a dedicated studio.
→ See also:
- Home Studio Acoustic Treatment Guide (2026) — full-room treatment strategy from first principles
- How to Acoustically Treat a Room for Recording — DIY panel builds and placement guides
- How to Soundproof a Room for Recording — decoupling and mass for isolation vs. treatment
FAQ
What’s the minimum acoustic treatment needed to record vocals at home? At absolute minimum: one 2-inch broadband absorber behind the vocalist and one behind each first reflection point on the side walls (two panels minimum). Bass traps in at least two corners dramatically improve low-mid clarity. This four-panel setup eliminates the worst room problems without covering every surface.
Do acoustic foam tiles work for vocal recording? Foam tiles absorb high frequencies reasonably well but have negligible effect below 500 Hz, which is where low-mid buildup and standing waves cause most audible damage on vocals. Expert consensus suggests foam-only treatment produces a bright, unnatural sound because the room’s low end is untreated while the top end is absorbed. Use 2-inch rigid fiberglass or rockwool instead.
How much bass trapping do I need for a vocal room? Two floor-to-ceiling corner bass traps (4-inch thick rockwool or fiberglass) make a noticeable difference in most bedrooms. Four-corner treatment is the target for a fully controlled low end. Tri-corner traps that fill the 3D corner junction where two walls meet the ceiling or floor are more effective per dollar than flat panels in corner positions.
Is a vocal booth worth building for home recording? A proper vocal booth — decoupled walls, treated interior — gives the most consistent results, but a poorly built one can be worse than no booth at all. A small, hard-walled closet without treatment creates severe flutter echo and low-mid buildup. If building a booth, interior treatment is not optional. For most home producers, a treated corner in a bedroom-sized room outperforms an untreated closet.
How far should the mic be from the back wall when recording vocals? At least 2–3 feet, ideally with an absorber panel on that back wall. Placing a mic close to a parallel wall creates a boundary effect that boosts low frequencies and introduces comb filtering from the reflection arriving milliseconds after the direct signal. According to acoustic engineering guidelines, the minimum recommended distance from any untreated reflective surface is roughly one quarter of the wavelength of the lowest frequency you’re capturing.
Does soundproofing affect acoustic treatment? Soundproofing (isolation) and acoustic treatment solve different problems and don’t substitute for each other. Soundproofing adds mass and decoupling to stop sound from entering or leaving the room. Acoustic treatment shapes how sound behaves inside the room. A well-treated room can still be loud to neighbors; a well-soundproofed room can still have terrible echo. Vocal recording needs treatment first; isolation is a secondary concern unless noise bleed is actually appearing in recordings.
Editorial methodology: Assessments are based on manufacturer specifications, published user reviews, and editorial research. Physical hands-on testing is noted explicitly where it occurred. Rankings reflect our editorial judgment and are not influenced by affiliate commission rates. Full editorial policy · Affiliate disclosure