Contents
How to Record Electric Guitar at Home
TL;DR: To record electric guitar at home, run your guitar into an audio interface (or use amp sim software) and capture it in a DAW. A $100–$150 interface like the Focusrite Scarlett Solo gives you clean, low-latency tracking. Mic your amp if you have the space, or go direct with a plugin amp sim if you don’t.
The Two Core Methods: Amp + Mic vs. Direct-In
Run your amp and mic it, or plug straight into your interface — those are your two paths. Amp + mic captures real speaker physics and harmonic complexity no plugin fully replicates. Direct-in (DI) with amp simulation is faster, quieter, and re-ampable, making it the default for home studios where room acoustics and volume are constraints.
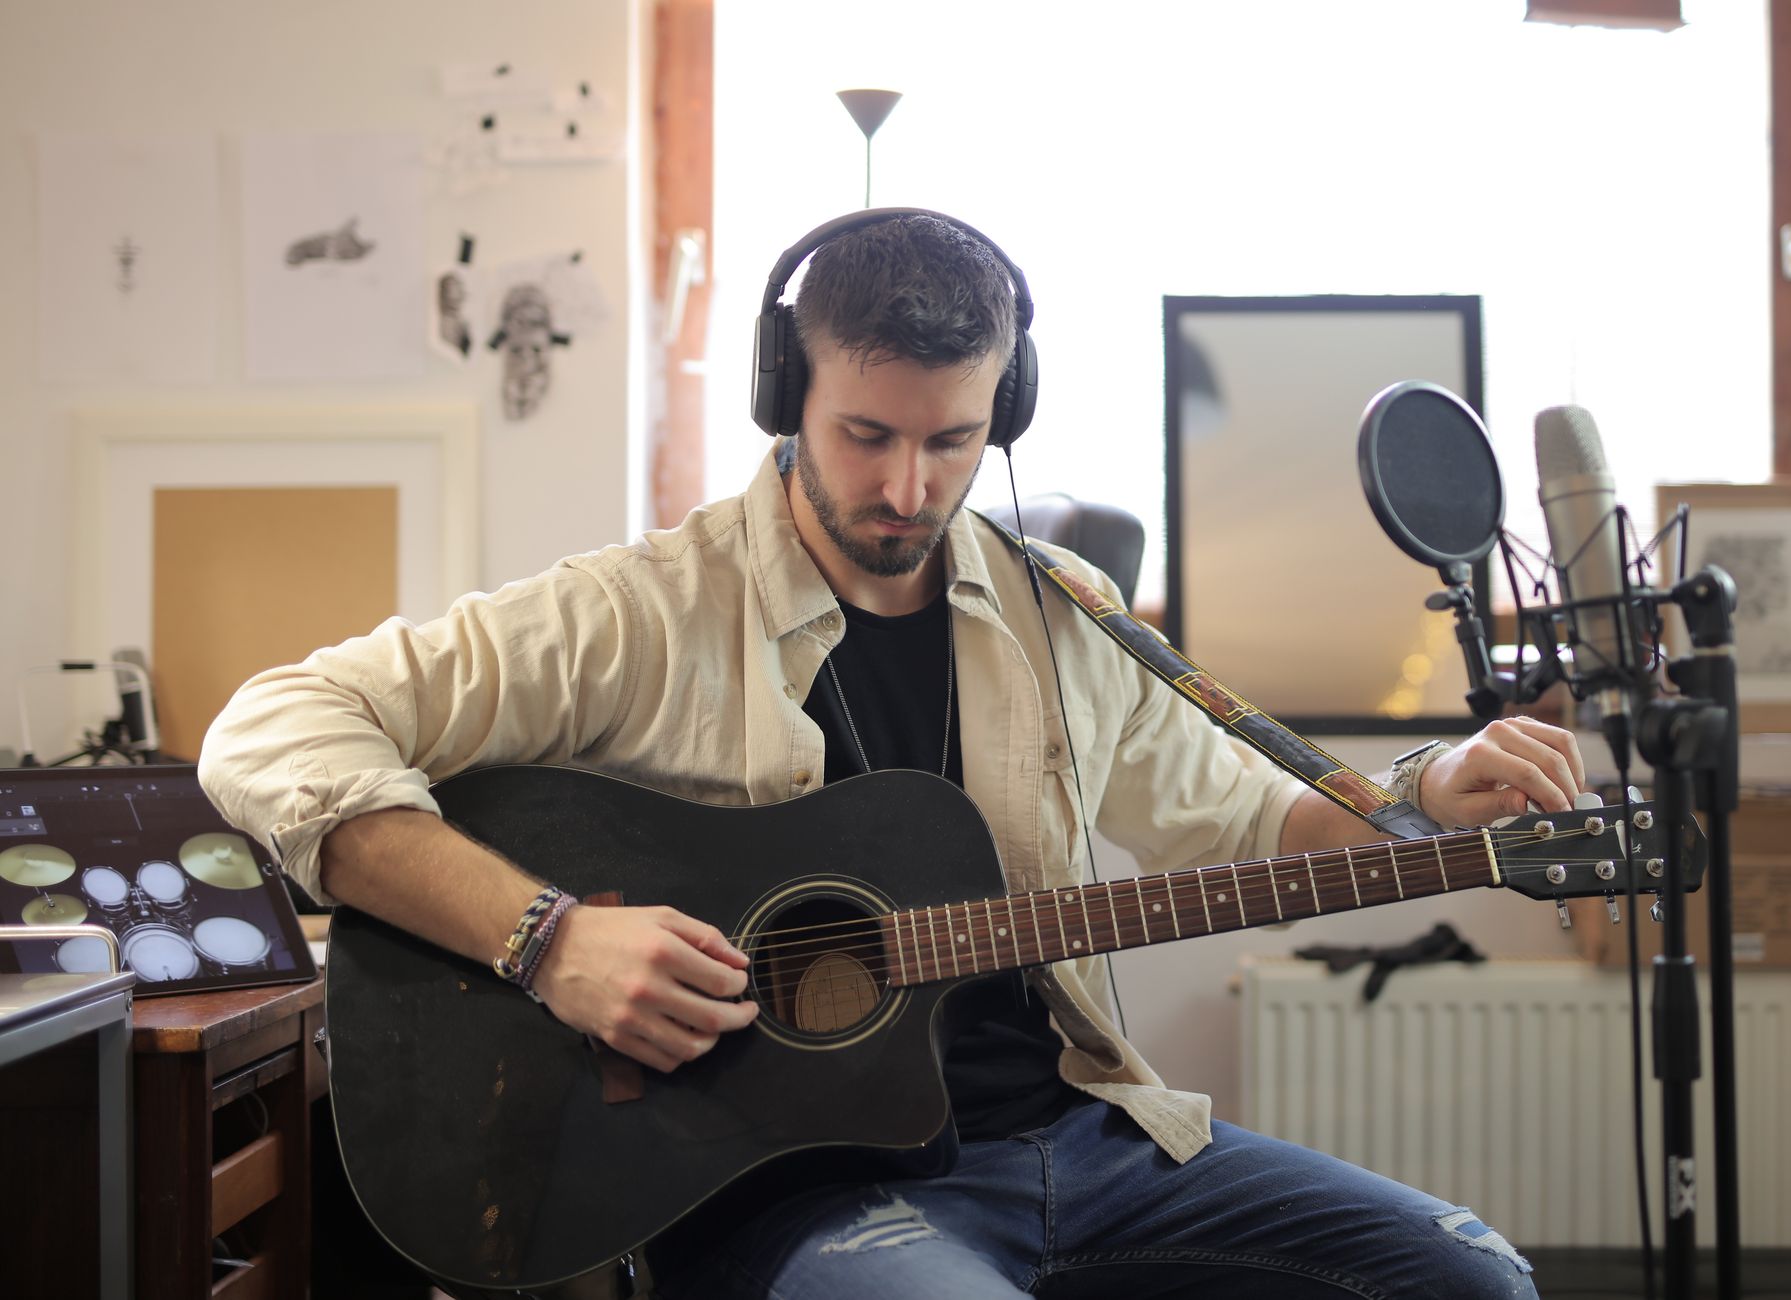
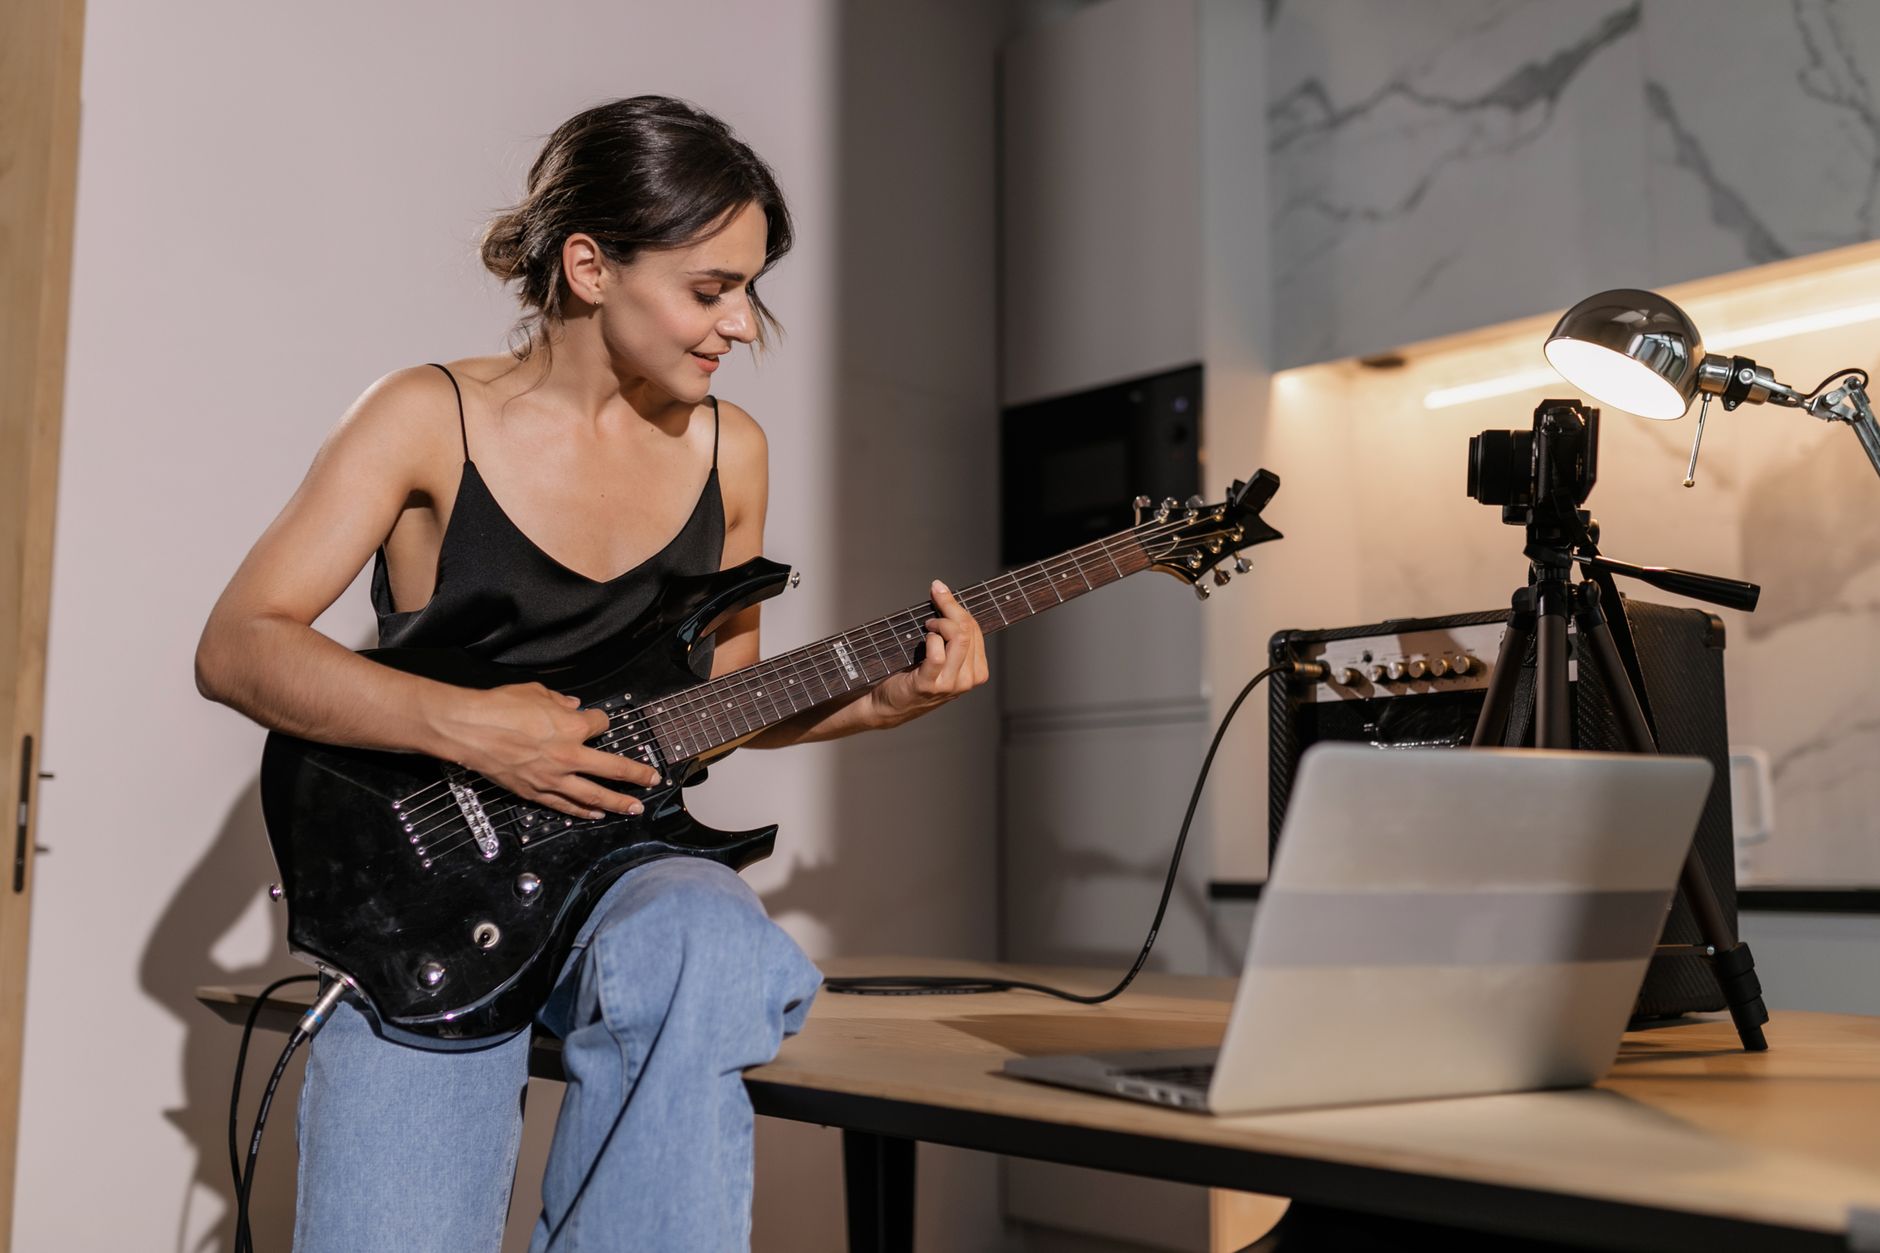 Photo: Alena Darmel via Pexels
Method 1: Miking a Real Amp
Place a dynamic mic — the Shure SM57 is the industry standard — directly on the speaker grille, aimed at the dust cap edge where low-mids and highs balance well. Angle it 5–15 degrees off-axis to reduce harshness.
Signal chain: Guitar → amp → SM57 → XLR into interface mic preamp → DAW.
Set your interface gain so the loudest peaks hit around −12 dBFS in your DAW. This leaves headroom for transients without clipping the preamp.
The main constraint: volume. A cranked amp at the volume it sounds best is often too loud for home use. Low-wattage amps (5–15W) give you some power-amp saturation at lower SPLs, and attenuators like the Universal Audio OX let you run a full-size amp at bedroom levels while preserving tone.
Method 2: Direct-In with Amp Simulation
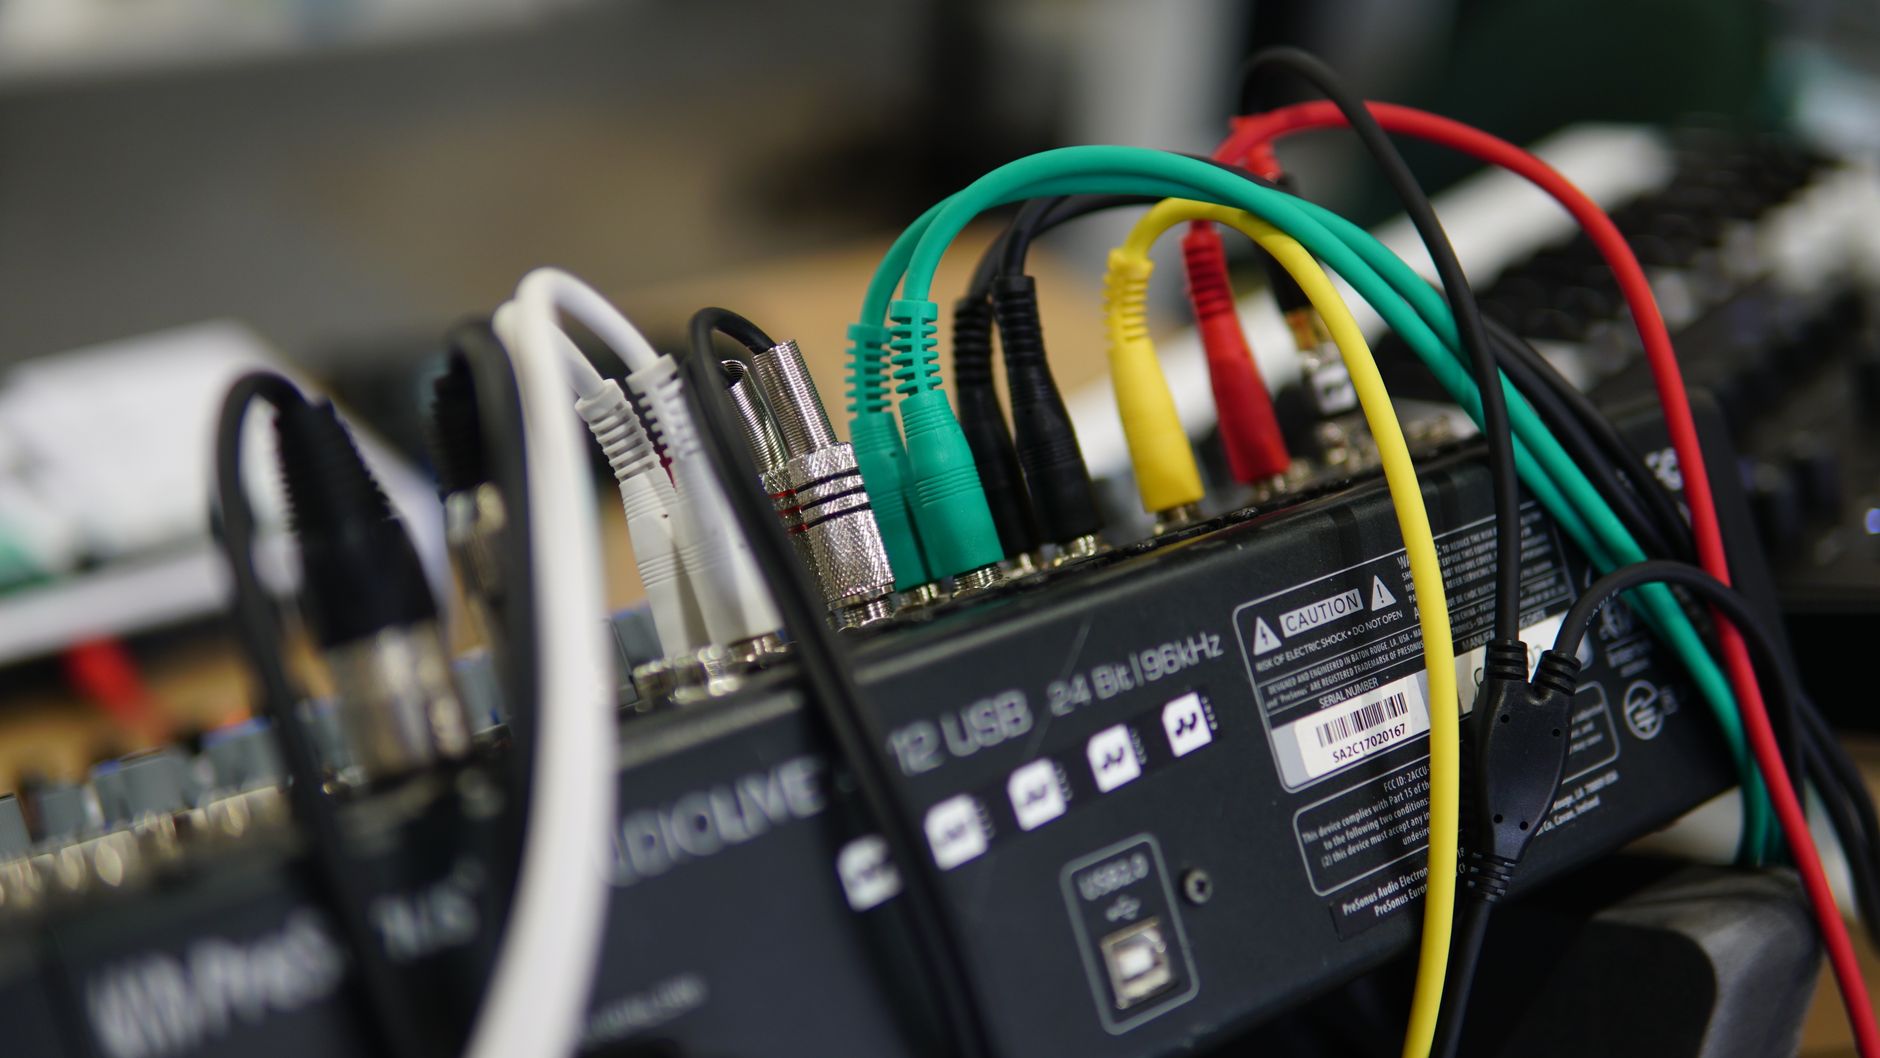 Photo: TStudio via Pexels
Plug your guitar directly into a high-impedance (Hi-Z) input on your interface — every modern interface has one. Your raw DI signal hits the DAW, where a plugin amp sim takes over.
Plugin options worth knowing:
| Plugin | Style | Price | Best For |
|---|---|---|---|
| Neural DSP Archetype series | Artist-specific | ~$99 | Accurate amp tones, fast workflow |
| Line 6 Helix Native | Broad coverage | ~$99 | Helix hardware users, versatility |
| BIAS FX 2 | Customizable | $99–$199 | Tweakers who want deep control |
| Free: Amplitube CS | Basic amp sims | Free | Beginners testing the workflow |
The biggest DI advantage: you can re-amp later. Record the dry DI signal alongside your processed signal. If the amp tone doesn’t hold up in the mix, feed the raw DI through a different sim without touching the performance.
Setting Up Your Signal Chain
Getting gain staging right from guitar to DAW is the single most common recording mistake. Too much gain anywhere in the chain clips the signal; too little buries it in noise.
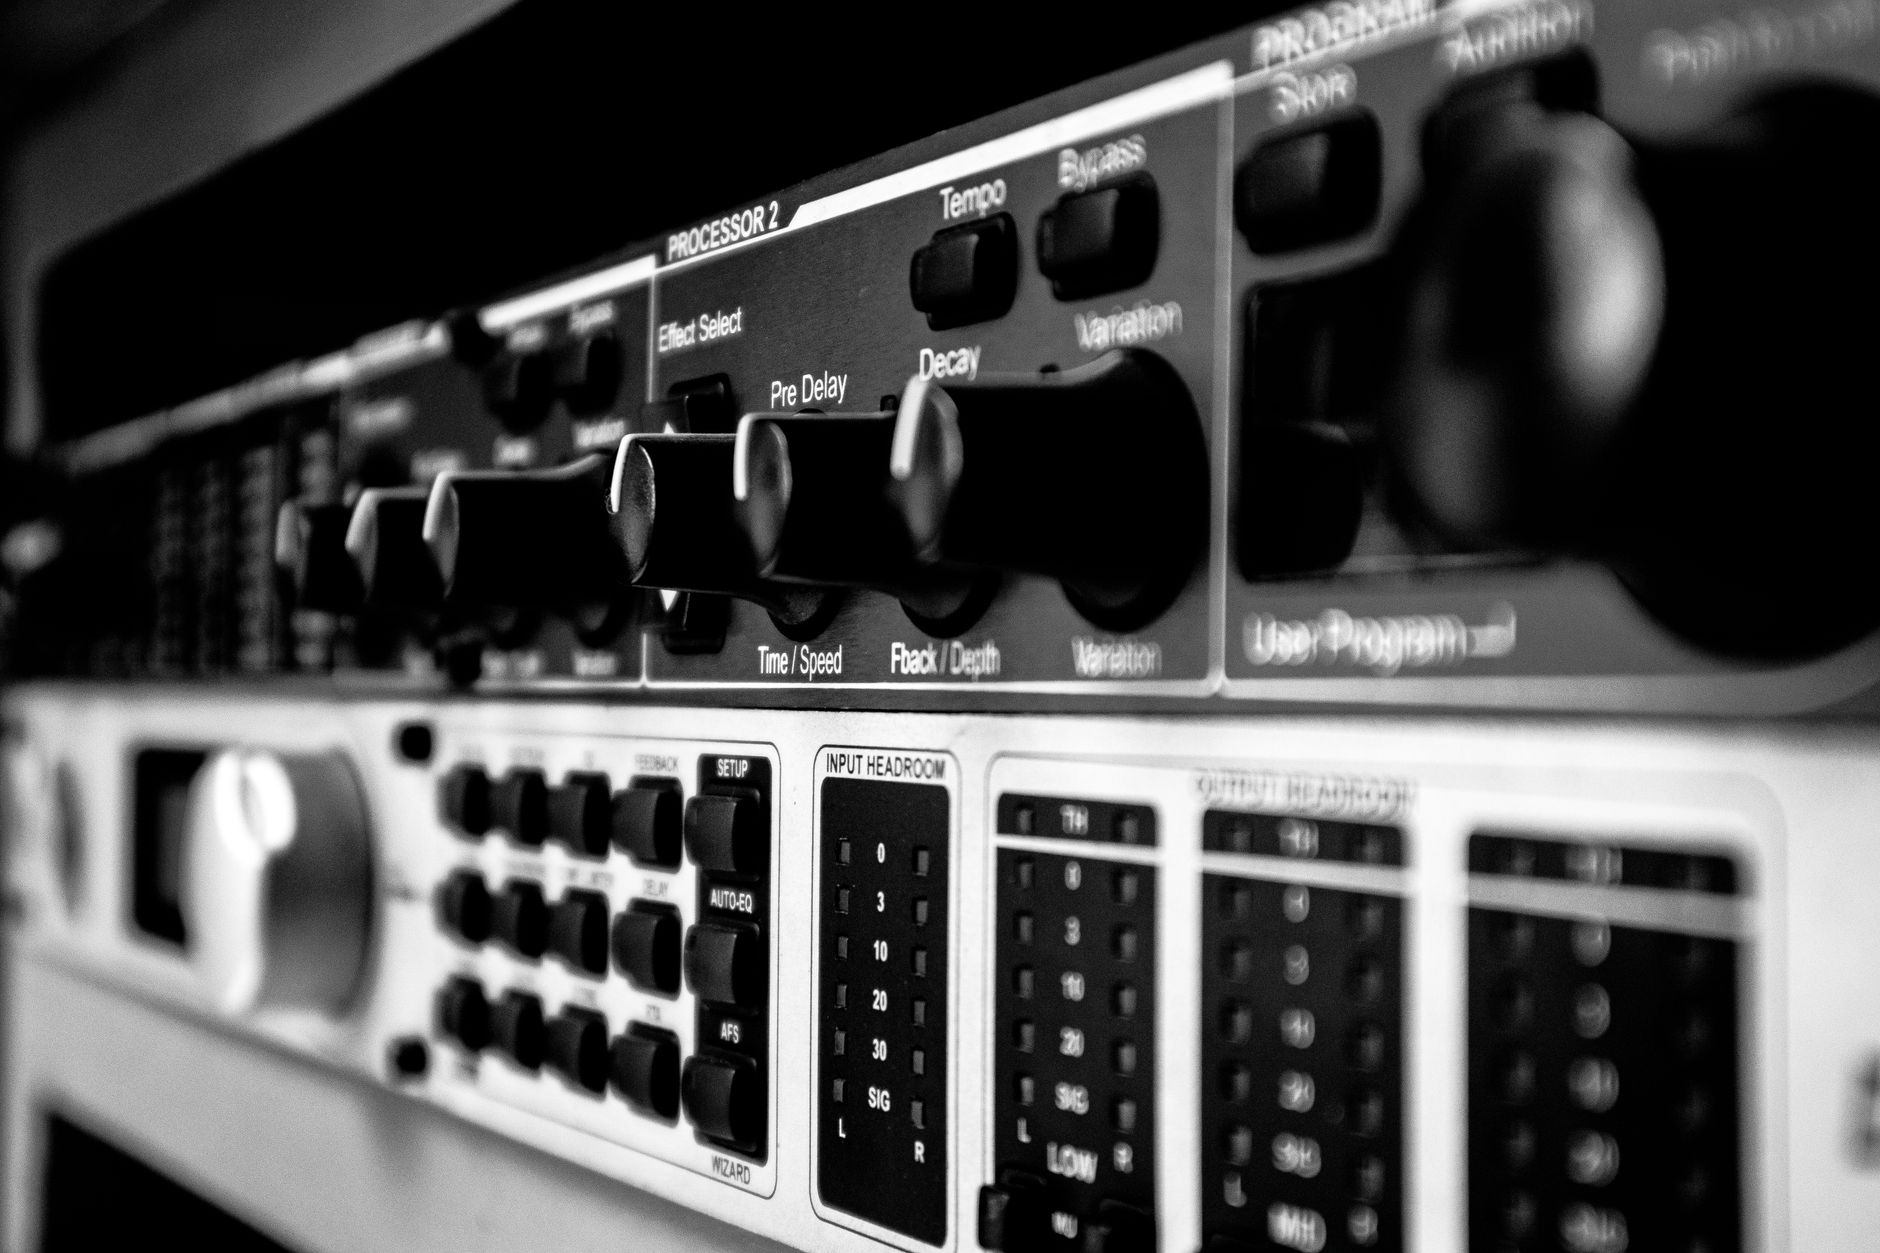 Photo: Nothing Ahead via Pexels
Full Signal Chain Reference
Miked amp:
Guitar → Guitar cable → Amp input
Amp speaker out → Cabinet
SM57 on cabinet → XLR cable → Interface XLR/mic input (48V phantom OFF)
Interface USB/Thunderbolt → DAW input track (mono)
Direct-in:
Guitar → Guitar cable → Interface Hi-Z instrument input (not the mic input)
Interface USB/Thunderbolt → DAW input track (mono)
DAW track → Amp sim plugin → Output
Gain Staging Notes
- Interface input gain: aim for peaks around −18 to −12 dBFS on your DAW meter while tracking
- Guitar volume knob: keep it at full — reduce gain at the interface, not the guitar
- Amp sim input level: most sims have their own input knob; don’t clip it before the virtual amp stage
- Monitor via headphones during tracking to avoid feedback and bleed
Step-by-Step Recording Workflow
- Tune the guitar — plug into a clip-on or software tuner in your DAW. Tune again after 10 minutes of playing when the strings have stretched.
- Set interface sample rate — 44.1 kHz or 48 kHz for recording guitar. Higher rates cost CPU headroom without audible benefit for this application.
- Set buffer size — 64 or 128 samples for tracking to minimize latency. Raise it to 512+ during mixing.
- Create a mono audio track in your DAW, arm it for recording, route input from the correct interface channel.
- Set gain — strum hard at your loudest playing dynamic. Adjust input gain until peaks sit at −12 dBFS.
- Enable direct monitoring on your interface (not software monitoring) to hear yourself without DAW latency.
- Record a scratch pass — listen back for any buzz, hum, or unwanted noise before committing.
- Track your takes — record several full passes, or use punch-in/out to fix specific sections.
- Consolidate and name your clips — label them before you have 20 untitled takes.
- Save the DI — if you tracked direct, bounce a dry DI alongside the processed signal.
Mic Placement: Getting the Tone Right
 Photo: Alfo Medeiros via Pexels
The SM57 position determines your tone before any EQ is touched.
| Placement | Sound | Use When |
|---|---|---|
| On-axis, dust cap center | Bright, aggressive, full low-mid | High-gain, cutting leads |
| On-axis, cone edge | Balanced, slightly warm | General purpose — start here |
| Off-axis 10°, cone edge | Smooth, less harsh high-end | Layered rhythm tracks |
| Back of open-back cab | Roomy, darker | Blending with front mic |
Phase with two mics: If you use a front and back mic simultaneously, flip the polarity on one and listen. Use whichever position sounds fuller — you’ve found the correct polarity relationship.
Common Problems and Fixes
| Symptom | Likely Cause | Fix |
|---|---|---|
| 60 Hz hum / buzz | Ground loop or single-coil pickup interference | Move away from computers/monitors; try a DI box with ground lift |
| Latency makes monitoring unusable | Software monitoring enabled at high buffer | Use interface direct monitoring; set buffer to 64–128 samples |
| No signal in DAW | Wrong input selected or Hi-Z not engaged | Confirm interface input selection; check Hi-Z/instrument button |
| Clipping on loud chords | Input gain too high | Back off interface gain; lower guitar volume as last resort |
| Thin, fizzy tone (DI) | Too much input gain before amp sim | Reduce interface gain; match sim input level to spec |
| Phase cancellation (two mics) | Mics out of polarity | Flip polarity on one track, compare |
| Hiss under quiet parts | Preamp gain too high, signal too quiet | Raise guitar output; use active pickups or outboard preamp if needed |
Acoustic Treatment and Room Considerations
You don’t need a treated room for DI recording — that’s one of its major advantages. For amp miking, even basic treatment pays dividends.
Hard parallel walls create flutter echo and comb filtering that gets picked up by the mic. A few moving blankets hung in the recording corner, or pointing the amp into a corner with absorption behind it, reduces room reflections enough to make the recording usable.
If you’re in a rented space or a bedroom, a reflexion filter mounted behind the mic reduces early reflections without requiring wall treatment.
→ See also:
- How to Record Guitar at Home: The Complete Guide (2026)
- How to Record Guitar Without an Amp
- Best Audio Interface for Guitar (2026)
FAQ
What do I need to record electric guitar at home? At minimum: a guitar, a cable, an audio interface with a Hi-Z input, a DAW, and headphones or monitors. A $100–$150 interface like the Focusrite Scarlett Solo covers the signal chain. An amp sim plugin handles tone — several good free options exist if budget is tight.
Can I plug my electric guitar directly into my computer? Not directly into a headphone jack or USB port — you’ll get a weak, unbalanced signal with impedance mismatch that degrades tone. Use an audio interface with a dedicated instrument/Hi-Z input. That’s what converts your guitar signal to a clean digital recording.
Do I need an amp to record electric guitar? No. Amp simulation plugins have reached the point where published testing by engineers at major studios consistently shows DI + plugin recordings passing A/B tests against miked amp recordings in final mixes. You lose some tactile feel and the natural speaker interaction, but for home recording the workflow advantages of going direct are substantial.
What’s the best mic position for recording guitar amp? Start with an SM57 aimed at the junction between the dust cap and the cone, approximately on-axis. According to standard studio practice documented across major recording curricula, this position captures a balanced tone with enough presence to cut through a mix. Move off-axis (angle the mic 10–15°) to reduce harshness if the tone is too bright.
Why does my guitar recording sound thin and fizzy? This is almost always a gain staging problem before the amp sim. Too much clean input gain into a virtual amp makes the sim react differently than it would to a real guitar signal. Drop your interface input gain, check the amp sim’s own input level control, and confirm you’re hitting the Hi-Z input (not a mic input). Also check if a high-pass filter is engaged on your interface or DAW channel — removing low-end before the sim can produce a thin result.
Should I record guitar in mono or stereo? Track in mono. Electric guitar is a mono instrument. Create width in the mix by double-tracking (record the same part twice and pan each take left and right) or by using stereo widening on an amp sim’s cabinet section. A single stereo-tracked guitar takes up too much mix space and creates phase problems when summed to mono.
How do I stop guitar recording hum and buzz? Hum at 60 Hz (US) or 50 Hz (EU) is almost always a ground loop. Use a DI box with a ground lift switch between your guitar and interface. Single-coil pickups are inherently noisier than humbuckers — face a different direction while playing to find the angle where interference is lowest. Keep the guitar cable away from power supplies and computer monitors.
Editorial methodology: Assessments are based on manufacturer specifications, published user reviews, and editorial research. Physical hands-on testing is noted explicitly where it occurred. Rankings reflect our editorial judgment and are not influenced by affiliate commission rates. Full editorial policy · Affiliate disclosure