Contents
DI Recording: How to Record Guitar Direct
TL;DR: DI guitar recording means plugging your electric guitar straight into an audio interface — no amp, no mic, no room noise. You capture a clean, re-amppable signal that you can shape with plugins after the fact. A decent interface, a DI box if needed, and any IR-capable plugin is all you need to get professional-sounding results.
What Is DI Guitar Recording?
DI (direct injection) recording captures your guitar’s electrical signal before it hits an amp or speaker. You plug directly into your audio interface’s instrument input, record a clean dry signal, then use amp simulation or re-amping to shape the tone. This gives you maximum flexibility with zero bleed, zero room acoustic issues, and the ability to change your “amp” months after tracking.
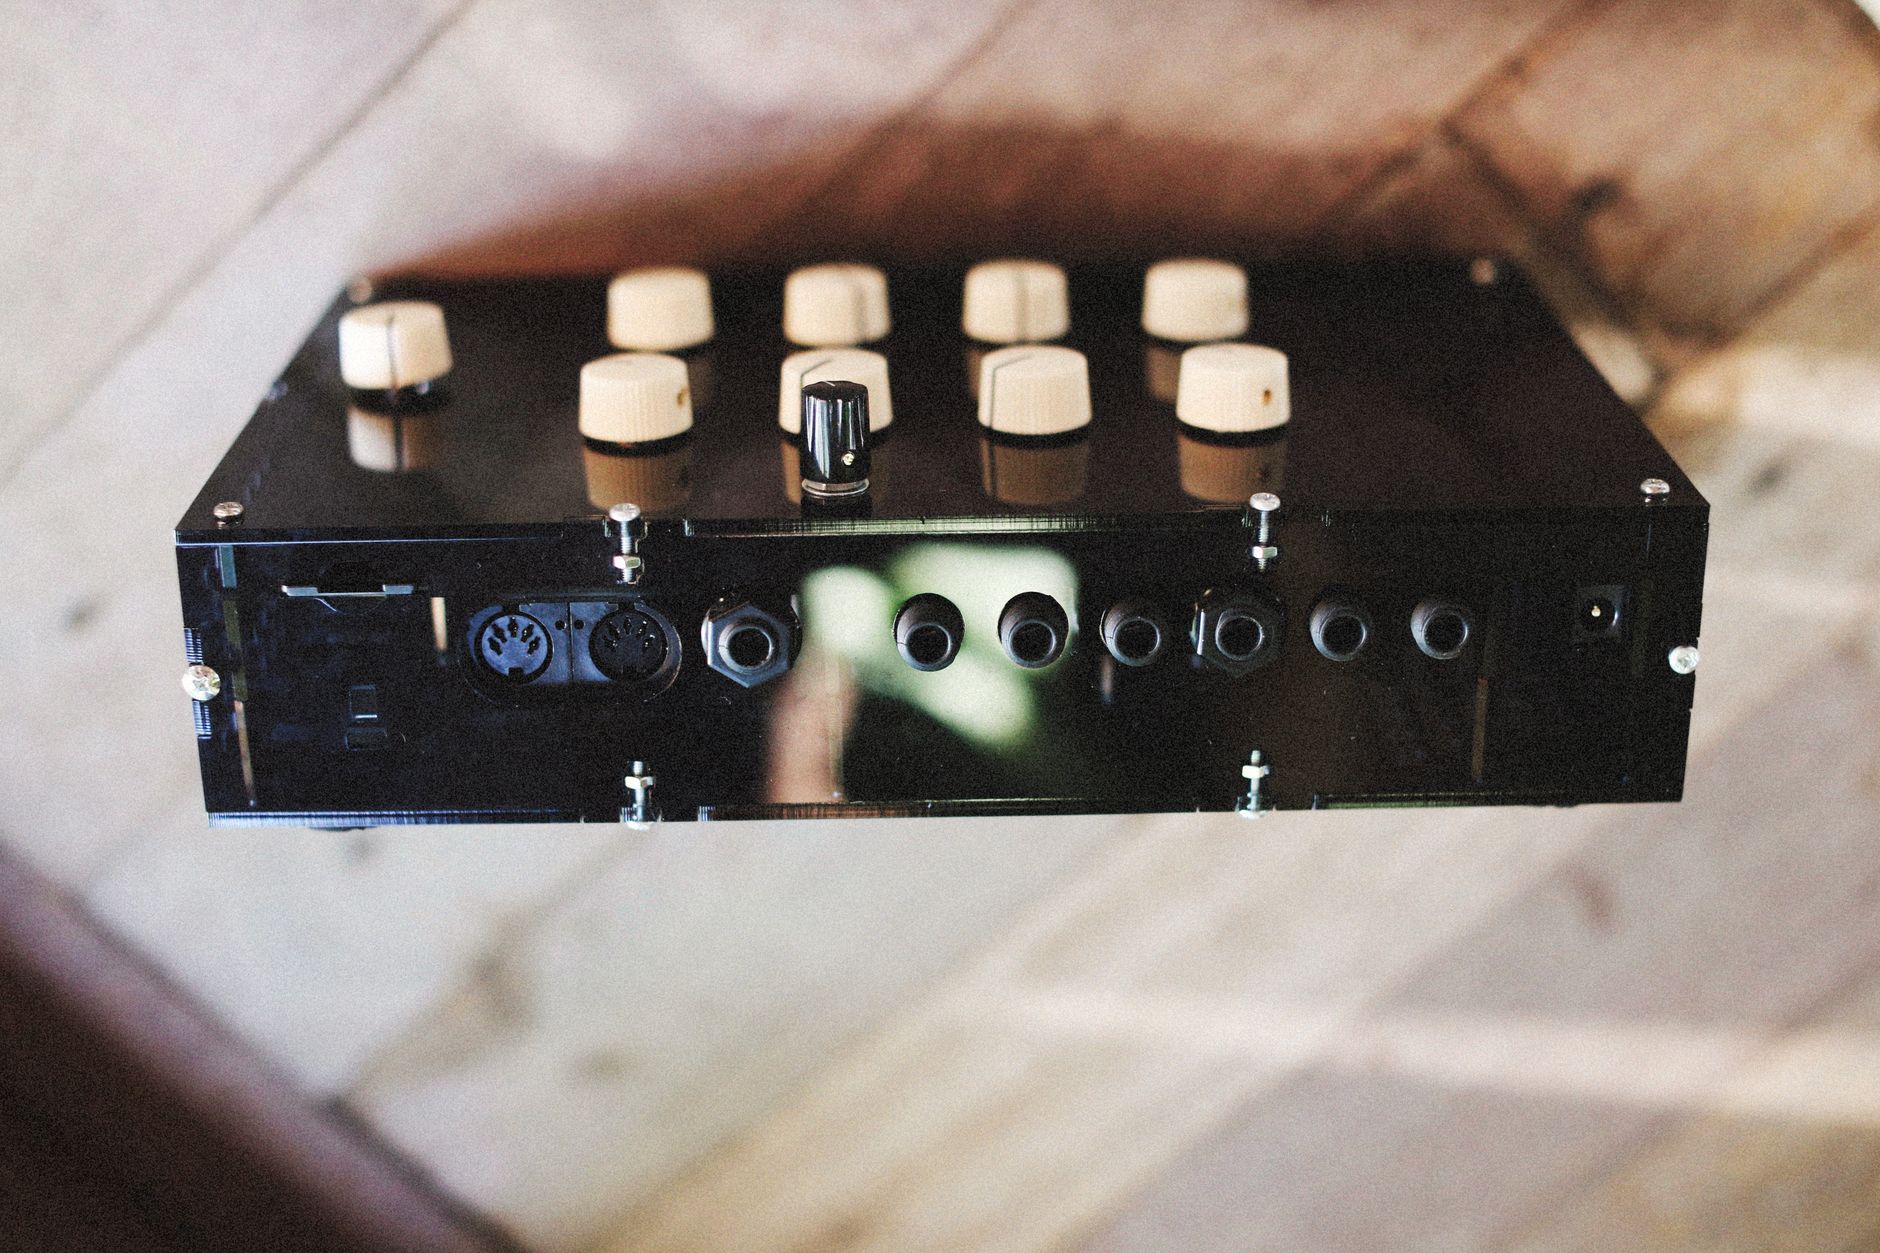 Photo: Alexey Demidov via Pexels
DI guitar recording is the dominant method in home studios and increasingly common in professional facilities too — not as a compromise, but as a deliberate workflow. When producers like Andy Wallace or Jacquire King talk about re-amping, they’re describing the exact same principle: record clean, commit to tone later.
The signal path is simple: guitar → (optional DI box) → audio interface Hi-Z input → DAW. Everything else — overdrive, cabinet response, reverb — comes from plugins or a real amp downstream.
Equipment You Need for DI Guitar Recording
You need three things: an audio interface with a dedicated instrument (Hi-Z) input, a cable, and something to process the dry signal. Everything else is optional. If your interface already has a Hi-Z input — and most do — you can start DI recording today with what you own.
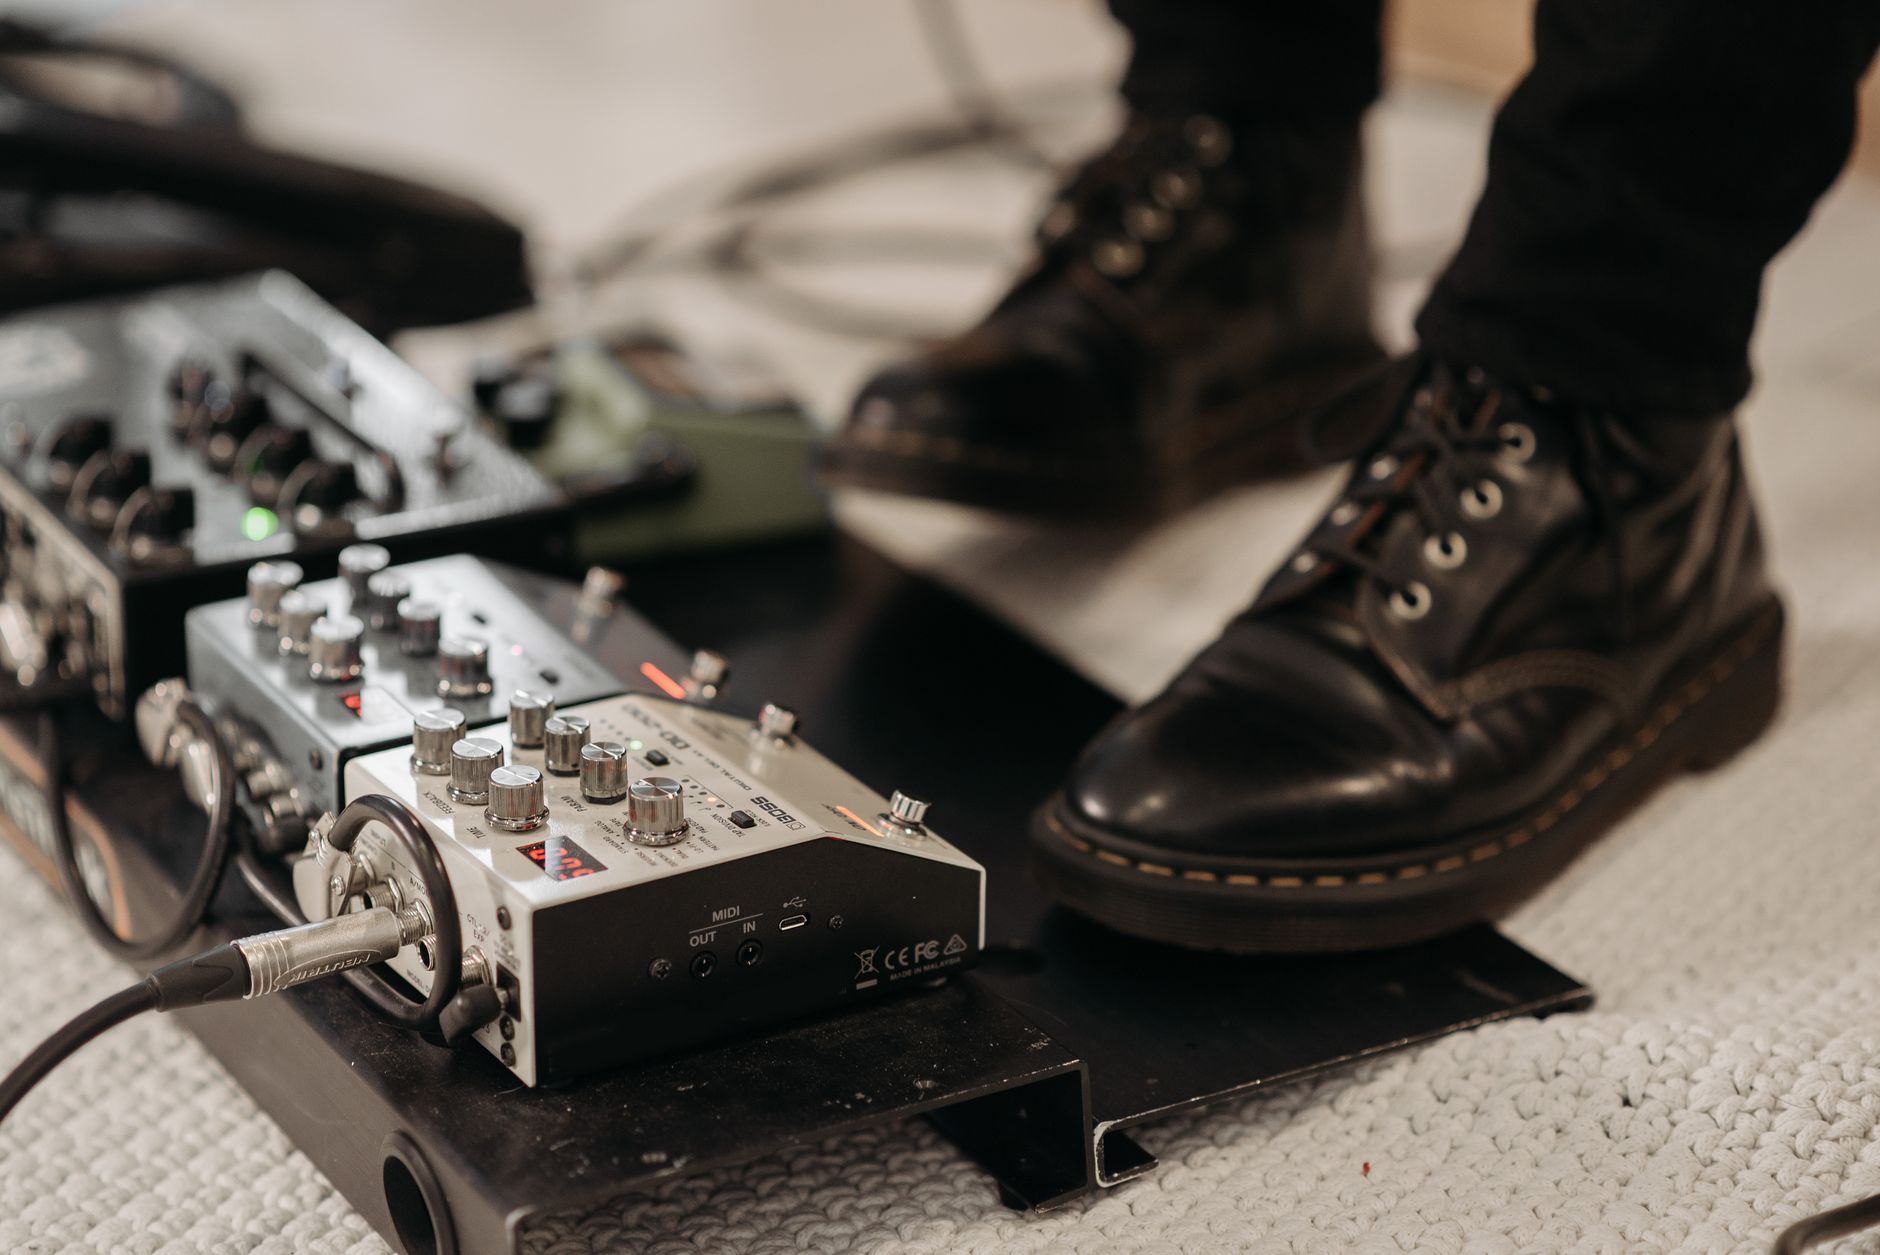 Photo: Pavel Danilyuk via Pexels
Audio Interface
Any interface with a Hi-Z instrument input works. The instrument input switches the impedance to match a passive guitar pickup (typically 1 MΩ or higher), which is critical — plugging a passive guitar into a line-level input drops high frequencies and kills pick attack.
Popular options at each tier:
| Interface | Inputs | Preamp Quality | Best For |
|---|---|---|---|
| Focusrite Scarlett Solo (3rd gen) | 1 Hi-Z | Clean, slight warmth | Solo guitarists, simple setups |
| Universal Audio Volt 176 | 1 Hi-Z | Vintage mode adds color | Players who want analog character |
| SSL 2+ | 2 combo (Hi-Z on CH1) | Transparent, wide headroom | Two-guitar or bass + guitar sessions |
| Focusrite Scarlett 4i4 | 2 Hi-Z | Clean | Growing setups, re-amping workflows |
DI Box
You don’t always need a separate DI box — your interface’s instrument input is essentially a built-in DI. But dedicated DI boxes matter in three situations:
- Long cable runs (stage to FOH, live recording)
- Active pickups requiring a 9V battery or specific impedance match
- Re-amping workflows (you’ll need a reamper box like the Radial ProRMP )
Passive DI boxes (Jensen transformer, Radial JDI ) add no coloration and work with passive pickups. Active DI boxes (Countryman Type 85 ) handle active pickups and low-output instruments better.
Amp Simulation
A clean DI signal sounds thin and harsh on its own — it needs speaker cabinet response at minimum. Your processing options:
| Type | Examples | Latency | Sound Quality |
|---|---|---|---|
| Amp sim plugin | Neural DSP Quad Cortex plugin , BIAS FX 2 | Near-zero (buffer-dependent) | Excellent |
| IR loader + separate IRs | ML Sound Lab, OwnHammer | Near-zero | Excellent (mix and match) |
| Hardware modeler | Line 6 Helix , Kemper Profiler | Zero | Reference-grade |
| DAW built-in | Logic’s Amp Designer, GarageBand | Near-zero | Good (free) |
Signal Chain and Gain Staging for DI Guitar
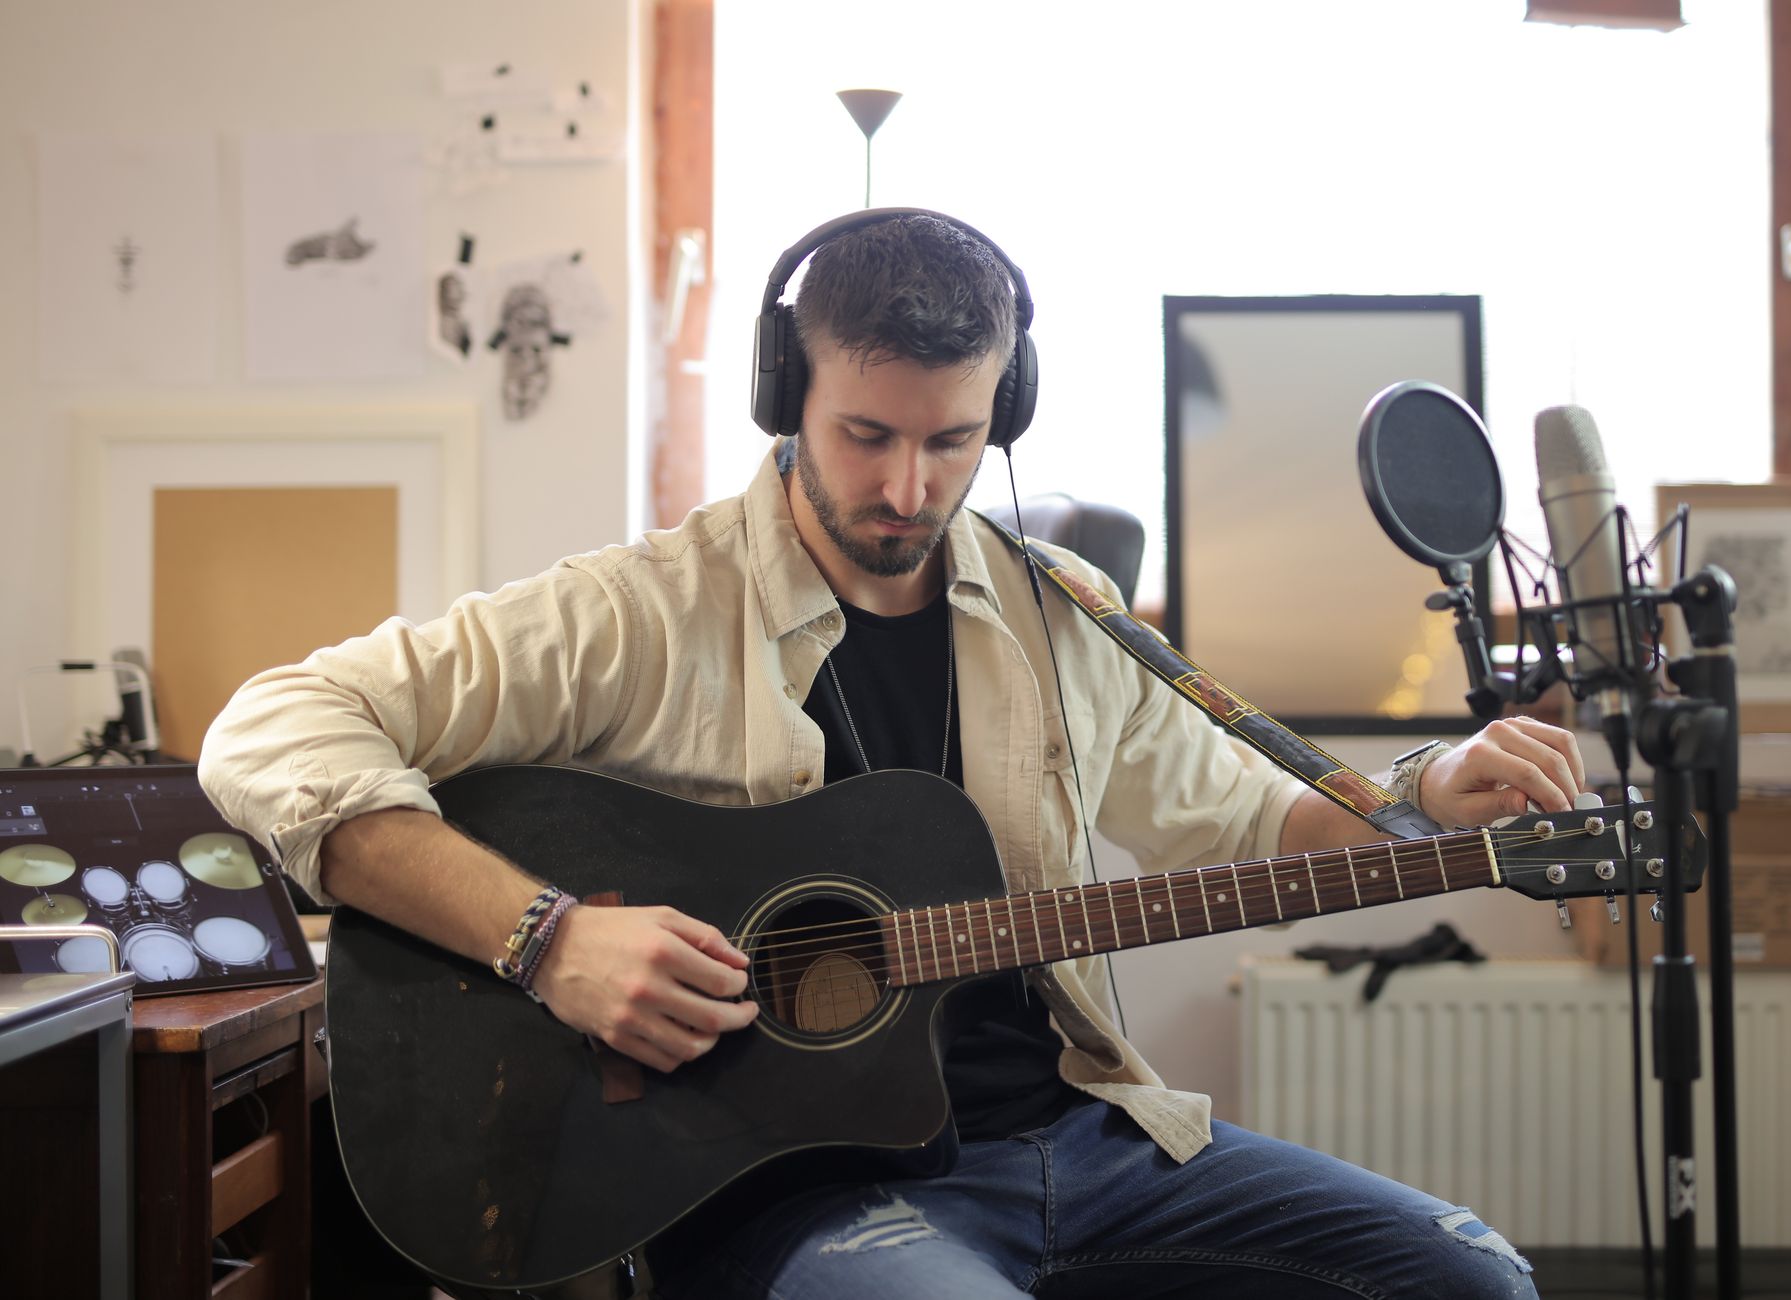
Set your input gain so your loudest playing peaks around −12 dBFS on the interface meter — not higher. A DI guitar signal clips at the preamp before the interface’s LED turns red, and that distortion is inaudible until you boost the track in mixing and suddenly hear ugly digital artifacts buried in the take.
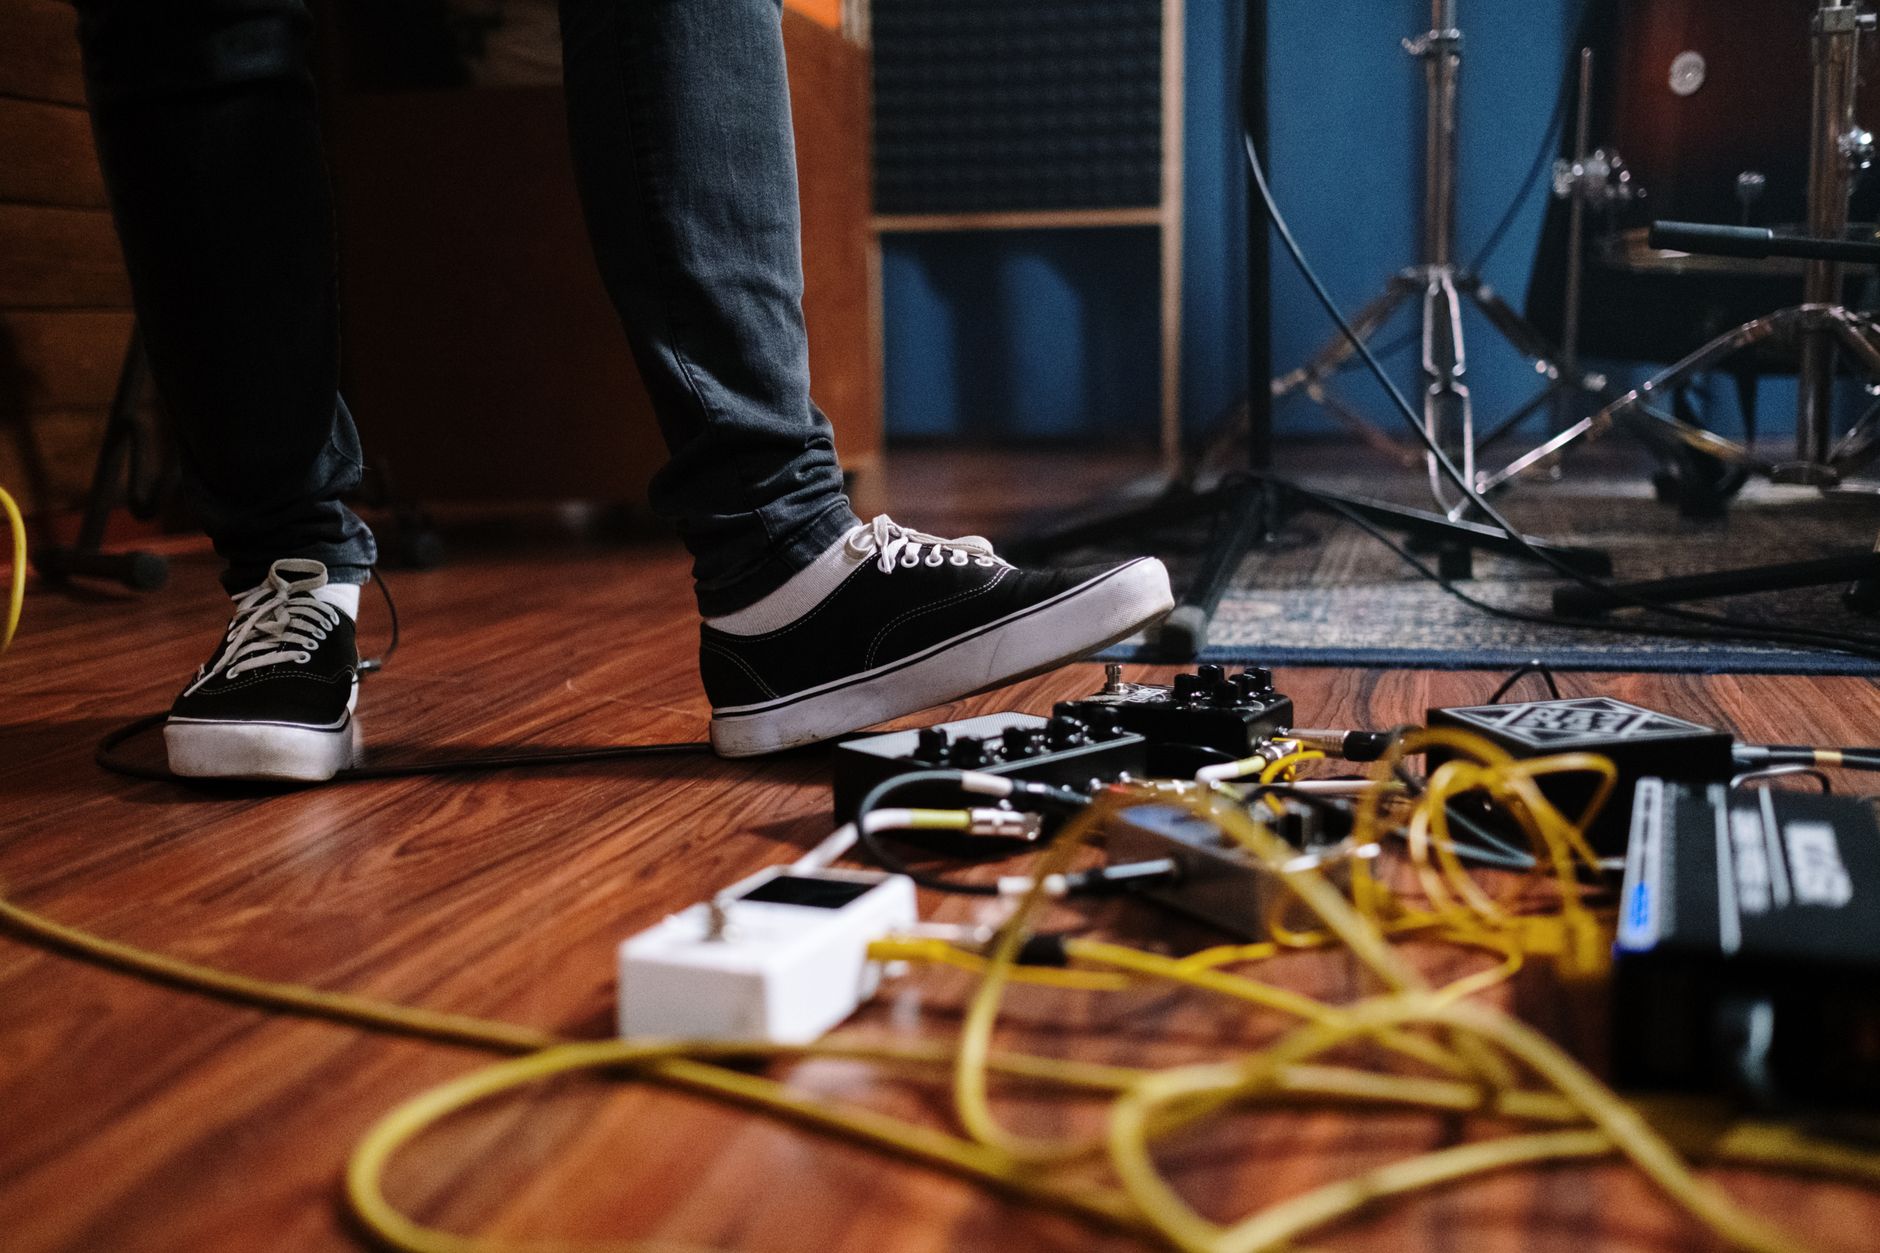 Photo: cottonbro studio via Pexels
Signal Chain Diagram
Guitar
  ↓  (instrument cable)
Audio Interface — Hi-Z input (gain set for −12 dBFS peaks)
  ↓  (USB/Thunderbolt)
DAW — Dry track recorded (no processing on input path)
  ↓  (plugin chain on track)
Amp Sim → Cabinet IR → EQ → Compression → FX
Gain staging notes:
- Record 100% dry — no amp sim on the recording path. Monitoring with the sim is fine, but don’t print it. This preserves re-amping options and removes any plugin-latency-induced timing drift on the recorded signal.
- If your interface has a “direct monitor” function, use it: route the dry signal to headphones through the hardware (zero latency) while listening to the sim through the DAW on playback.
- Set buffer size to 64 or 128 samples during tracking for low monitoring latency if your computer can handle it.
Step-by-Step: How to Record Guitar DI
- Connect the guitar to the Hi-Z instrument input on your interface using a standard TS instrument cable.
- Set input gain — play at your loudest and adjust until peaks hit around −12 dBFS. Back off if the clip LED flashes even once.
- Create a mono audio track in your DAW. DI guitar is mono. A stereo track wastes headroom and complicates routing.
- Arm the track and enable input monitoring. If your interface has direct monitoring, enable it so you hear the guitar immediately through headphones.
- Load your amp sim on the track for monitoring, but confirm it is not printing to the recorded signal (check the track’s input strip — no plugins should be in the input path, only the channel strip).
- Play through the full take once before committing. Listen for hum (ground loop), excessive noise floor, or impedance mismatch (sounds thin and lacking low-mids — check Hi-Z is engaged).
- Record the take. Monitor through the sim but know the file contains clean DI.
- After tracking, commit your tone by adjusting the amp sim, trying different cabinet IRs, or automating the plugin parameters.
- Optional re-amping: Export the dry DI file, send it out through your interface’s line output via a reamper box, run it through a real amp, and re-record the speaker through a microphone.
DI Guitar Troubleshooting
| Symptom | Likely Cause | Fix |
|---|---|---|
| Thin sound, no low-mids | Hi-Z not engaged / plugged into line input | Switch input to instrument/Hi-Z mode |
| 60/50 Hz hum | Ground loop between guitar and interface | Use a DI box with ground lift; try different outlets |
| High noise floor / hiss | Interface gain set too high, pickup noise | Back off gain, check pickup height, use noise gate |
| No signal at all | Cable fault, input not selected in DAW | Swap cable; check DAW input routing for correct channel |
| Latency during monitoring | Buffer size too large | Lower buffer to 64–128 samples; use direct monitoring |
| Fizzy, unnatural distortion | Input clipping at preamp | Reduce gain until peaks are below −12 dBFS |
| Phase cancelation on stereo guitar | Two DI tracks summing out of phase | Check polarity on one track; only double-track intentionally |
Advanced DI Technique: Re-Amping
Re-amping is the logical extension of di guitar recording — you record clean, then later send that signal back out through a real amp.
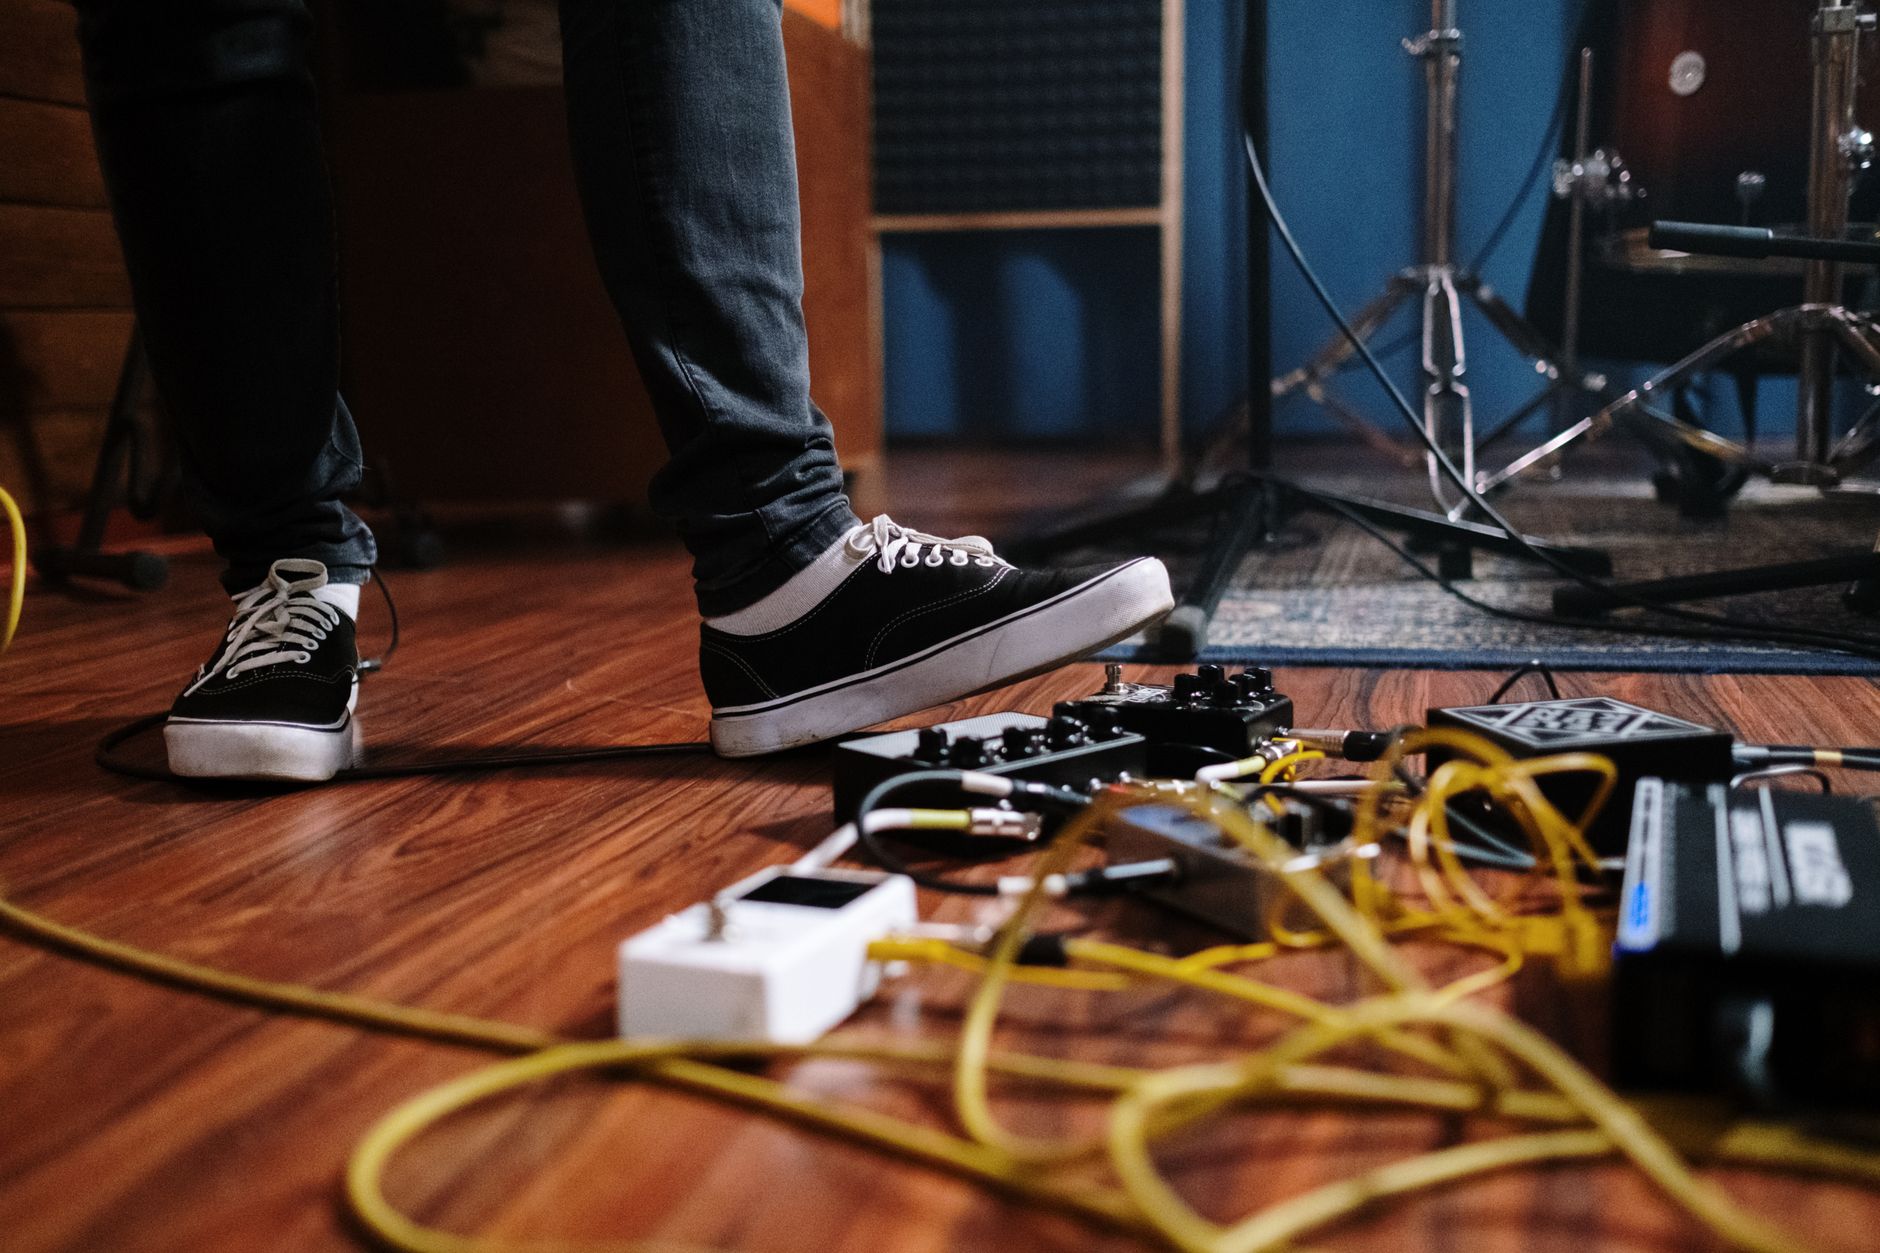 Photo: cottonbro studio via Pexels
The workflow requires a dedicated reamper (not just a line output from your interface — line output impedance is wrong for amp inputs). The Radial ProRMP or similar passive reamper converts the balanced line signal back to an unbalanced instrument-level signal that an amp’s input expects.
Re-amping workflow:
- Record DI guitar dry as described above
- Create a playback track routed to a physical output of your interface
- Connect that output through the reamper box to the amp input
- Mic the amp, record the mic signal into a new track
- Sync by checking that the mic’d signal aligns with the original DI in the timeline
This is how you can track guitars in one session, then spend an entirely different session (or day, or year) dialing in amp tones without the guitarist present.
→ See also:
- How to Record Guitar at Home: The Complete Guide (2026)
- How to Record Electric Guitar at Home
- How to Record Guitar Without an Amp
FAQ
Do I need a DI box if my interface already has a Hi-Z input? No — for home recording, your interface’s instrument input does the same job. A separate DI box becomes useful for long cable runs, stage use, or if you have active pickups with unusual impedance requirements. Most bedroom producers never need one.
Can I record acoustic guitar DI? Only if the acoustic has an onboard pickup system (undersaddle piezo or internal mic preamp). A purely acoustic guitar with no pickup cannot be recorded DI — it requires a microphone. Acoustic-electric guitars with active electronics record DI just like electrics, though many engineers blend DI with a mic for a fuller sound.
What’s the best amp sim for DI guitar recording in 2026? According to user consensus and published shootouts, Neural DSP plugins (Archetype series) and Two Notes torpedo-based IRs consistently rank at the top for authentic amp response. For free options, Logic Pro’s Amp Designer and BIAS AMP’s free tier cover most styles. The “best” depends on genre — high-gain players and Neural DSP’s Soldano or Petrucci models are popular; indie and clean players often favor Kuassa Amplifikation or Line 6’s Helix Native.
Does DI recording work for bass guitar too? Yes, and it’s the most common bass recording method. Bass DI into an interface (or a dedicated bass DI like the Radial ProDI) captures a consistent signal that you can split into clean and distorted layers in the mix. The same Hi-Z input and gain staging principles apply.
Will my DI recording sound as good as a mic’d amp? With current amp simulation, the difference is negligible in a dense mix. Published double-blind listening tests repeatedly show that listeners cannot reliably distinguish a good amp sim from a mic’d amp when instruments and vocals are present. On solo guitar or minimalist arrangements, the differences become more audible — re-amping through a real amp is the right tool for those situations.
What sample rate should I use for DI guitar recording? 44.1 kHz or 48 kHz at 24-bit is sufficient. Guitar’s useful frequency range tops out well below 20 kHz, and the main benefit of 24-bit over 16-bit is headroom for gain-staging errors during tracking — not audio quality in the final file. Recording at 96 kHz increases file sizes and CPU load for no audible benefit in guitar production.
Editorial methodology: Assessments are based on manufacturer specifications, published user reviews, and editorial research. Physical hands-on testing is noted explicitly where it occurred. Rankings reflect our editorial judgment and are not influenced by affiliate commission rates. Full editorial policy · Affiliate disclosure