Contents
How to Record Guitar at Home: The Complete Guide (2026)
TL;DR: You can record professional-quality guitar at home with an audio interface, a decent microphone or direct box, and a DAW. The core chain is guitar → interface (or DI box) → DAW — everything else is refinement. Whether you’re tracking acoustic fingerpicking or high-gain electric, this guide covers every setup that works.
What Do You Actually Need to Record Guitar at Home?
The minimum viable rig: an audio interface, a cable, and free DAW software. That’s it. A $100 interface like the Focusrite Scarlett Solo captures 24-bit/96kHz audio — indistinguishable from professional studio converters at normal listening levels. Everything beyond that is about sound shaping, not capture quality.
 Photo: Anna Pou via Pexels
The gear list splits cleanly by what you’re recording:
| What You’re Recording | Minimum Gear | Recommended Add-On |
|---|---|---|
| Electric (amp’d) | Interface + dynamic mic | Mic stand, shock mount |
| Electric (direct) | Interface + amp sim plugin | DI box (passive) |
| Acoustic | Interface + condenser mic | Reflection filter or treated corner |
| Classical/fingerpicking | Interface + large-diaphragm condenser | Stereo pair (XY or ORTF) |
Audio Interface
The interface is the most important purchase. It converts analog guitar signal to digital and determines your input gain, headphone monitoring quality, and round-trip latency.
For solo home recording, a two-channel interface covers every scenario: one channel for guitar, one for a second mic or DI. The Focusrite Scarlett 2i2 remains the category default — the fourth-generation model added Air mode (a high-frequency presence lift that flatters acoustic guitars) and improved preamp headroom for dynamic mics.
If you’re recording direct and want built-in amp modeling, the Universal Audio Volt 2 includes 1176-style compression on the input — useful for leveling pick dynamics before the signal hits your DAW. The Audient iD4 MkII punches above its price with a console-class preamp that holds its own against interfaces twice the cost.
One spec that matters: instrument input impedance. Most interfaces present 1MΩ on the instrument input, which correctly loads passive guitar pickups. Cheaper interfaces that drop to 470kΩ can thin the low-end of humbuckers. Check before you buy.
Cables and Direct Input
For direct recording, a standard TS (mono) instrument cable from guitar to interface instrument input is all you need. For longer cable runs (over 15 feet to a live amp across the room), consider a passive DI box like the Radial J48 — it converts the unbalanced guitar signal to a balanced XLR, rejecting hum and ground noise over distance.
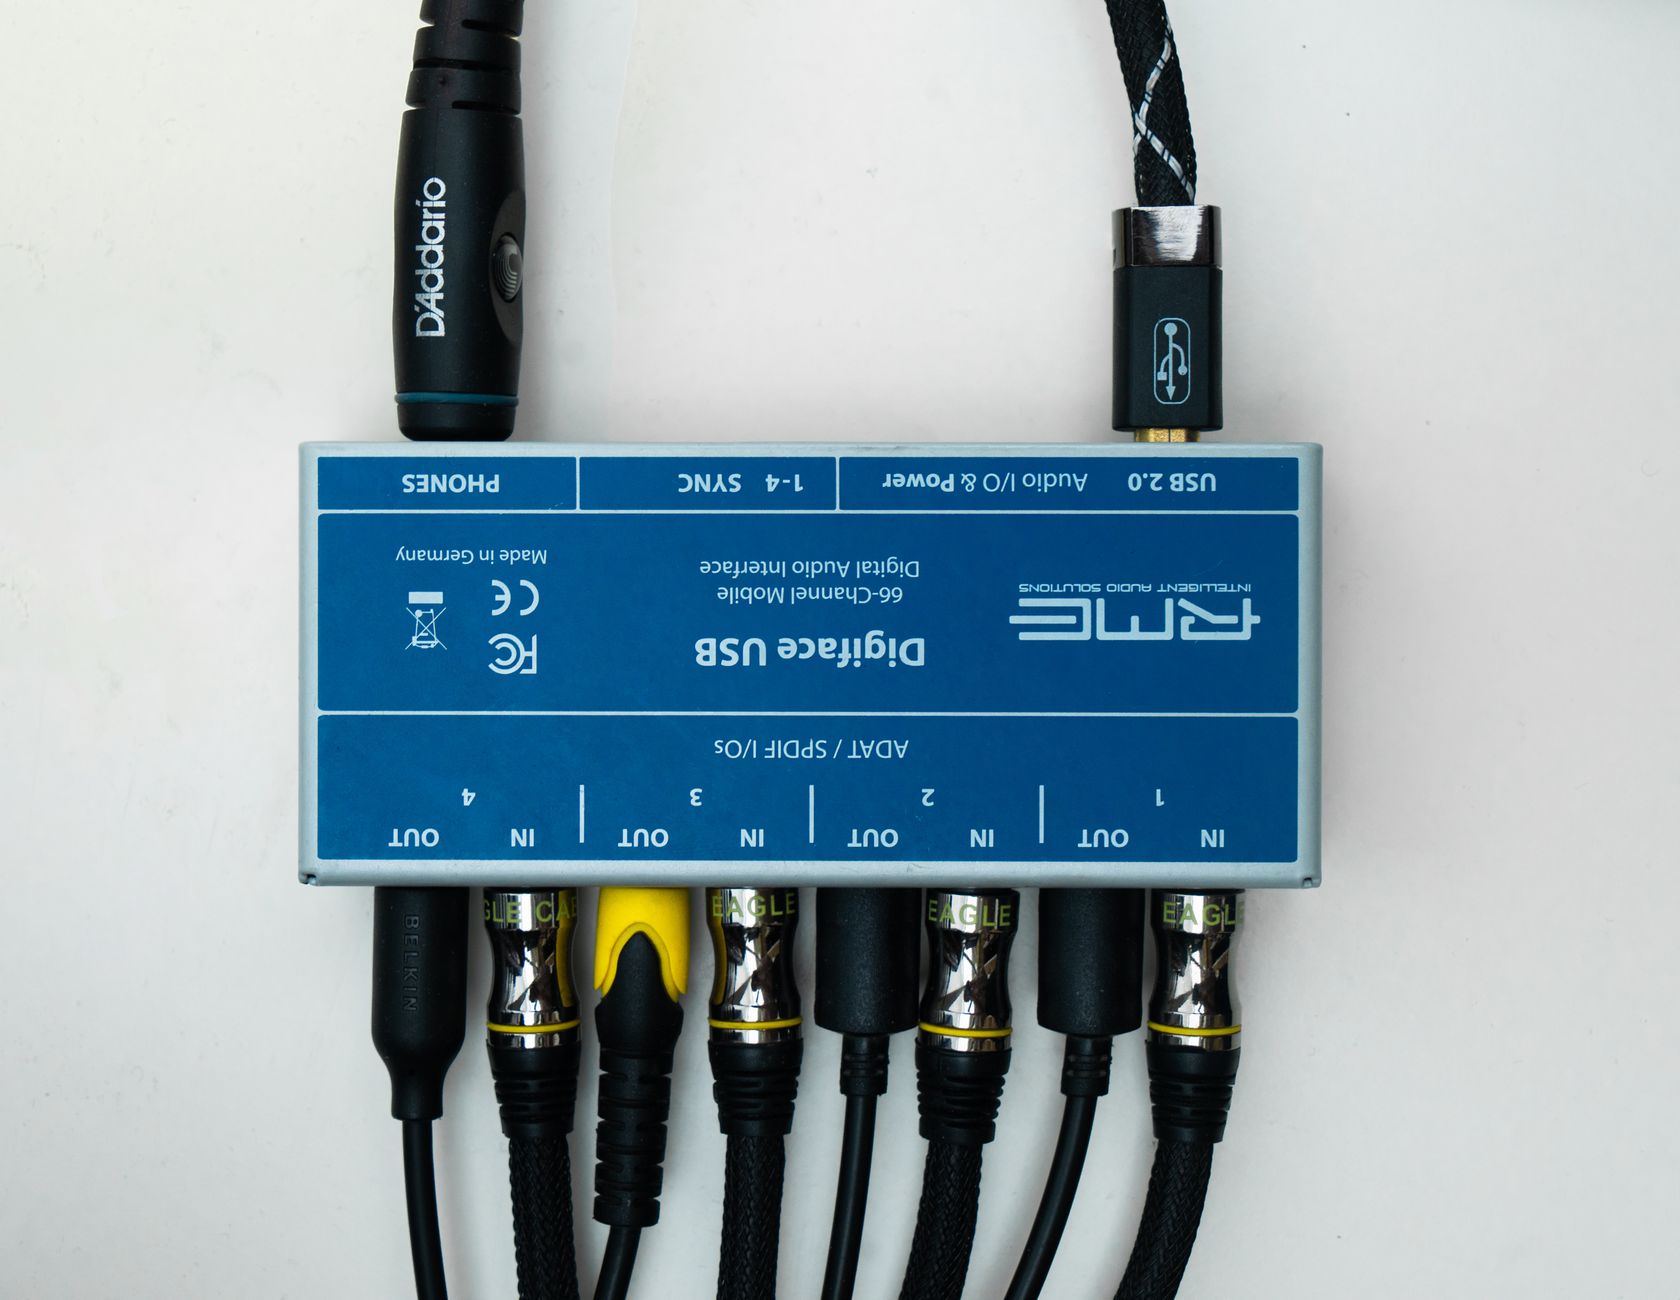 Photo: Alena Sharkova via Pexels
How to Record Electric Guitar at Home
Two paths exist: amp + microphone, or direct with amp simulation. Miced amp recording gives you real speaker physics and room interaction. Direct recording gives you silence, unlimited re-amping options, and zero neighbor complaints. Both can sound professional — the choice is workflow, not quality.
Path 1: Micing a Real Amp
The Shure SM57 is the industry standard for a reason: its presence peak around 5–10kHz adds attack and definition to electric guitar without hyping harshness. It handles 160dB SPL, costs under $100, and appears on more recorded guitar tracks than any other microphone in history.
Mic placement controls tone more than any EQ move:
- On-axis, cap edge (cone/dust cap junction): Brightest, most aggressive. Classic rock tone.
- On-axis, center (dust cap): Maximum high-frequency response. Can be harsh with bright amps.
- Off-axis, angled 30–45°: Warmer, smoother. Works well for clean tones and single-coils.
- Back of the cab (open-back amp): Darker, looser — useful for blending with a front mic.
For a fuller sound, blend two mics: SM57 at the cone edge, plus a large-diaphragm condenser (like the Audio-Technica AT2035) pulled back 12–24 inches to capture room reflections. Phase-align the second mic before committing — flip polarity on the room mic and listen for the position where the low-end collapses, then flip it back.
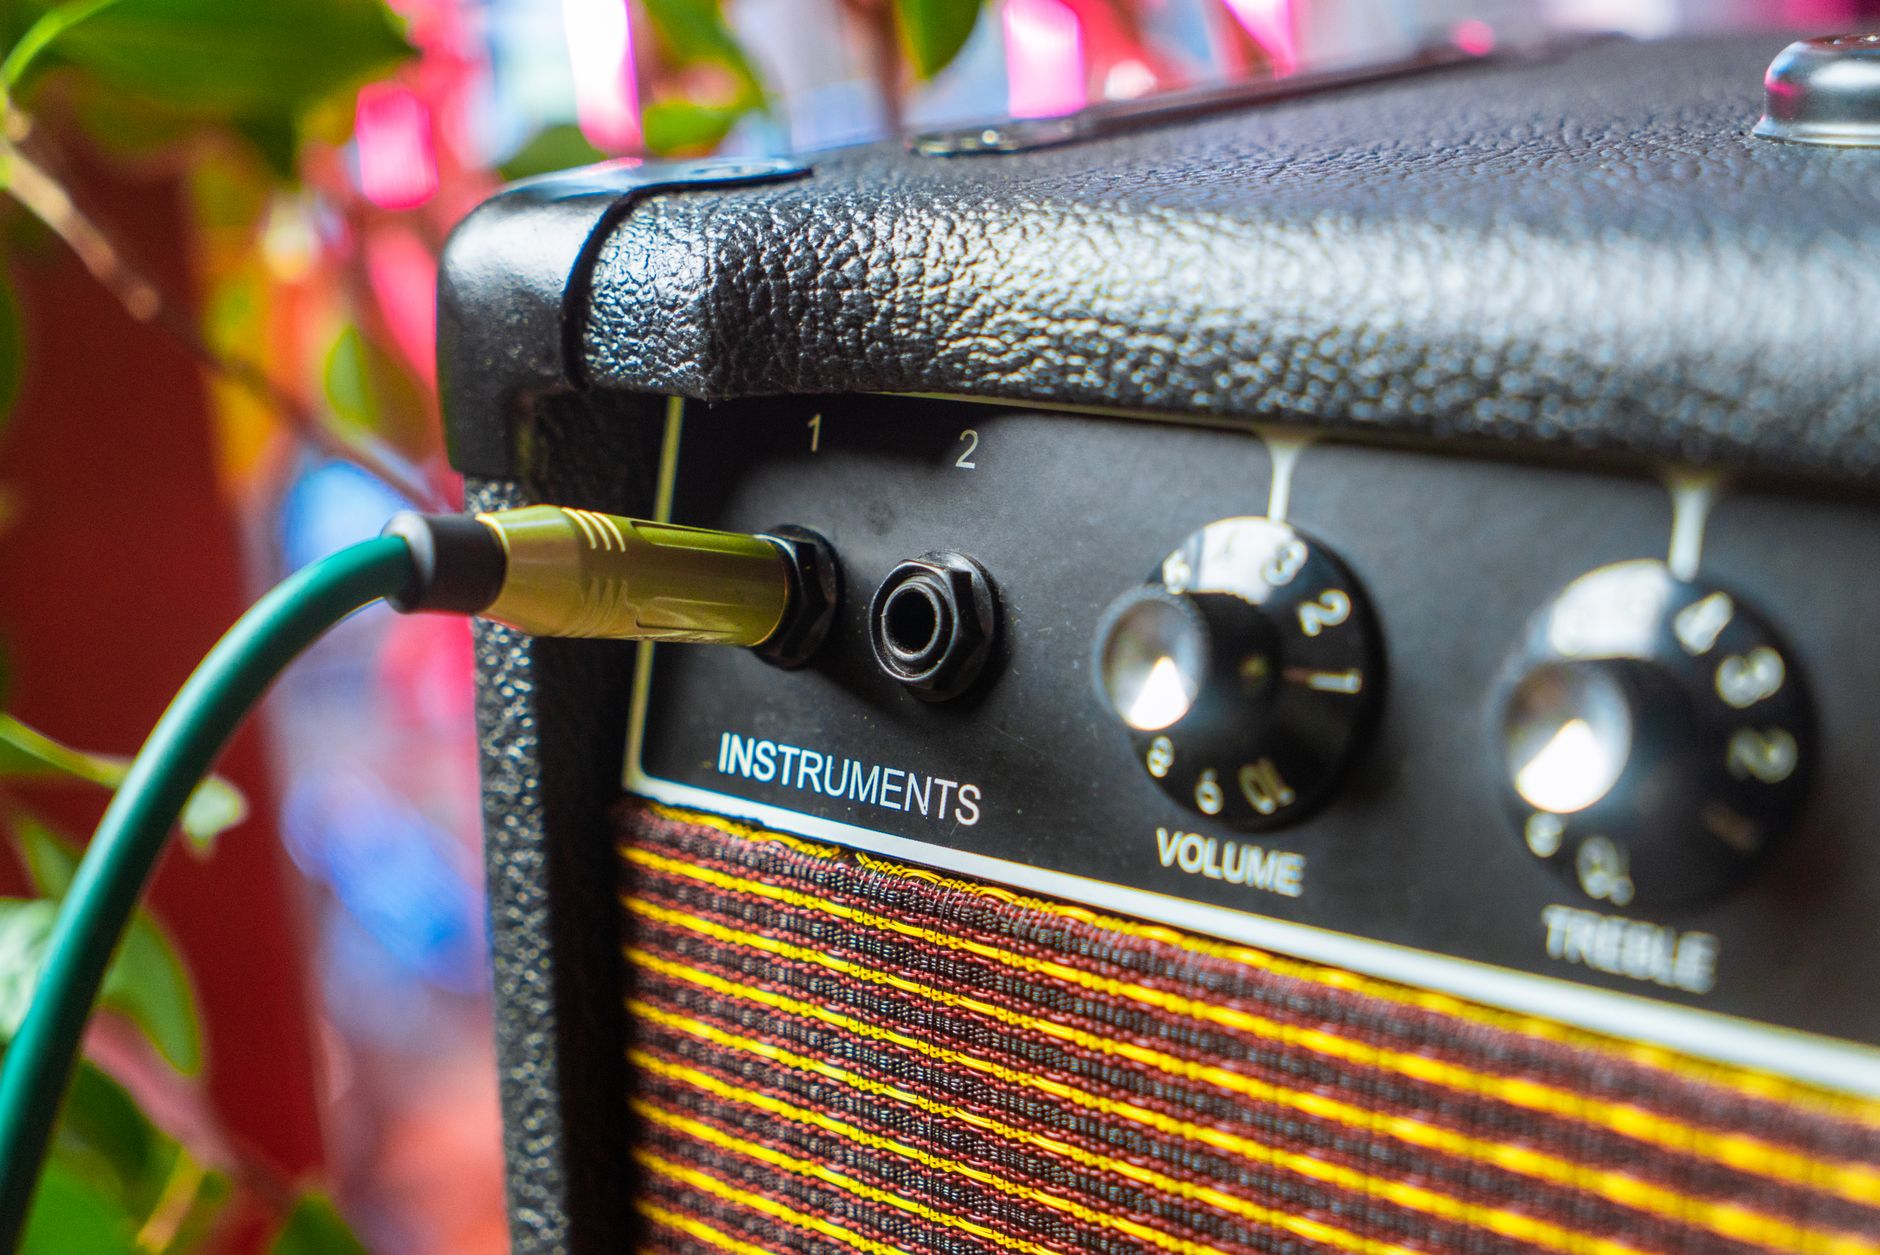 Photo: Alena Sharkova via Pexels
Signal chain: Guitar → Amp → SM57 → XLR → Interface preamp (gain set so peaks hit −18 to −12 dBFS) → DAW track
Path 2: Direct with Amp Simulation
Recording direct has become genuinely viable since the rise of convolution-based impulse response (IR) loaders and neural-network amp models. The gap between a high-quality plugin and a miced cab is now a matter of preference, not compromise.
Plugin amp sims to know:
| Plugin | Character | Best For |
|---|---|---|
| Neural DSP Archetype series | Tight, modern, accurate | High-gain, metal, prog |
| Line 6 Helix Native | Broad library, giggable presets | Versatile; all styles |
| IK Multimedia AmpliTube 5 | Vintage character, strong cleans | Blues, jazz, classic rock |
| Two Notes Wall of Sound | IR loader + cab sim | Pairing with hardware preamps |
| Ignite Amps (free) | Surprisingly usable | Getting started, no budget |
For direct electric recording, set your interface input to instrument mode (Hi-Z), disable any built-in preamp coloration, and run at 24-bit/48kHz minimum. Record a clean DI signal alongside your amp sim — this preserves the option to re-amp or swap plugins later without re-tracking.
Gain staging for direct electric: Input signal should peak around −18 dBFS on hard strumming. Most amp sims are calibrated for this input level; driving them hotter clips the plugin’s virtual input stage unpredictably.
How to Record Acoustic Guitar at Home
Acoustic guitar is the hardest instrument to record well in untreated rooms, because the mic hears both the instrument and everything the room adds. Close-mic placement minimizes room influence; treating a corner with absorption panels does the rest. A large-diaphragm condenser pointed at the 12th fret, 6–12 inches away, is the starting position for 90% of recordings.
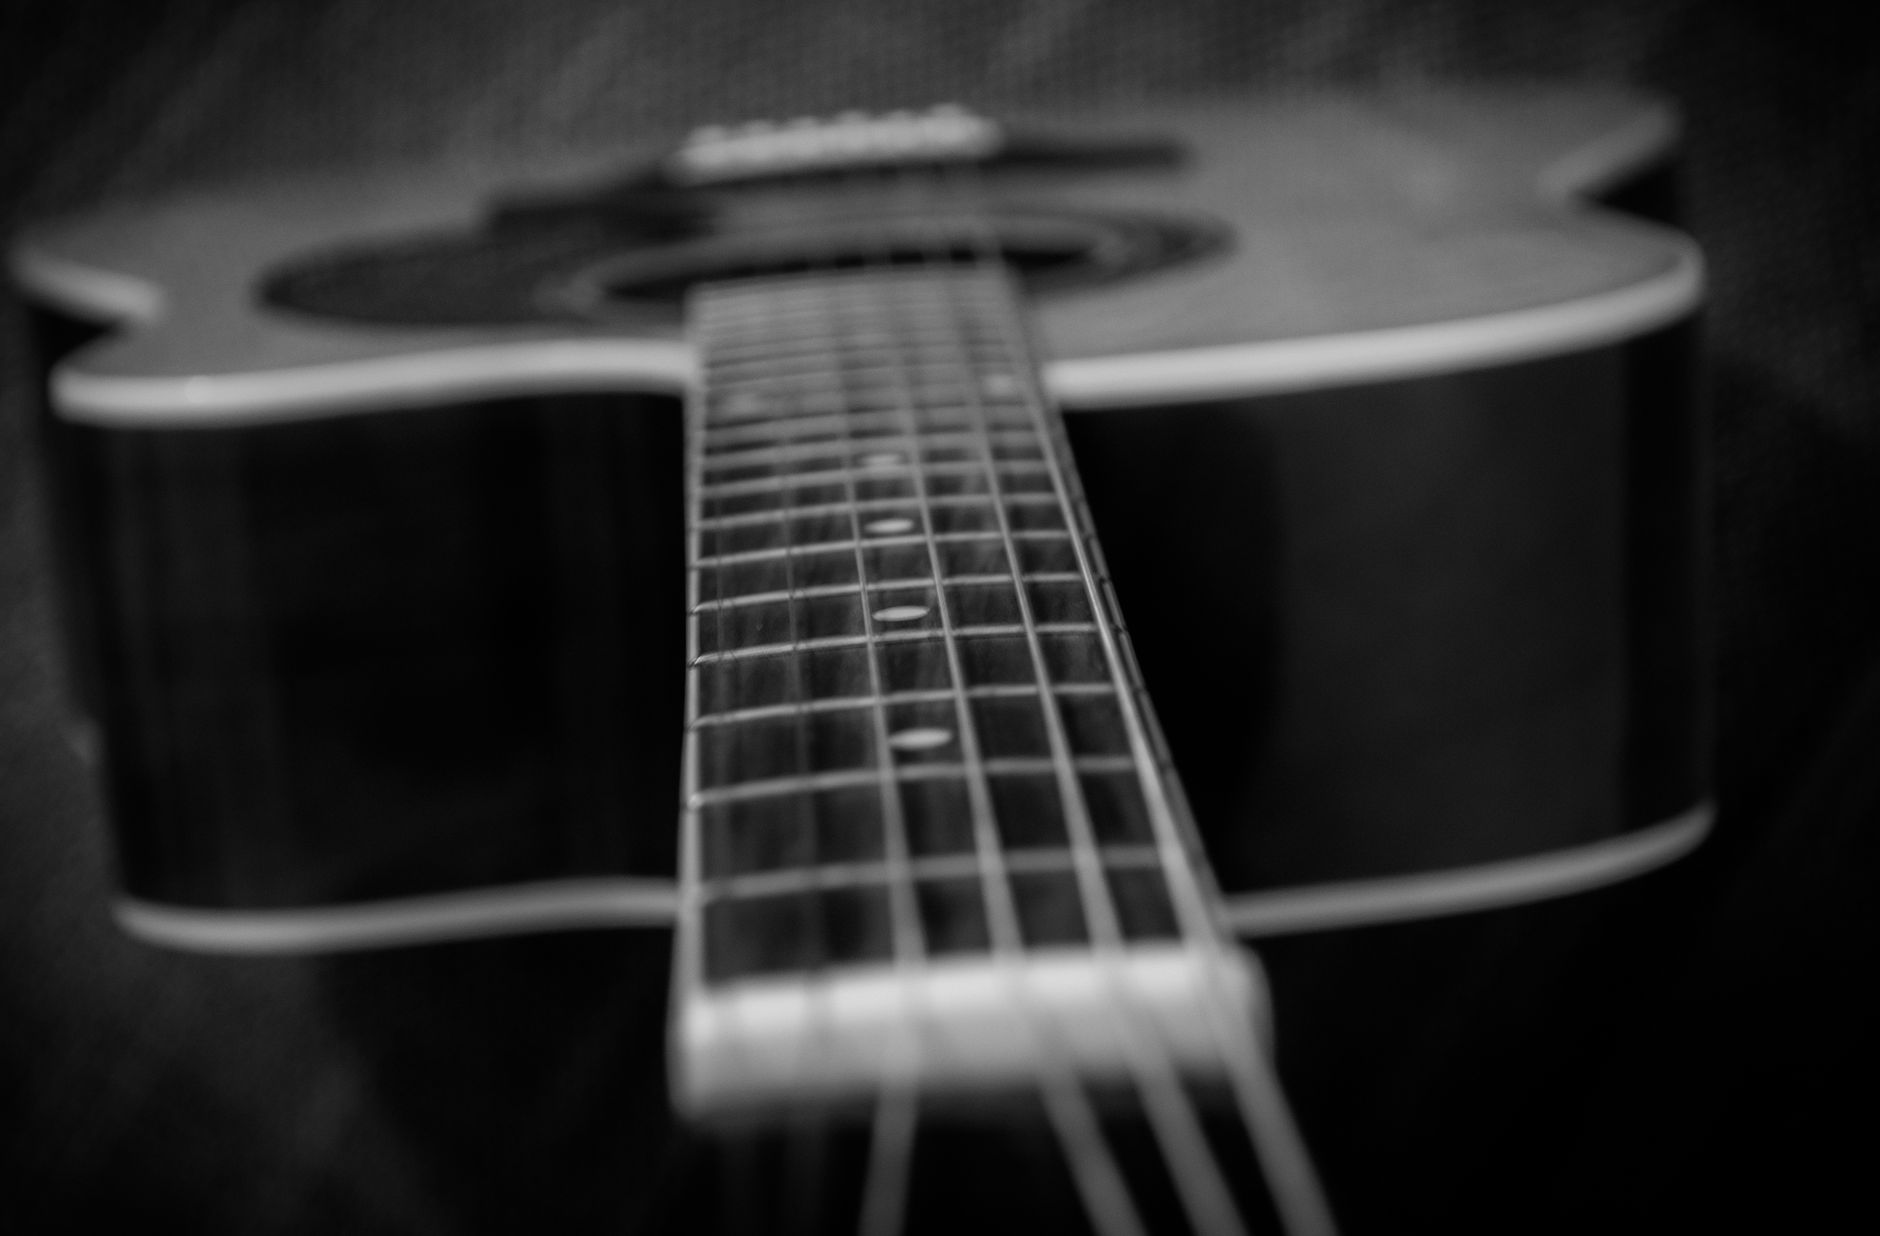 Photo: Peter Jarkuliš via Pexels
Microphone Selection
A large-diaphragm condenser (LDC) captures the full frequency range of acoustic guitar with the warmth and low-end body the instrument naturally produces. The Audio-Technica AT2020 is the entry-level benchmark; the Rode NT1 adds a lower noise floor (4.5dB self-noise) that matters for quiet fingerpicking passages. The AKG C214 delivers a more neutral character useful when the guitar will sit in a mix with other instruments.
Small-diaphragm condensers (SDCs) are faster and more accurate on transients — pencil mics like the Rode M5 or Oktava MK-012 excel at fingerpicking detail and are the go-to for stereo pair configurations.
| Mic Type | Strength | Weakness |
|---|---|---|
| Large-diaphragm condenser | Warm body, smooth | Can smear fast transients |
| Small-diaphragm condenser | Transient accuracy, stereo imaging | Leaner low-end |
| Ribbon | Vintage warmth, natural | Fragile, needs clean preamp |
| Dynamic (SM57) | Noise-resistant, forgiving | Lacks air and sparkle |
Stereo Acoustic Techniques
For songwriting demos and full-mix instruments, a single mic in the sweet spot (12th fret, 6–12 inches) is sufficient. For featured acoustic parts, stereo adds dimension:
XY Pair: Two SDCs crossed at 90° over the soundhole. Tight stereo image, mono-compatible. Clean, direct sound.
ORTF: Two mics angled at 110°, capsules spaced 17cm apart. Wider, more natural — closer to how human ears perceive the instrument. Requires checking mono compatibility before printing.
Spaced Pair (A/B): One mic at the 12th fret, one at the body near the bridge. Wide stereo with natural tonal contrast. Phase check mandatory — the mics are at different distances.
Room Treatment on a Budget
Acoustic treatment doesn’t require a dedicated studio. The most effective low-budget treatment:
- Record in a corner with a wardrobe or bookshelf of irregularly sized items behind you — diffusion without panels.
- Hang heavy blankets or moving blankets on the two adjacent walls.
- Place the guitar and mic inside the closet — clothes act as broadband absorbers.
- Use a reflection filter (Kaotica Eyeball or SE Reflexion Filter) to block rear reflections at the mic capsule.
The goal isn’t a dead room — it’s a neutral room. Some reverb is fine; slap reflections from parallel hard surfaces are what ruins recordings.
Signal Chain and Gain Staging: The Complete Workflow
Standard Signal Chains
Electric miced amp:
Guitar → Amp → Speaker Cabinet → SM57 (capsule edge, 1" from grille)
  → XLR → Interface Preamp (gain: −18 to −12 dBFS peaks) → DAW input track
Electric direct:
Guitar → TS cable → Interface instrument input (Hi-Z)
  → DAW track (clean DI) → Amp sim plugin (insert on track)
  (Optional: duplicate track → different amp sim for parallel blend)
Acoustic single mic:
Guitar → LDC condenser (phantom power on, 48V) → XLR
  → Interface preamp (gain: −18 to −14 dBFS peaks, no pad needed)
  → DAW input track → Light high-pass filter @ 80Hz in DAW
Acoustic stereo:
Guitar → SDC pair (XY or ORTF) → two XLR cables → two interface channels
  → two DAW tracks → hard pan L and R → check mono sum for phase
Gain Staging Step by Step
- Set your DAW buffer size to 64 or 128 samples for tracking (reduces round-trip latency).
- Enable direct monitoring on the interface — listen through the hardware, not through the DAW plugin chain.
- Play your hardest strumming or most aggressive picking passage while watching the interface input meter.
- Set preamp gain so peaks reach −18 to −12 dBFS. Clip indicator should never light.
- Check the DAW track input meter matches — no additional gain inserted before the recording stage.
- Arm the track, hit record, and monitor through the interface’s direct output (zero latency).
- After tracking, increase plugin monitoring latency (256–512 samples) for mixing.
Troubleshooting Matrix
| Symptom | Likely Cause | Fix |
|---|---|---|
| Latency / delay in headphones | Buffer size too high | Lower buffer to 64–128 samples; enable direct monitor |
| Hum / 60Hz buzz | Ground loop | Use balanced cables; engage ground lift on DI; try different outlet |
| No signal in DAW | Wrong input assignment | Check DAW track input matches interface channel; check Hi-Z button |
| Thin, weak acoustic tone | Mic too close to soundhole | Move mic to 12th fret position; increase distance to 8–12“ |
| Clipping on peaks | Preamp gain too hot | Reduce input gain; use pad switch (−10dB) if available |
| Phase cancellation (stereo) | Mics at different distances | Time-align in DAW; use polarity flip to check; reposition mics |
| Harsh fizzy direct tone | Amp sim input overloaded | Lower DI signal to −18 dBFS before amp sim plugin |
| Muddy miced tone | Proximity effect; bass buildup | High-pass filter @ 100–120Hz; move mic slightly off-axis |
DAW Setup and Basic Processing
You don’t need a paid DAW to start. GarageBand (Mac, free) is a fully capable recording environment — its built-in amp designer is genuinely good for electric guitar demos. Reaper at $60 (discounted license) is the professional-grade choice with the best CPU efficiency in the category. Ableton Live Intro and Studio One Prime cover the middle ground.
Essential Processing Chain for Guitar
Electric miced:
- High-pass filter: 80–100Hz (removes rumble, doesn’t affect guitar fundamentals)
- Gate (optional): only if room noise is audible between notes
- Light compression: ratio 2:1–4:1, slow attack (30–50ms), medium release — preserve pick attack
- EQ: cut around 300–400Hz if muddy; add presence at 3–5kHz for cut in mix
Acoustic:
- High-pass: 80Hz
- Notch cut: find the resonant peak (usually 200–300Hz) and cut 3–6dB with a narrow Q
- Gentle high shelf: +2–3dB above 10kHz for air (or use the “Air” mode on Scarlett interfaces)
- Compression: 2:1, attack 15–25ms, release 100–200ms — let the initial transient through
Direct electric with amp sim:
- Process within the amp sim’s own chain first (gate → amp → cab IR → EQ)
- After the plugin: high-pass at 80Hz, narrow cut at 600Hz if boxy
- Avoid double-compressing unless intentional
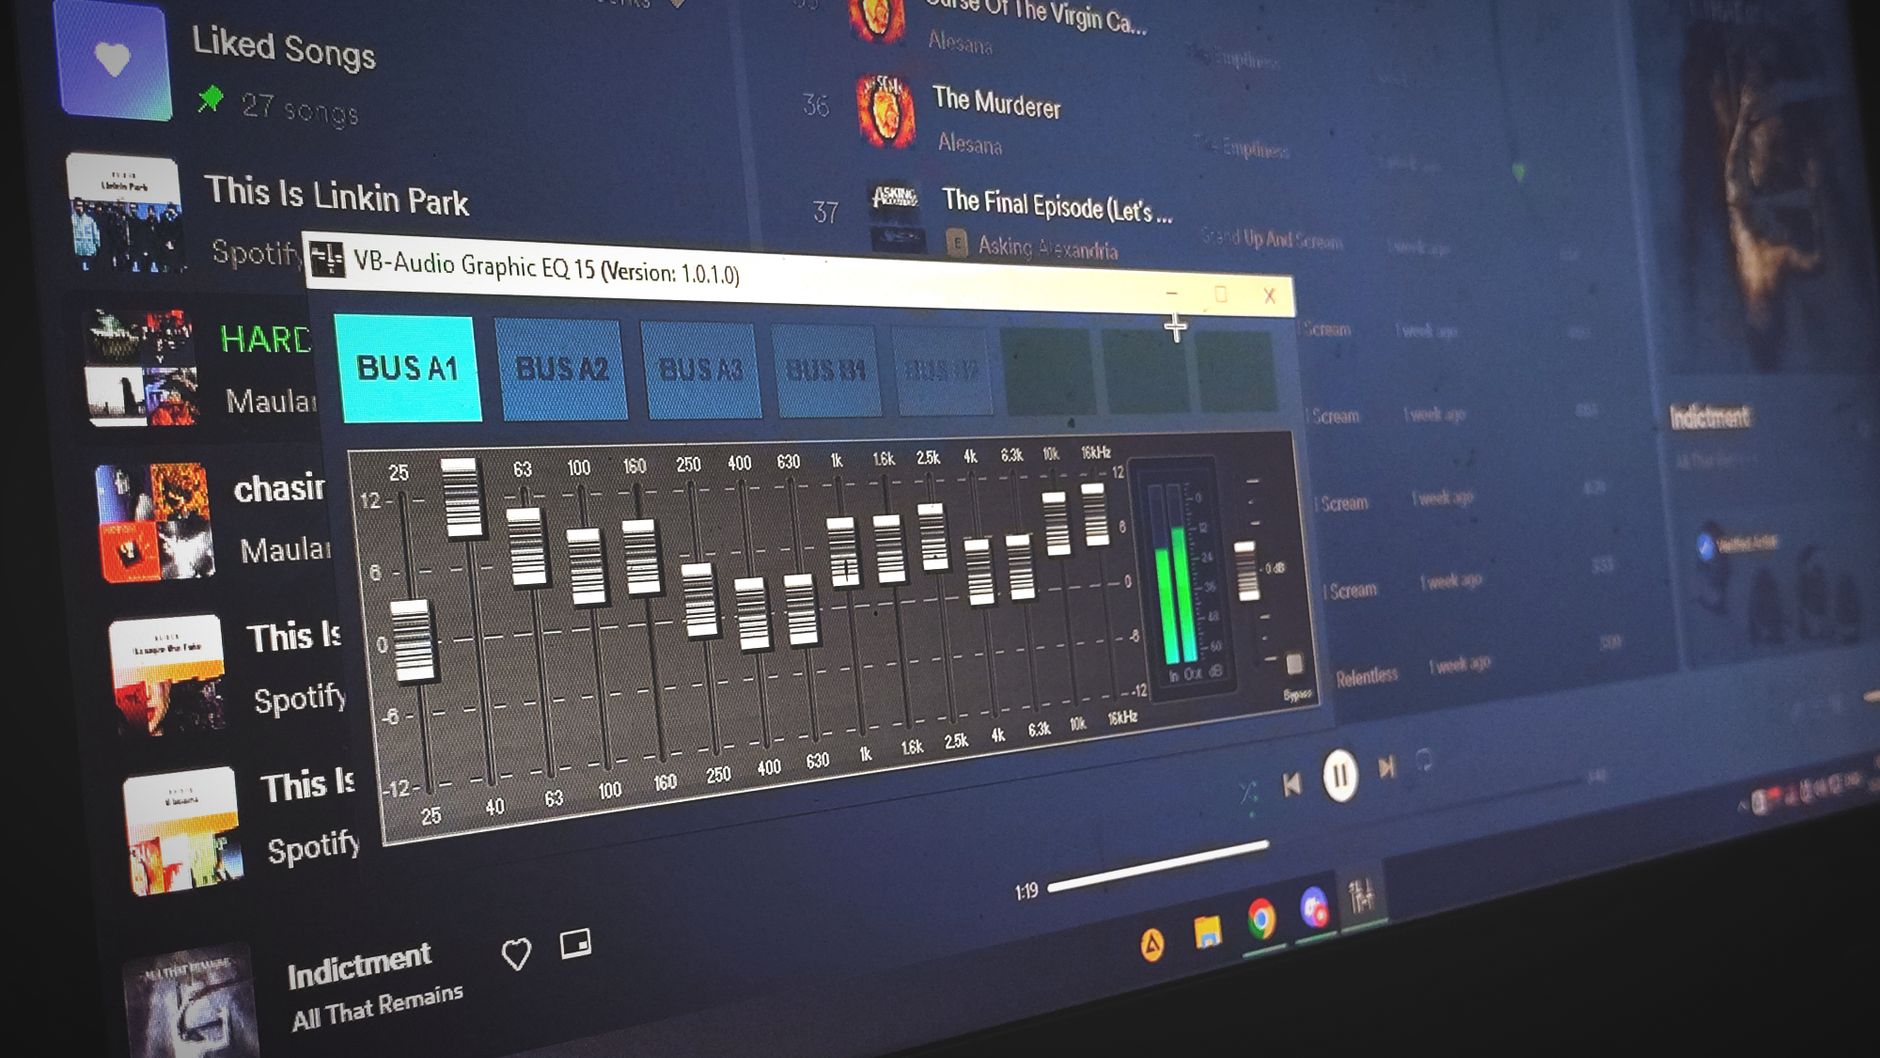 Photo: Kenji Ogami via Pexels
Common Recording Scenarios: Quick-Start Configs
Recording a Singer-Songwriter Demo (Acoustic + Voice)
Record acoustic and vocals simultaneously if you can’t overdub — it captures performance energy. Use two interface channels: condenser at the 12th fret for guitar, second condenser on a separate stand for voice. Angle the guitar mic slightly away from the singer to reduce bleed. Accept some bleed — it’s preferable to a lifeless punch-in performance.
Recording High-Gain Metal at Home
Cabinet simulation is the practical solution. Use an attenuator (like the Two Notes Captor X) between amp and cabinet — it loads the amp at full power while reducing speaker volume to near-silence, then re-amps through an IR loader. Alternatively, skip the amp entirely: Neural DSP’s Archetype series accurately models the gain structures and dynamic responses of specific real amplifiers.
Recording Clean Jazz Guitar
Clean tones expose interface preamp quality and pickup noise more than any other style. Use the neck pickup (or blend both pickups for archtop work), set amp sim to minimal compression, and record at lower input levels (−24 to −18 dBFS) to keep the dynamic range intact. A tube preamp plugin or subtle tape saturation (Waves J37, RC-20) adds the harmonic density that pure digital recording lacks.
→ See also:
- Best Audio Interface for Guitar (2026) — reviewed interfaces ranked by input impedance, preamp quality, and guitar-specific features
- How to Record Electric Guitar at Home — deep dive on micing techniques, amp sim shootouts, and reamping workflows
- How to Record Guitar Without an Amp — complete guide to DI recording, IR loaders, and direct chain optimization
FAQ
Do I need a preamp if I have an audio interface? No — every audio interface includes built-in microphone preamps. Dedicated external preamps (like the Grace Design m101 or Neve 1073 clones) add coloration and additional gain for quiet ribbon mics, but they’re a refinement, not a requirement. Start with the interface preamp and upgrade when you’ve identified the specific limitation you’re solving.
What sample rate should I record guitar at? 44.1kHz or 48kHz at 24-bit covers the audible frequency range of any guitar and exceeds the dynamic range of the instrument. Recording at 96kHz generates larger files and higher CPU load without audible benefit for guitar — the commonly claimed “imaging” advantage exists above 20kHz, which guitar signals don’t reach. Use 48kHz if your video workflow requires it; 44.1kHz for audio-only projects.
Why does my acoustic guitar sound boomy and muddy in recordings? The most common causes are proximity effect (mic too close to the soundhole), parallel reflective surfaces in the room, or recording in a small untreated bathroom or kitchen. Fix: move the mic to the 12th fret, increase distance to 8–12 inches, add a high-pass filter at 80–100Hz in your DAW, and place some absorption behind the mic (heavy blankets work). If the boominess persists, narrow-Q notch around 200–250Hz usually finds the resonant mode.
Is it better to record guitar direct or miced for home recording? It depends on your room and amp. Direct recording with a quality amp sim (Neural DSP, Helix Native) eliminates room problems entirely and gives you infinite re-amping flexibility. Miced recording captures real amp physics and speaker breakup that no plugin fully replicates — but it requires a playable amp volume (generally 70–80dB SPL at the mic) and a room that doesn’t add obvious reflections. For high-gain styles, direct is often cleaner. For vintage cleans and blues, miced can be worth the extra setup.
How do I eliminate the hum when recording electric guitar? Single-coil pickups are susceptible to electromagnetic interference from lighting (especially dimmers and fluorescent tubes), computer monitors, and power supplies. First: angle your body and guitar while playing — hum is directional and there’s usually a null point where it drops. Second: turn off or dim nearby fluorescent lights. Third: move your interface’s power adapter away from the guitar signal path. If hum persists on balanced signals, engage the ground lift on your DI box. Persistent ground loops require tracing the shared ground path and breaking it with an isolation transformer.
What’s the best free DAW for recording guitar at home? GarageBand is the answer for Mac users — it includes a polished amp designer, pitch correction, and a clean recording workflow with no cost. On Windows, Cakewalk by BandLab is free and fully professional-grade (it was a paid product, now open). For cross-platform, Reaper offers a full-featured 60-day trial with no feature limitations; the $60 discounted license is the best value in paid DAWs. Avoid browser-based DAWs for guitar recording — latency and audio driver access are unreliable outside a native application.
How do I record guitar with headphones and no monitors? Enable direct monitoring on your interface so you’re hearing the raw input signal (or the interface’s built-in effects) with zero latency. Record the DI or processed signal to your DAW. For mixing, closed-back headphones (Sony MDR-7506, Beyerdynamic DT 770 Pro) are the standard — they isolate external sound and provide a consistent reference. Avoid consumer earbuds and Bluetooth headphones for recording; latency and frequency response are both compromised. Once you have a mix you’re happy with in headphones, reference it on phone speakers or a car stereo before finalizing.
Editorial methodology: Assessments are based on manufacturer specifications, published user reviews, and editorial research. Physical hands-on testing is noted explicitly where it occurred. Rankings reflect our editorial judgment and are not influenced by affiliate commission rates. Full editorial policy · Affiliate disclosure