Contents
Home Studio Acoustic Treatment Guide (2026)
TL;DR: Acoustic treatment home studio setups need absorbers to kill reflections, bass traps in corners to tame low-end buildup, and diffusers to preserve life in the room — in that priority order. Get those three elements right and you’ll mix on headphones far less. This guide covers every material, placement decision, and budget path.
What Is Acoustic Treatment (and Why Your Room Is Lying to You)
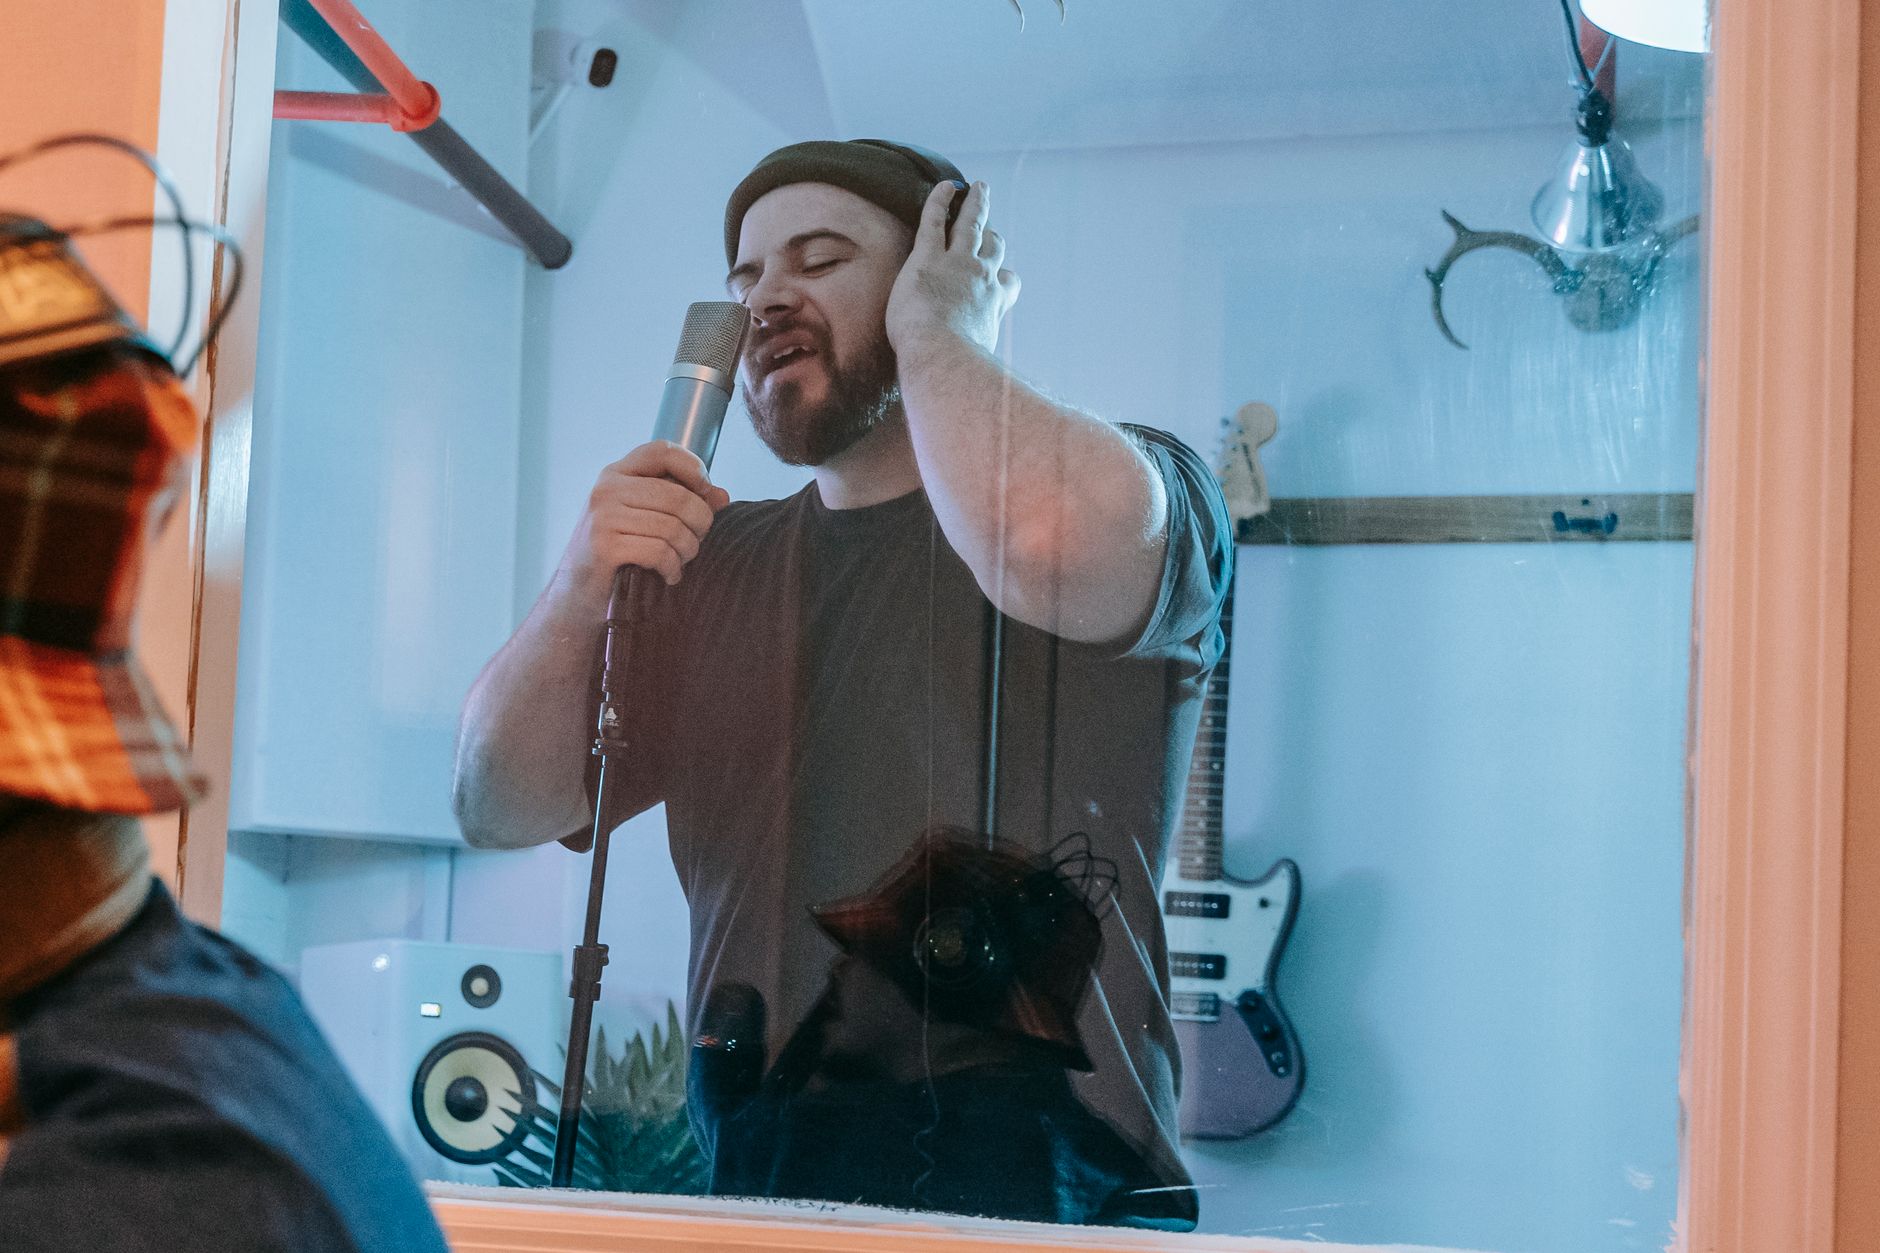
Acoustic treatment home studio work means controlling how sound behaves inside a room — not blocking sound from leaving it. Untreated rooms add comb filtering, flutter echo, and bass buildup that corrupt every recording and mixing decision you make. Treatment fixes your monitoring environment so what you hear matches what listeners hear.
 Photo: Egor Komarov via Pexels
Your room is an instrument you didn’t choose to play. Every parallel wall creates a standing wave. Every hard surface bounces high frequencies back at your mix position, arriving milliseconds after the direct sound — what acousticians call early reflections. Your brain can’t separate them from the original signal, so you compensate: you boost bass that’s already there, cut highs that only seem harsh, pan elements to fight phantom imaging.
The result is a mix that sounds great in your room and nowhere else.
This isn’t a gear problem. A $3,000 pair of monitors in a bare-walled apartment will perform worse for mixing than a $400 pair in a properly treated space. Treatment isn’t a luxury upgrade — it’s the precondition for every other investment to pay off.
Acoustic Treatment vs. Soundproofing
These are different problems that require different solutions. Acoustic treatment controls reflections inside your room. Soundproofing (mass, decoupling, air-sealing) controls transmission through your walls. Foam panels do almost nothing for soundproofing. A recording booth does almost nothing for your mix position unless it’s also treated inside.
If your goal is to record without disturbing others, read our guide on How to Soundproof a Room for Recording. If your goal is to hear accurately while mixing or recording, you’re in the right place.
The Three Materials That Actually Matter
Every acoustic treatment home studio setup reduces to three material types: absorbers (kill mid/high reflections), bass traps (kill low-frequency buildup in corners), and diffusers (scatter rather than kill). Most rooms need all three, but in the order listed — get absorption working before adding diffusion.
 Photo: cottonbro studio via Pexels
Absorbers
Absorbers convert sound energy into heat via friction inside a porous material. The thicker the panel, the lower the frequency it can absorb. This is the physics that trips most beginners:
| Panel Thickness | Effective Down To |
|---|---|
| 1“ foam | ~2,000 Hz |
| 2“ foam / rockwool | ~800 Hz |
| 4“ rockwool / rigid fiberglass | ~250 Hz |
| 4“ + air gap (mounted 4“ from wall) | ~150 Hz |
Cheap 1-inch foam tiles cover only the top octaves. They make a room feel deader but don’t touch the frequencies that cause mix translation problems (80–500 Hz). If your budget is tight, four 4-inch thick panels in the right positions outperform twenty 1-inch tiles spread across every wall.
Material comparison:
| Material | Performance | Cost | Fire Rating | Notes |
|---|---|---|---|---|
| 1“ polyurethane foam | Low | $ | Variable | Treats only highs, widely oversold |
| 2“ melamine foam | Medium | $$ | Better | More fragile than rockwool |
| 2“ rigid rockwool (e.g. Rockwool Safe’n’Sound) | High | $$ | Excellent | DIY-friendly, industry standard |
| 2“ rigid fiberglass (e.g. OC 703) | High | $$–$$$ | Excellent | Slightly better NRC than rockwool |
| 4“ rockwool panels | Very High | $$$ | Excellent | Best for broadband DIY builds |
The Acoustimac DMD panels use 2-inch rigid fiberglass wrapped in fabric — a clean off-the-shelf solution that outperforms any foam tile at equivalent cost. For DIY builds, Rockwool Safe’n’Sound framed in 1×4 pine is the standard recommendation across studio design forums and acoustic engineering communities.
Bass Traps
Bass frequencies have long wavelengths — a 100 Hz wave is about 11 feet long. They don’t bounce off surfaces the way high frequencies do; they pressurize the entire room. Corners are where pressure maxima concentrate, which is why every acoustic resource tells you to put bass traps in corners first.
A floor-to-ceiling corner treatment with thick, dense material (4-inch rockwool minimum, ideally 6–8 inches in tri-corner positions) is worth more than any amount of wall coverage. The low end is where rooms hurt mixes most, and it’s the hardest problem to solve after the fact.
The Acoustimac Broadband Corner Bass Trap ships ready to hang and performs meaningfully into the 80–100 Hz range. Dedicated resonant bass traps (Helmholtz resonators, membrane absorbers) target specific problem frequencies but require measurement to tune correctly — not a first-purchase recommendation.
Diffusers
Diffusers scatter reflections in multiple directions rather than absorbing them. The benefit: you maintain a sense of space and “air” in the room without the deadened, fatiguing sound of full absorption. The tradeoff: diffusers are large, expensive, and only useful once you’ve handled your flutter echo and primary reflections first.
The rule of thumb from acoustic designer Ethan Winer and others: treat the front half of the room with absorption, treat the rear with a mix of absorption and diffusion. This “live end / dead end” (LEDE) approach gives you a controlled monitoring position without a room that feels like a coffin.
Where to Place Treatment: The Priority Map
Start with first reflection points, then corners, then the front wall, then fill remaining problem areas. This sequence gives you the highest acoustic return per panel installed. A room with 8 panels in the right places beats a room with 30 panels in the wrong places.
 Photo: Steve A Johnson via Pexels
Step 1: First Reflection Points
Sit at your mix position. Have someone move a mirror along the side walls — every point where you can see a monitor in the mirror is a first reflection point. Do the same on the ceiling directly above and slightly in front of your position. These are your highest-priority absorption targets.
A minimum treatment kit for a typical 10×12 home studio:
- 2× side wall panels at first reflection points
- 1× ceiling cloud (hang 2–4 panels above the mix position)
- 2–4× floor-to-ceiling corner bass traps (hit all four vertical corners if possible, two front corners minimum)
- 1–2× front wall panels behind the monitors
Step 2: Corners (Bass Traps)
All four floor-to-ceiling vertical corners. Then the four horizontal corners where walls meet the ceiling, and the four where walls meet the floor. Tri-corner positions (where two walls and the ceiling meet) are the highest-pressure zones in the room — treat those first if you have to choose.
Step 3: Front Wall
The wall behind your monitors reflects sound back directly at your head, arriving late enough to blur the stereo image. Two to four broadband panels here improve phantom center and depth perception significantly.
Step 4: Rear Wall and Remaining Surfaces
Once the above is handled, the rear wall gets either absorption or diffusion depending on room depth. In rooms shorter than 12 feet, more absorption. In longer rooms, a diffuser panel behind the listening position helps preserve the sense of space.
DIY vs. Pre-Built: Which Path Makes Sense
Pre-built acoustic panels from reputable manufacturers cost 2–4× DIY equivalent but save 4–8 hours per panel in framing and wrapping time. For most bedroom producers, buying 4–6 targeted commercial panels beats a weekend DIY project that stalls at the hardware store.
| Path | Upfront Cost | Time Cost | Performance | Risk |
|---|---|---|---|---|
| DIY rockwool panels | Low ($30–60/panel) | High (2–4 hrs/panel) | Excellent if executed well | Framing, fabric sourcing, hanging |
| Pre-built broadband panels | Medium ($80–150/panel) | Low (hang in 20 min) | Excellent | Higher upfront spend |
| Foam tiles | Very Low ($10–20/pack) | Very Low | Poor below 1kHz | Money largely wasted on room problems |
| Acoustic clouds (commercial) | High ($300–600+) | Very Low | Excellent | Cost; ceiling mounting |
The GIK Acoustics 242 Panel is consistently cited in acoustic treatment communities as the best value pre-built broadband absorber — 2-inch rigid fiberglass, NRC 0.95, ships flat in two weeks. The GIK 244 Panel steps up to 4-inch fill for rooms with significant bass problems.
For ceiling clouds, the Acoustimac Ceiling Cloud Kit ships with suspension hardware rated for typical drywall anchors. Verify your ceiling type before ordering — concrete and textured ceilings require different mounting approaches.
Signal Chain and Recording Workflow in a Treated Room
Understanding what treatment does to your recording chain is as important as the treatment itself.
Signal chain for a treated home studio:
Source (voice/instrument)
  → Absorbers reduce room reflections reaching microphone
  → Microphone (cardioid pattern reduces rear pickup)
  → Preamp / Audio Interface
  → DAW (minimal room noise floor in recording; accurate monitoring on playback)
Gain staging notes: A treated room typically drops your noise floor by 6–12 dB compared to a bare-walled space. This means you can run lower mic gain without the room overwhelming the signal, which reduces preamp noise. Don’t compensate by pushing gain back up — enjoy the cleaner signal.
Step-by-Step: Setting Up Acoustic Treatment for a New Room
- Measure your room dimensions and calculate axial modes using a free room mode calculator (type your L×W×H into any acoustic calculator). Note which frequencies bunch up — these are your bass trap targets.
- Identify your mix position. Standard placement: 38% of room length from the front wall, monitors forming an equilateral triangle with your head, tweeters at ear height.
- Find first reflection points using the mirror method on side walls and ceiling.
- Install corner bass traps first — floor-to-ceiling in at least two front corners. All four vertical corners if budget allows.
- Hang side wall absorbers at the identified reflection points, positioned at ear height.
- Install ceiling cloud — aim for 2–4 panels forming a 4×4 foot or larger coverage area above the mix position.
- Add front wall treatment behind monitors.
- Listen and test. Clap sharply in the room — you should hear no flutter echo (rapid, metallic-sounding reverb). Play a reference track you know well and compare what you hear to headphones.
- Measure with REW (Room EQ Wizard, free software) and a calibrated measurement microphone like the MiniDSP UMIK-1 to identify remaining problem frequencies.
- Fill gaps based on measurement data — add trapping where low-frequency buildup persists, add diffusion to rear wall if the room sounds overly dead.
Troubleshooting Matrix
| Symptom | Likely Cause | Fix |
|---|---|---|
| Flutter echo (metallic slap after clap) | Parallel reflective surfaces | Add absorption to opposing walls; break up parallel surfaces |
| Boomy low end, bass-heavy mixes | Corner bass buildup, room modes | Floor-to-ceiling corner traps; check room dimensions for problematic modes |
| Stereo image is blurry or centered | Side wall or ceiling reflections | Absorbers at first reflection points; ceiling cloud |
| Mixes sound dull on other systems | Over-absorption (too dead) | Add diffusion to rear wall; reduce absorption density |
| Harsh highs in recordings | Nearby reflective surfaces (glass, monitors, desk) | Panel behind/above mic position; absorptive foam behind the mic |
| High noise floor in recordings | Room HVAC or external noise (not treatment problem) | See soundproofing guide — treatment won’t fix transmission |
Budget Paths: What to Buy at Each Price Point
Under $300: Minimum Viable Treatment
Four 4-inch corner traps (DIY rockwool, ~$60 total) plus two GIK 242 panels at first reflection points covers the highest-impact positions. You won’t have a great room, but you’ll have a meaningfully better one.
$300–$700: Functional Home Studio
Four GIK 244 panels as corner traps + ceiling cloud + two side wall panels. This is the range where treatment starts to actually flatten your frequency response enough to trust your mixes.
$700–$1,500: Serious Project Studio
Full corner coverage (all four vertical + tri-corners), 6–8 broadband panels at primary reflection surfaces, one or two diffuser panels on the rear wall. At this level, REW measurements typically show acceptable decay times across most of the frequency range.
Over $1,500: Professional-Grade Control Room
Custom-built treatment, professional acoustic design consultation, possible room construction changes (decoupled floor, staggered stud walls). Beyond DIY territory for most; consider hiring an acoustic consultant (WSDG, Walters-Storyk Group) for rooms at this investment level.
Room Shape and Size Considerations
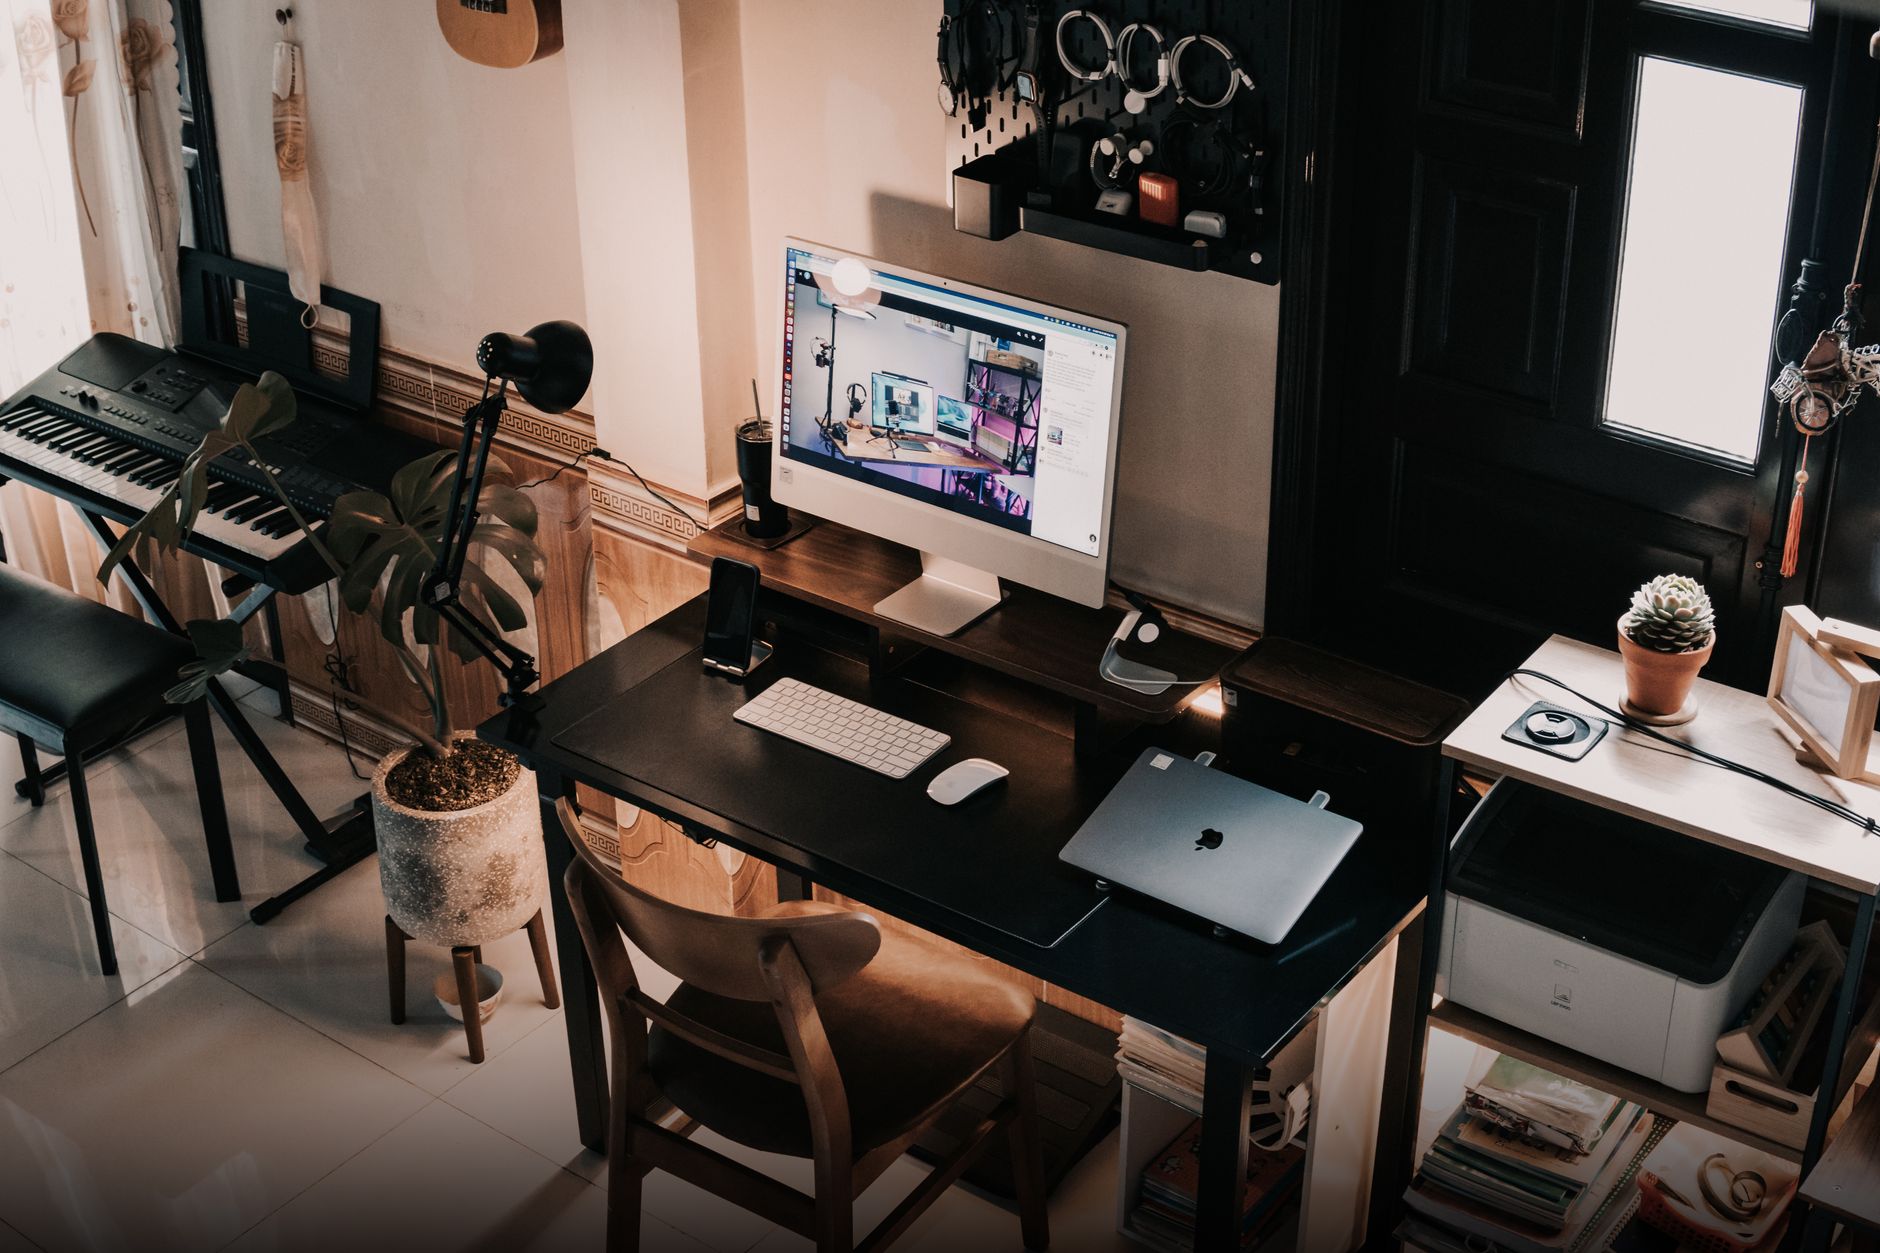 Photo: Hai Pham via Pexels
Square rooms are the worst possible shape for recording. Every dimension is identical, so the same problematic frequencies stack up in all three axes simultaneously. If you have a choice of rooms, a room with non-parallel walls or significantly different L/W/H dimensions will always outperform a square room regardless of treatment.
Common problem dimensions and their axial mode frequencies:
| Room Dimension | First Axial Mode |
|---|---|
| 8 feet | 70 Hz |
| 10 feet | 56 Hz |
| 12 feet | 47 Hz |
| 14 feet | 40 Hz |
If two room dimensions are similar (e.g., 10×11 feet), those modes stack near each other and create a particularly stubborn low-frequency problem. Bass trap density in those rooms needs to be higher than normal.
Ceiling height matters too. A standard 8-foot ceiling creates a strong 70 Hz mode between floor and ceiling — the frequency range where kick drums and bass guitar live. Ceiling clouds address the absorption side, but in very low-ceiling rooms some bass buildup is simply unavoidable without structural changes.
Acoustic Treatment for Recording vs. Mixing
The treatment priorities shift depending on your primary use case.
For recording (capturing clean signals): The microphone placement zone matters most. A reflection-free zone around the mic (absorbers on three sides — behind and to the sides of the source) reduces room bleed in the recording. This is a smaller, more targeted treatment job than treating a full mixing environment.
For mixing (accurate monitoring): The mix position is the focus. First reflection points, ceiling cloud, and bass management are the priorities. The rear of the room matters here but isn’t critical for recording.
For both: Treat for mixing first. A room that monitors accurately is already a better recording environment than an untreated one — and you can supplement with portable gobos or a reflection filter for close-mic recording.
The Kaotica Eyeball is worth noting for vocal recording in untreated rooms — it’s a foam enclosure that mounts to a large-diaphragm condenser and creates a reflection-free zone around the capsule. It doesn’t replace room treatment, but it’s a targeted tool for vocalists recording in compromised spaces.
Measuring Your Room: REW and What the Data Tells You
Room EQ Wizard (REW) is free, and combined with a $75–100 calibrated USB measurement microphone, it gives you actual frequency response data instead of guesswork. Published testing data from acoustic professionals consistently shows that untreated rooms have response variations of ±15–20 dB across the bass range — a problem no amount of EQ on your interface can solve.
What to measure:
- RT60 (reverberation time) — how long the room takes to decay 60 dB after a sound stops. Target for a mixing room: 0.2–0.4 seconds, reasonably flat across frequencies.
- Waterfall plot — shows decay time by frequency. A long tail at specific frequencies indicates room modes that need more trapping.
- Frequency response — shows peaks and nulls at your mix position. Peaks above 120 Hz are often treatable with absorption; peaks below 120 Hz are room modes requiring bass traps or acoustic EQ (not a preferred solution).
Measure before and after treatment. The before measurement tells you which frequencies need the most work; the after measurement tells you whether your treatment solved them.
→ See also:
- How to Acoustically Treat a Room for Recording — room-by-room walkthrough with detailed placement photos
- How to Soundproof a Room for Recording — mass, decoupling, and air-sealing for isolation from neighbors
FAQ
Does acoustic foam actually work for a home studio? Thin polyurethane foam tiles (1–2 inches) absorb high frequencies above 1–2 kHz but do nothing useful below that range. Since most mix-translation problems live in the bass and lower midrange, foam tiles alone are largely ineffective for improving a monitoring environment. Use 4-inch rigid fiberglass or rockwool panels for meaningful broadband absorption.
How much acoustic treatment does a home studio need? Expert consensus suggests 25–35% wall coverage with broadband absorbers as a baseline, with bass traps in all four vertical corners. More important than coverage percentage is placement — 6 panels in the right positions (first reflection points, corners, front wall) outperform 20 panels spread randomly.
Can I use moving blankets instead of acoustic panels? Moving blankets absorb some high-frequency energy and can reduce flutter echo, but they’re too thin and insufficiently dense to treat bass frequencies. They’re a workable temporary measure for reducing room reflections in vocal recordings but aren’t a substitute for proper treatment in a mixing environment.
Do I need to treat a room if I mix on headphones? Headphone mixing bypasses room acoustics entirely — you’re not hearing the room when you track or mix. However, for recording (where the microphone picks up the room), treatment still matters. If you mix exclusively on headphones, room treatment is less critical; if you use monitors at all for reference, treatment improves the reliability of that monitoring.
What’s the difference between a bass trap and a broadband panel? A broadband panel is typically 2–4 inches thick and absorbs effectively from roughly 250 Hz upward. A bass trap is optimized for low frequencies, either through greater thickness (6–12 inches of dense material), specific placement at pressure maxima (corners), or resonant design (membrane or Helmholtz traps). In practice, thick broadband panels in corners function as broadband bass traps — the distinction is more marketing than acoustic science below a certain frequency.
Should I use diffusion or absorption on the rear wall? It depends on room length. In rooms shorter than 12 feet, absorption on the rear wall reduces reflections without creating a problematic “early” reflection that confuses your ears. In longer rooms (14 feet+), rear-wall diffusion scatters sound in multiple directions and maintains a sense of space without returning a coherent reflection toward the mix position. A mix of both — absorption panels interspersed with diffuser blocks — works well in most home studio sizes.
How do I know if my acoustic treatment is actually working? The clap test is the fastest qualitative check: stand in the treated room and clap sharply once. In an untreated room, you’ll hear a metallic flutter or ring after the clap. In a treated room, the sound decays cleanly with no flutter. For quantitative verification, use Room EQ Wizard with a calibrated microphone and compare RT60 and waterfall plots before and after treatment.
Can acoustic treatment fix a room with a very low ceiling? Low ceilings create a strong floor-to-ceiling axial mode that’s difficult to treat fully with absorption alone. A ceiling cloud helps, but the mode may still be audible in measurements. The practical approach: treat what you can, supplement with acoustic EQ (a plugin like Sonarworks SoundID Reference ) to compensate at the listening position, and accept that some room limitations are structural. Acoustic EQ corrects your monitoring signal — it doesn’t fix the room, but it reduces the practical impact of remaining problems.
Editorial methodology: Assessments are based on manufacturer specifications, published user reviews, and editorial research. Physical hands-on testing is noted explicitly where it occurred. Rankings reflect our editorial judgment and are not influenced by affiliate commission rates. Full editorial policy · Affiliate disclosure