Contents
What You Need to Record Music at Home
TL;DR: To record music at home you need an audio interface, a microphone or DI box (depending on your source), headphones or studio monitors, a computer running a DAW, and acoustic treatment. A functional setup costs $200–$500; the rest is optimization.
The Core Signal Chain
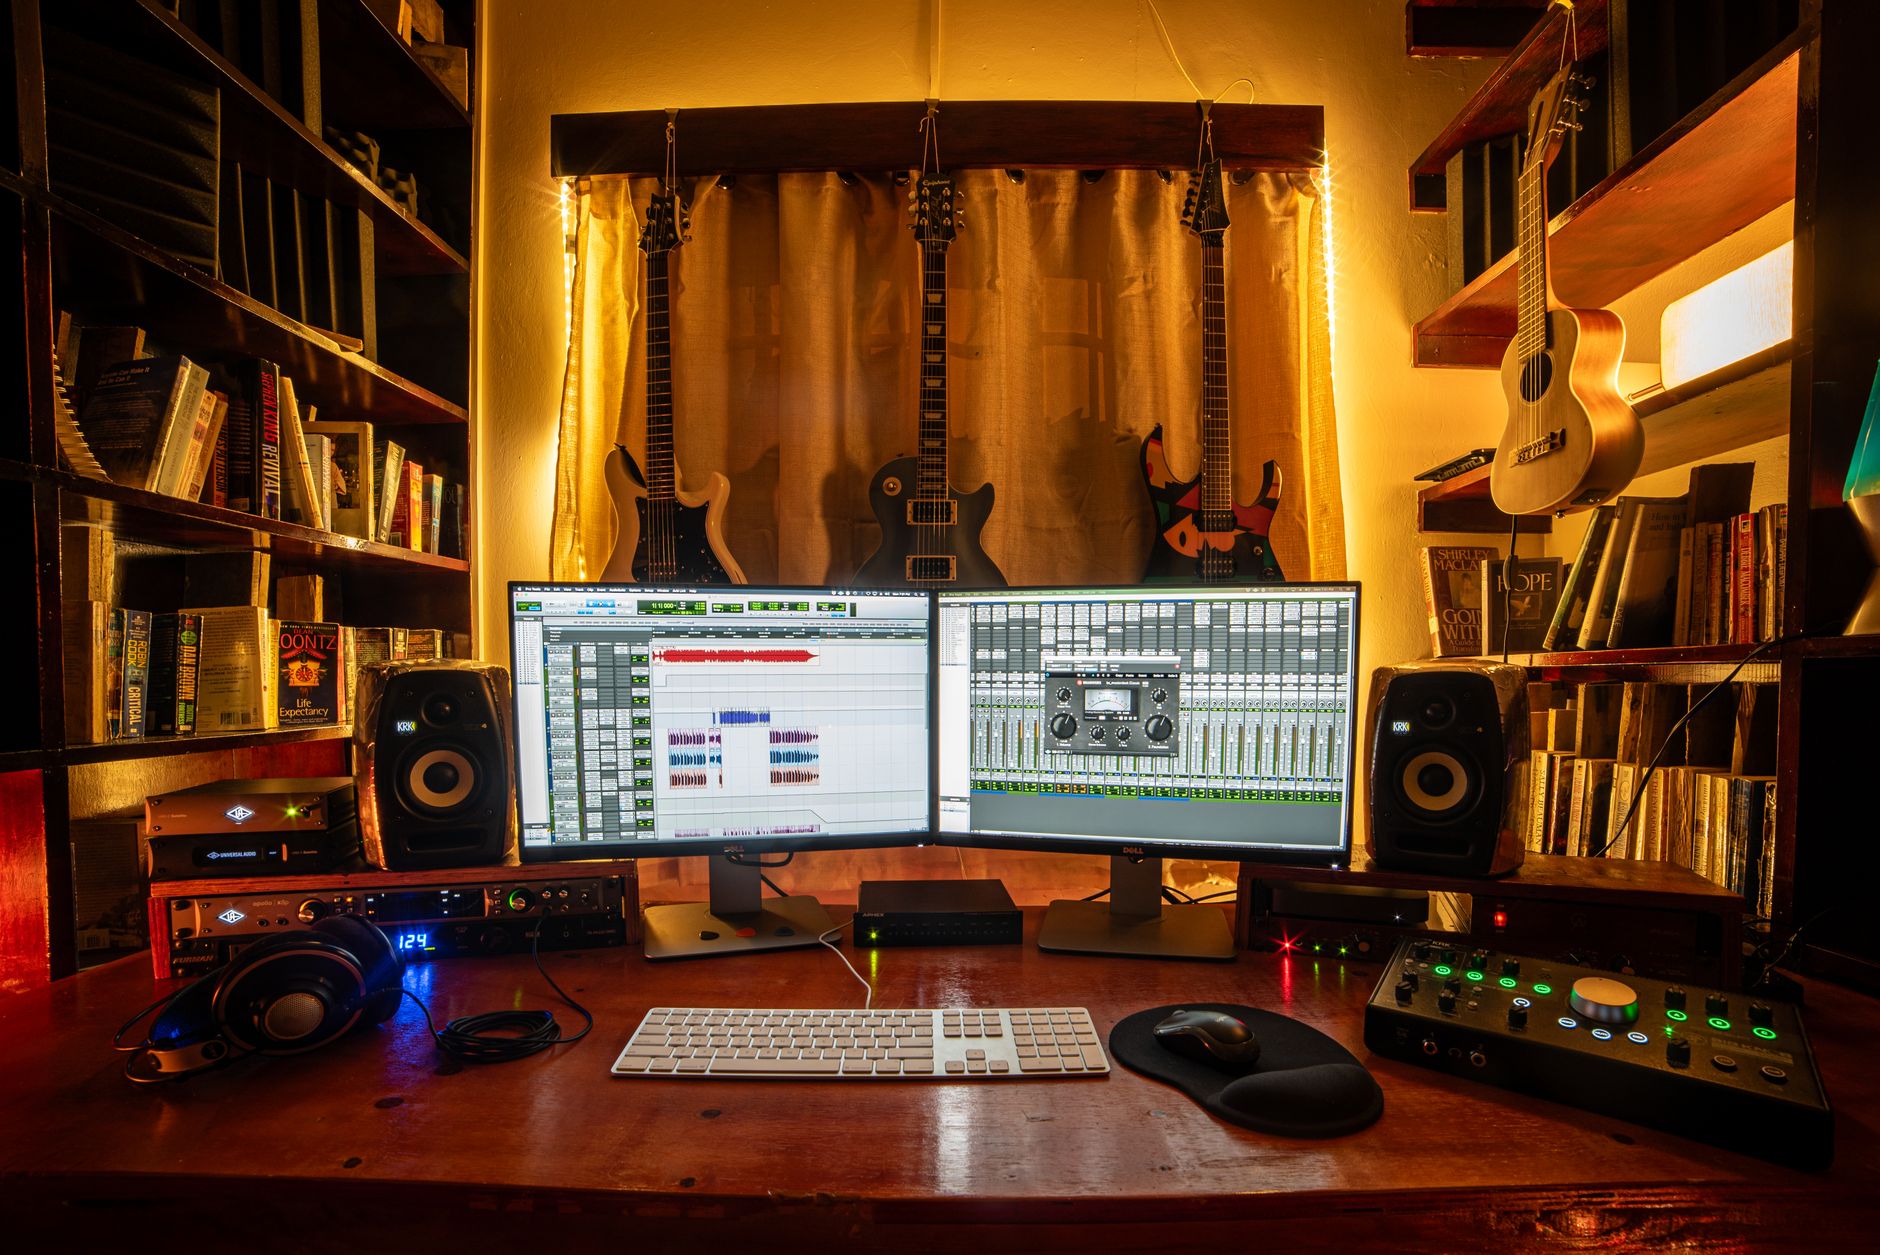
The minimum viable home studio is five components: audio interface, microphone, headphones, computer, and DAW. Everything else — monitors, preamps, plugins — improves quality but isn’t required to make your first recording.
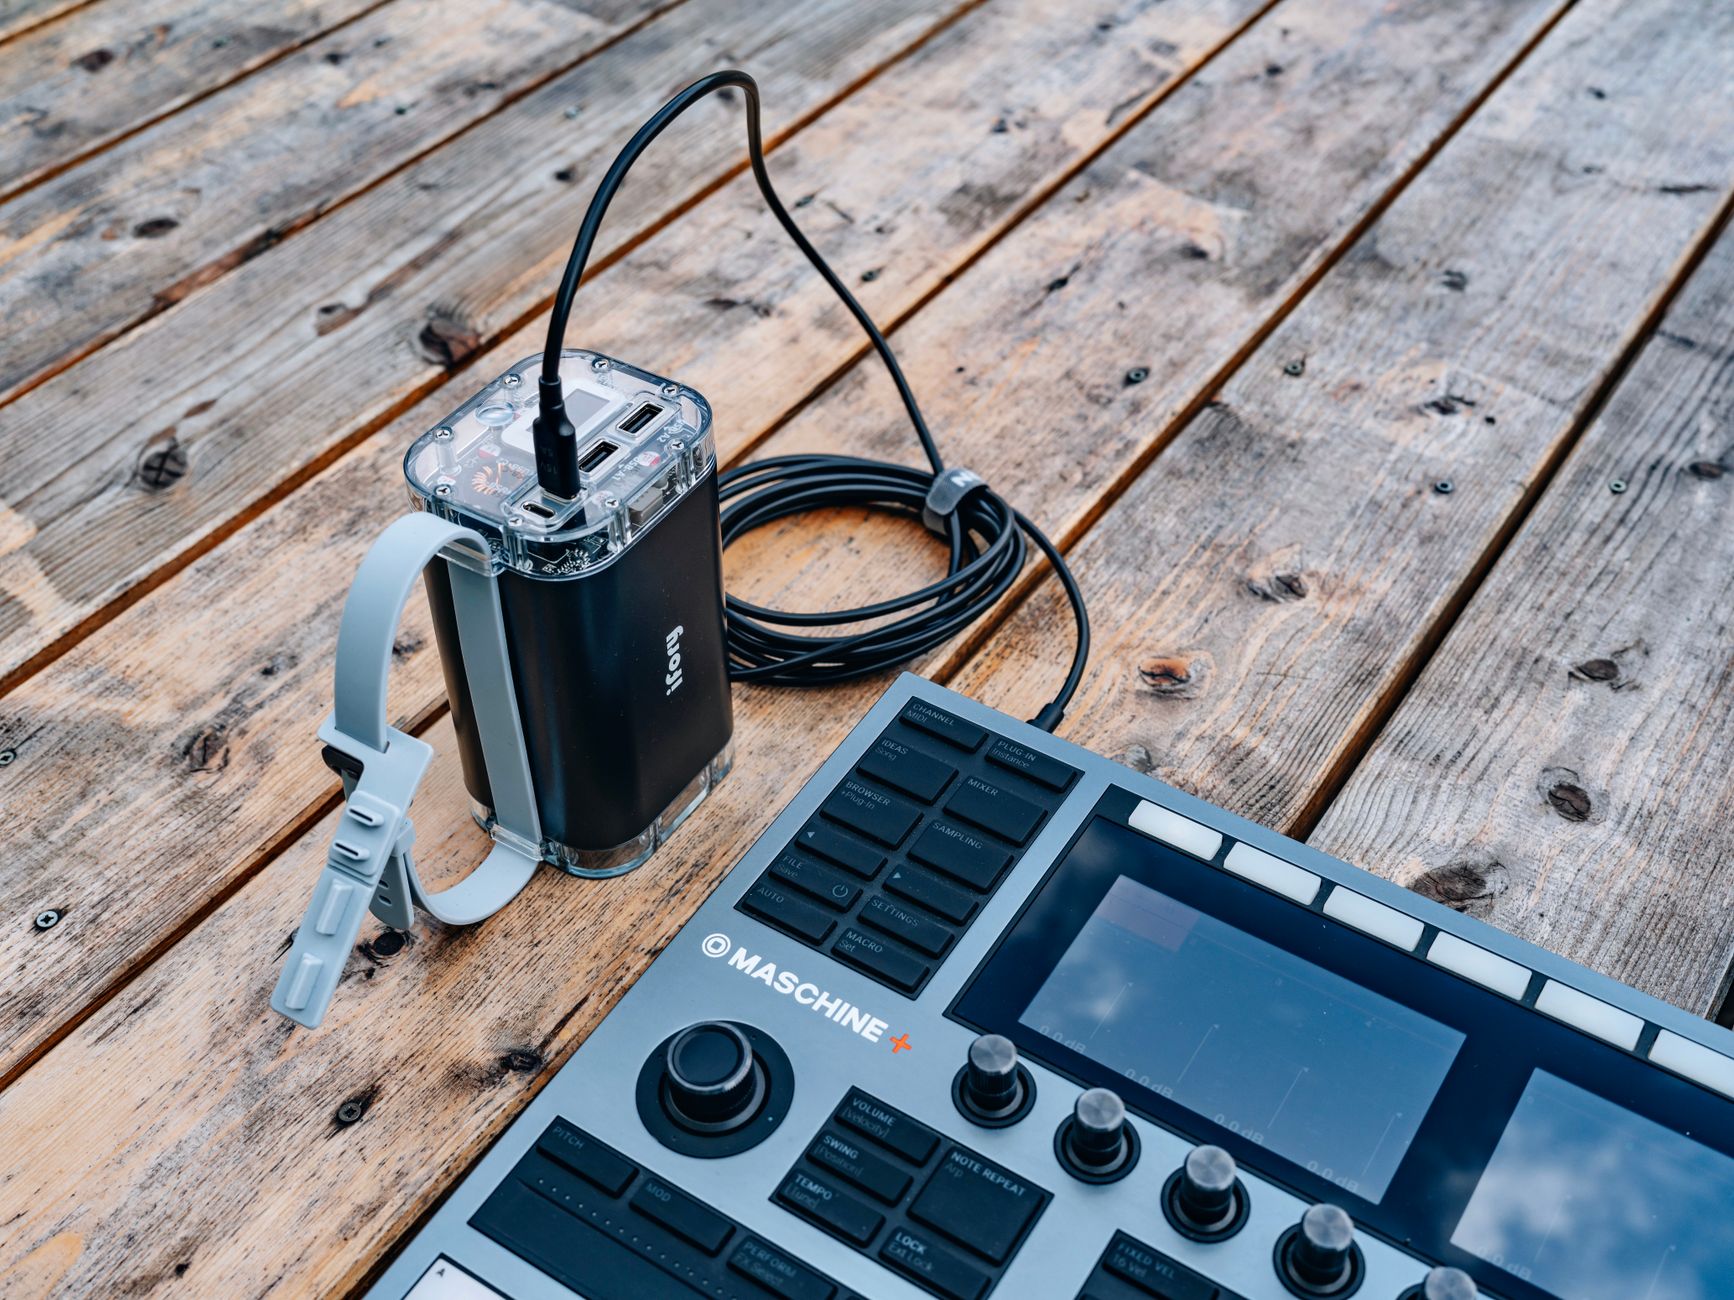 Photo: Egor Komarov via Pexels
Getting the signal chain right matters more than any single piece of gear. Audio travels like this:
Source → Mic/DI → Audio Interface → DAW (Computer) → Monitors/Headphones
Each link in that chain has one job. When something sounds wrong, you trace it back to one link — not the whole system.
Audio Interface: The Foundation
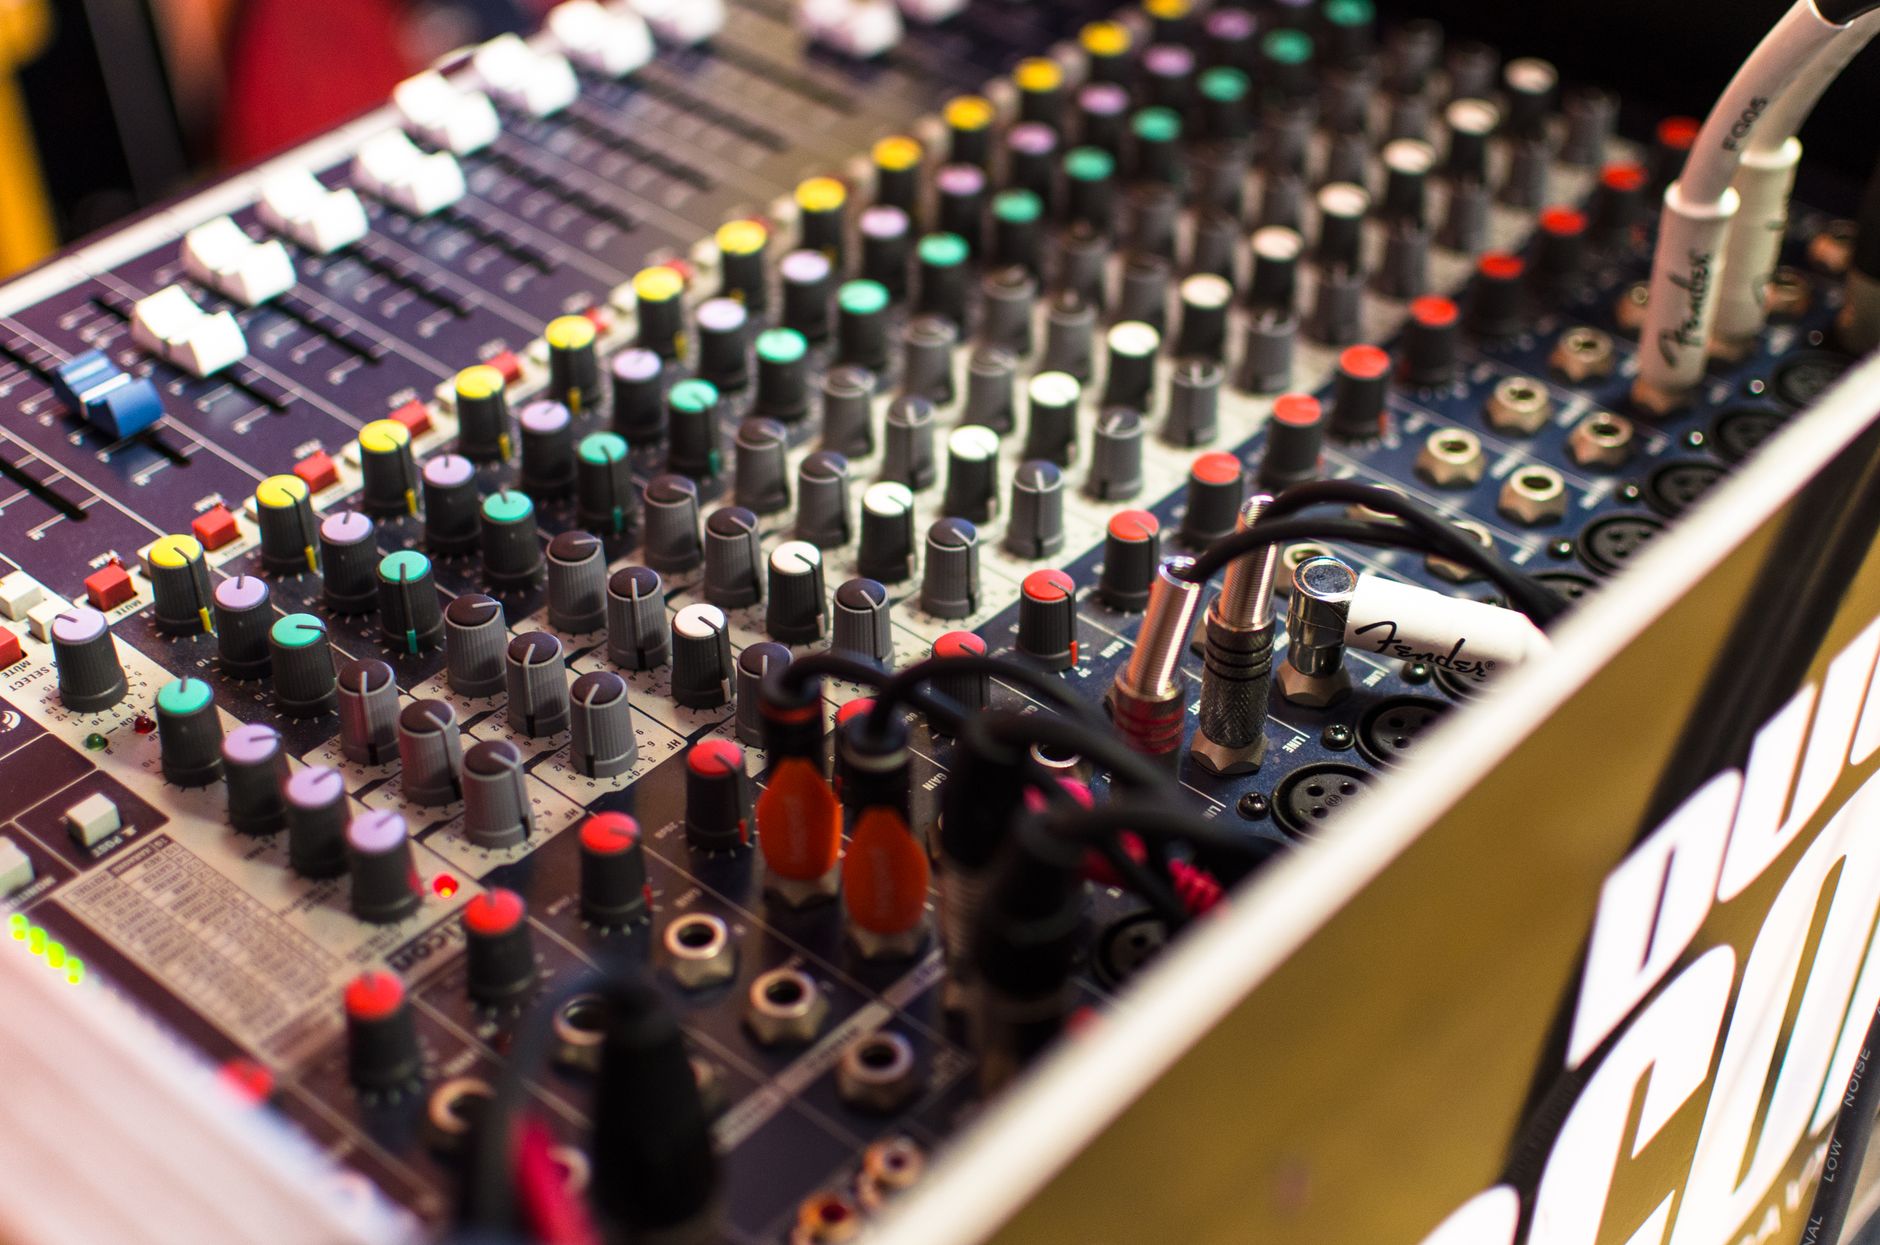
An audio interface converts analog audio (mic, guitar, keys) into digital data your computer can record and process. Without one, you’re routing audio through your computer’s built-in soundcard — which introduces latency, noise, and limited connectivity.
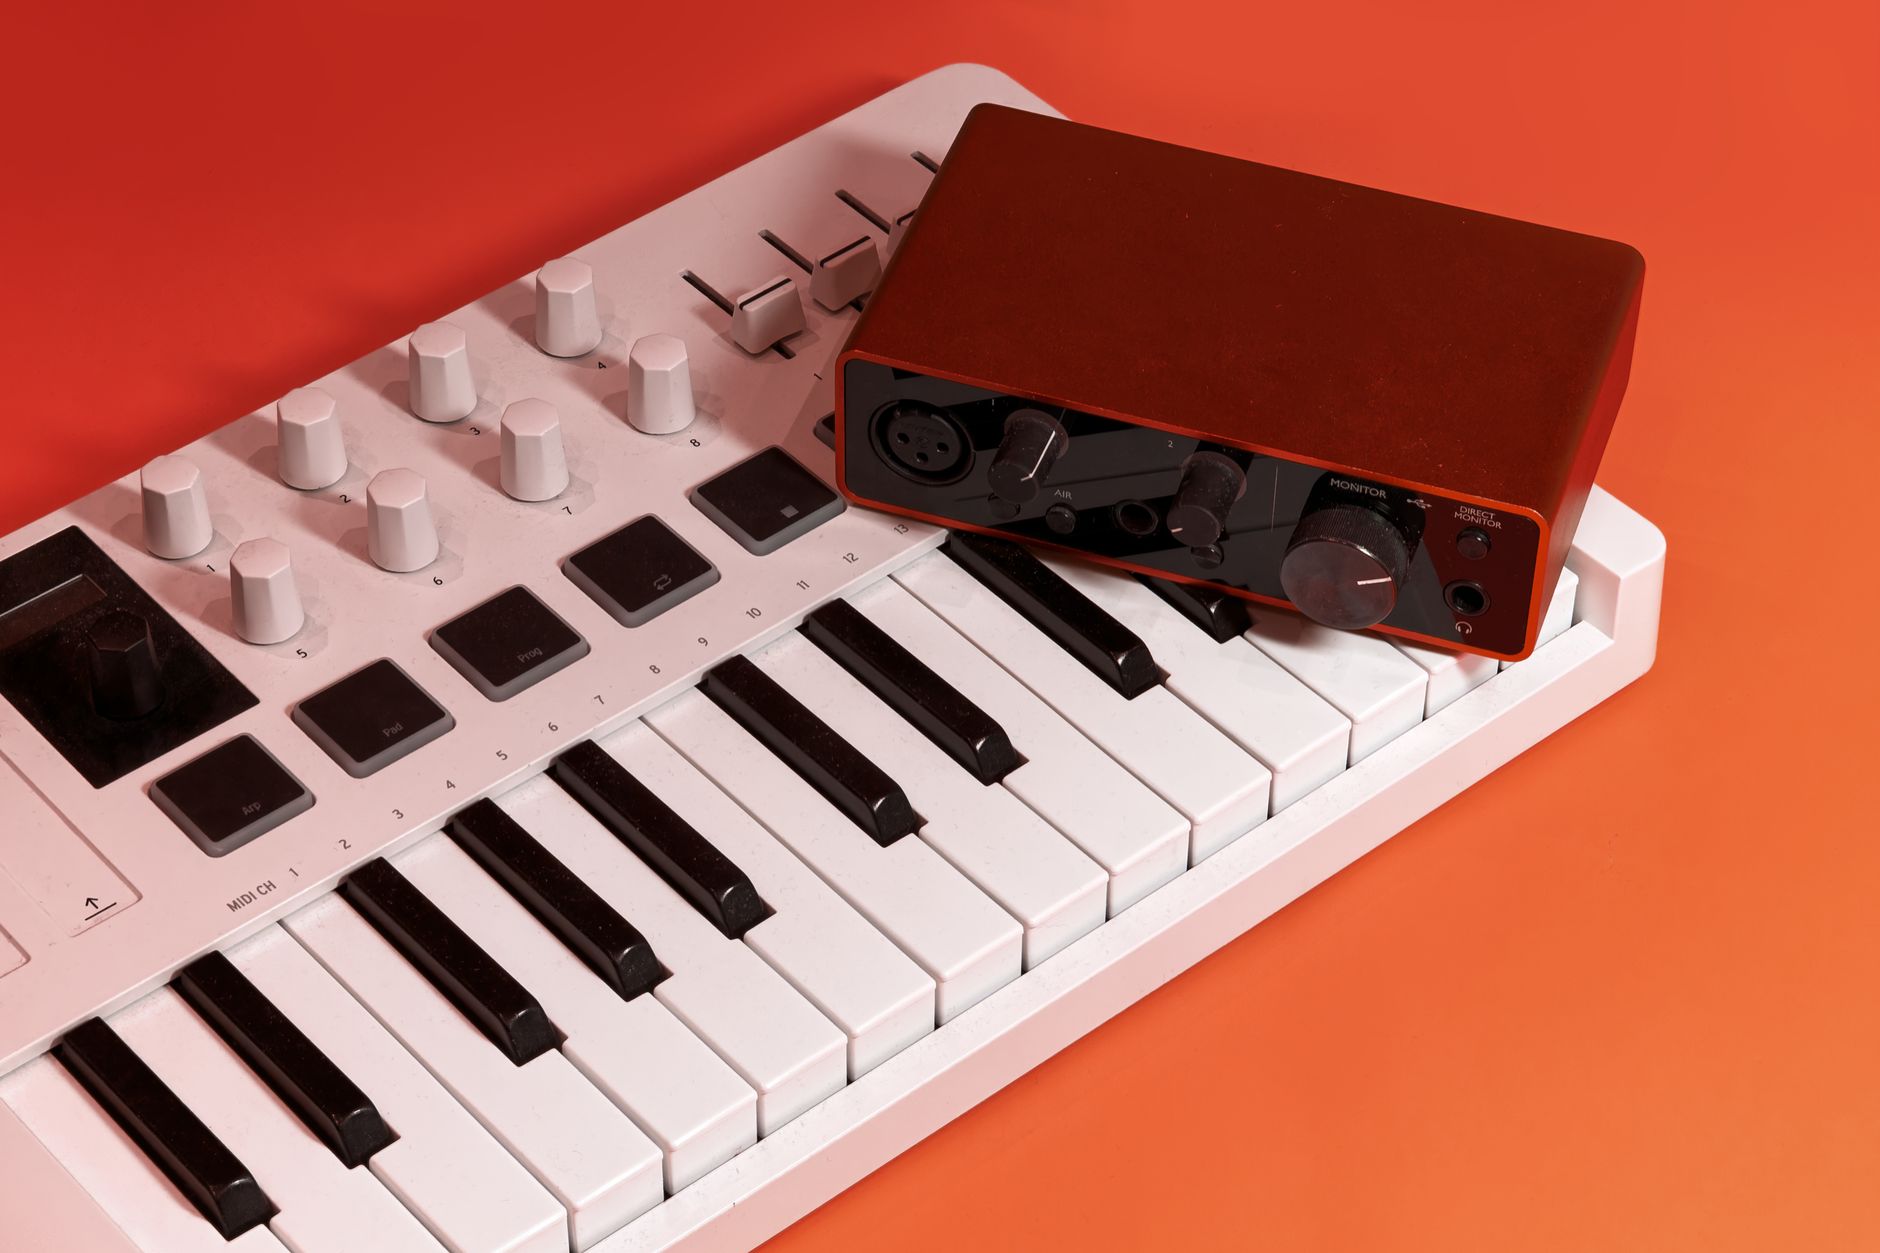 Photo: Primitive Spaces via Pexels
For most home recordists, a two-channel USB interface is sufficient. Key specs to evaluate:
| Spec | What It Means | Minimum Target |
|---|---|---|
| Preamp quality | How cleanly it amplifies mic signal | SNR > 100 dB |
| Bit depth / sample rate | Resolution of digital conversion | 24-bit / 48 kHz |
| Round-trip latency | Delay from input to output | < 10 ms at session rate |
| I/O count | Number of simultaneous inputs | 2 inputs for most setups |
The Focusrite Scarlett Solo handles one mic and one instrument — enough for solo artists and singer-songwriters. Step up to the Scarlett 2i2 if you need two simultaneous mic inputs, which covers drum overheads or dual-vocal sessions.
Microphone: Capture the Source
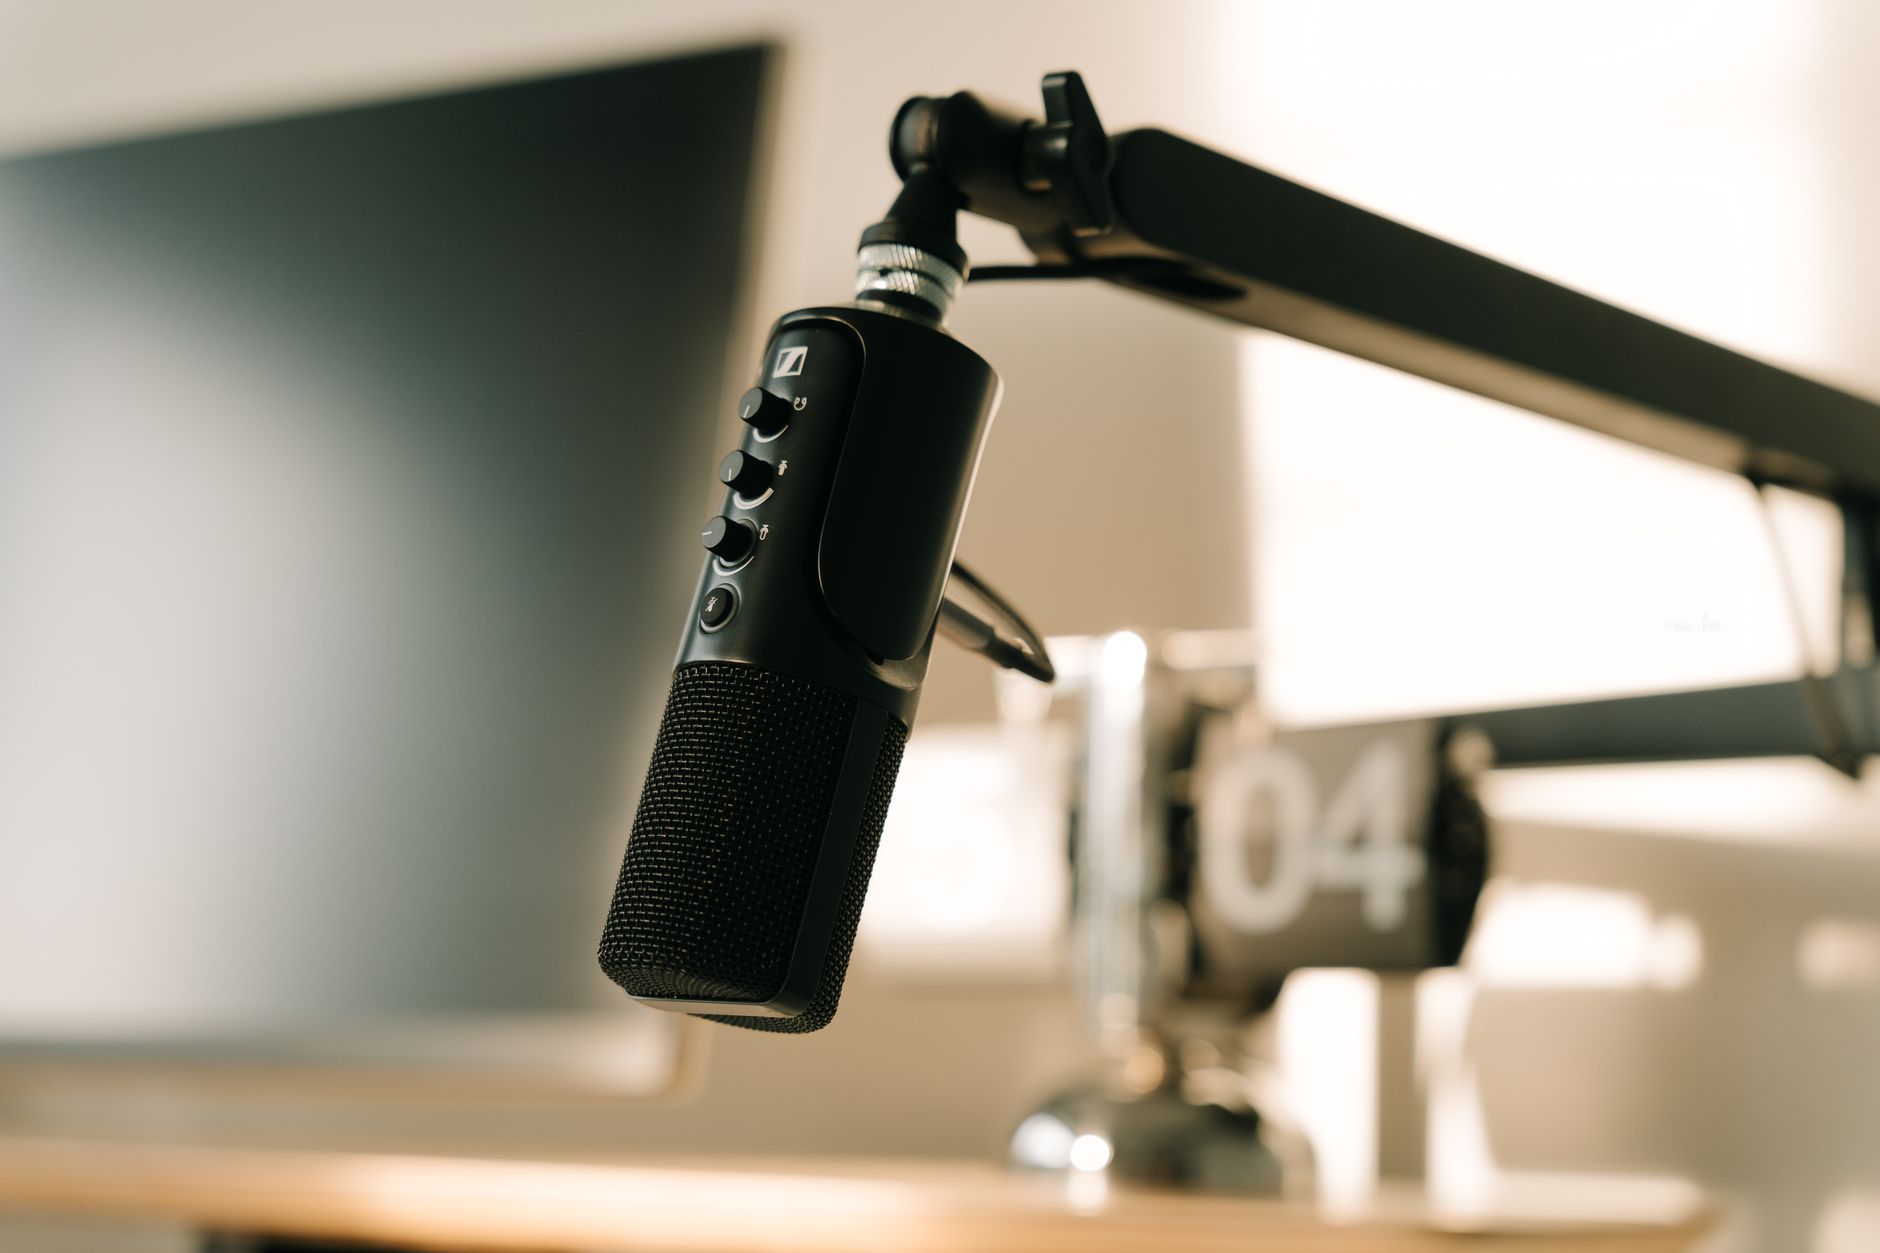
Your mic choice depends entirely on what you’re recording. A large-diaphragm condenser excels on vocals and acoustic instruments; a dynamic mic handles loud sources (amps, drums) without distortion; a small-diaphragm condenser is best for acoustic guitar and room ambience.
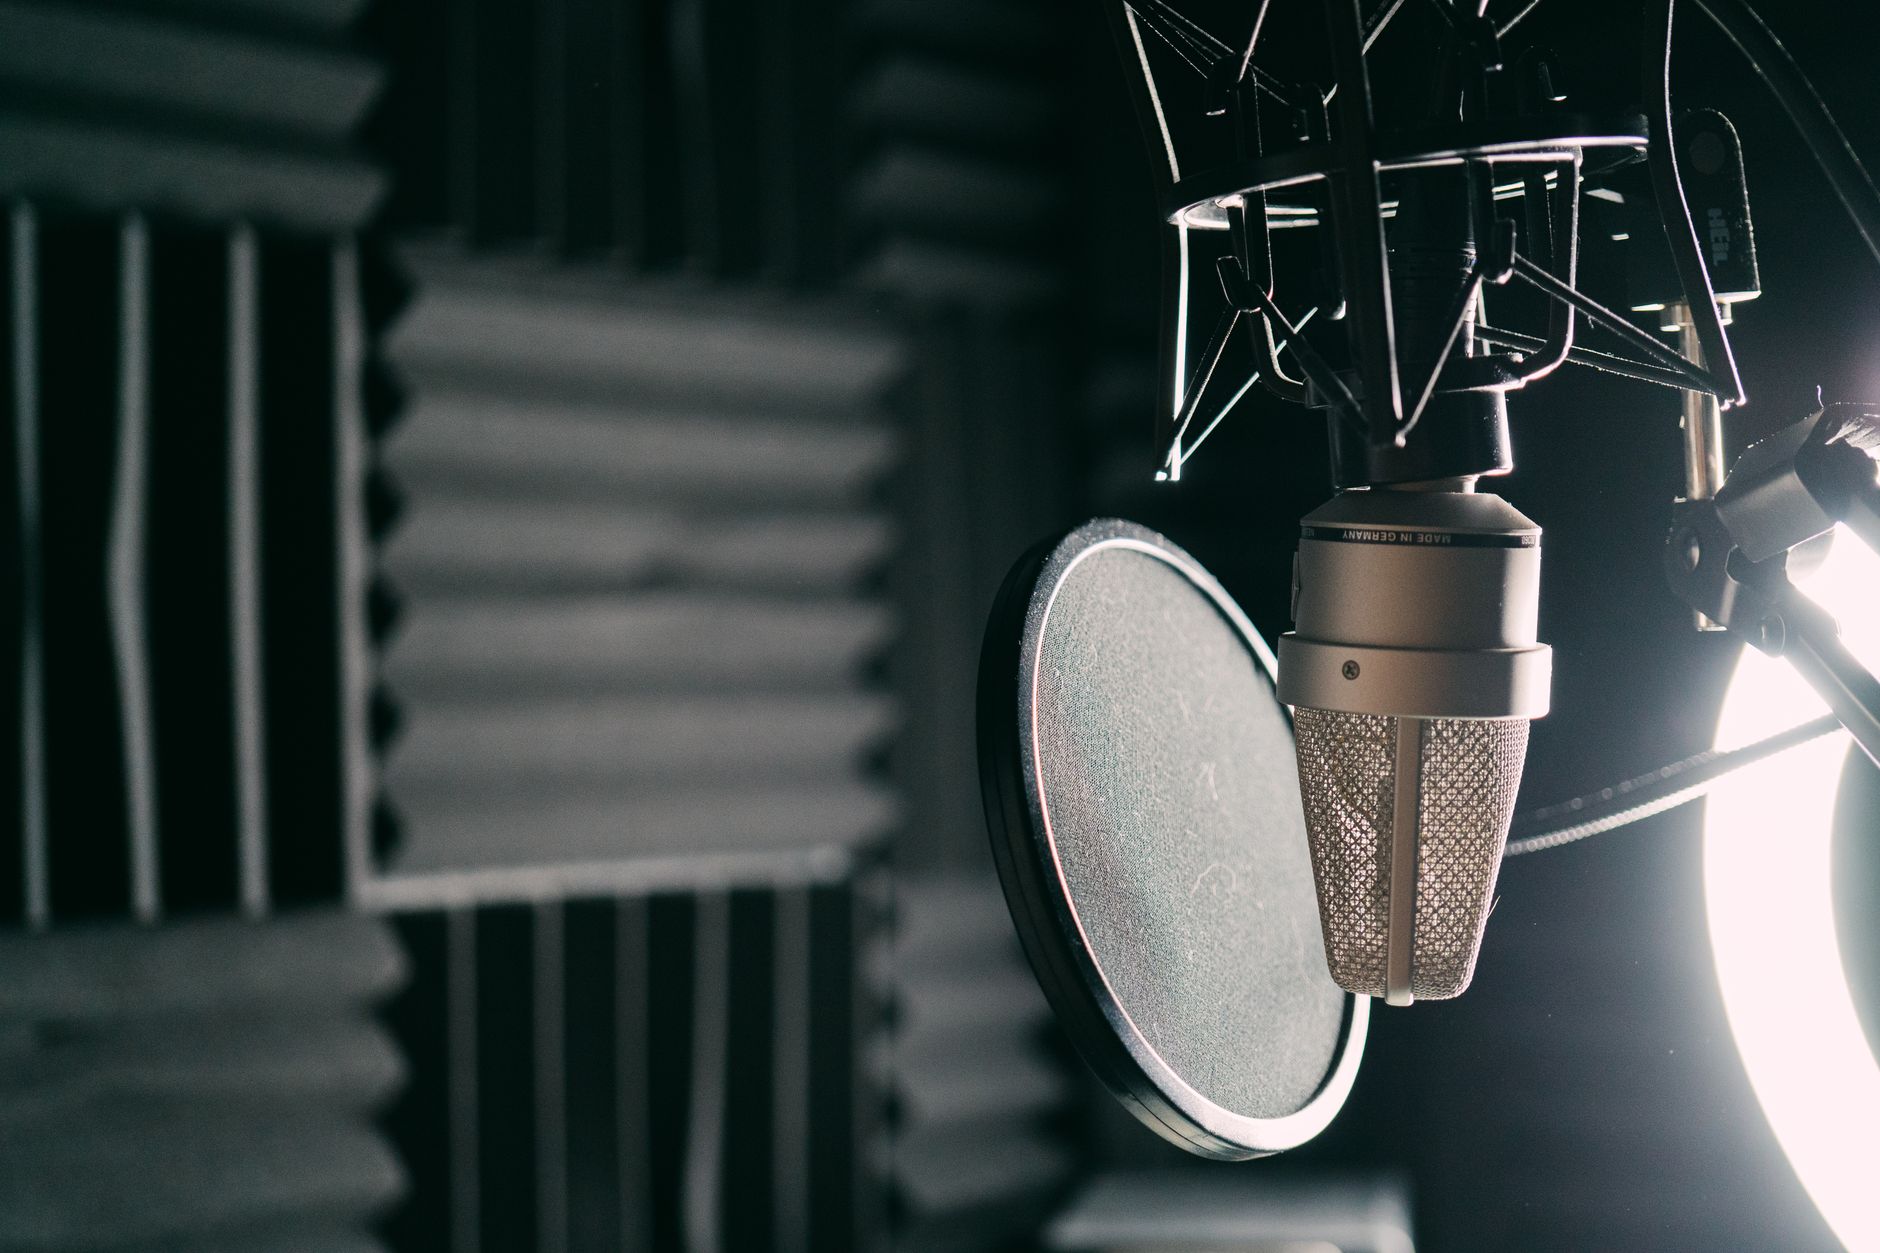 Photo: Jessica Lewis 🦋 thepaintedsquare via Pexels
Condenser vs. Dynamic for Home Recording
| Type | Best For | Phantom Power Needed | Room Sensitivity |
|---|---|---|---|
| Large-diaphragm condenser | Vocals, acoustic guitar, piano | Yes (48V) | High — reveals room sound |
| Small-diaphragm condenser | Acoustic guitar, overheads, room mics | Yes | High |
| Dynamic (moving coil) | Electric guitar amps, drums, loud vocals | No | Low — rejects room noise |
| Ribbon | Brass, guitar amps, room character | No (some active models) | Medium |
For untreated rooms, a dynamic mic like the Shure SM7B or SM58 is more forgiving than a condenser, which will pick up every HVAC rattle and flutter echo. If your room is reasonably dead, the Audio-Technica AT2020 is a reliable condenser at entry price.
Recording guitar direct? Skip the mic entirely and use a DI box or your interface’s instrument input — Hi-Z input on the interface handles passive pickups directly.
Headphones and Monitors: Hear What You’re Recording
Closed-back headphones are non-negotiable for tracking — open-backs bleed into the mic. For mixing, open-back headphones or studio monitors give you a more accurate stereo image.
For tracking (recording takes):
- Closed-back headphones seal out bleed. The Sony MDR-7506 has been a studio standard for decades — accurate, comfortable, and replaceable.
For mixing:
- Open-back headphones breathe — more natural stereo image, less ear fatigue on long sessions.
- Studio monitors let you hear the room’s interaction with the sound. Place them equilateral with your listening position, tweeters at ear height.
| Use Case | Headphone Type | Why |
|---|---|---|
| Tracking/recording takes | Closed-back | Prevents bleed into open mic |
| Mixing / critical listening | Open-back | Wider stereo image |
| Mixing without room treatment | Closed-back | Room doesn’t color the mix |
| Reference listening | Near-field monitors | Full low-frequency picture |
DAW: Your Recording Environment
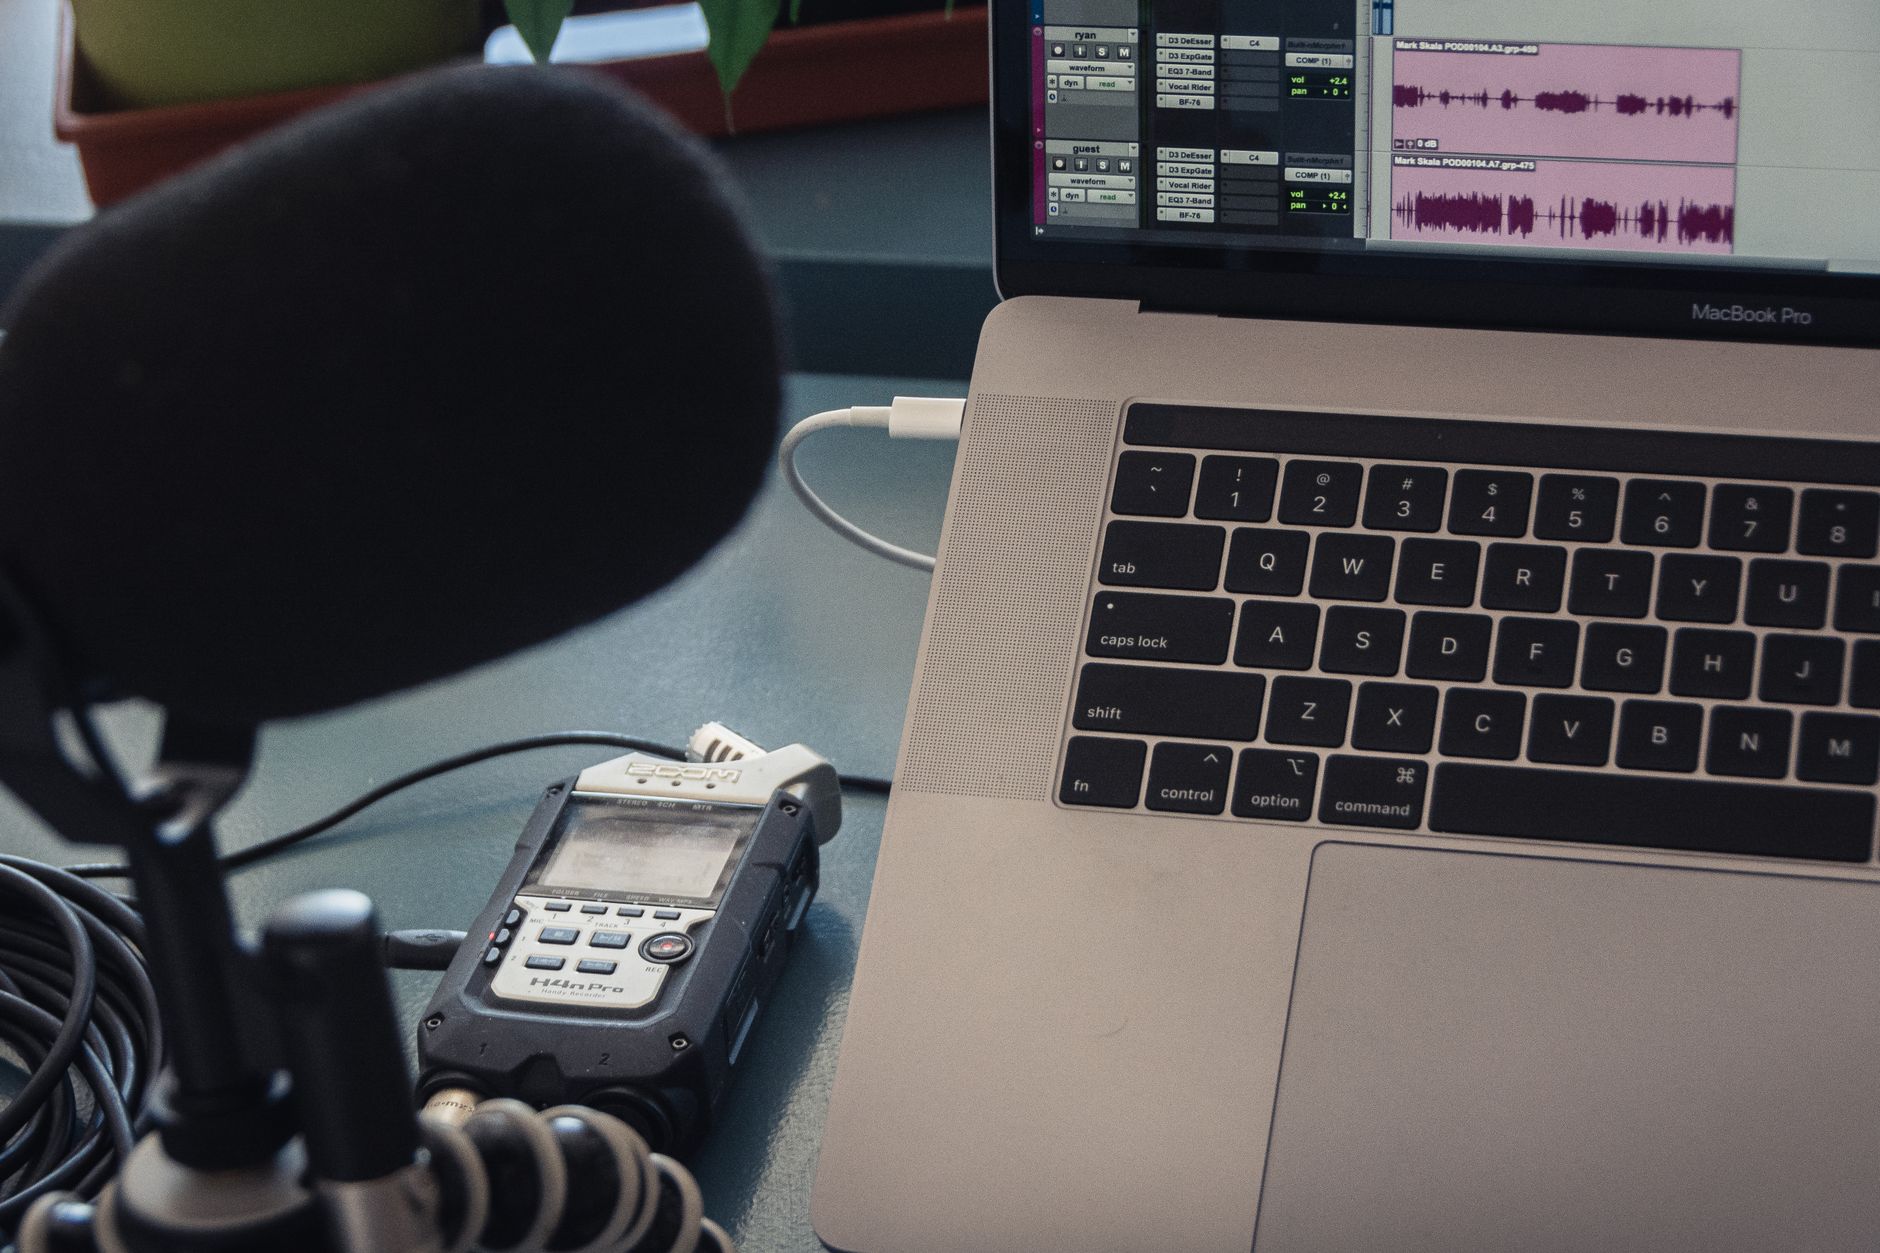
A DAW (Digital Audio Workstation) is the software that captures, arranges, and processes audio. Every DAW can record — the differences are workflow, included plugins, and learning curve, not fundamental capability.
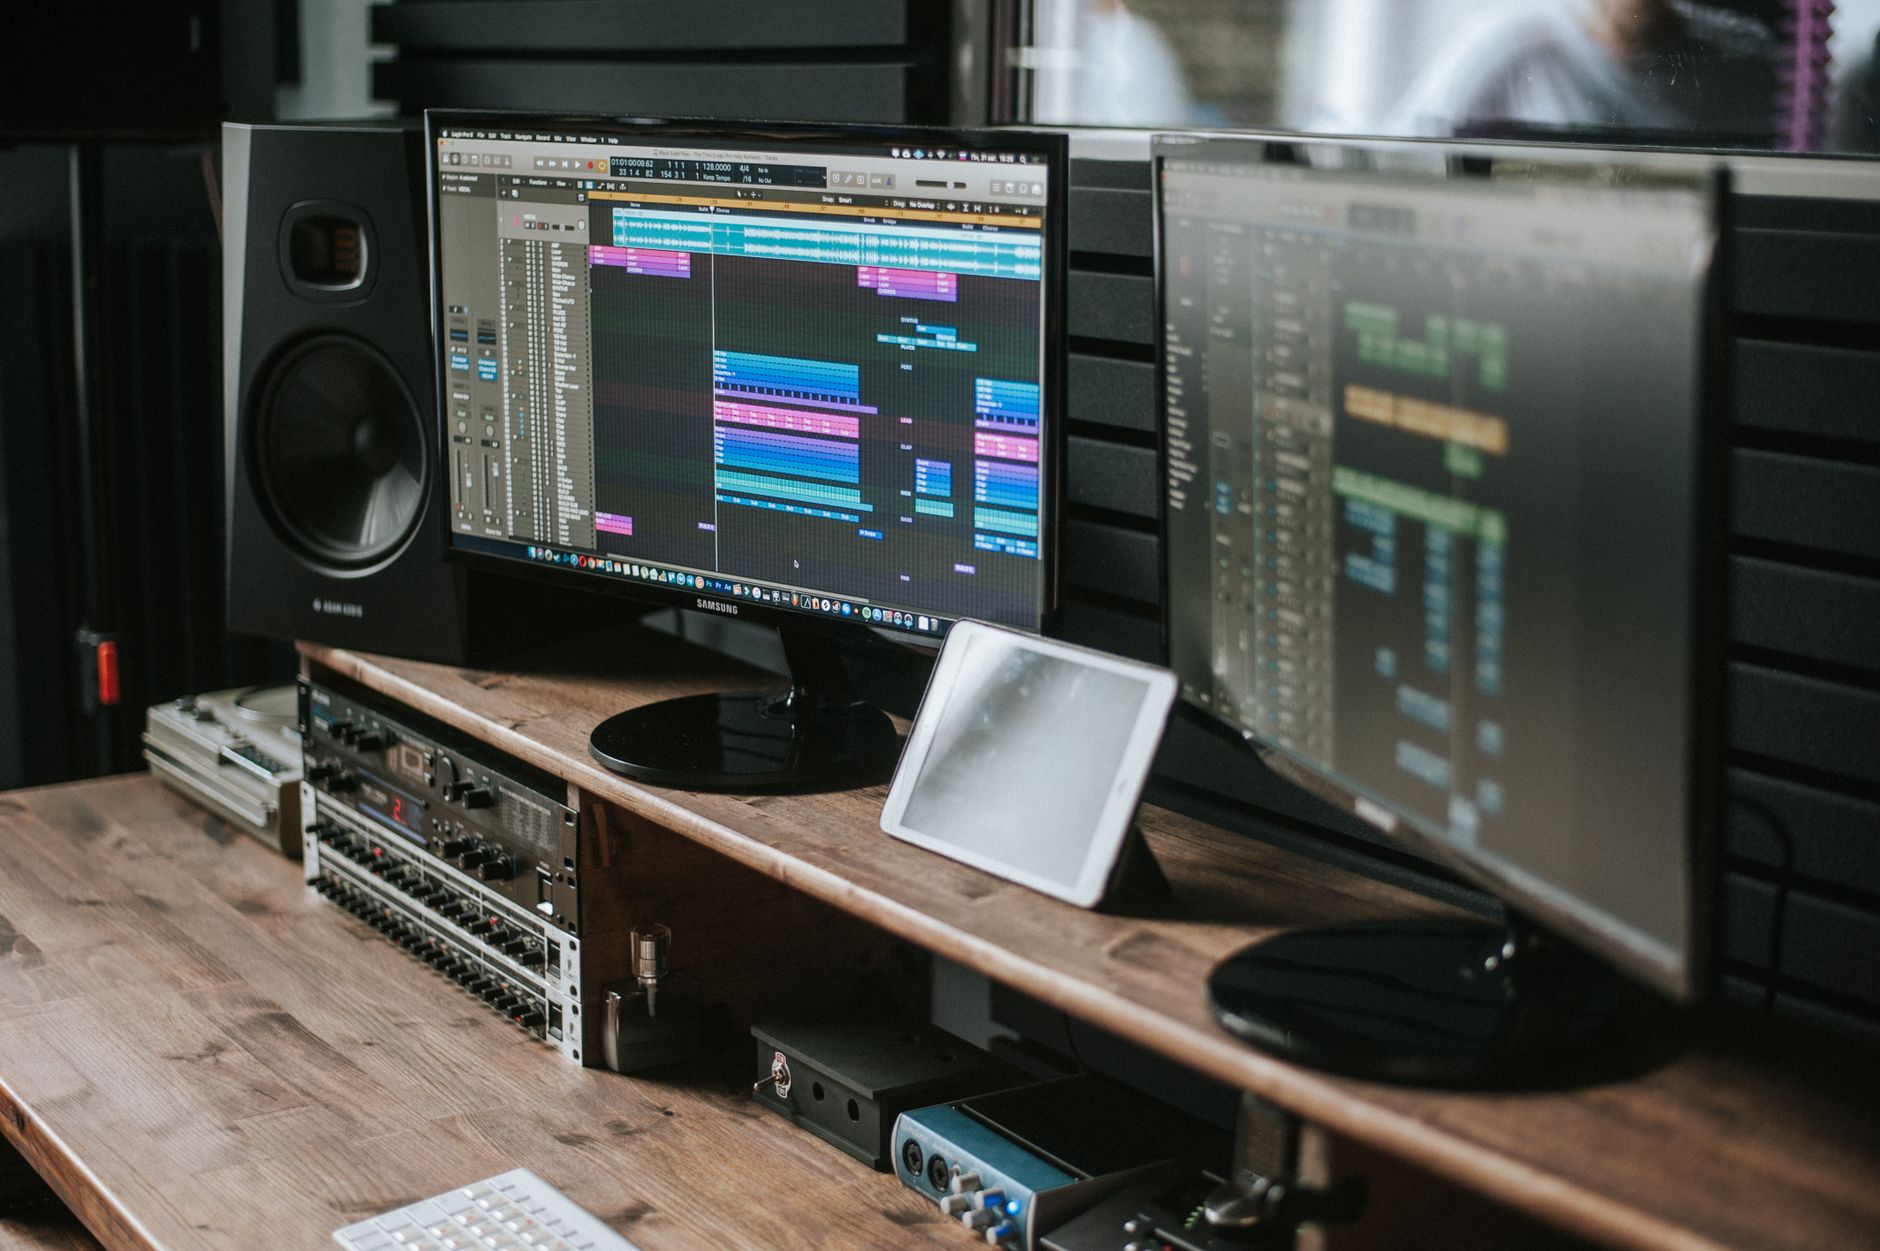 Photo: John Taran via Pexels
Popular entry-to-pro options:
| DAW | Price | Best For |
|---|---|---|
| GarageBand | Free (Mac) | Beginners, iOS integration |
| Reaper | $60 (discounted license) | Budget-conscious, highly configurable |
| Ableton Live Intro/Standard | $99–$449 | Electronic, loop-based production |
| Logic Pro | $199 (Mac) | Full-featured, Mac ecosystem |
| Pro Tools | $9.99/mo | Industry standard, studio compatibility |
| Studio One Artist/Pro | $99–$399 | Songwriter workflow, drag-and-drop mixing |
Start with GarageBand or Reaper if cost is a barrier. Both record and export professional-quality audio — the limitation is time spent learning, not output quality.
Acoustic Treatment: The Gear Nobody Buys First
Acoustic treatment is the most under-budgeted part of a home studio and the one that most affects mix quality. A $100 condenser in a treated room will outperform a $1,000 mic in a live, reflective space.
Treatment is not soundproofing. Soundproofing prevents sound passing through walls. Treatment controls how sound behaves inside the room — reducing flutter echo, standing waves, and early reflections that color the recording.
Basic treatment priority:
- First reflection points — where sound bounces off side walls toward your listening position. Place 2–4 acoustic panels here.
- Behind the mix position — a broadband absorber or diffuser prevents comb filtering from rear-wall reflections.
- Corners — bass traps in floor-to-ceiling corners control low-frequency buildup (the most audible coloration in small rooms).
A budget DIY approach: rigid fiberglass or rockwool panels (2“–4“ thick) in wood frames. Published testing data shows 2“ panels at 703 rockwool achieve broadband absorption above 500 Hz; for bass control, 4“ or corner placement is necessary.
→ See also:
- The Complete Home Recording Studio Setup Guide (2026)
- How to Build a Home Studio for $500 (2026)
- How to Build a Home Studio for $300 (2026)
Full Setup Workflow: Start to First Recording
Signal Chain Reference
Vocal: Mic → XLR cable → Interface (Mic preamp, 48V phantom if condenser)
                                  ↓
                          DAW (record-armed track, input monitoring)
                                  ↓
                   Headphones (closed-back, zero latency monitoring)
Guitar: Instrument → 1/4" TS → Interface Hi-Z input
↓
DAW (amp sim plugin on insert)
↓
Headphones / monitorsStep-by-Step: First Recording Session
- Connect interface to computer via USB — install driver if required (class-compliant interfaces skip this step).
- Open DAW, set audio device to your interface in preferences/audio settings.
- Set buffer size — 64–128 samples for tracking (lowest latency), 512–1024 for mixing (CPU headroom).
- Plug mic into XLR input 1 — engage phantom power (48V) if using a condenser.
- Set gain — singer performs at session volume while you adjust the preamp gain until peaks hit −18 to −12 dBFS. Headroom matters: you’re not mastering yet.
- Create a new audio track in the DAW — assign input to interface channel 1, arm for recording.
- Enable input monitoring (direct monitoring on the interface bypasses DAW latency — use this during tracking).
- Record a test take — listen back on headphones.
- Check for noise floor — if you hear hiss, check gain staging, cable quality, and grounding.
- Record.
Troubleshooting Matrix
| Symptom | Likely Cause | Fix |
|---|---|---|
| No signal in DAW | Wrong input selected, phantom power off, muted track | Check DAW audio settings, enable 48V, check track arm |
| High latency / timing feels off | Buffer size too high | Lower buffer to 64–128 samples in DAW preferences |
| Hiss / noise floor | Preamp gain too high, cheap cable, ground loop | Lower gain, check cables, use balanced connections |
| Distortion / clipping | Signal hitting 0 dBFS | Pull preamp gain back, aim for −18 to −12 dBFS peaks |
| Phase cancellation on two mics | Mics placed incorrectly | Apply 3:1 rule — second mic ≥3× the first mic’s source distance |
| Echo / room sound in recording | Reflective room, no treatment | Add absorption at first reflection points; move mic closer to source |
| Interface not recognized | Driver issue | Reinstall driver, try different USB port (avoid USB hubs) |
FAQ
What is the minimum gear I need to record music at home? The true minimum is an audio interface, one microphone (or a DI connection for instruments), headphones, a computer, and free DAW software like GarageBand or the Reaper trial. You can record a complete, release-quality track with this setup for under $200.
Do I need a mixer to record at home? No. A mixer is not necessary for home recording. An audio interface handles preamp duties and connects directly to your DAW — a mixer adds hardware complexity and cost without improving recording quality in a typical home setup.
Can I record with just a USB microphone? Yes, but with limitations. A USB mic eliminates the audio interface, which simplifies the chain but limits you to one mic input, typically higher latency, and no upgrade path. For solo podcasting or voice work it’s fine; for music production with multiple sources or instruments, a dedicated interface is worth the step up.
How much does a basic home studio cost? A functional home recording setup — interface, mic, headphones, DAW — runs $200–$350 for entry-level gear. A mid-tier setup with better preamps, studio monitors, and acoustic treatment sits around $500–$800. Cost scales with the quality of the transducers (mics, monitors) more than any other variable.
Does room acoustics really matter that much? Yes — more than most first-time home recordists expect. A poorly treated room creates recordings with audible coloration, uneven frequency response, and mixes that don’t translate to other playback systems. Expert consensus suggests basic broadband absorption (panels at first reflection points) makes a more audible difference than upgrading from an entry-level to mid-tier microphone.
What computer specs do I need for home recording? Any modern computer purchased after 2018 handles basic recording. For a practical baseline: 8 GB RAM handles most session sizes; 16 GB is comfortable with large sample libraries. An SSD reduces read/write latency compared to spinning disk — critical when streaming multiple audio tracks. CPU speed matters most when running CPU-heavy plugins; audio interfaces with DSP (on-board processing) offload that burden.
Editorial methodology: Assessments are based on manufacturer specifications, published user reviews, and editorial research. Physical hands-on testing is noted explicitly where it occurred. Rankings reflect our editorial judgment and are not influenced by affiliate commission rates. Full editorial policy · Affiliate disclosure