Contents
Best Studio Desks for Home Recording (2026)
TL;DR: The best studio desk anchors your entire workflow — it determines monitor placement, cable management, ergonomics, and whether your mix position is acoustically viable. For most home studios, the Glorious Modular Music Workstation or Zomo Studio Flex hit the sweet spot of build quality, ergonomics, and price. Budget builders should look at the On-Stage WS7500 or a purpose-built IKEA hack.
Why Your Studio Desk Matters More Than You Think
Direct Answer: Your desk isn’t just furniture — it sets monitor height, ear-to-speaker distance, and reflection paths. A poorly placed desk turns even great monitors into a guessing game. The right studio desk puts your tweeters at ear level, keeps your gear within arm’s reach, and doesn’t introduce early reflections that corrupt your stereo image.
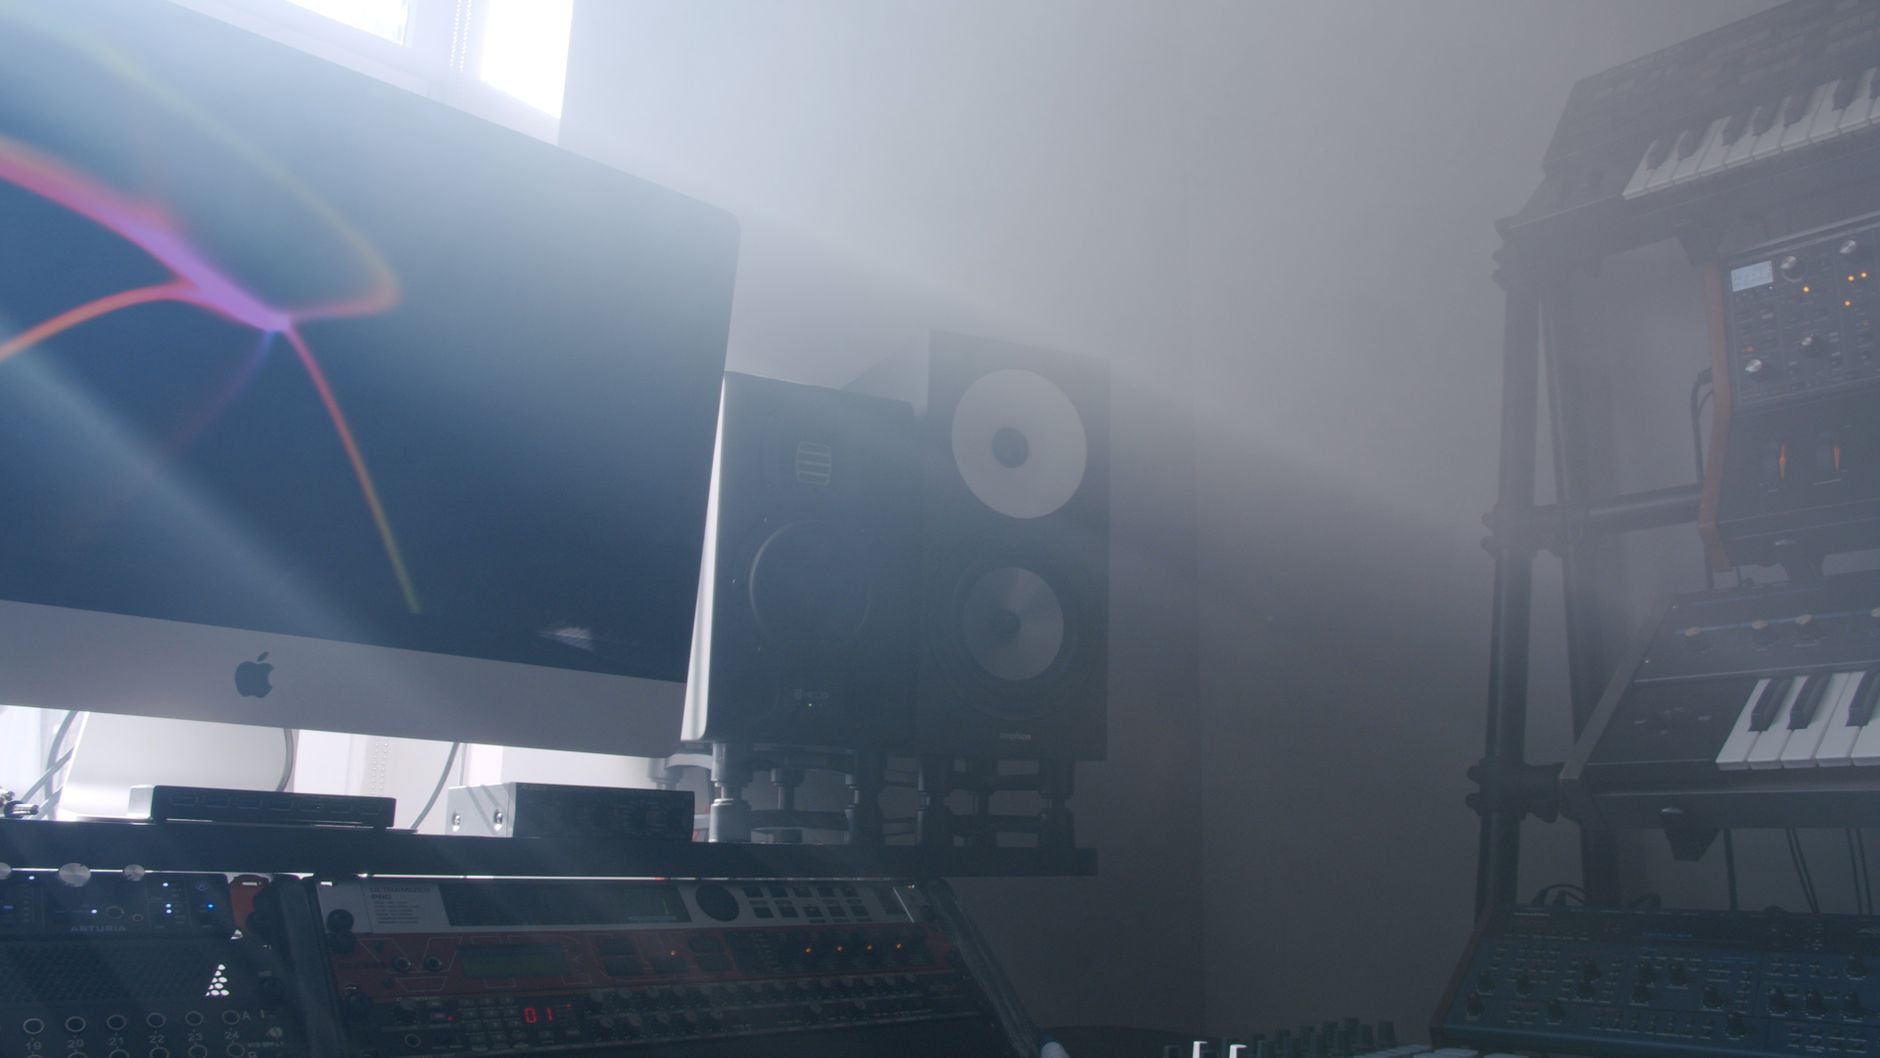
 Photo: gabriel bodhi via Pexels
Most home producers underestimate how much the desk shapes the acoustic environment. A solid-surface desk with parallel sides creates a flutter echo zone directly between you and your monitors. Desks with open-frame designs or angled side panels break up these reflections before they reach your ears. That’s not marketing copy — it’s basic room acoustics, and it’s why studios spend serious money on dedicated workstations.
Ergonomics compound the problem. Producers who sit at kitchen tables or standard office desks end up with monitors aimed at their chin, or perched on books to compensate. Neither approach survives a long session. A proper studio desk solves monitor placement structurally, not with improvised risers.
What to Look for in a Studio Desk
Direct Answer: Prioritize: (1) correct monitor placement angles, (2) keyboard tray or pull-out for proper arm position, (3) cable management cutouts, (4) surface depth ≥ 24 inches to push monitors back from the mix position. Secondary: side rack space, monitor bridge, weight capacity if you’re running outboard gear.
 Photo: Alexis Emanuel Salinas via Pexels
Surface Depth and Monitor Distance
The free-field mixing rule — ear to tweeter distance roughly equal to speaker separation — requires at least 24 inches of desk depth to push nearfields back far enough. Most consumer desks run 20–22 inches. That extra two inches isn’t trivial: at 36 inches of depth you can run Yamaha HS8s or Focal Alphas at realistic SPL levels without the high-frequency energy overwhelming your near field.
Rack Integration
If you’re running even a modest amount of outboard — a hardware compressor, patchbay, rackmount interface — a desk with integrated side towers or under-desk rack rails saves significant floor space. Most purpose-built studio desks offer 6U to 12U side wings. For a bedroom studio with a single interface and maybe a 500-series rack, 6U per side is plenty.
Build Materials
MDF with PVC laminate covers most studio desks under $500. It’s acoustically inert enough for the purpose, though heavy. Steel-frame desks with MDF panels (Glorious, Zomo) offer better rigidity and don’t flex under heavy monitor weight. Solid wood or plywood builds at this price point are rare; most “wood” finishes are veneer over MDF.
Best Studio Desks: Our Picks
Best Overall: Glorious Modular Music Workstation
Direct Answer: The Glorious MMW is the most configurable desk under $600. Its modular rail system lets you add monitor bridges, side rack towers, and cable management panels à la carte. Build quality is significantly above its price class — steel frame, MDF panels, and a surface that won’t flex under 60-lb monitor loads.
 Photo: cottonbro studio via Pexels
The base unit ships at 47 inches wide with a surface depth of 28 inches — enough to push nearfields to a proper listening distance. The integrated side panels accept optional 6U rack wings, and the rear cable routing channel keeps the signal path clean without drilling. According to user reviews across major retailers, the assembly process runs about 90 minutes with two people; solo assembly is doable but awkward at the steel frame stage.
| Spec | Value |
|---|---|
| Width | 47 in |
| Depth | 28 in |
| Surface Height | 29.5 in |
| Max Load | 175 lbs |
| Rack Options | 6U side wings (sold separately) |
| Price Range | $350–$450 |
The one real limitation: the keyboard tray is sold separately and adds $40–$60. For a desk at this price, that should be included.
Best Budget Pick: On-Stage WS7500
Direct Answer: At under $150, the On-Stage WS7500 punches above its price with a dedicated monitor shelf, lower work surface for keyboard/controller, and clean cable management. It won’t carry outboard gear — max load on the upper shelf is around 80 lbs — but for a laptop + interface + small monitors setup, it’s hard to beat.
The two-tier design does something smart: the lower surface sits at standard desk height for keyboard work, while the elevated shelf gets your monitors at ear level without risers. That’s the core ergonomic problem solved for $150. Build quality is MDF throughout, and the joinery is adequate but not exceptional — don’t plan to move this desk frequently.
| Spec | Value |
|---|---|
| Width | 48 in |
| Upper Shelf Height | 45 in (from floor) |
| Lower Surface Depth | 20 in |
| Max Load (upper) | 80 lbs |
| Price Range | $120–$160 |
Best Mid-Range: Zomo Studio Flex
Direct Answer: The Zomo Flex sits between the On-Stage and Glorious in price and configurability. Its distinguishing feature is adjustable-height legs (27–35 inches), making it the best choice for standing-desk hybrid use or producers who are taller than average and find standard desk heights cause shoulder fatigue.
The steel frame supports serious weight — published specifications list 220 lbs surface capacity — which means you can run heavier monitors like the Adam Audio T8V or Genelec 8040 without concern. Side rail mounts accept Zomo’s own rack units or generic 19-inch hardware with adapters.
| Spec | Value |
|---|---|
| Width | 52 in |
| Depth | 24 in |
| Height Range | 27–35 in (adjustable) |
| Max Load | 220 lbs |
| Price Range | $280–$380 |
Best for Large Setups: Argosy 90 Series
Direct Answer: The Argosy 90 is professional studio furniture — used in commercial studios, broadcast facilities, and high-end home setups. It’s expensive ($1,200–$2,000 depending on configuration), heavy, and permanent. If you’re building a dedicated studio room and want a desk that will outlast the rest of your gear by decades, this is the one.
The Argosy design positions monitors in fixed side wings angled toward the mix position, which removes the monitor placement variable entirely. Cable management is routed internally — no visible runs anywhere on the work surface. Side bays accept 12U or more of rack gear. Based on manufacturer specifications, the surface material is 1.5-inch furniture-grade MDF with PVC laminate, and the structure is welded steel.
| Spec | Value |
|---|---|
| Width | 68–84 in (configuration-dependent) |
| Rack Capacity | 12U per side (typical) |
| Build | Welded steel + 1.5in MDF |
| Price Range | $1,200–$2,000+ |
Best IKEA Hack: ALEX + LINNMON
Direct Answer: The IKEA ALEX drawer unit paired with a LINNMON tabletop is the most cost-effective studio desk build at under $150 total. Two ALEX units as legs give you drawer storage on both sides; the LINNMON top in 59×29.5 inches provides enough depth for monitor placement. It won’t win awards, but it works.
 Photo: Alpha En via Pexels
The ALEX units run at 28.3 inches tall, which puts the surface at standard desk height. Add monitor isolation pads (IsoAcoustics or similar) to decouple your nearfields from the surface, and you’ve addressed the primary transmission path. The 29.5-inch LINNMON depth pushes monitors back far enough for most setups.
Cable management is the weak point — IKEA doesn’t route anything internally. A cable tray mounted under the surface ($15–$25) solves most of it. The total cost including cable management sits around $160–$200, still well below purpose-built alternatives.
Comparison: Best Studio Desks at a Glance
| Desk | Price | Width | Depth | Rack | Best For |
|---|---|---|---|---|---|
| Glorious MMW | $350–$450 | 47 in | 28 in | Optional 6U | Best overall, modular |
| On-Stage WS7500 | $120–$160 | 48 in | 20 in | None | Budget, small setups |
| Zomo Studio Flex | $280–$380 | 52 in | 24 in | Side rails | Standing-desk, heavier monitors |
| Argosy 90 Series | $1,200–$2,000+ | 68–84 in | Varies | 12U+ | Pro/permanent studio rooms |
| IKEA ALEX+LINNMON | $150–$200 | 59 in | 29.5 in | None | Budget DIY |
Setting Up Your Studio Desk: Signal Chain and Placement
Signal Chain Block
Monitors → Isolation Pads → Desk Surface → Interface (USB/Thunderbolt) → DAW
                                                    ↑
                              Controllers / MIDI keyboard on lower tier or tray
Gain staging note: Route balanced TRS or XLR from your interface outputs directly to monitor inputs. Don’t run through a patchbay unless you’re actively using it — every passive connector in the chain adds insertion loss and a potential noise ingress point.
Step-by-Step Desk Setup Workflow
- Position the desk first — before any gear goes on it. The desk should sit on the front wall of the room with you facing into the room, not into a corner. This minimizes low-frequency buildup behind the mix position.
- Set surface height — your forearms should be parallel to the floor when your hands rest on the keyboard. Most desks run 28–30 inches; taller producers may need a height-adjustable option like the Zomo Flex.
- Place monitors — push them as far back as your depth allows. Aim for the tweeter at ear level. The standard equilateral triangle: speaker-to-speaker distance equals speaker-to-ear distance, typically 36–48 inches in a home studio.
- Add isolation pads — decouple monitors from the desk surface. IsoAcoustics Aperta or similar foam pads prevent sympathetic resonance from transmitting through the desk into the room.
- Route cables before loading gear — run power and signal cables through desk cutouts and cable trays before placing monitors or outboard gear. Retrofitting cables around heavy equipment is the thing you’ll regret skipping.
- Interface placement — keep the interface within arm’s reach of the mix position. Most engineers place it on the desk surface to the right or in a nearby rack bay. The goal is gain control without leaning.
- Keyboard and controller — on a pull-out tray or the lower tier if your desk has one. Your MIDI controller should sit at elbow height with elbows bent at 90 degrees.
- Test the mix position — sit at the finished desk, close your eyes, and snap your fingers. Listen for early reflections bouncing off the desk surface back to your ears. Excessive desk reflection is a sign you need monitor tilting or acoustic treatment above the surface.
Troubleshooting Matrix
| Symptom | Likely Cause | Fix |
|---|---|---|
| Low-frequency buildup | Desk pushed into corner | Move desk to front wall; use corner bass traps |
| High-frequency harshness | Monitors too close | Push back to at least 24 in from ear position |
| Monitor vibration through desk | No isolation | Add IsoAcoustics or foam decoupling pads |
| Neck/shoulder fatigue | Surface height wrong | Adjust desk height or add monitor risers to hit ear level |
| Cable noise / ground hum | Unbalanced connections | Switch to balanced TRS or XLR throughout signal chain |
| Stereo image collapse | Monitors not equidistant | Measure and adjust to equilateral triangle placement |
→ See also:
- The Complete Home Recording Studio Setup Guide (2026)
- How to Build a Home Studio for $500 (2026)
- How to Build a Home Studio for $300 (2026)
FAQ
What size studio desk do I need for a home studio? For a typical home studio with two nearfield monitors, aim for a desk at least 48 inches wide and 24 inches deep. Width gives monitors enough separation for a proper stereo image; depth pushes them back from your ears to the correct listening distance. Smaller desks force compromises on both.
Do I need a desk with a monitor bridge or shelf? Not necessarily — a monitor bridge is convenient but not required if your desk surface is deep enough. The goal is tweeter at ear level. If your surface depth gets monitors back far enough, a bridge adds negligible benefit. If you’re on a shallow desk (under 24 inches), a bridge helps compensate but isn’t a substitute for proper depth.
Is an IKEA desk good enough for a home studio? Yes, for most bedroom studio setups. The ALEX + LINNMON combination provides adequate surface area, storage, and depth. The main limitation is lack of built-in cable management and no rack integration. Add a cable tray and monitor isolation pads, and it’s a fully functional work surface.
Should my studio desk be against a wall? Place the desk against the front wall with your back to the room — not facing a wall, and not in a corner. Facing a wall puts you too close to the boundary and causes comb filtering from reflections. A corner position excites corner bass modes. Front-wall placement gives the most consistent low-frequency response and room for diffusion behind the mix position.
How much weight can a studio desk hold? Standard studio desks typically support 100–220 lbs on the work surface. Two large nearfield monitors (10–20 lbs each), a hardware rack, and a computer add up faster than expected. Check manufacturer specifications against your actual gear weight — budget MDF desks at under $150 often list 80–100 lbs maximum, which is tight if you’re running 8-inch or larger monitors.
Do studio desks affect acoustics? The desk surface itself is a reflection point — it bounces high-frequency energy from your monitors back up toward your ears, causing comb filtering at the mix position. Acoustic foam on the desk surface or angled monitor placement mitigates this. Open-frame desk designs with less horizontal surface area reduce early reflections compared to solid-top workstations.
Editorial methodology: Assessments are based on manufacturer specifications, published user reviews, and editorial research. Physical hands-on testing is noted explicitly where it occurred. Rankings reflect our editorial judgment and are not influenced by affiliate commission rates. Full editorial policy · Affiliate disclosure