Contents
Best Studio Monitor Stands and Isolation Pads (2026)
TL;DR: The best studio monitor stands position your tweeters at ear level and decouple the cabinet from your desk — two fixes that cost under $150 combined and do more for mix accuracy than most gear upgrades. For most home studios, foam isolation pads under desktop monitors plus a solid pair of stands is the right combination. Read on for specific picks at every budget.
Why Monitor Placement Actually Matters
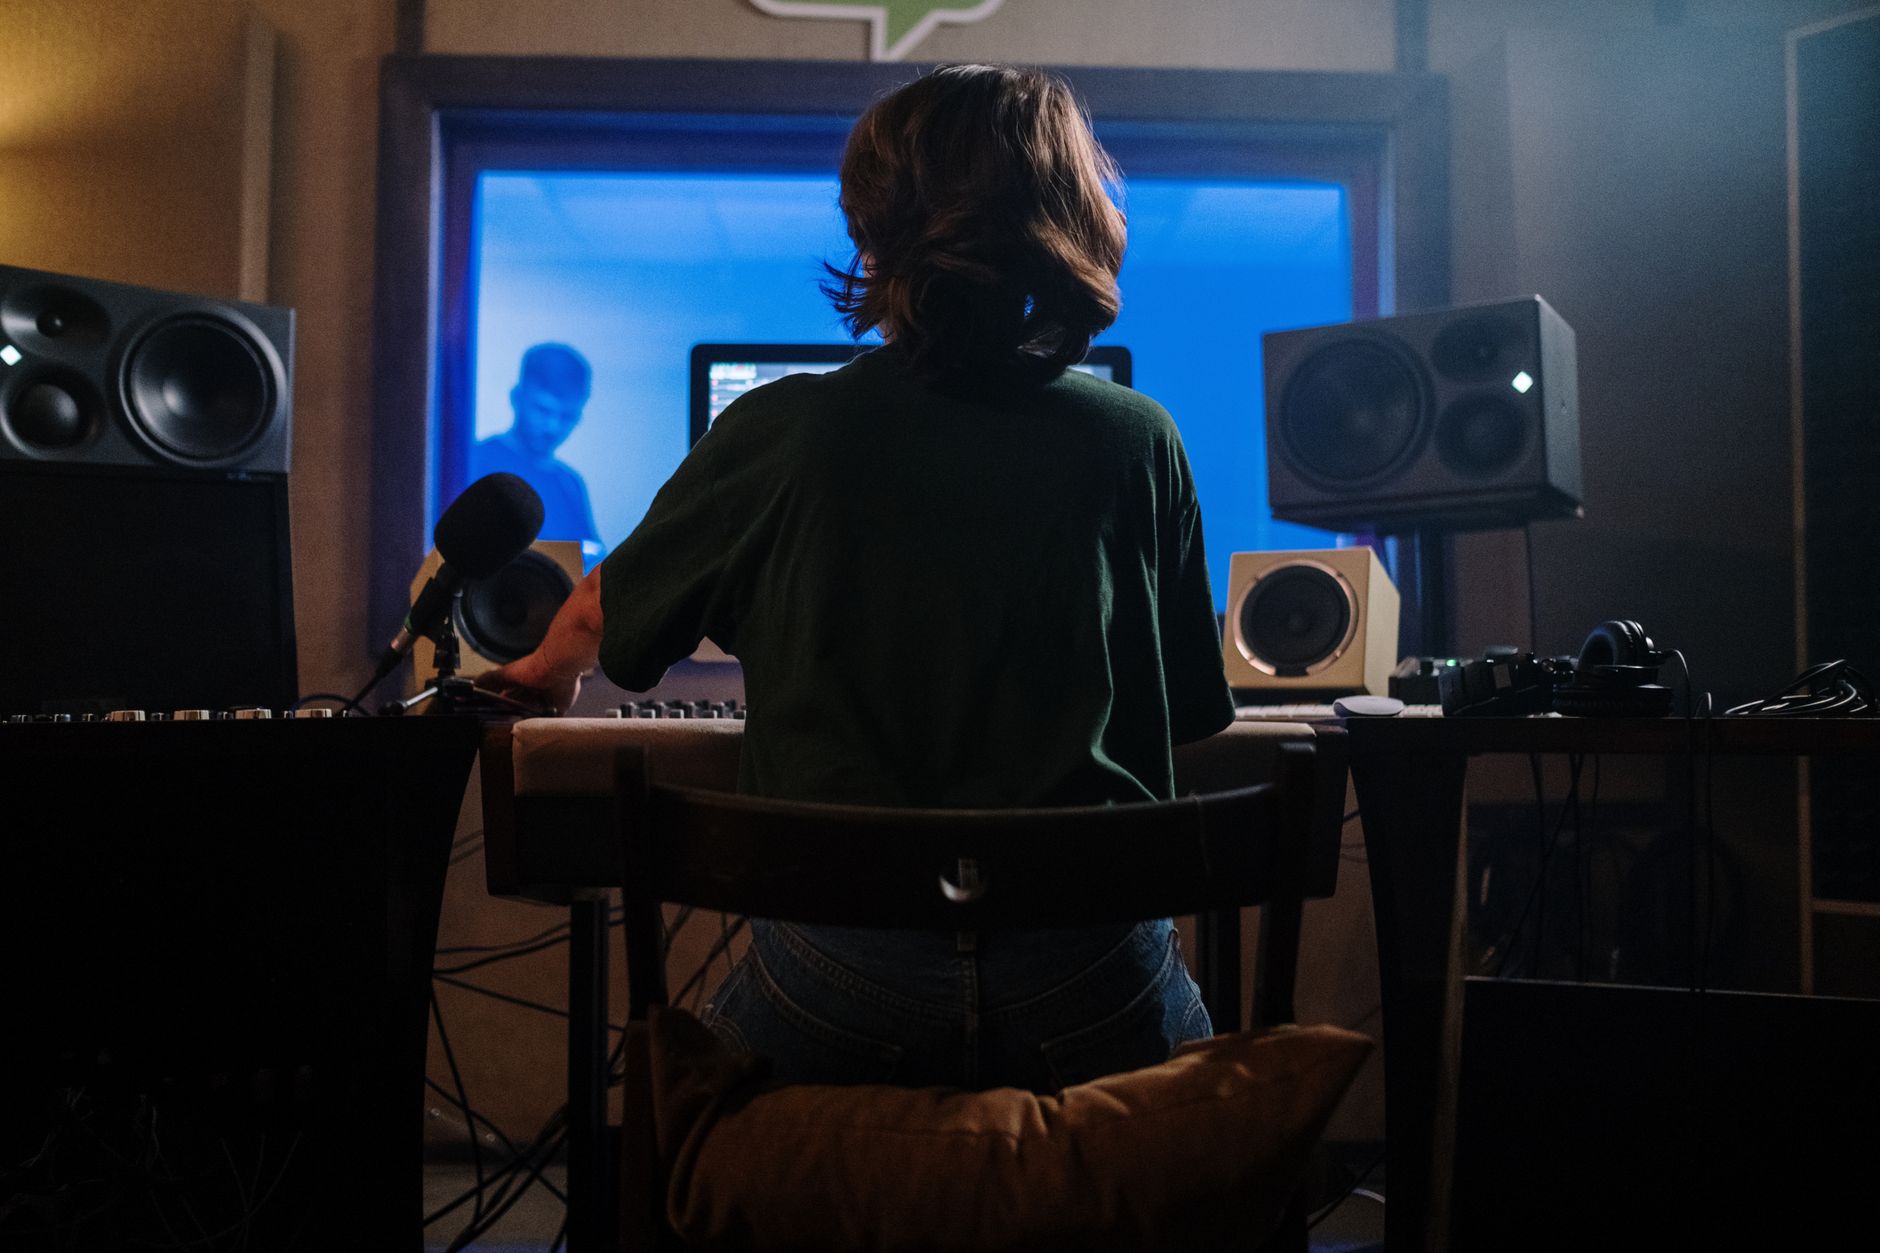
Direct Answer: Stands and isolation pads solve two separate problems — height/angle for the sweet spot, and resonance transfer that colors your low end. Skipping either means you’re mixing against your room as much as your monitors, which translates to mixes that don’t translate.
 Photo: Bich Tran via Pexels
Most bedroom producers park their monitors flat on a desk. The result: tweeters aimed at your chest, bass coupling into the desk surface, and standing waves from the desktop itself reinforcing or canceling specific frequencies. A meter or two of height correction and 10–15 dB of isolation pad damping changes the picture completely.
What Isolation Pads Actually Do
Foam and rubber isolation pads — not acoustic foam panels — sit between the monitor and whatever surface it rests on. They absorb vibration that would otherwise travel into the desk, resonate through the structure, and feed back into your room as a smeared, diffuse low-frequency bloom.
Published testing from acoustic consultants consistently shows isolation pads reducing desk-coupled resonance by 8–15 dB below 200 Hz. That’s not a small effect — it’s the difference between hearing your sub-bass and guessing at it.
Best Studio Monitor Stands: Full Picks by Category
Direct Answer: Stands vary by use case — floor stands for dedicated rooms, desktop risers for project studios, and heavy-duty isolation for near-field monitors on bridges. The picks below cover all three scenarios from $30 to $350.
 Photo: Nicolás León via Pexels
Best Budget Floor Stands: Rockville RVSM1
The Rockville RVSM1 fills height-adjustable floor stands from roughly 36 to 52 inches for under $60 a pair. Steel construction, sand-fill option for added damping, and removable rubber gaskets on the top plate. For monitors under 20 lbs per cabinet, published load ratings show these hold position without flex.
They’re not furniture. The cable management is minimal and the height locking mechanism requires a wrench. But for a first dedicated room, nothing else at this price gets tweeters to ear level reliably.
Best Mid-Range Floor Stands: On-Stage SMS7500B
The On-Stage SMS7500B runs roughly $120–140 a pair and adds a larger top plate (accommodating monitors up to 12“ woofers), internal cable routing, and a more substantial base. Height range is 28–48 inches. Sand-fill noticeably reduces sympathetic resonance — a bag of play sand runs $5 and is worth every penny.
The rubber top plate padding is soft enough to conform slightly to monitor cabinet feet, which reduces surface contact area and improves isolation beyond what the material alone suggests.
Best Desktop Monitor Stands: IsoAcoustics ISO-155
IsoAcoustics ISO-155 are the most-copied product in this category for a reason. The patented isolation element — essentially a constrained-layer isolation column — reduces lateral movement and vertical resonance transfer simultaneously. According to IsoAcoustics’ published data, the ISO-155 delivers 8–11 dB of isolation across the 40–500 Hz range.
They’re stackable, so you can dial in monitor tilt angle as well as height. For 5“ and 6.5“ near-fields on a desk, these are the recommendation without reservation.
Best for Large Monitors: IsoAcoustics ISO-430
Bigger cabinets need stiffer isolation elements. The IsoAcoustics ISO-430 handles monitors up to 100 lbs and works under 8“ and larger near-fields. The isolation performance spec is similar to the ISO-155 but the element geometry is recalibrated for the mass range — underdamped isolation (too soft for the load) can actually amplify resonance rather than reduce it.
If you’re running Adam A8H, Yamaha HS8, or Genelec 8340s on a desk or console bridge, the 430 is the correct size.
Best Heavy-Duty Floor Stands: Ultimate Support MS-100B
The Ultimate Support MS-100B is the standard choice in professional project studios and is routinely spec’d for home rooms with dedicated monitor positioning. Cast iron base, 100 lb capacity per stand, height range from 33“ to 53“. The top cradle accommodates angled wedge inserts so you can add upward tilt for low-ceiling rooms.
At roughly $250–350 per pair, these are not impulse buys — but they’re also the last stands most people buy.
Isolation Pads: Standalone Options
Direct Answer: If your monitors are already at the right height but sitting directly on a hard surface, foam or rubber isolation pads are the fastest, cheapest fix — most options run $15–50 for a pair and require no tools.
 Photo: Maurício Mascaro via Pexels
Auralex MoPAD
Auralex MoPADs remain the default beginner recommendation because they’re widely available, cheap ($30 per pair), and include angled inserts that let you tilt the monitor forward or back by 4° increments. The foam is dense enough to provide real isolation without becoming the wobbly element in the signal chain.
The limitation: foam compliance changes with temperature, and MoPADs under heavy monitors (15 lbs+) will compress over time, reducing isolation performance. Check manufacturer guidelines for weight ratings.
Primacoustic RECOIL Stabilizer
The Primacoustic RECOIL Stabilizer takes a different approach — a steel plate bonded to an isolation layer. The mass loading effect means the monitor and stabilizer together become a heavier, lower-resonance system. According to Primacoustic’s published data, the RECOIL reduces low-frequency coupling more effectively than foam alone, particularly for monitors generating significant excursion below 80 Hz.
Price is higher ($70–100 per pair) but for 6“ monitors and above on a desk, the performance difference is audible — especially if your desk is large and resonant.
Budget Option: VIVO MOUNT-SP02B
Generic acoustic foam pads from VIVO and similar brands work adequately for light monitors (under 12 lbs) at entry-level price points around $15–20. The foam density is lower than Auralex, isolation is measurably less effective, but they’re better than nothing and get tweeters off hard surfaces.
Comparison Tables
Floor Stands at a Glance
| Stand | Price (pair) | Height Range | Weight Capacity | Sand-Fill | Best For |
|---|---|---|---|---|---|
| Rockville RVSM1 | ~$55 | 36–52“ | 50 lbs | Yes | Budget, small monitors |
| On-Stage SMS7500B | ~$130 | 28–48“ | 88 lbs | Yes | Mid-range project studio |
| Ultimate Support MS-100B | ~$300 | 33–53“ | 100 lbs | No (cast iron base) | Professional builds |
Desktop Isolation at a Glance
| Pad | Price (pair) | Isolation Method | Weight Limit | Tilt Adjustment |
|---|---|---|---|---|
| Auralex MoPAD | ~$30 | Open-cell foam | 50 lbs | ±4° via inserts |
| IsoAcoustics ISO-155 | ~$80 | Constrained isolation columns | 45 lbs | Yes (stackable) |
| Primacoustic RECOIL | ~$90 | Steel plate + foam | 40 lbs | Fixed |
| IsoAcoustics ISO-430 | ~$130 | Heavy-duty isolation columns | 100 lbs | Yes |
How to Set Up Studio Monitor Stands Correctly
Signal Chain Context
Source material → DAW (monitoring path) → Audio interface outputs → Monitor cables → Studio monitors → [stands/pads decouple monitors from structure] → RoomGain staging note: Stands and pads don’t affect the electrical signal path, but they do affect what you hear — which is the point. Set your interface output level once isolation is in place, as perceived low-end balance changes and you may find you’ve been pushing the bass trim to compensate for desk coupling.
Step-by-Step Setup Workflow
- Measure ear height. Sit in your mix position, mark the height of your ear canal on a wall reference. This is your tweeter target.
- Position stands or risers. Place stands at the outer edges of your mix position, equal distance from the center point, forming an equilateral triangle with your head at the point.
- Set height. Adjust stands so the tweeter driver — not the cabinet center — aligns with your ear height marker.
- Add isolation pads or risers. If using floor stands with rubber gaskets or foam top pads, these are already in the chain. If adding IsoAcoustics to desktop, place them before setting the monitor down.
- Angle toward listening position. Toe-in approximately 30° inward toward the mix position. For desktop setups, use MoPAD angle inserts or IsoAcoustics stack height to achieve slight downward tilt if tweeters end up slightly above ear height.
- Sand-fill floor stands. Pour dry play sand through the top opening (most stands have a fill port), filling to 60–70% capacity. This adds 8–12 lbs of mass and dramatically reduces tube resonance at low frequencies.
- Cable dress. Route monitor cables down through internal cable management channels if available. Keep power and signal cables separated by at least 6 inches where possible to reduce EMI coupling.
- Listen and confirm. Play a familiar reference track — mono summed first. Bass should be tighter and more defined compared to the unsupported position. If low end feels thin, the tilt angle may be too steep or tweeters may be above ear height.
Troubleshooting Matrix
| Symptom | Likely Cause | Fix |
|---|---|---|
| Boomy, undefined low end | Desk coupling still occurring | Add isolation pads or switch to heavier RECOIL-type isolators |
| Harsh or fatiguing high end | Tweeters above ear height, angled down | Lower stand height or reduce downward tilt |
| Stereo image feels narrow | Monitors not toed-in sufficiently, or too close together | Increase toe-in angle; widen spacing toward equilateral triangle |
| Bass sounds different left vs. right | One monitor closer to a wall or corner | Equalize distance to nearest boundary surfaces |
| Mechanical buzzing at volume | Stand resonating with monitor frequency | Add sand fill; check locking collars are tight |
| Foam pads compressing unevenly | Monitor weight exceeds pad rating | Upgrade to stiffer isolator (Primacoustic RECOIL or ISO-430) |
 Photo: Josh Sorenson via Pexels
Stands vs. Pads: When to Use Each
Most home studios benefit from both, but the priority order depends on your current setup:
If monitors are on a desk, no isolation: Start with pads — cheapest fix, biggest acoustic return. IsoAcoustics ISO-155 if budget allows, MoPADs if not.
If monitors are at the wrong height: Stands first. No amount of isolation fixes the mix position problem.
If monitors are on floor stands already: Check whether the top plates have foam or rubber gaskets. If not, add IsoAcoustics pads between cabinet and stand top plate — the improvement is measurable even on floor stands.
If you’re building from scratch: Budget for both. Floor stands plus a foam gasket under the monitor on the top plate is the optimal configuration for most rooms.
→ See also:
- The Complete Home Recording Studio Setup Guide (2026)
- How to Build a Home Studio for $500 (2026)
- How to Build a Home Studio for $300 (2026)
FAQ
Do studio monitor stands actually make a difference, or is it mostly marketing? The difference is measurable and audible for most setups. Height alignment affects tweeters’ on-axis response reaching the listening position, and that directly changes what you hear at 2–10 kHz — the frequency range where most mixing decisions happen. The improvement is most dramatic if you’re currently mixing with monitors at the wrong height or sitting directly on a resonant desk.
Can I use regular speaker stands instead of studio monitor stands? Yes, with one condition: the top plate must be large enough to support the monitor cabinet footprint without overhang, and the stand should be rated for the monitor’s weight. HiFi stands often have small top plates sized for bookshelf speakers. As long as you add isolation pads between the monitor and the stand, the acoustic result is similar to a purpose-built monitor stand.
What’s the ideal monitor height for mixing? The tweeter driver — not the woofer, not the cabinet center — should align with your ear canal when seated in your normal mix position. For most sitting adults, that’s roughly 45–50 inches. Note that some monitors fire the tweeter from the top of the cabinet, which affects the height calculation compared to front-firing configurations.
Do isolation pads work for subwoofers? Yes, and the effect is even more pronounced because subwoofers generate significant excursion at frequencies where floor and desk coupling is most problematic (below 80 Hz). IsoAcoustics makes the GAIA series specifically for subwoofers and floorstanding speakers — threaded ISO feet that replace the existing cabinet feet. For studio subs, published measurements show GAIA isolators reducing floor coupling by up to 16 dB.
How much should I spend on stands for home studio monitors? Match the stand investment to monitor quality. $200–300 monitors on $50 stands is reasonable. $600–1,000 monitors deserve stands that won’t introduce resonance — the Ultimate Support MS-100B or equivalent. For desktop near-fields under $500, IsoAcoustics ISO-155 pads ($80) outperform cheap floor stands at two or three times the cost.
Should I fill monitor stands with sand or shot? Sand is the standard recommendation — it’s cheap, readily available, and effective. Steel shot provides more mass per volume (useful for large-bore stands) but costs significantly more. Published acoustic comparisons show diminishing returns beyond 70% fill volume; overfilling can stress welds at the height adjustment joints. Play sand from a hardware store is fine — it does not need to be kiln-dried for this application.
Editorial methodology: Assessments are based on manufacturer specifications, published user reviews, and editorial research. Physical hands-on testing is noted explicitly where it occurred. Rankings reflect our editorial judgment and are not influenced by affiliate commission rates. Full editorial policy · Affiliate disclosure