Contents
Cable Management for a Clean Home Studio
TL;DR: Good home studio cable management means fewer hum loops, faster troubleshooting, and a workspace that doesn’t fight you every session. The core system is simple: route signal cables away from power, label everything, and secure runs before they tangle. You can do it right for under $30.
Why Cable Management Actually Affects Your Sound
Direct Answer: Poorly routed cables introduce ground loops, EMI hum, and signal degradation. A tidy cable run isn’t aesthetic — it’s functional. Cables crossing power lines, coiled too tight near transformers, or left strain-pulling at connectors are active noise sources and failure points.
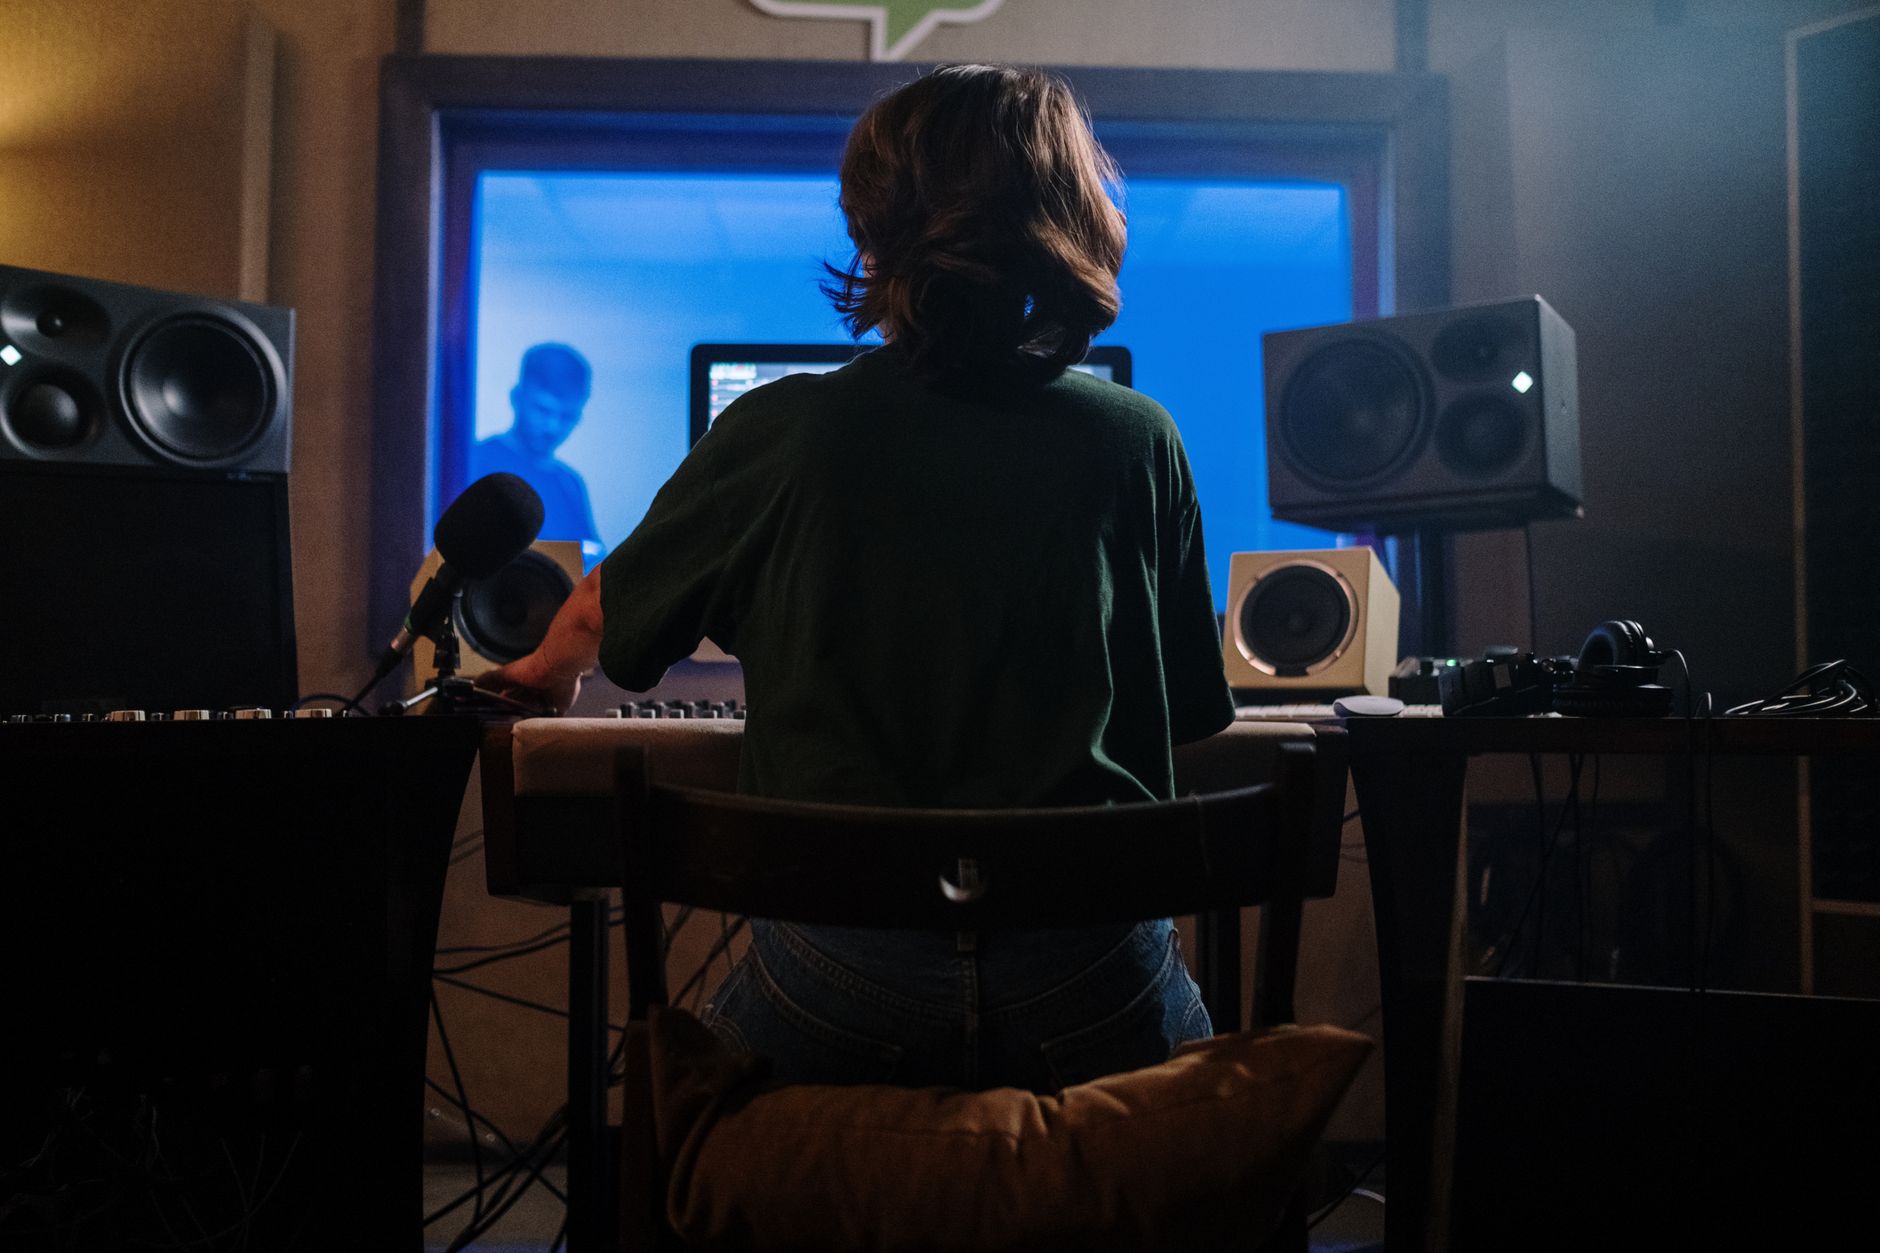
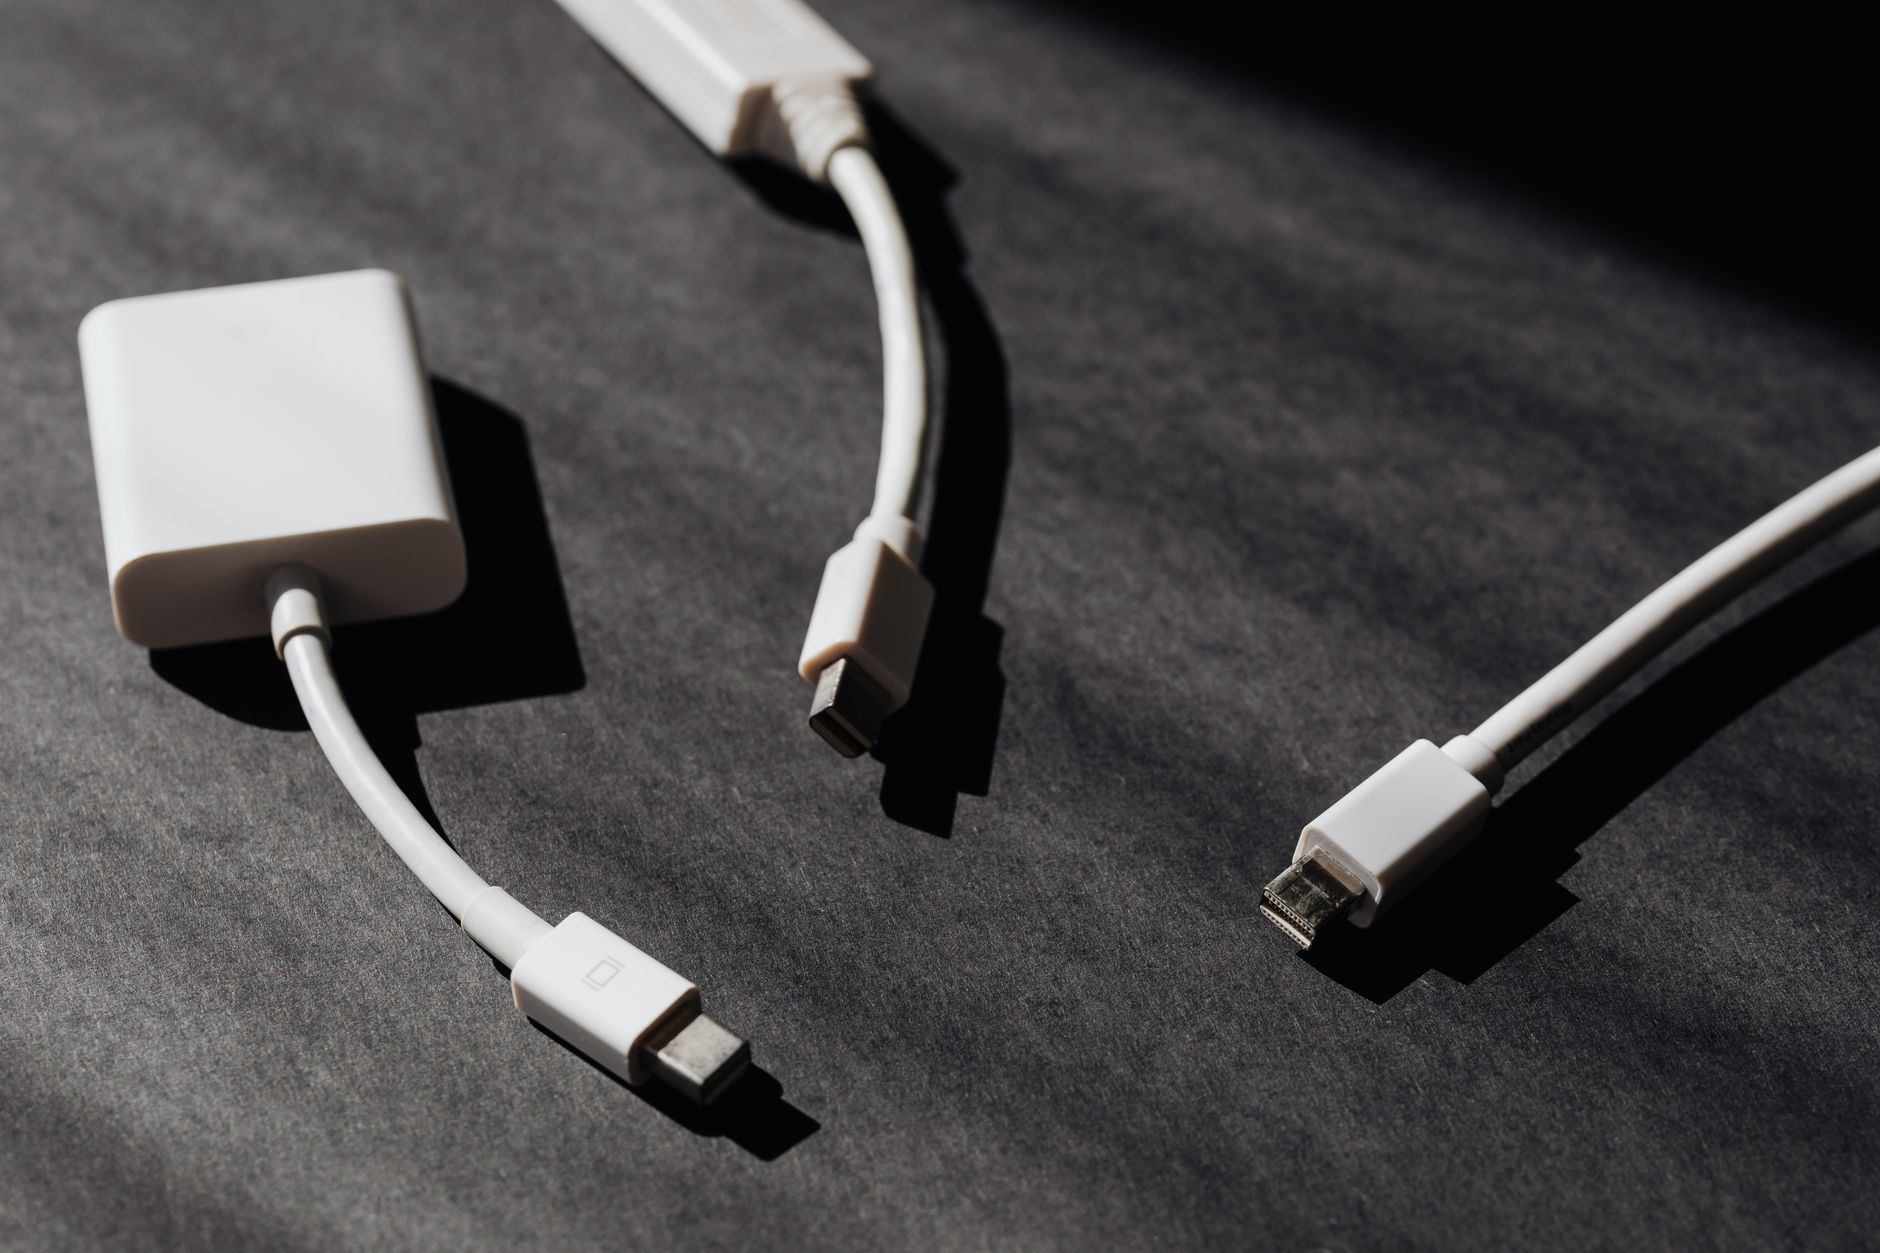 Photo: https://kaboompics.com/ via Pexels
Every cable in your studio is either a signal path or a potential antenna. XLR and TRS lines running parallel to mains cables pick up 50/60 Hz hum that shows up in every recording. The fix isn’t a better preamp — it’s separation.
The Noise Hierarchy: Which Cables to Separate First
Priority order for separation:
| Cable Type | Noise Sensitivity | Minimum Separation from AC |
|---|---|---|
| Balanced XLR (mic/line) | Low | 50 mm |
| Unbalanced TS instrument | High | 150 mm |
| USB / Thunderbolt | Medium | 100 mm |
| MIDI / CV | Low | 50 mm |
| Speaker wire | High | 150 mm |
Unbalanced instrument cables — your guitar, bass, or synth running into an interface on a TS cable — are the most vulnerable. Balanced connections reject common-mode noise by design; unbalanced lines have no such protection.
The Core Home Studio Cable Management System
Direct Answer: You need four things: cable labels, Velcro ties, cable raceways, and a deliberate routing plan drawn before you cable anything. Buy cheap, buy once — a $15 label maker and a pack of reusable Velcro ties handle 90% of the work.
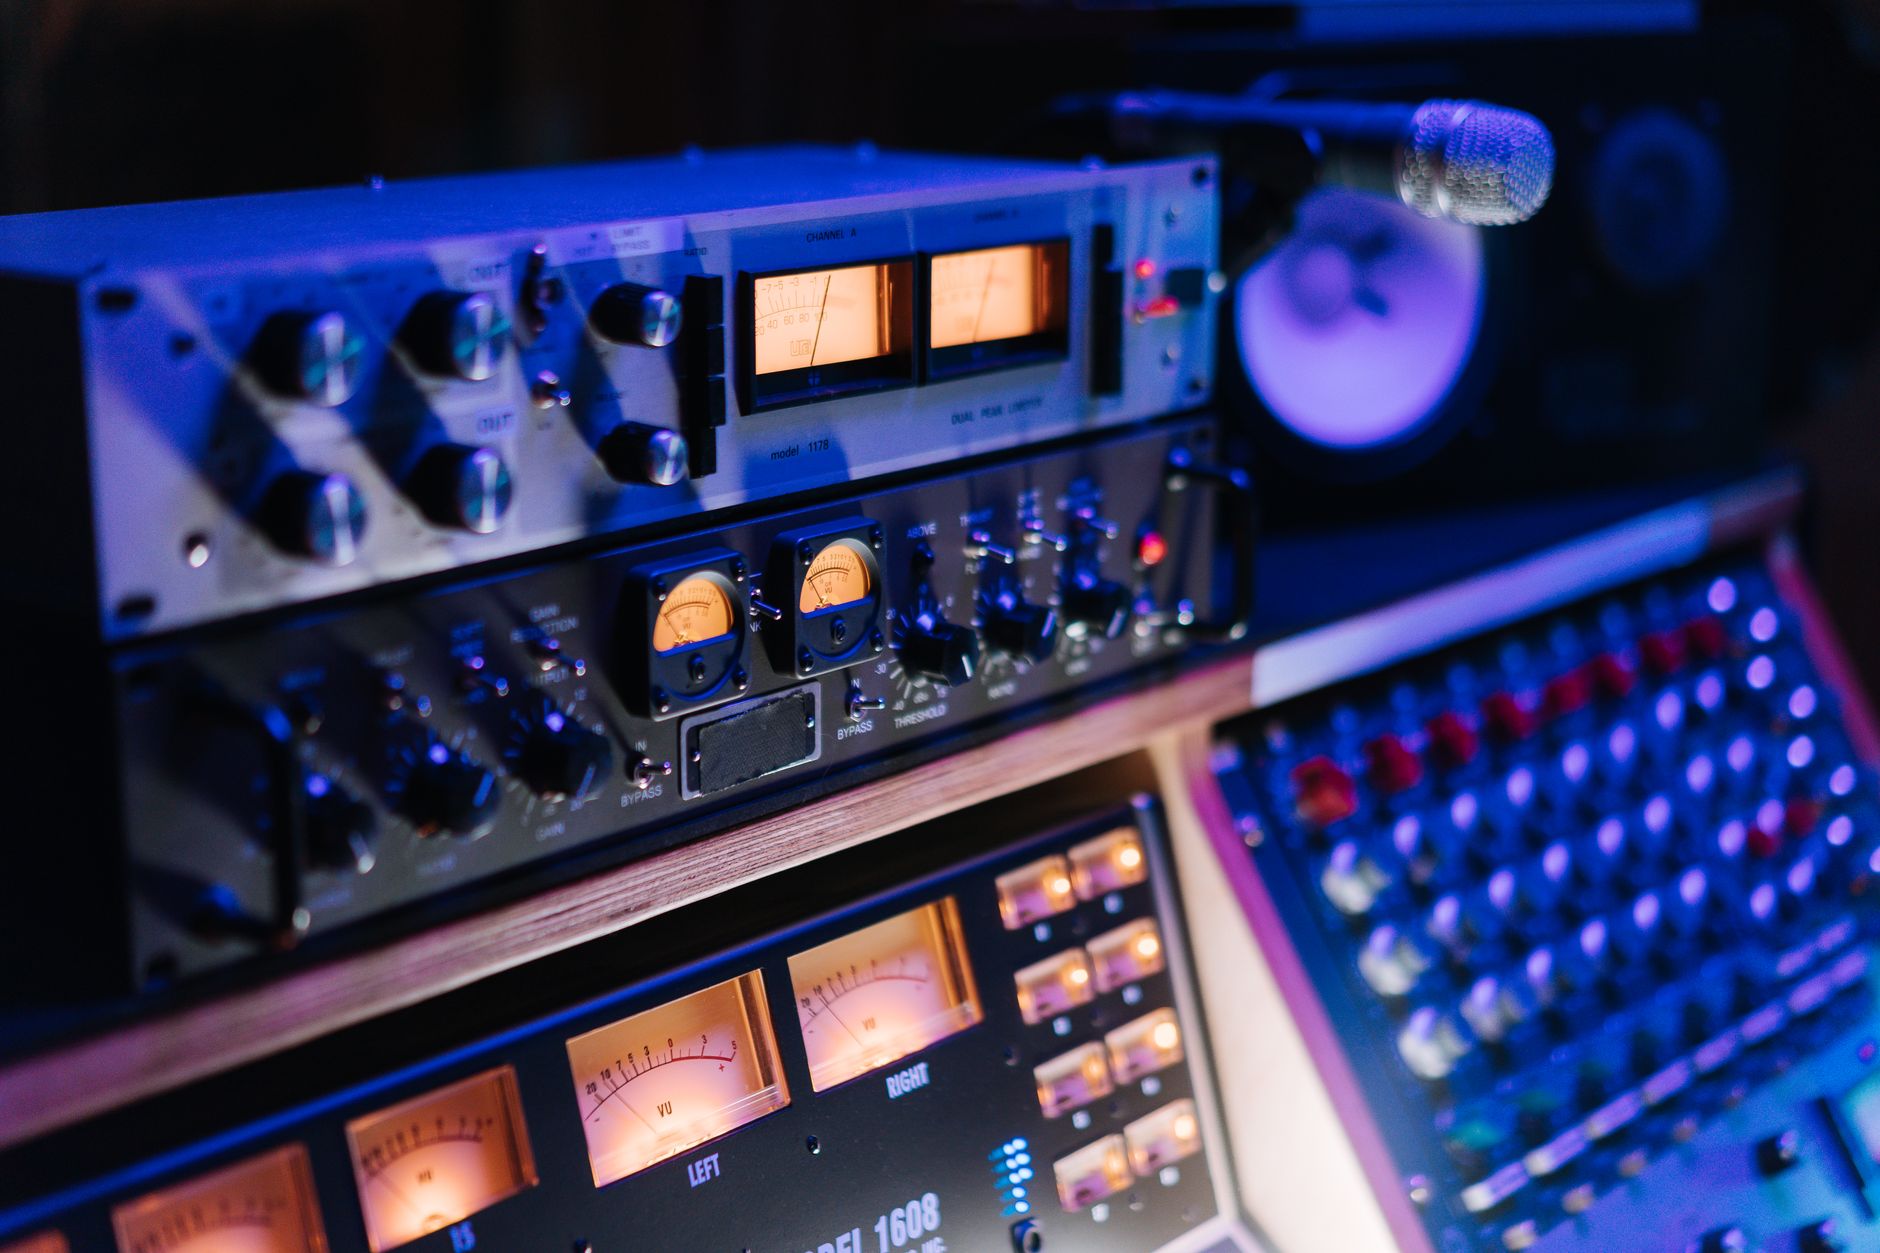
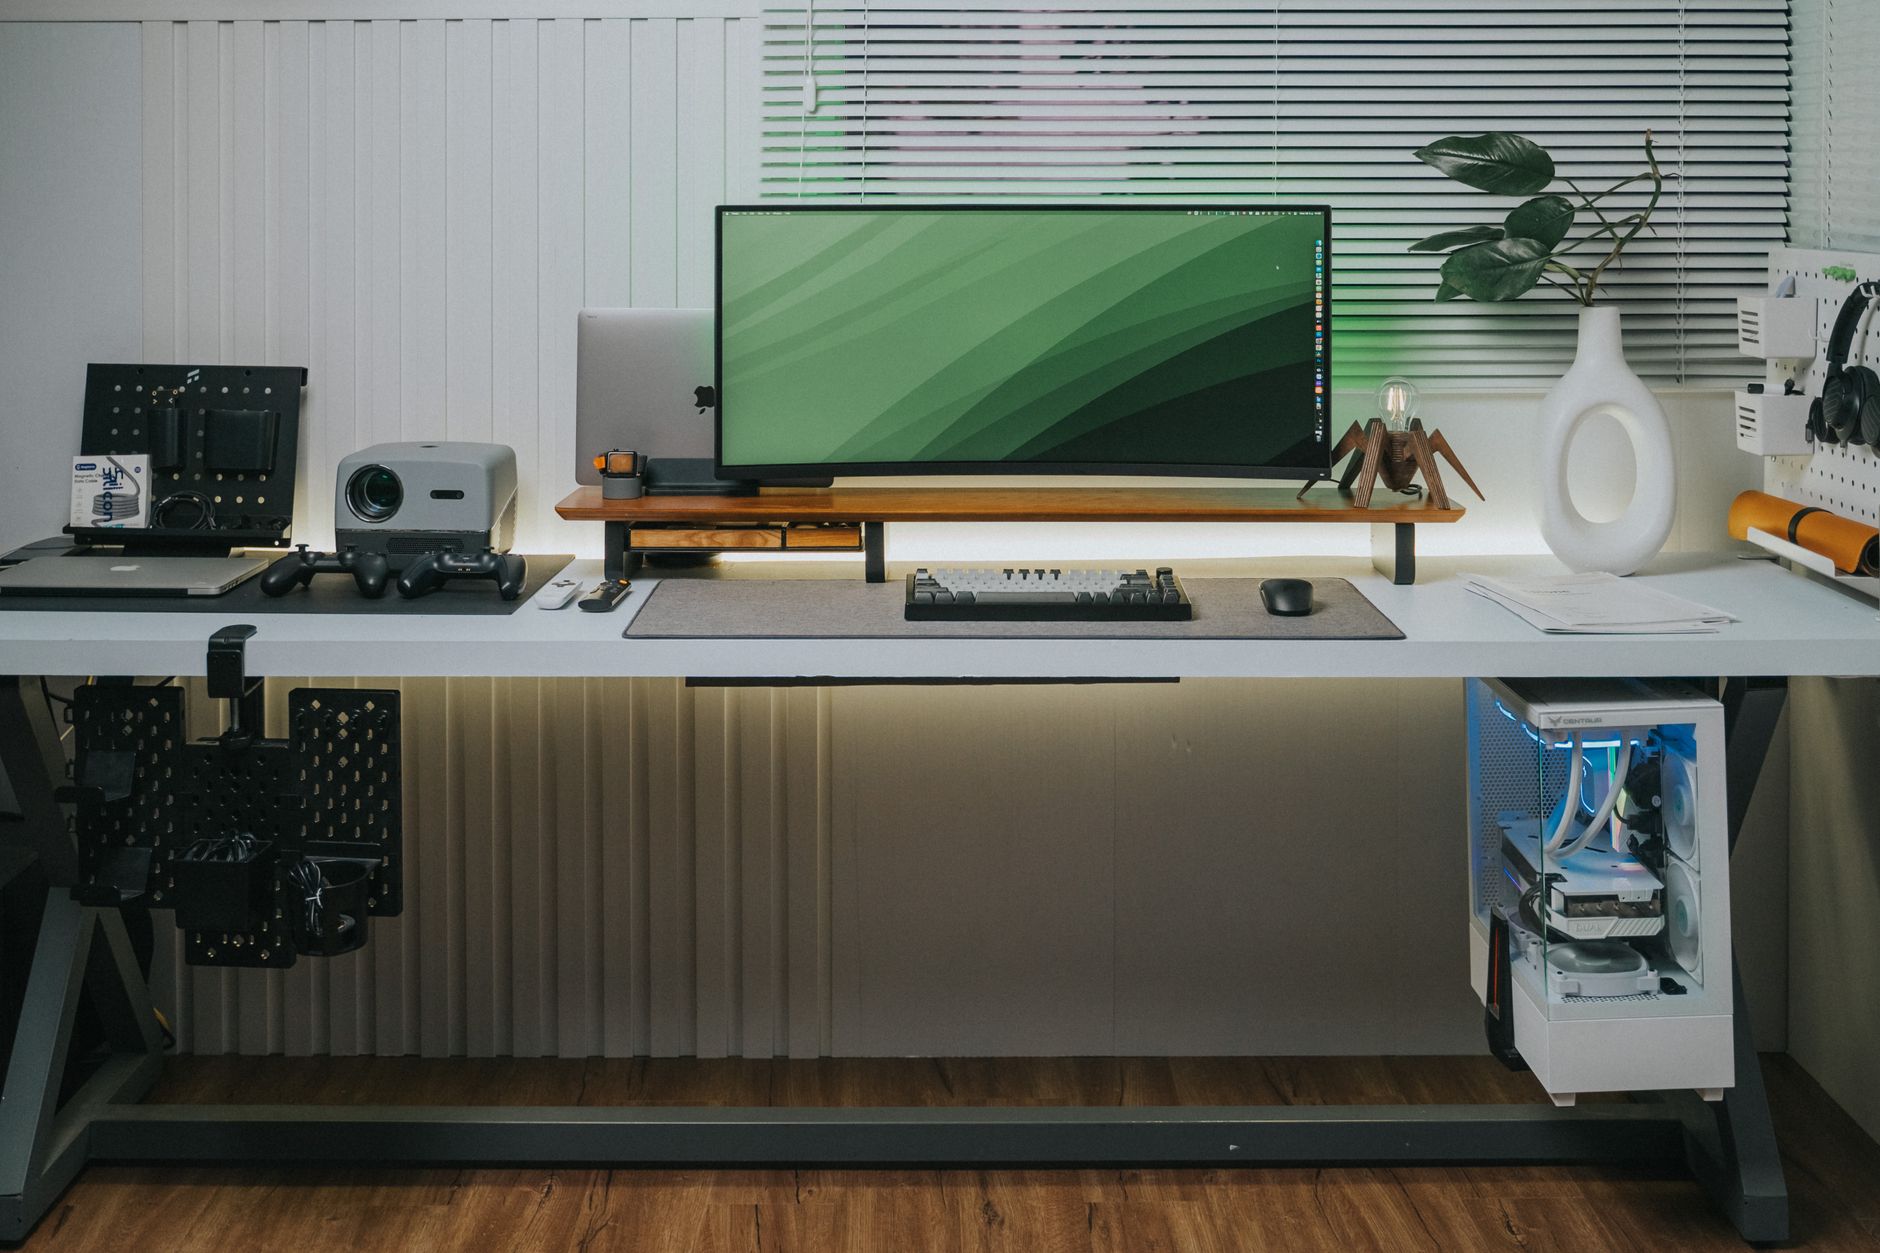 Photo: Minh Phuc via Pexels
Step 1: Audit Before You Tie Anything
Pull every cable out of its current state and categorize by type:
- AC power (C13 kettle leads, US standard, IEC variants)
- High-level signal (XLR balanced, TRS balanced)
- Instrument/unbalanced (TS, RCA, 3.5 mm)
- Data (USB-A, USB-C, Thunderbolt, MIDI-DIN, MIDI-TRS)
- Speaker (bare wire or speakON)
Lay them out by category. This is the last time you want to unknot this.
Step 2: Label at Both Ends Before Routing
A cable labeled at one end only is half-labeled. Use a label maker or even colored electrical tape bands — the system only works if you can trace any cable without pulling anything.
Naming convention that works:
[SOURCE]-[DEST]-[TYPE]
KBD1-INT-USB        (Keyboard 1 → Interface, USB)
MIC1-INT-XLR        (Microphone 1 → Interface, XLR)
INT-MON-L-TRS       (Interface → Left Monitor, TRS)
Step 3: Route Power First, Signal Second
Mount or tape your power strip and extension leads to their permanent position. Then route signal cables in the opposite direction or at 90° crossings — never parallel runs.
At any crossing, signal over power is better than power over signal; the crossing angle minimizes inductive coupling.
Step 4: Bundle by Type, Not by Destination
It’s tempting to bundle the three cables that all go to your keyboard together. Don’t. Bundle the XLR cables together, the USB cables together, the power leads together. Same-type bundles have similar impedance and won’t couple noise into each other the way a mixed bundle will.
Secure with reusable Velcro ties — never zip ties on cables you’ll ever move, since zip ties cut into jacket insulation over time and are single-use.
Step 5: Manage the Desk-to-Floor Drop
The transition from desk edge to floor cable raceway is where most studio setups collapse into chaos. Options ranked by cost:
| Solution | Cost | Best For |
|---|---|---|
| Cable spine / flexible conduit | $8–15 | Desk with permanent position |
| Cable raceway (wall-mount) | $12–25 | Perimeter routing along baseboards |
| Cable clips + adhesive mounts | $5–10 | Lightweight runs, rental-safe |
| Cable management tray (under desk) | $20–40 | Clean overhead desk view |
A J-channel cable raceway along the baseboard handles the floor run and keeps everything off the carpet where it collects dust and gets stepped on.
 Photo: John Taran via Pexels
Signal Chain Reference: Interface-Centered Cable Plan
Understanding your physical cable topology by signal flow makes routing decisions obvious.
Signal chain:
Instruments/Mics
  → (XLR/TS/USB) Audio Interface
    → (TRS/XLR) Studio Monitors
    → (USB/Thunderbolt) Computer
    → (TRS) Headphone Amp (if used)
  → (MIDI/USB) MIDI Controllers
    → (USB Hub → USB-C/Thunderbolt) Computer
Gain-staging note on cable length: Unbalanced TS instrument cables suffer capacitive rolloff above 7–10 meters — keep them under 6 m where possible. Balanced XLR runs can go 30+ meters without measurable loss. If your guitar or synth is more than 3 meters from the interface, a direct box converts the unbalanced high-impedance signal to a balanced low-impedance XLR run that can go anywhere.
Troubleshooting Matrix
| Symptom | Likely Cause | Fix |
|---|---|---|
| 50/60 Hz hum in recordings | Ground loop or parallel AC/signal routing | Separate cables, check ground on power strip, try a ground lift adapter on one device |
| Crackling on movement | Loose TRS/XLR connector or damaged jacket | Wiggle test each cable individually, reseat connectors, replace if damaged |
| No signal on one channel | Unplugged, wrong input selected, or wrong cable type (TS vs TRS) | Trace with label system, check DAW input routing |
| USB drops / audio interface disconnects | USB bus power issue or cable too long | Use powered USB hub, keep USB runs under 3 m, avoid USB 3.0 near 2.4 GHz receivers |
| Phase issues (hollow sound on mono) | Two mics or a mic + DI in opposite polarity | Flip phase switch on preamp or use DAW polarity invert plugin |
| Static / RF interference | Unshielded cable near WiFi router or phone | Re-route, or switch to shielded cable; move router |
Gear That Earns Its Place
You don’t need much. The items that pay back in time and frustration:
Labeling:
- Label maker with 9 mm tape — any DYMO-compatible unit works
- Alternative: colored Sugru or heat-shrink tubing at each end for quick visual ID
Securing:
- Reusable Velcro ties (100-pack, mixed lengths)
- Adhesive cable clips for perimeter runs
Routing infrastructure:
- D-line or equivalent J-channel raceway for baseboards
- Under-desk cable tray for power strips and adapter bricks — gets them off the floor
Signal quality:
- Neutrik-terminated replacement cables — manufacturer-spec cables fail at connectors, and Neutrik connectors are the standard against which published repair rates are measured
- Passive DI box for long unbalanced runs
→ See also:
- The Complete Home Recording Studio Setup Guide (2026)
- How to Build a Home Studio for $500 (2026)
- How to Build a Home Studio for $300 (2026)
FAQ
How do I find a ground loop in my home studio? Disconnect devices one at a time while a recording is playing back. When the hum disappears, the last device you disconnected is the loop source. Ground loops most commonly occur between a computer, audio interface, and monitors sharing different AC circuits or having a device with a faulty earth connection.
Can I run XLR and USB cables in the same bundle? Yes — balanced XLR is well-shielded enough to coexist with USB data cables without audible interference in most setups. The combination to avoid is USB 3.0 cables near 2.4 GHz wireless receivers (keyboards, mice, wireless microphones), where USB 3.0 RF emissions are documented to cause interference within 30 cm.
How often should I re-do cable management in a home studio? When you add or remove gear, reroute anything affected rather than patching around existing bundles. A full re-audit once a year catches degraded connectors, damaged jackets, and cables that no longer serve their labeled function. According to repair technician reports, most cable failures originate at connectors stressed by poor strain relief — fixing routing reduces repair frequency.
What’s the best way to manage cables for a mobile/portable setup? Use figure-8 coiling (over-under technique) for every cable longer than 1 m — it eliminates internal twist and cables last noticeably longer. Store coiled cables in labeled ziploc bags or cable rolls by type. Never wrap cables around hardware like interfaces or keyboards; the tight bend radius stresses the jacket at both ends.
Do cable ties damage audio cables? Zip ties can if overtightened — the plastic edge digs into the cable jacket under tension and eventually compromises the shield or conductor. Velcro ties exert no point pressure. For permanent infrastructure runs, use proper cable saddles or conduit rather than any form of tie directly on signal cables.
Is there a difference between cheap and expensive cables for home studio use? For runs under 6 meters in a controlled environment, cable capacitance and resistance differences between mid-tier and high-end cables are below audible thresholds — expert consensus in the pro audio community supports this. Where quality matters is connector construction: gold-plated Neutrik or Switchcraft connectors on properly strain-relieved cables fail far less than budget connectors on otherwise identical cable. Buy decent connectors on mid-tier cable, not the reverse.
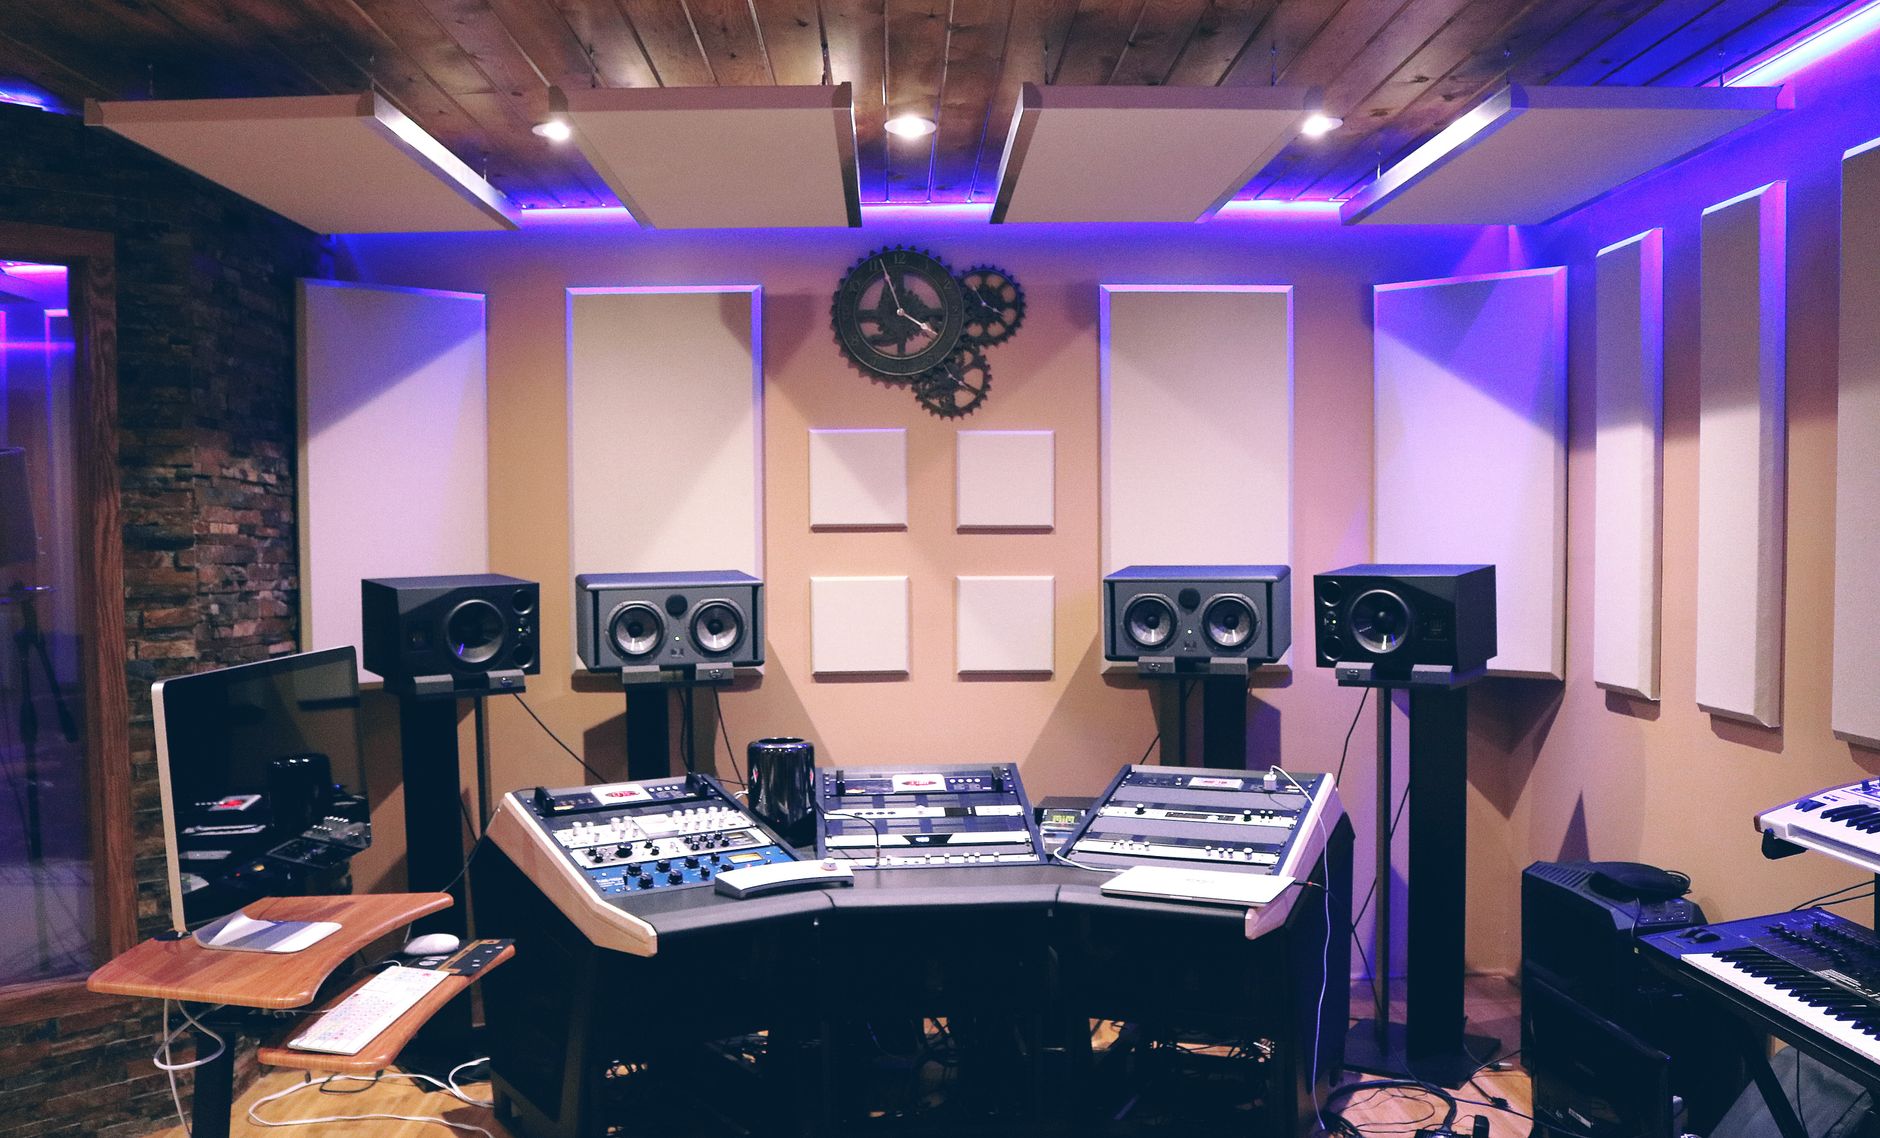 Photo: Pixabay via Pexels
Editorial methodology: Assessments are based on manufacturer specifications, published user reviews, and editorial research. Physical hands-on testing is noted explicitly where it occurred. Rankings reflect our editorial judgment and are not influenced by affiliate commission rates. Full editorial policy · Affiliate disclosure