Contents
How to Get a Great Guitar Tone When Recording
TL;DR: Recording guitar tone comes down to three things — source tone, signal path, and gain staging. Nail those before you touch EQ or compression. The best recording guitar tone starts at the instrument and amp, not in the DAW.
What Actually Determines Recording Guitar Tone
Direct Answer: Your recorded guitar tone is set 80% before the microphone. String freshness, pickup type, amp settings, and room acoustics all matter more than mic choice or plugins. Fix the source first — you can’t EQ your way out of a bad-sounding amp or dead strings.
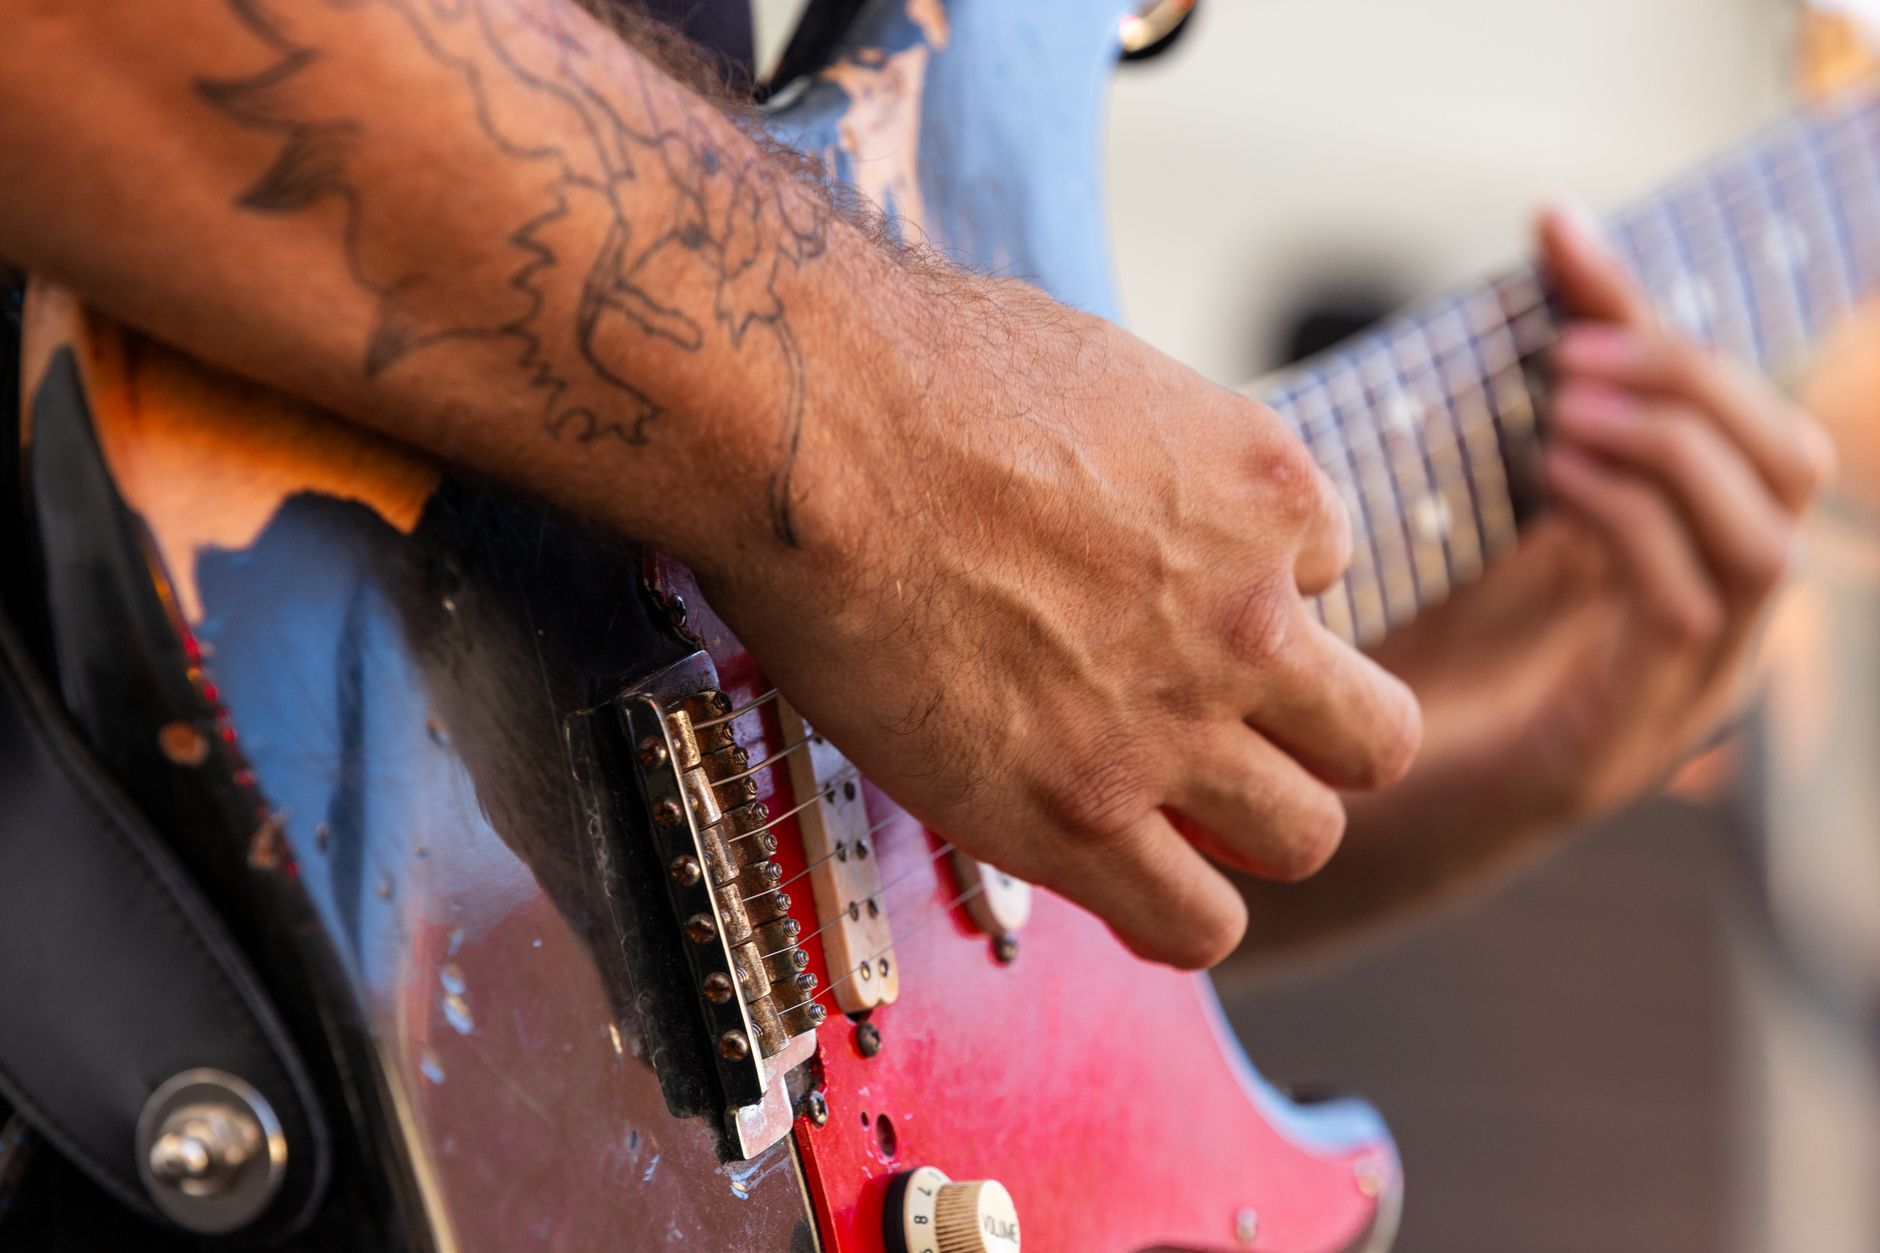 Photo: Stepan Vrany via Pexels
Most beginners reach for plugins when the tone isn’t working. That’s backwards. The signal chain is a one-way street: problems introduced early get recorded and stay there. If your amp sounds harsh in the room, it will sound harsh in the DAW.
The four controllable variables, in order of impact:
| Variable | What It Controls | Fix First? |
|---|---|---|
| Instrument setup | Intonation, string buzz, sustain | Yes |
| String freshness | Brightness, attack definition | Yes |
| Amp/source tone | Core character, harmonic content | Yes |
| Mic placement | Top-end balance, proximity effect | Yes |
| Plugin chain | Polish, correction | Last |
Getting Your Amp Tone Right Before You Record
Direct Answer: Set amp gain so the amp starts breaking up naturally, then back it off 10–15%. Most guitarists record with more gain than they need — it muds up the mix. For clean tones, set the amp louder in the room and record at lower output to capture natural speaker compression without volume-induced ear fatigue.
 Photo: Picas Joe via Pexels
Amp Settings for Recording vs. Playing Live
Live, you’re competing with drums and bass at stage volume. Recording, the microphone is inches from the speaker — it hears everything, including fizz, mud, and noise that disappears in a live mix. Scale back:
- Gain: Set by ear at low volume. If it sounds slightly too clean at bedroom level, it will record correctly at mic level.
- Bass: Cut more than feels natural — low end builds up in a mix. Start with the bass control at 40–50%.
- Treble/Presence: Add carefully. Microphones can exaggerate high frequencies compared to your ears.
- Master volume: Higher is generally better for tone — power amp saturation adds harmonic richness. Use a power attenuator if you need that cranked-amp sound at manageable volumes.
Using a Load Box or DI for Recording Guitar Tone
Direct recording through an audio interface with amp simulation is a legitimate path to great recording guitar tone, particularly in treated rooms. Published testing data from plugin manufacturers shows modern convolution IRs capture real speaker cabinets within ±1–2 dB across the usable frequency range.
For direct recording, the signal path is: guitar → interface input (instrument impedance) → amp sim plugin → IR loader. Set interface gain so the input meter peaks around −12 dBFS on clean playing; louder transients on picked notes should stay under −6 dBFS.
Microphone Placement: Where You Put It Matters More Than Which Mic
Direct Answer: Put a dynamic mic (SM57 or equivalent) at the edge of the dust cap pointing slightly off-axis to the cone. This is the position documented in most major recording textbooks and consistently cited in published session notes from professional studios. Move it half an inch toward the center for more bite; toward the edge for warmth.
 Photo: RDNE Stock project via Pexels
Single Mic Placement Reference
Speaker cone (face-on view):

      [Edge]  [Dust cap edge]  [Dust cap center]
        Warm  ◄────────────────► Bright/Harsh
               ▲
           Start here
        (dust cap edge,
         slight off-axis)
Distance: 1–4 inches from the grille cloth. Closer = more proximity bass, more detail. Further = more room, more natural. In an untreated room, closer is safer.
Two-Mic Techniques
A second mic — a condenser placed 6–12 inches back, or a ribbon at 3–6 inches off-axis — blends with the close mic to add dimension. Check phase before printing: flip polarity on one mic and listen; use whichever position sounds fuller.
| Setup | Character | Phase Risk |
|---|---|---|
| SM57 close only | Punchy, focused | None |
| SM57 + condenser room | Wide, airy | Check polarity |
| SM57 + ribbon off-axis | Warm, thick | Check polarity |
| Two SM57s, different angles | Varied texture blend | Always check |
Signal Chain and Gain Staging for Guitar Recording
Direct Answer: Guitar signal should hit the interface input at −18 to −12 dBFS average, with transient peaks no higher than −6 dBFS. Record at 24-bit — the noise floor is low enough that you never need to push gain to compensate, and you have 18 dB of headroom above your average level before clipping.
 Photo: Senna Doe via Pexels
Signal Chain Block
Guitar
  → (optional) pedalboard / DI box
  → mic on amp cabinet  OR  instrument input on interface
  → audio interface preamp (−18 to −12 dBFS average)
  → DAW track (no plugins on input, record dry)
  → monitor mix with wet reverb/delay (via send, not printed)
Gain staging notes:
- Set preamp gain with the instrument input, not the channel fader
- Record completely dry — print no reverb, delay, or modulation
- Use a send/return for monitoring effects so you hear them without committing
- Arm the track, play your hardest part, check the meter. Set gain to that
Step-by-Step Recording Workflow
- Tune. Use a strobe or polytune pedal — standard clip tuners are adequate for live, not recording.
- Fresh strings. Change them the day before (not the day of — new strings detune). Acoustic and electric both benefit.
- Dial amp tone at playing volume. Adjust gain, EQ, and master volume in the room you’ll actually hear.
- Set mic position. Start at dust-cap edge, 2 inches from grille, slight off-axis.
- Set interface gain. Play your hardest passage. Peak meter should stay under −6 dBFS.
- Record a test pass. Listen back through studio monitors at low volume.
- Adjust mic placement first if the tone isn’t right — before touching amp EQ or plugins.
- Record takes. Keep the gain staging constant between takes.
- Comp the take. Select the best performance before touching any processing.
- Apply minimal processing. High-pass filter at 80–100 Hz, gentle presence EQ if needed, then mix in context.
Troubleshooting Matrix
| Symptom | Likely Cause | Fix |
|---|---|---|
| Thin, no body | Mic too far off-axis or at cone edge | Move mic toward dust cap center |
| Harsh, ice-pick treble | Mic pointed at dust cap center | Move mic toward cone edge, slight off-axis |
| Muddy, no definition | Too much amp bass, or mic too close | Cut amp bass, increase mic distance slightly |
| 60 Hz hum | Ground loop or single-coil pickup | Check cable grounds; try hum-cancelling position |
| Distortion in DAW not from amp | Interface input clipping | Reduce preamp gain; check interface input mode (Inst vs. Line) |
| Phase cancellation (thin sound) | Two mics out of phase | Flip polarity on one track and compare |
| Excessive room noise | Untreated recording space | Move amp into a corner, use a guitar isolation cab, or switch to DI |
| Inconsistent tone between takes | Amp warming up / tube drift | Let tube amp warm 20 minutes before tracking |
→ See also:
- Best Audio Interface for Guitar (2026) — preamp coloration and Hi-Z input quality compared across guitar-focused interfaces
- How to Record Guitar at Home: The Complete Guide (2026)
- How to Record Electric Guitar at Home
- How to Record Guitar Without an Amp
FAQ
Does the guitar itself affect recorded tone that much? Yes — more than most beginners expect. Pickup type (single-coil vs. humbucker), wood density, and string action all shape the raw signal before it reaches the amp or interface. A poorly-intonated guitar will sound out of tune in the recording even if the open strings tune correctly; set intonation before tracking.
What’s the best microphone for recording guitar amp? The Shure SM57 is the industry default — it appears on more professional guitar recordings than any other mic, according to published session documentation and engineer interviews. It handles high SPL without distortion, and its frequency response dip around 3–5 kHz reduces harshness on bright amps. Condenser mics capture more detail but require more room treatment to sound good.
Should I record guitar with or without effects pedals? Record dry and add time-based effects (reverb, delay) in the mix. Drive and overdrive pedals are part of your core tone and should be printed. Modulation effects (chorus, phaser, flanger) are generally better added post-recording because they’re difficult to remove if you change direction in the mix.
How loud should my amp be when recording? Louder than bedroom practice level, quieter than live stage volume. Most engineers cite “conversation volume in the same room” as a useful reference — around 80–90 dB SPL at the speaker, which is achievable with a 5–15W amp. Higher volume loads the power amp and speaker in ways that add harmonic content; a power attenuator lets you get that saturation at manageable levels.
Why does my recorded guitar tone sound thin compared to the amp in the room? Microphones don’t capture low frequencies the same way your ears do in a live acoustic space. Your ears receive bass frequencies from the whole room; the mic hears mostly the direct speaker output. Boost 100–200 Hz slightly on the recorded track, or blend in a small amount of direct signal from a second DI feed to add low-end weight without muddiness.
Do I need amp simulation if I already have a real amp? No — a real amp miked well will generally outperform software simulation on electric guitar tone. Amp sims are most useful when you don’t have a quiet recording space, need silent tracking late at night, or want to reamp a DI signal later. For home recording with a mic, capture the real amp.
Editorial methodology: Assessments are based on manufacturer specifications, published user reviews, and editorial research. Physical hands-on testing is noted explicitly where it occurred. Rankings reflect our editorial judgment and are not influenced by affiliate commission rates. Full editorial policy · Affiliate disclosure