Contents
Record Guitar on iPad and iPhone: The Complete 2026 Guide
TL;DR: You can record guitar on iPad or iPhone with professional results using a Lightning/USB-C audio interface and a DAW app. The signal chain is guitar → interface → iPad/iPhone → recording app. GarageBand is free and capable; AUM or Cubasis 3 handles multi-track sessions. Budget $50–$150 for a usable interface.
What You Actually Need to Record Guitar on iPad
Direct answer: An audio interface with a Lightning or USB-C connection (depending on your device) is the non-negotiable piece. The built-in 3.5mm jack cannot handle instrument-level signals — you’ll get noise, distortion, and no gain control. Everything else — amp sims, effects, DAW apps — costs nothing if you already own GarageBand.
 Photo: AS Photography via Pexels
The minimum rig:
| Component | Budget Option | Mid-Range Option |
|---|---|---|
| Audio Interface | IK Multimedia iRig HD X | Focusrite Scarlett Solo (USB-C) |
| DAW App | GarageBand (free) | Cubasis 3 |
| Cable | Included with interface | — |
| Headphones | Any 3.5mm pair | Audio-Technica ATH-M20x |
iPhone vs iPad: No functional difference for recording — same apps, same interfaces, same signal chain. iPad’s larger screen makes editing easier. iPhone 15+ and all iPads with USB-C use the same interface connections; older Lightning devices need a Lightning-specific interface or Apple’s Camera Connection Kit.
Choosing the Right Audio Interface for iOS
Direct answer: Get a bus-powered interface with a dedicated iOS/iPhone mode or class-compliant USB audio. The IK Multimedia iRig HD X connects directly via Lightning or USB-C with no adapter. The Focusrite Scarlett Solo needs the USB-C Camera Connection Kit on older iPads, but connects natively to USB-C iPads and iPhone 15+. Both deliver 24-bit/48kHz recording — more than sufficient for guitar.
 Photo: RDNE Stock project via Pexels
Interface Tiers
Under $80 — direct-connection interfaces:
- IK Multimedia iRig HD X — dedicated Lightning and USB-C cables included, 96kHz capable, built-in headphone output with zero-latency monitoring. The most plug-and-play option.
- IK Multimedia iRig 2 — TRRS analog connection, no driver needed. Usable for demos, but the 3.5mm signal path adds noise.
$100–$200 — desktop interfaces via USB-C:
- Focusrite Scarlett Solo (4th gen) — requires Apple USB-C to USB-C cable on compatible iPads/iPhones, works class-compliant with no app install. Better preamp, more headroom.
- PreSonus AudioBox GO — bus-powered, class-compliant, $60 street price. Compact, but the preamp shows its limitations above 18dB gain.
What to avoid: Bluetooth audio interfaces introduce 40–200ms latency — incompatible with real-time monitoring. Cheap TRRS adapters (not interfaces) provide no gain control and produce audible noise floors on iPhone recordings.
Setting Up Your Signal Chain
Direct answer: Guitar → 1/4“ TS cable → interface input → USB-C or Lightning into iPad/iPhone → DAW app. Set interface gain so the signal peaks at −12 to −6 dBFS on loud strums. Enable direct monitoring on the interface to hear yourself with zero latency through headphones.
 Photo: Pich Lokei via Pexels
Step-by-Step Recording Workflow
1. Connect the interface Plug the interface into your iPad/iPhone before launching any app. iOS assigns audio routing at connection time — launching the app first can cause it to default to the built-in mic.
2. Set input gain Play your loudest chord. Rotate the gain knob until the clip light flashes occasionally, then back off 3 dB. Target: −12 to −6 dBFS average, never touching 0 dBFS.
3. Open GarageBand (or your chosen DAW) Create a new track → Audio Recorder → select “External Microphone” as input source. GarageBand auto-detects class-compliant interfaces — if it shows “Built-in Microphone,” disconnect and reconnect the interface.
4. Enable direct monitoring Flip the direct monitor switch on the interface. This routes the dry signal to your headphones at zero latency. Turn off software monitoring in the DAW to avoid the doubled, latency-affected signal.
5. Set buffer size In GarageBand: Settings → Audio/MIDI → Audio Buffer Size → 128 samples. Lower buffers reduce latency but increase CPU load — 128 is the sweet spot for iPad; iPhone may need 256 on older models.
6. Record the track Tap the record button. Play through the full take — punch-in editing is available but one solid take is faster to work with.
7. Add amp simulation GarageBand’s built-in amp models (amp designer) are applied post-recording as effects. Alternatively, route through an amp sim app like BIAS FX 2 Mobile using AUM as a host before the signal hits GarageBand.
8. Export Share → Song → select format (AAC for demos, uncompressed 24-bit AIFF for production handoff).
Signal Chain Overview
Guitar
  ↓ 1/4" TS cable
Audio Interface (gain: -12 to -6 dBFS peak)
  ↓ USB-C / Lightning
iPad or iPhone
  ↓ DAW app (GarageBand / Cubasis 3 / AUM)
  ↓ Amp sim plugin (optional, post-record)
Headphone output → monitoring
Best Apps for Recording Guitar on iPad and iPhone
Direct answer: GarageBand is the correct starting point — free, stable, includes amp modeling, and exports to Logic Pro on Mac. Upgrade to Cubasis 3 or AUM when you need unlimited tracks, advanced routing, or third-party AU plugin hosting.
 Photo: Egor Komarov via Pexels
| App | Price | Best For | AU Plugin Support |
|---|---|---|---|
| GarageBand | Free | Beginners, quick demos, Apple ecosystem | Limited |
| Cubasis 3 | $49.99 | Full multi-track production | Yes |
| AUM | $19.99 | Live routing, amp sim chains | Yes |
| BIAS FX 2 Mobile | $19.99 | Amp simulation only | Standalone + AU |
| Garage One | Free | Simple recording | No |
| n-Track Studio | Free / IAP | Multi-track on a budget | Yes |
GarageBand limitation: Only 32 tracks per project and no third-party AU plugin hosting for instrument tracks — only effect slots. For serious production, Cubasis 3 removes both restrictions.
AUM use case: Route guitar → iRig HD X → AUM → BIAS FX 2 → GarageBand via Audiobus or Inter-App Audio. This gives you the amp sim quality of BIAS FX with GarageBand’s workflow.
Recording Acoustic Guitar on iPad
Direct answer: You need a microphone, not just a direct input. A small-diaphragm condenser mic into the same audio interface covers acoustic guitar on iPad. The interface’s phantom power (48V) is required for most condensers — confirm your interface provides it before buying a mic.
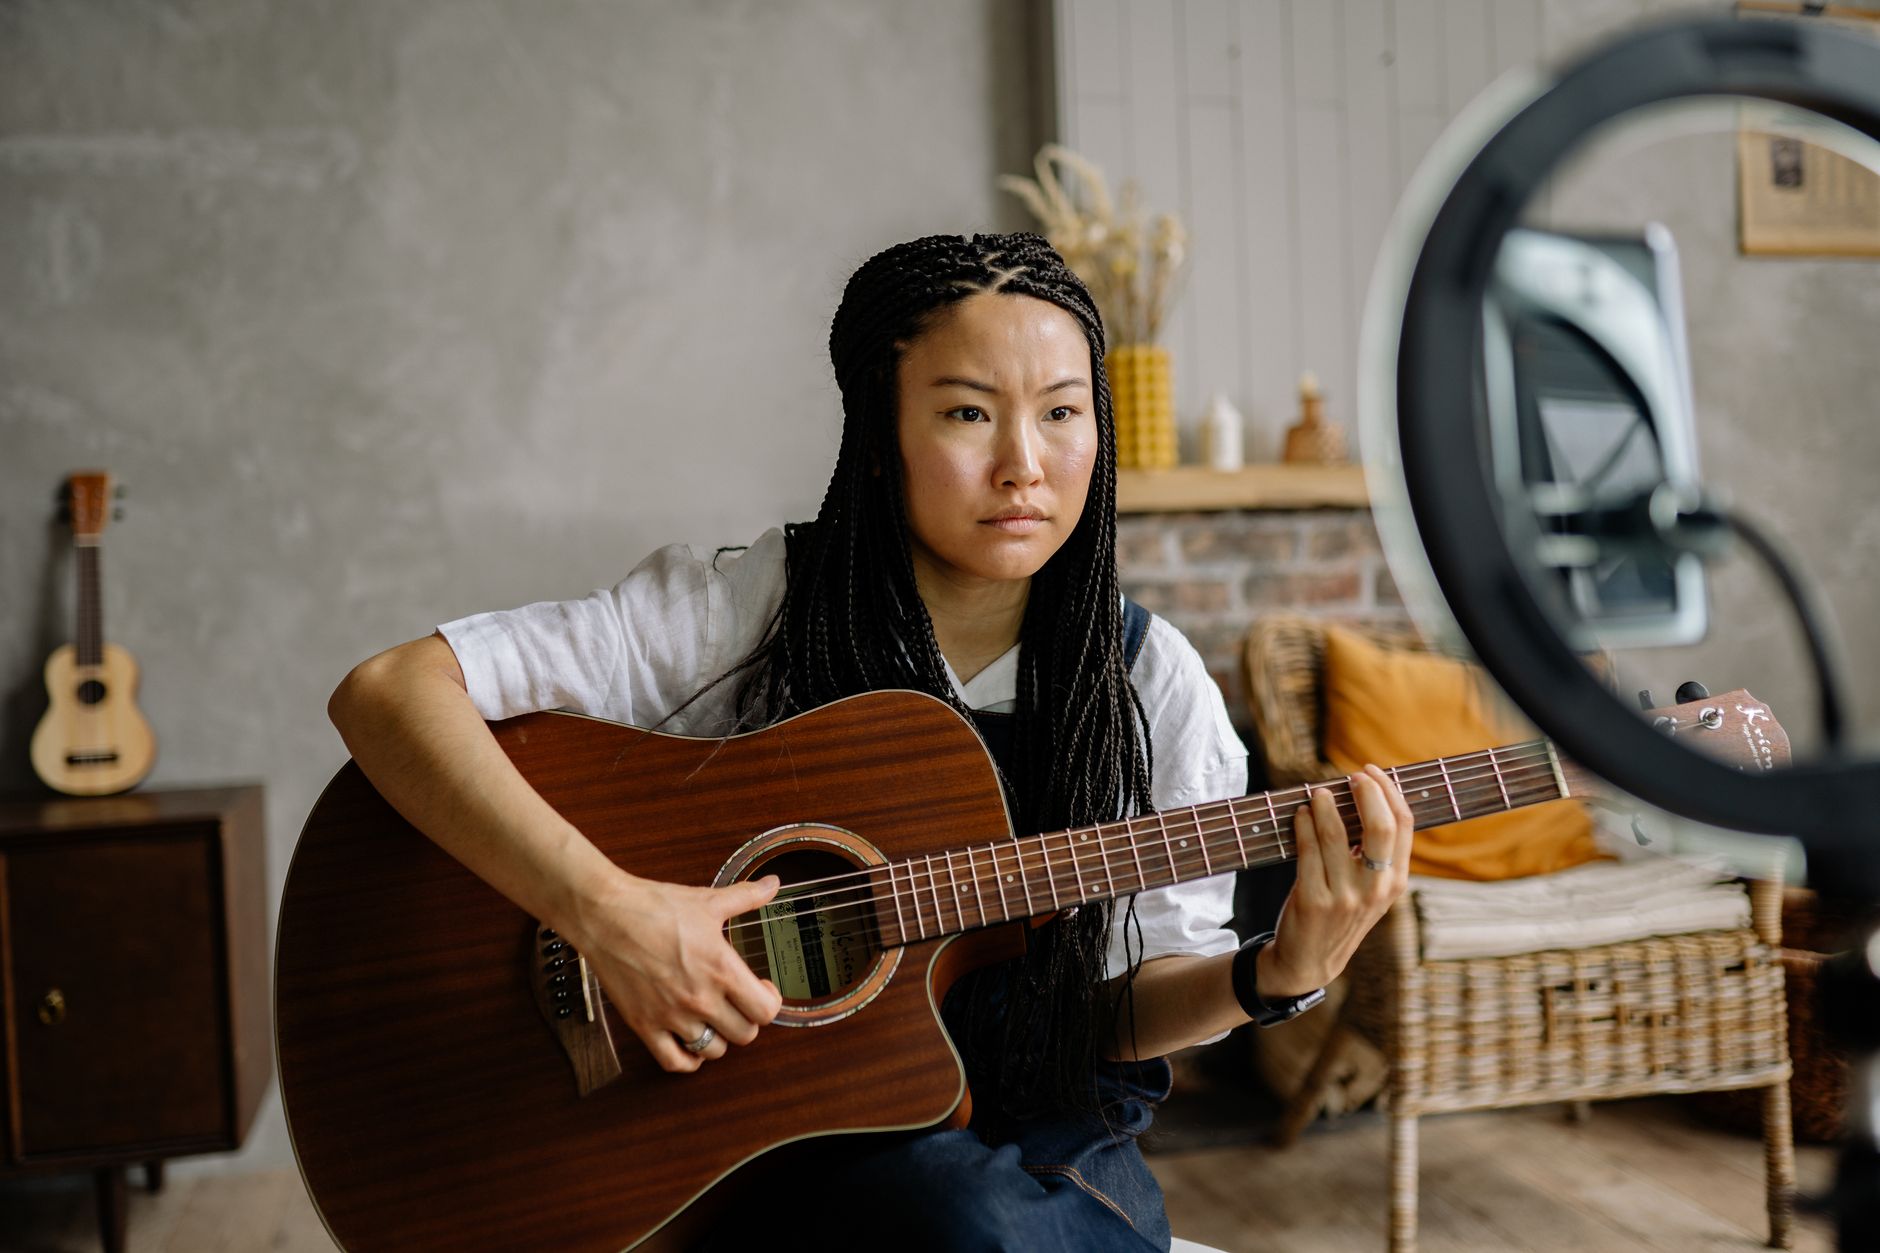 Photo: Yan Krukau via Pexels
Recommended mic for iOS acoustic recording: the Rode NT1 5th gen connects via USB-C natively to iPad and iPhone 15+, bypassing the interface entirely. Published testing data from Rode shows 4 dBu equivalent input noise — clean enough for fingerpicking in a quiet room.
Position the mic 6–8 inches from the 12th fret, angled toward the soundhole. This placement (documented in standard recording practice) balances body warmth against picking transient clarity better than pointing directly at the soundhole, which overloads the low end.
Troubleshooting: Common Recording Problems
| Symptom | Likely Cause | Fix |
|---|---|---|
| No signal in DAW | Interface not recognized | Disconnect, force-quit app, reconnect interface first, relaunch app |
| Crackling / dropouts | Buffer too small | Increase buffer to 256 or 512 samples in app audio settings |
| High latency when monitoring | Software monitoring enabled alongside direct monitoring | Disable software monitoring in DAW; use interface’s direct monitor only |
| Noise floor / hiss | Gain too high on interface | Back off gain; check cable for ground loop (try a different cable) |
| No phantom power | Budget interface, no 48V | Upgrade interface or use a dynamic mic / USB-C mic |
| Phase issues on acoustic (2-mic) | Mics out of phase | Flip phase on one track in DAW; verify mic positions aren’t equidistant from source |
| App defaults to built-in mic | Interface connected after launch | Always connect interface before opening DAW app |
→ See also:
- How to Record Guitar at Home: The Complete Guide (2026)
- How to Record Electric Guitar at Home
- How to Record Guitar Without an Amp
FAQ
Can you record guitar directly into an iPhone without an interface? Not with any quality worth keeping. The iPhone’s 3.5mm headphone jack (where present) is output-only on newer models; on older models with a combo jack, instrument-level signals overdrive the mic preamp and produce distorted, noisy recordings. An interface costs as little as $40 and solves the problem entirely.
Does GarageBand support professional audio quality on iPad? Yes — GarageBand records at up to 24-bit/44.1kHz, which meets the standard for commercial release. The limiting factor is your interface and room acoustics, not the app. Expert consensus among iOS recording communities confirms GarageBand outputs are indistinguishable from Logic Pro recordings at equivalent quality settings.
What’s the latency like when recording guitar on iPad? At 128-sample buffer with a class-compliant interface, round-trip latency is typically 6–12ms based on manufacturer specifications for iOS-compatible interfaces. This is below the 20ms threshold at which most players notice delay. Use direct monitoring on the interface — not software monitoring — to achieve true zero-latency playback through headphones during recording.
Can you use pedals with iPad recording? Yes. Run your pedalboard between the guitar and the interface as normal. The interface sees the processed signal. This works cleanly for overdrive, delay, and modulation. Avoid noise gates set too aggressively — the transient at the start of notes can trigger false cuts that are harder to edit around than the noise itself.
Is USB-C or Lightning better for iOS guitar recording? USB-C is the better long-term investment. All current iPads and iPhone 15+ use USB-C, which supports higher bandwidth and directly connects standard USB-C interfaces without an adapter. Lightning devices require Lightning-specific interfaces (like the iRig HD X) or Apple’s Camera Connection Kit — both work, but USB-C is simpler and offers more interface choice.
Do you need an amp sim app, or do the built-in sounds work? GarageBand’s amp models are usable for demos and basic recording, per user reviews across iOS recording forums. They cover clean, crunch, and high-gain territories convincingly enough for most home recording purposes. BIAS FX 2 Mobile or AmpliTube 5 deliver noticeably more realistic cab emulation and feel for players who record guitar on iPad as their primary workflow — worth the upgrade if tone quality is the priority.
Editorial methodology: Assessments are based on manufacturer specifications, published user reviews, and editorial research. Physical hands-on testing is noted explicitly where it occurred. Rankings reflect our editorial judgment and are not influenced by affiliate commission rates. Full editorial policy · Affiliate disclosure