
Contents
How to Use Logic Pro for Beginners
TL;DR: Logic Pro is Apple’s professional DAW — available only on Mac for $199.99 as a one-time purchase. To get started, create a project, set your audio interface as the input/output device, record a track, and use the built-in plugins to mix. This guide walks through every step beginners need to make their first recording.
Setting Up Logic Pro for the First Time
Logic Pro installs from the Mac App Store as a one-time $199.99 purchase. After download, launch it and immediately go to Logic Pro > Settings > Audio to select your audio interface as both input and output device. Set your sample rate to 44.1 kHz and buffer size to 128 samples to start — you can lower it later once you understand CPU load.
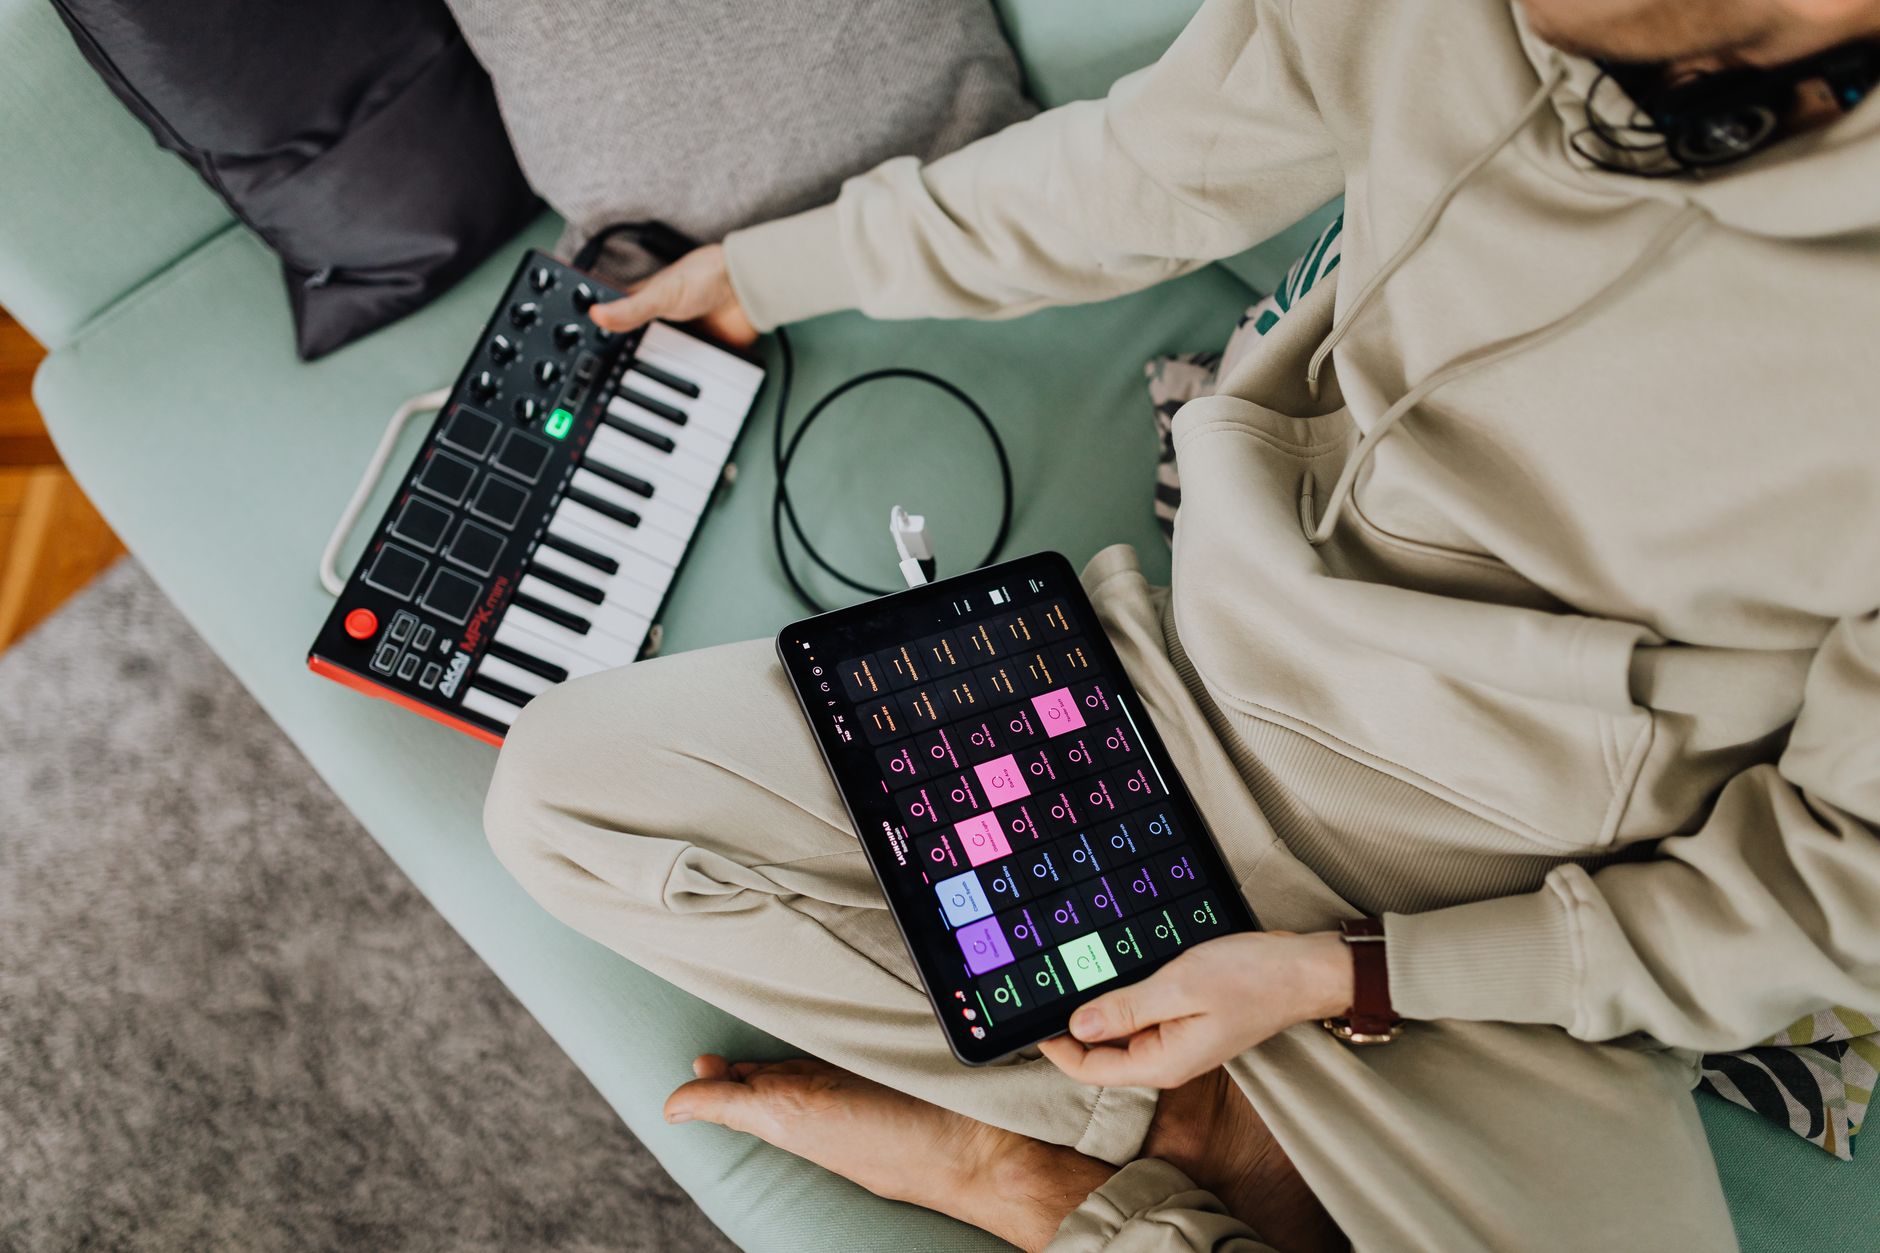 Photo: https://kaboompics.com/ via Pexels
Logic Pro opens to a template chooser on first launch. Skip the templates for now — choose “Empty Project” so you understand what you’re building. The first dialog asks you to create a new track; select “Audio” with your interface input, then click Create.
Before recording anything, open the Audio Device settings (Logic Pro > Settings > Audio). Your interface should appear in both the Input Device and Output Device dropdowns. If it doesn’t, check that macOS recognizes it in System Settings > Sound first.
Understanding the Main Window Layout
Logic Pro’s interface has three main zones: the Tracks Area in the center (where your audio and MIDI regions live), the Control Bar at the top (transport, tempo, time signature), and the Inspector on the left (track and region parameters).
The Mixer lives at the bottom or can be opened as a separate window with X. You’ll use it constantly for levels and plugin inserts. The Library panel on the left loads patches and presets — useful once you’re working with software instruments.
Creating Your First Recording
Click the plus (+) button in the top-left of the Tracks Area to add a track. For a microphone or instrument, choose Audio. For MIDI keyboards or drum machines, choose Software Instrument. Arm the track by clicking the red Record Enable button, set your input level so peaks hit around -12 dBFS, then press R to record.
 Photo: Anna Pou via Pexels
Audio Tracks vs Software Instrument Tracks
Audio tracks capture real sound — microphones, guitars plugged into an interface, anything analog converted to digital. Software Instrument tracks trigger virtual instruments (Logic’s built-in synths, samplers, drum machines) using MIDI data.
For learning how to use Logic Pro for beginners, start with audio tracks. They’re simpler: what goes in is what you hear, minus any processing you add. Software instruments introduce MIDI routing and latency compensation variables that can confuse the signal path before you’ve mapped the basics.
Setting Input Monitoring and Latency
Enable Input Monitoring (the speaker icon on the track) to hear yourself while recording. If you notice a delay between playing and hearing the sound back, reduce your buffer size in Audio Settings — go from 256 to 128 or 64 samples. Smaller buffer = lower latency but higher CPU usage. Most modern Macs handle 64 samples without issue for basic tracking sessions.
Navigating the Arrange Window
The Arrange Window (Tracks Area) is where you build your song. Zoom in and out with ⌘+scroll or the zoom sliders in the top-right corner. The primary tool is the Pointer (press Escape to confirm), which selects, moves, and trims regions. Press T to open the Tool Menu and switch between Pointer, Pencil, Scissors, and Glue tools as needed.
Logic Pro uses a cycle region (the yellow bar at the top of the ruler) to loop sections for comping takes or drilling arrangements. Set it by clicking and dragging in the upper half of the ruler, then toggle it with C.
The Snap setting (top-right of Tracks Area) controls how regions align when you drag them. “Smart” snap is the default and works well — it snaps to bars at low zoom and to smaller divisions as you zoom in. Turn it off entirely with ⌃G if you need free positioning.
Using Logic Pro’s Built-In Plugins
Logic Pro ships with a complete professional plugin suite: Channel EQ, Compressor, Space Designer reverb, Chromaverb, Tape Delay, and dozens more. Access them by clicking an insert slot in the Mixer channel strip or the Inspector. Every plugin has a built-in preset library — start with those before tweaking parameters.
 Photo: Pixabay via Pexels
Essential Plugins for Beginners
| Plugin | What It Does | When to Use It |
|---|---|---|
| Channel EQ | Surgical and broad frequency control | Every track needs some EQ |
| Compressor | Controls dynamic range | Vocals, bass, drums |
| Space Designer | Convolution reverb | Acoustic spaces, room sound |
| Chromaverb | Algorithmic reverb | Plates, halls, ambient pads |
| Tape Delay | Echo with tape character | Vocals, guitars, leads |
| Limiter | Prevents digital clipping | Master bus only |
| Noise Gate | Cuts signal below a threshold | Drums, guitar amps |
For a vocal chain as a starting point: Channel EQ (high-pass at 80 Hz, cut any harsh 2–4 kHz build-up) → Compressor (4:1 ratio, medium attack, fast release) → Space Designer or Chromaverb for room.
Software Instruments and Drummer
Logic’s Drummer track is one of its most practical features for beginners. Add a Drummer track, choose a style (Rock, Electronic, Hip Hop), and it generates a realistic drum performance you can adjust with sliders for Loudness and Complexity. You can convert any Drummer region to MIDI if you want to edit individual hits.
The Alchemy synthesizer and ES2 cover most synthesis territory. For realistic instruments, Sampler and the Vintage instrument series (B3 organ, electric pianos, strings) are included in the base install and in the Sound Library download.
Logic Pro Software Overview
| Feature | Detail |
|---|---|
| Platform | Mac only (macOS 13.6 or later for Logic Pro 11) |
| Formats | AU (native); VST3 via Logic Pro 11.1+ |
| Price Model | One-time $199.99 (Mac App Store) |
| System Requirements | Apple Silicon or Intel Mac, 6 GB storage minimum (72 GB with full Sound Library) |
| Best For | Mac users who want a professional DAW without a subscription |
| DAW | Price | Standout Feature | Learning Curve | Verdict |
|---|---|---|---|---|
| Logic Pro | $199.99 one-time | Drummer + full plugin suite | Moderate | Best value for Mac users |
| Ableton Live Intro | $99 | Session View for live performance | Moderate | Better for electronic/live |
| GarageBand | Free | Logic-like interface, free | Low | Good stepping stone to Logic |
| Pro Tools Artist | $99/yr | Industry-standard in studios | Steep | Worth it if you track in pro studios |
| Studio One Artist | $99.99 one-time | Single-window workflow | Low-moderate | Strong Logic alternative |
Workflow notes: Logic Pro authorizes via Apple ID — no iLok, no separate license manager. After installation, download the Sound Library in full (Logic Pro > Sound Library > Download All Available Sounds) — it’s 72 GB but includes everything you need to produce complete tracks. Logic Pro 11.1 added VST3 support, so third-party plugins now work in both AU and VST3 formats. CPU load is generally efficient on Apple Silicon Macs; M1/M2/M3 chips handle large sessions without external DSP.
Mixing and Exporting Your Project
Open the Mixer with X, set all fader levels relative to your loudest element (usually kick drum or lead vocal), and use the Channel EQ and Compressor on individual tracks. Pan instruments to create stereo width. When done, select File > Bounce > Project or Section to export — choose WAV 24-bit at 44.1 kHz for the highest quality output.
 Photo: Anna Pou via Pexels
Basic Mixing Workflow
- Gain staging — set clip gain on each region (right-click > Gain) so every track hits the mixer around -18 dBFS RMS before any plugins
- EQ — high-pass everything except kick and bass; cut problem frequencies before boosting
- Compression — control dynamics, especially on transient-heavy sources
- Reverb/delay — use send channels (Aux tracks) rather than insert reverb on every track individually
- Automation — press A to open Automation view; write volume and pan moves using the pencil tool
For sends: create an Aux track, insert Space Designer, then on each channel strip route to that Aux using the Send knobs. This is more CPU-efficient than inserting reverb on every track and gives you one master reverb to control.
→ See also:
FAQ
Is Logic Pro good for beginners? Logic Pro has a steeper learning curve than GarageBand but is significantly more approachable than Pro Tools. The interface is logically organized, the built-in plugin and instrument library is comprehensive, and Apple’s documentation is thorough. Most beginners are recording and producing basic tracks within a few hours of first launch.
Can you use Logic Pro on Windows? No. Logic Pro is Mac-only and has been since Apple acquired it in 2002. There is no Windows version and no credible indication Apple plans one. Windows users looking for comparable feature sets at similar prices should consider Studio One or Cubase.
What’s the difference between GarageBand and Logic Pro? GarageBand is a free, simplified version of Logic Pro that shares the same basic interface and audio engine. Logic Pro adds advanced MIDI editing, Flex Time/Pitch, Drummer’s full kit customization, Dolby Atmos mixing, a larger plugin suite, professional comping tools, and support for third-party plugins. You can open a GarageBand project directly in Logic Pro and all your work transfers.
How much RAM do you need for Logic Pro? Apple’s minimum is 4 GB, but expert consensus suggests 16 GB for comfortable work with software instruments and large sessions. Published performance data from Apple and third-party benchmarks show Apple Silicon Macs handle Logic Pro sessions more efficiently than Intel equivalents clock-for-clock, so an M2 MacBook Air with 16 GB outperforms many Intel machines with 32 GB for typical music production workloads.
Can you use third-party plugins with Logic Pro? Yes. Logic Pro 11.1 and later supports both AU (Audio Units) and VST3 plugins. Install the plugin, launch Logic Pro, and it should appear in your plugin menu. If it doesn’t, go to Logic Pro > Settings > Plug-in Manager and click Rescan. AU has been supported since Logic’s early Mac days; VST3 support makes the vast majority of modern plugins compatible without needing AU versions.
How do you record guitar in Logic Pro? Connect your guitar to an audio interface (not directly to the Mac’s headphone jack, which lacks instrument-level input). Create an Audio track in Logic, set the input to your interface channel, enable Input Monitoring, and arm the track. Use Logic’s built-in Amp Designer plugin on the track to dial in guitar tones — it includes models of classic amplifiers and speaker cabinets. According to manufacturer specifications, Amp Designer covers clean, crunch, and high-gain tones across American, British, and modern amp types without any additional plugins required.
Editorial methodology: Assessments are based on manufacturer specifications, published user reviews, and editorial research. Physical hands-on testing is noted explicitly where it occurred. Rankings reflect our editorial judgment and are not influenced by affiliate commission rates. Full editorial policy · Affiliate disclosure