Contents
How to Use GarageBand for Beginners
TL;DR: GarageBand is Apple’s free DAW included on every Mac and iPhone — open it, create a new Empty Project, add a Software Instrument or Audio track, record or drag in loops, then export. It’s the fastest way to learn how to use GarageBand without spending anything, and the skills transfer directly to Logic Pro.
What Is GarageBand and What Can It Actually Do?
GarageBand is a fully capable digital audio workstation that ships free with macOS and iOS. It records audio, hosts virtual instruments, supports third-party plugins, and exports broadcast-quality stereo files. The ceiling is higher than most beginners expect — professional demos and released tracks have been made entirely inside it.
 Photo: Jake Heinemann via Pexels
GarageBand handles every core production task: multitrack recording, MIDI sequencing, mixing with EQ and compression, and mastering via the built-in Mastering plugin. On Mac, it supports AU (Audio Unit) plugins, meaning you can load any third-party synth or effect into your session. On iPhone and iPad, it runs a streamlined version with touchscreen instruments and a 32-track limit.
It does have real limits. There’s no surround sound, no advanced MIDI routing, no video scoring tools, and no AAX support for Pro Tools plugins. For most home recording and music production work, those gaps won’t matter until you outgrow the app — at which point Logic Pro ($199) is a direct upgrade with zero relearning.
How to Set Up GarageBand for the First Time
On Mac: open GarageBand from Applications, go to GarageBand → Settings → Audio/MIDI, set your audio interface as Input and Output Device, and set Buffer Size to 128 samples for tracking (256–512 for mixing). That’s the whole setup.
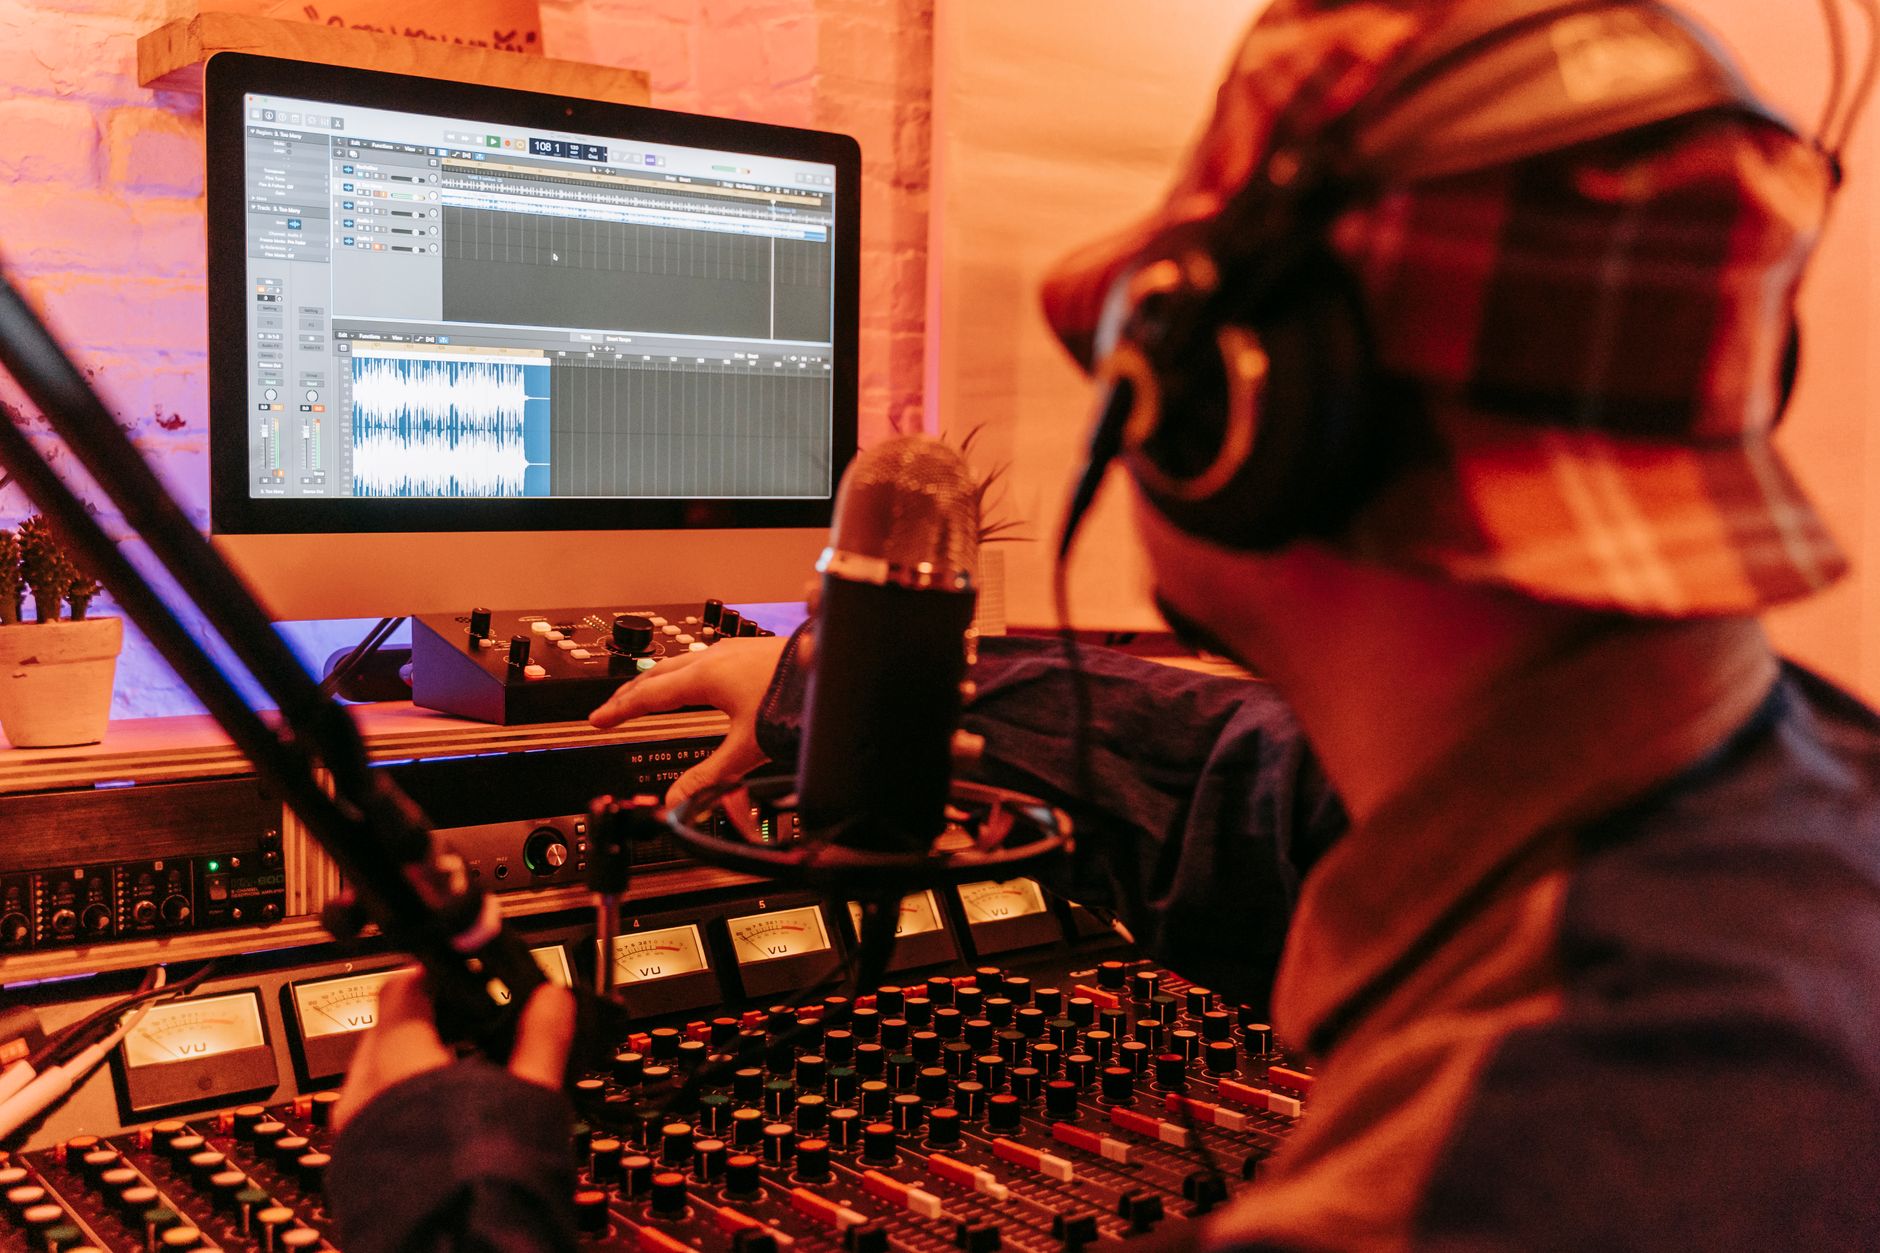 Photo: Anna Pou via Pexels
Choosing Your Audio Interface
GarageBand recognizes any Core Audio-compatible interface instantly — plug in, select it in preferences, done. If you’re recording vocals or guitar, a basic USB interface like the Focusrite Scarlett Solo is enough. Built-in Mac audio works for MIDI and loops but adds latency and noise for microphone recording.
Setting Sample Rate and Buffer Size
GarageBand defaults to 44.1 kHz / 24-bit, which is correct for music. Leave it. Buffer size is the only setting you’ll adjust regularly:
| Task | Buffer Size | Why |
|---|---|---|
| Recording live audio or MIDI | 64–128 samples | Low latency monitoring |
| Recording software instruments | 128–256 samples | Balance between CPU and feel |
| Mixing and editing | 256–512 samples | More headroom for plugins |
How to Create Your First GarageBand Project
File → New (or the project chooser on launch) → Empty Project → choose a track type. Name the project and save it immediately — GarageBand auto-saves but a named file is easier to find.
Track Types Explained
- Software Instrument — plays GarageBand’s built-in synths and samplers via MIDI keyboard or the on-screen keyboard. No audio interface required.
- Audio — records a microphone, instrument DI, or any analog source through your interface.
- Drummer — AI drum track that responds to the feel of your session. Start here if you have no drum kit.
- Loop — drag Apple Loops from the browser; they tempo-sync automatically.
Setting Tempo and Key
Click the tempo number at the top of the screen (defaults to 120 BPM) and type your target. Set the project key in the same bar — this matters for Apple Loops, which pitch-shift to match. Change these before recording anything; changing tempo after MIDI is fine, but after live audio it warps the file.
How to Record Audio in GarageBand
Select your Audio track, arm it with the R button, check input level in the track header (aim for peaks around -12 dBFS, nothing touching red), then hit the record button or press R. Stop with the spacebar.
 Photo: Samer Daboul via Pexels
Monitoring and Latency
Input monitoring (the headphone icon on the track) lets you hear yourself through GarageBand while recording. If you hear a delay (latency), lower your buffer size in preferences. Most USB interfaces also offer zero-latency direct monitoring via a blend knob on the hardware — use that instead and turn off GarageBand’s input monitoring to avoid doubled signal.
Punching In
To fix one section without re-recording everything: set the Cycle Region (yellow bar above the timeline) over the section you want to replace, enable Replace mode (Record → Allow Punch In/Out), and record. GarageBand overwrites only the cycled range.
How to Record MIDI and Software Instruments
Create a Software Instrument track, open the instrument library on the left, pick a sound, then record from a MIDI keyboard or click Record and play the on-screen keyboard (Window → Show Musical Typing, or Command-K).
MIDI recording captures your note data, not audio — you can edit every note after the fact. Double-click a MIDI region to open the Piano Roll. From there:
- Drag notes to change pitch or timing
- Resize notes to change length
- Adjust velocity (note volume) in the lane below the grid
- Quantize timing with Q (aligns notes to the nearest grid division)
Using Apple Loops
Press O to open the Loop Browser. Filter by instrument, genre, or mood, then drag a loop directly onto an empty area of the timeline — GarageBand creates a new track automatically. Loops snap to bars and pitch-shift to the project key. They’re royalty-free for commercial use.
How to Mix in GarageBand
Every track has Volume (fader), Pan (balance knob), and a Smart Controls panel (B) with EQ and a few effects. For more control, open the Mixer (X) to see all channels at once and add plugins via the channel strip.
 Photo: Jakub Zerdzicki via Pexels
EQ Basics
Each track has a Visual EQ accessible from Smart Controls. For a vocal track, a practical starting point:
- High-pass filter at 80–100 Hz (removes rumble)
- Small dip at 200–400 Hz if the voice sounds boxy
- Small boost at 3–5 kHz for presence
- Air boost at 10–12 kHz if it sounds dull
Compression
The Compressor plugin (add via the channel strip plugin slot) tames dynamic range. For vocals: Ratio 3:1 to 4:1, Attack 10ms, Release 60ms, Threshold until you see 4–6 dB of gain reduction on loud phrases. That’s a starting point — use your ears to adjust.
Reverb and Delay
Add Space Designer (reverb) or Tape Delay as Send effects. Click the Sends area on a channel strip, route to Bus 1, then put the reverb on an Aux track set to Bus 1 input. This way, one reverb instance serves all tracks and sounds more cohesive than adding it directly to each track.
How to Export from GarageBand
Share → Export Song to Disk → choose AIFF or WAV, 24-bit, 44.1 kHz for a full-quality master. Use MP3 only for sharing demos or uploading to streaming platforms that don’t accept WAV.
For a quick share: Share → Send Song to iTunes/Music, which renders a 256 kbps AAC file into your Music library.
| Format | Use Case | Quality |
|---|---|---|
| WAV 24-bit / 44.1 kHz | Mastering, file archive | Lossless |
| AIFF 24-bit | Same as WAV, Mac-native | Lossless |
| MP3 320 kbps | Demo sharing | Near-lossless |
| AAC 256 kbps | Streaming upload | Streaming-standard |
Before you export, bounce your track levels so the Master output meter peaks between -6 and -3 dBFS — loud enough to sound present, with headroom for mastering.
GarageBand vs. Other Free DAWs
| DAW | Platform | Price | Plugin Support | Best For |
|---|---|---|---|---|
| GarageBand | Mac / iOS only | Free | AU only | Beginners, Apple ecosystem |
| Audacity | Mac / Win / Linux | Free | Limited | Podcast editing, basic recording |
| Cakewalk by Bandlab | Windows only | Free | VST / VST3 / AAX | Windows producers |
| LMMS | Mac / Win / Linux | Free | VST (Win) | Beat-making, electronic |
| Reaper | Mac / Win / Linux | $60 discounted | VST / AU / AAX | Everything, steep learning curve |
GarageBand’s competitive edge is its depth-to-friction ratio: no install friction, no license key, no CPU-hungry installer — it’s already there.
→ See also:
FAQ
Can GarageBand use third-party plugins?
Yes — on Mac, GarageBand supports AU (Audio Unit) plugins. Install a plugin in your system’s /Library/Audio/Plug-Ins/Components/ folder, relaunch GarageBand, and it appears in the plugin browser. VST and AAX formats are not supported. On iOS, GarageBand supports AUv3 plugins from the App Store.
Is GarageBand good enough for professional recordings? For songwriting, demos, podcasts, and home productions, yes. Published tracks across hip-hop, pop, and indie have been made entirely in GarageBand. The limitations that matter professionally — no surround, no video sync, no AAX — only become relevant at studio or post-production scale.
How do I fix latency when recording in GarageBand? Lower your buffer size in GarageBand → Settings → Audio/MIDI (try 64 or 128 samples). If latency persists, use your audio interface’s direct monitoring instead of GarageBand’s software monitoring — most interfaces have a Mix knob that blends direct input with DAW playback at zero latency.
Can I use GarageBand on Windows? No. GarageBand is exclusive to Mac, iPhone, and iPad. The closest free Windows alternative is Cakewalk by Bandlab, which is also free and supports a wider plugin format range. For cross-platform options, see Best Free DAW for Beginners (2026).
How do I upgrade from GarageBand to Logic Pro? In Logic Pro, File → Open will import your GarageBand project with tracks, regions, and most plugin settings intact. Logic reads GarageBand’s native format directly — no export needed. The interface is nearly identical; the main additions are more mixer routing options, Flex Pitch for vocal tuning, and a broader stock plugin suite.
Does GarageBand come with drum sounds? Yes — the Drummer track includes over 30 virtual session drummers across genres, each with its own kit and playing style. You can also access individual drum kits via Software Instrument tracks using the Drum Kit designer, and trigger them with a MIDI keyboard or GarageBand’s Beat Sequencer.
Editorial methodology: Assessments are based on manufacturer specifications, published user reviews, and editorial research. Physical hands-on testing is noted explicitly where it occurred. Rankings reflect our editorial judgment and are not influenced by affiliate commission rates. Full editorial policy · Affiliate disclosure