Contents
How to Use Ableton Live for Beginners
TL;DR: Learning how to use Ableton for beginners starts with understanding two core views — Session and Arrangement — then building your first loop. Install Live, set your audio interface, drop a clip, record a track, and export. You can be making music within an hour of opening the software for the first time.
Setting Up Ableton Live for the First Time
Direct Answer: Download Live from Ableton’s site, authorize it with your serial number, then go to Preferences → Audio and select your audio interface as both input and output device. Set your buffer size to 256 samples to start — low enough for comfortable monitoring, high enough to avoid dropouts while you’re learning.
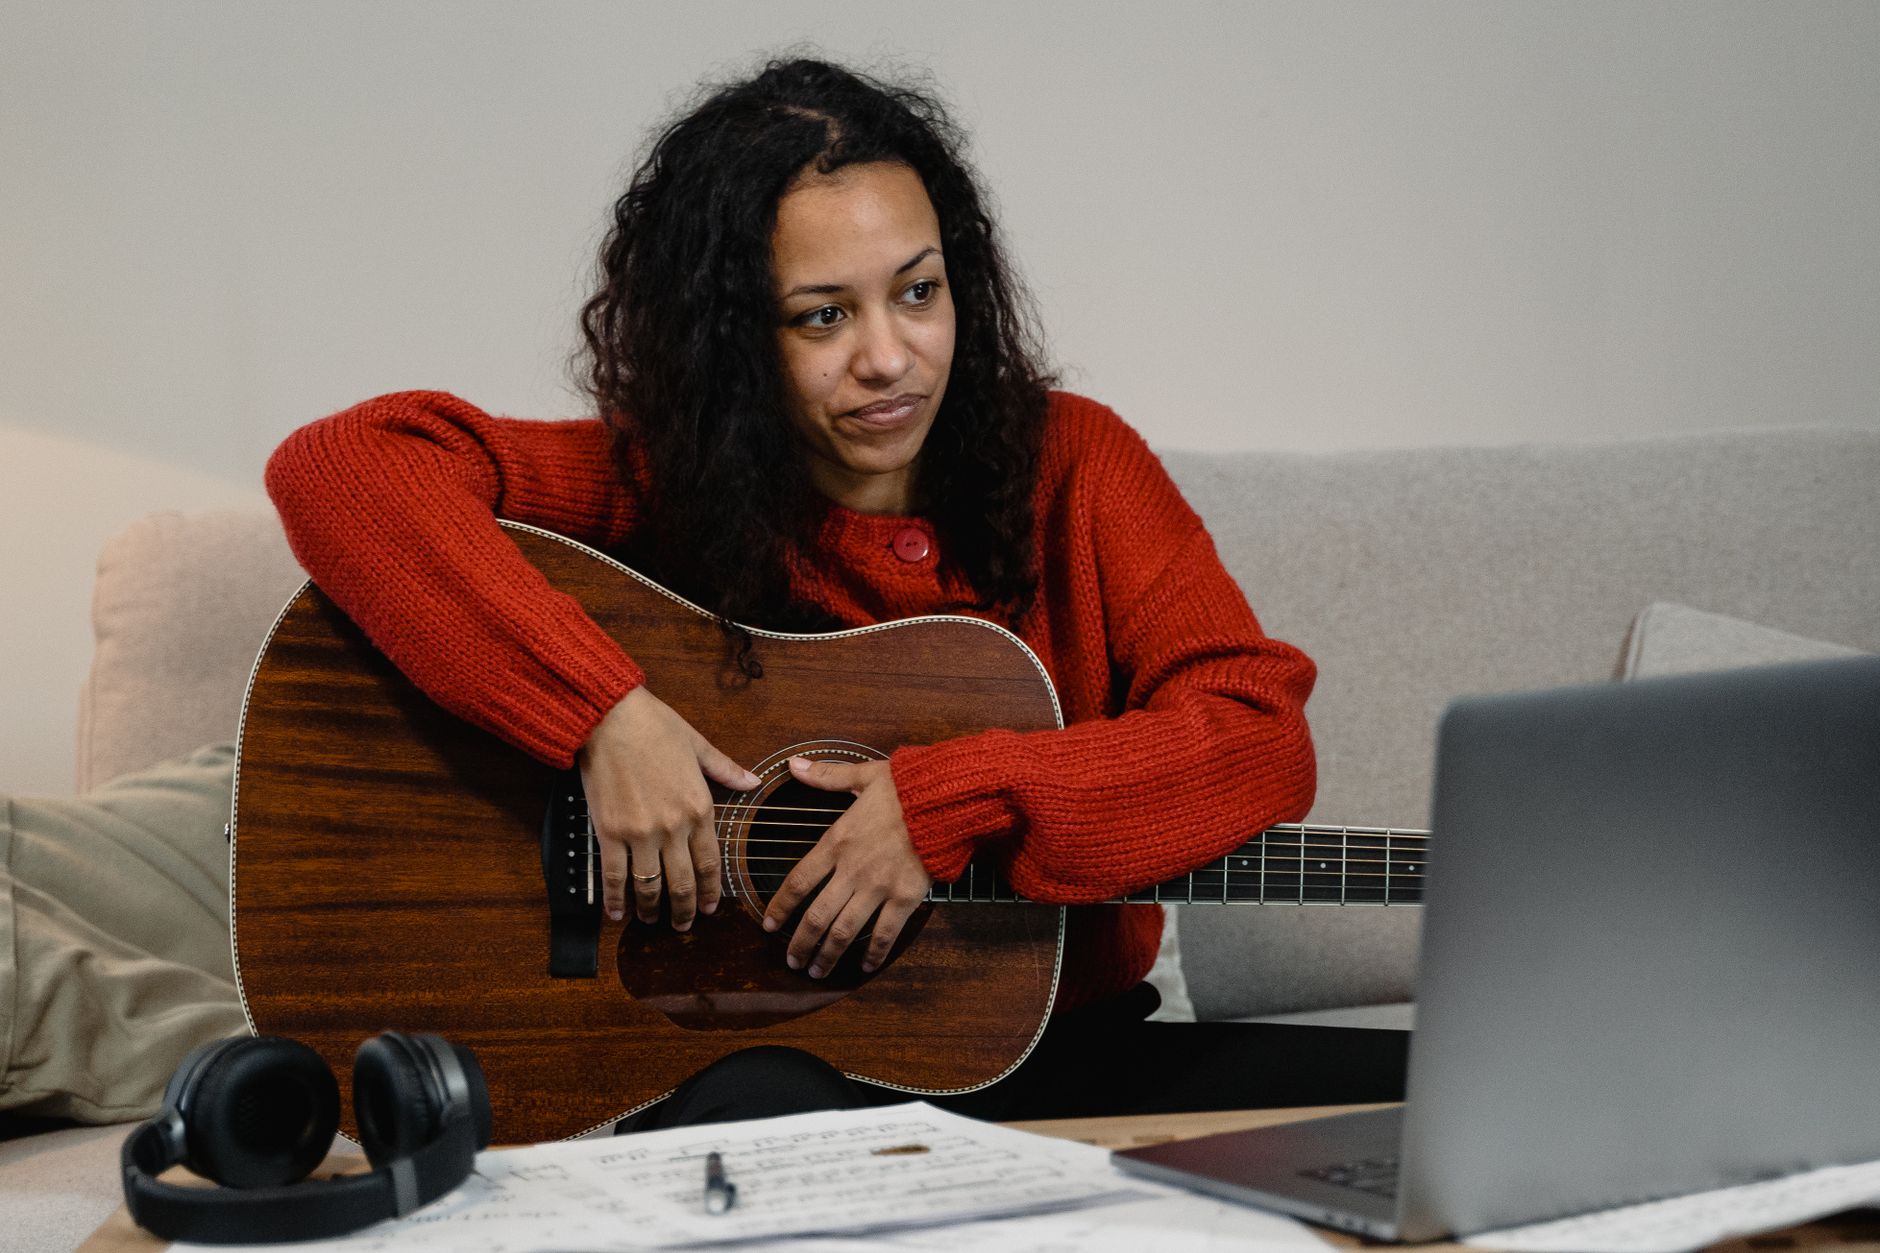
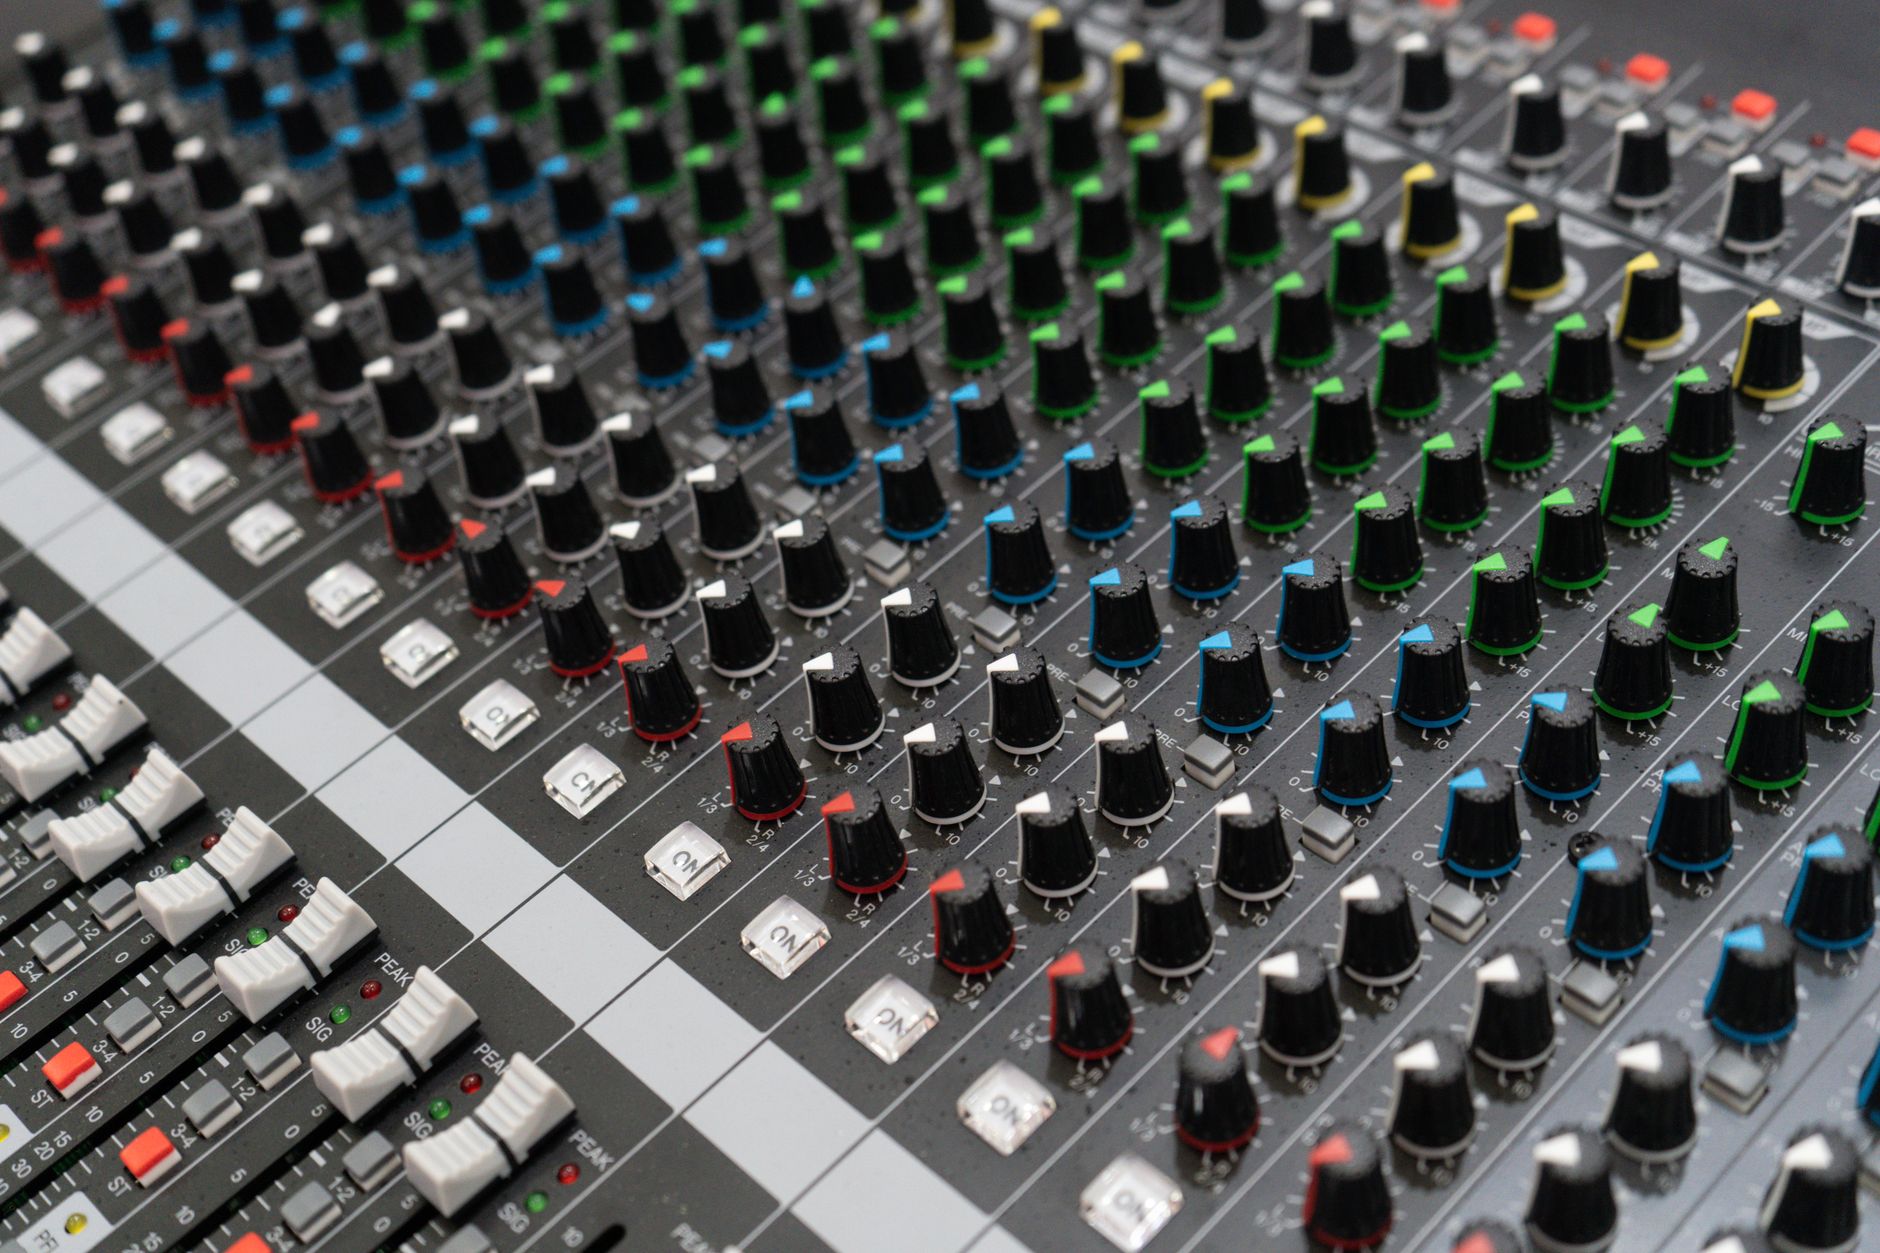 Photo: Kishan Rahul Jose via Pexels
Ableton Live comes in three tiers: Intro, Standard, and Suite. For most beginners, Intro covers everything you need for the first six to twelve months. Suite adds Max for Live and a larger instrument library — worth it later, not now.
First-launch checklist:
- Preferences → Audio — set your input/output device (your audio interface, not “Built-in Audio”)
- Sample Rate — 44100 Hz for music production
- Buffer Size — start at 256, drop to 128 if your CPU handles it
- Preferences → MIDI — enable your controller under “Input: Track” and “Input: Remote”
If you don’t have an audio interface yet, Live will work with your computer’s built-in audio — but latency will be noticeable. Budget interfaces like the Focusrite Scarlett Solo solve this for under $120.
Session View vs. Arrangement View: Which One to Use First
Direct Answer: Session View is Ableton’s defining feature — a grid of clips you trigger live, ideal for building loops and experimenting. Arrangement View is a traditional linear timeline for song structure. Start in Session View; move to Arrangement when you’re ready to sequence a full track.
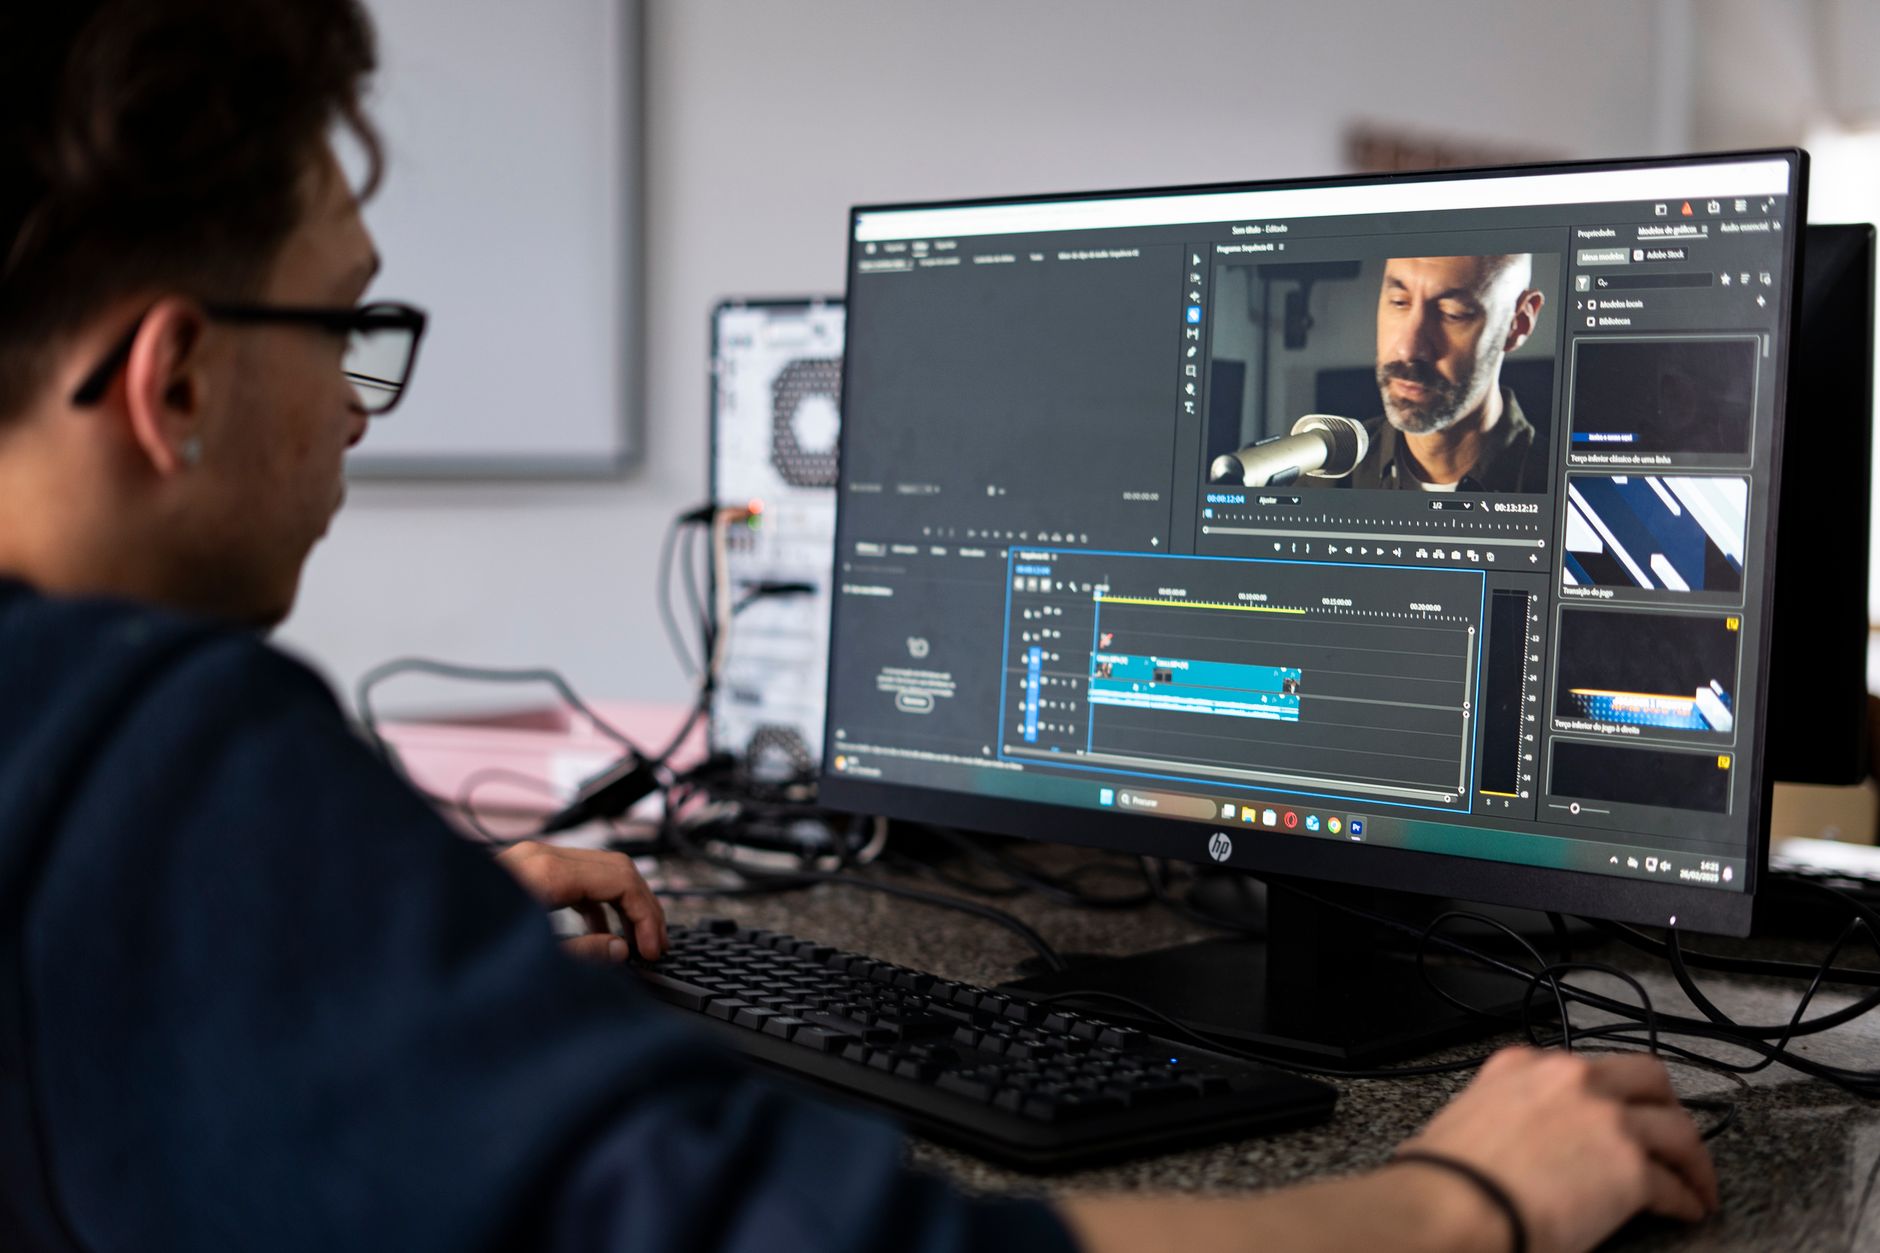
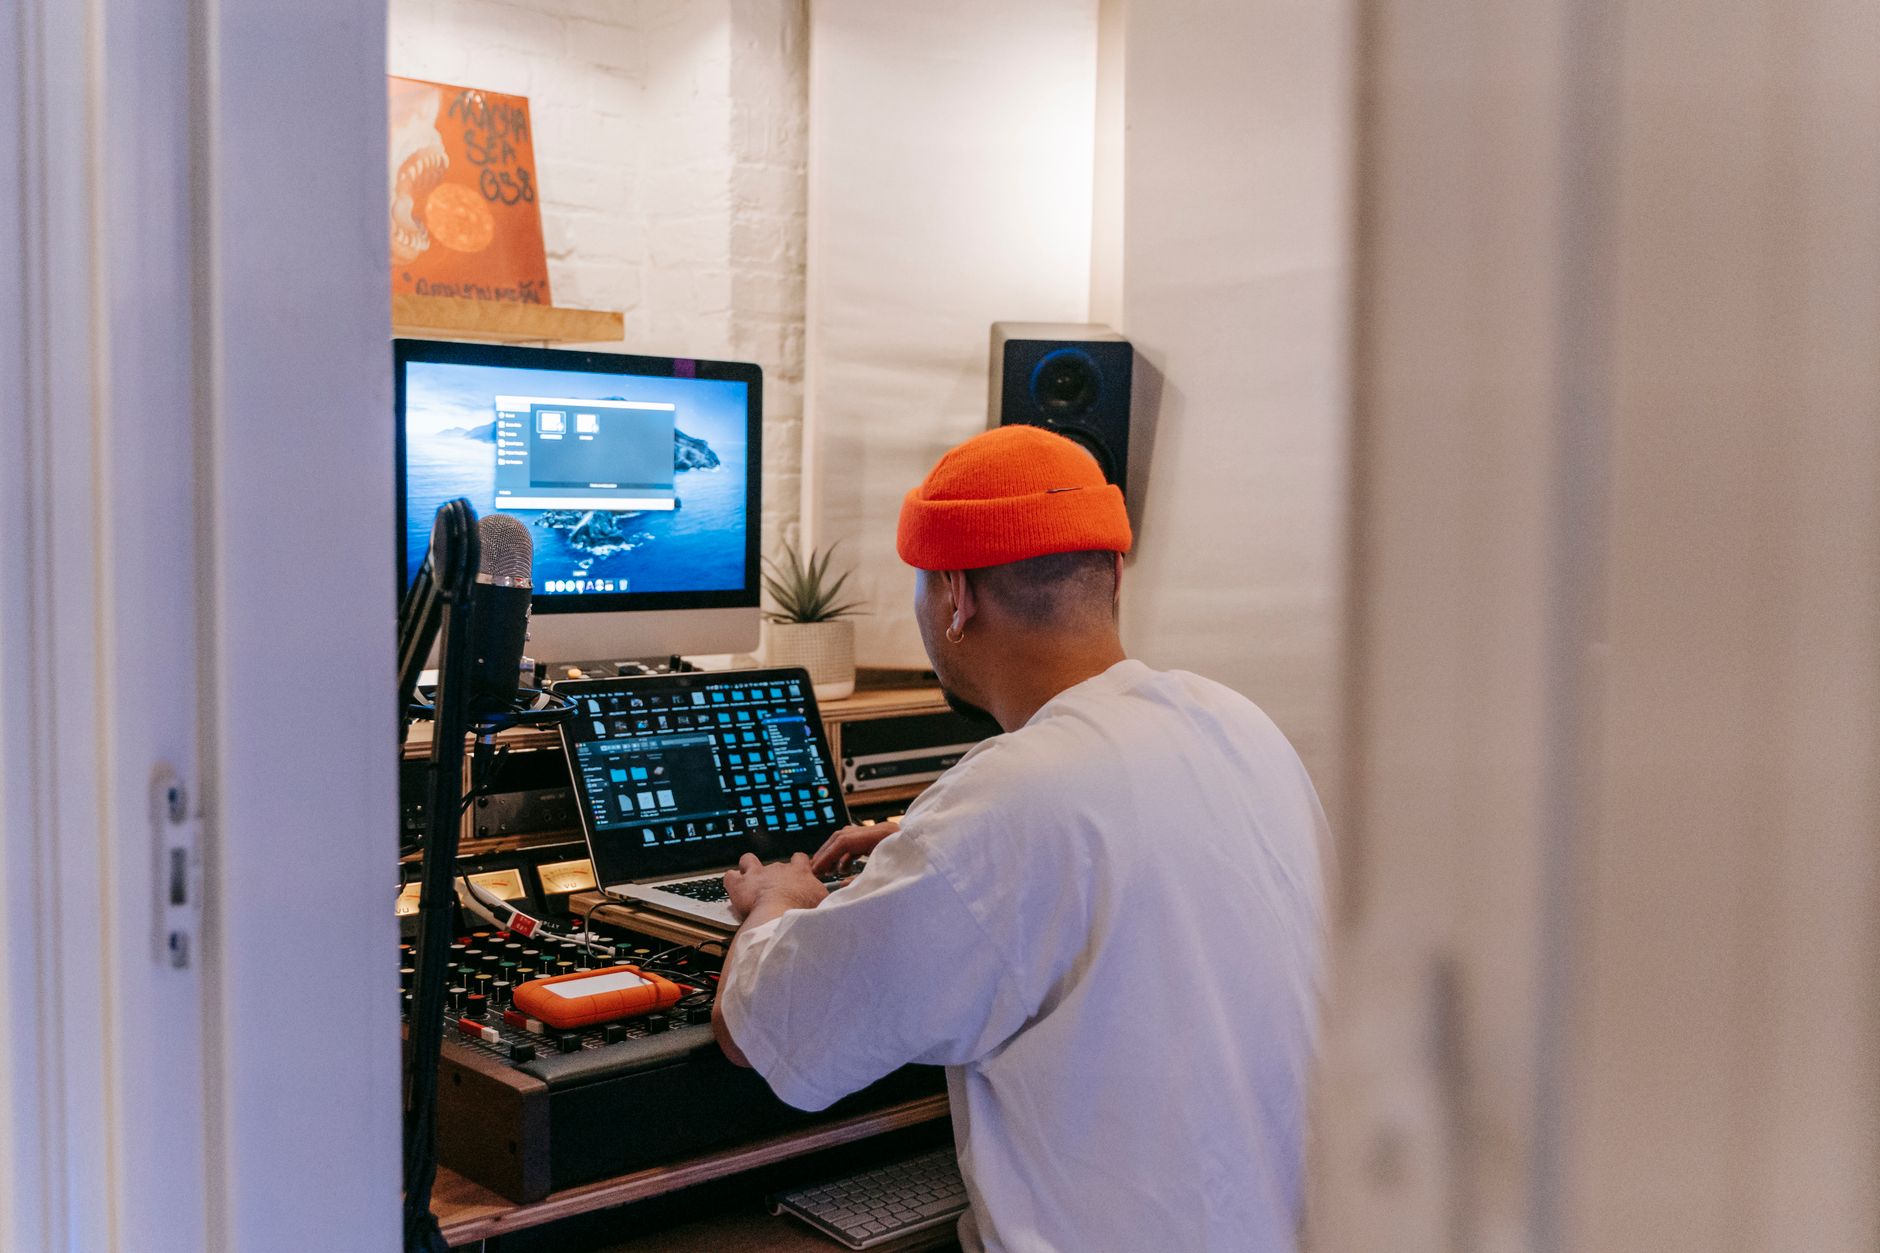 Photo: Anna Pou via Pexels
Press Tab to toggle between the two views at any time.
Session View Basics
Session View is organized in columns (tracks) and rows (scenes). Each cell holds a clip — a loop, a sample, a MIDI pattern. Click the triangle on any clip to play it. Click the square (stop button) on a track to stop that track’s clip without stopping others.
The Master track on the far right controls global tempo and volume. Set your BPM before you do anything else — drag the tempo field at the top of the screen or double-click to type a value.
Key Session View concepts:
| Element | What It Does |
|---|---|
| Clip | A loop or sample — audio or MIDI |
| Track | One instrument or audio channel (vertical column) |
| Scene | A horizontal row — launch all clips in a row at once |
| Clip Launch Button | Triangle on each clip cell |
| Scene Launch Button | Triangle on the right side of each row |
Arrangement View Basics
Arrangement View looks like every other DAW: time runs left to right, tracks run top to bottom. Once you’ve built clips you like in Session View, press Ctrl+Shift+F (Cmd+Shift+F on Mac) or use the Record button in Arrangement View to capture a Session View performance into a linear timeline.
This is the standard workflow: create in Session → arrange in Arrangement → export.
Adding Your First Instrument and MIDI Track
Direct Answer: Click the + button or press Ctrl+T (Cmd+T) to create a MIDI track. Drag an instrument from the browser (left panel) onto it. Press a key on your MIDI keyboard — or use Ableton’s computer keyboard as a MIDI input — and you’re playing.
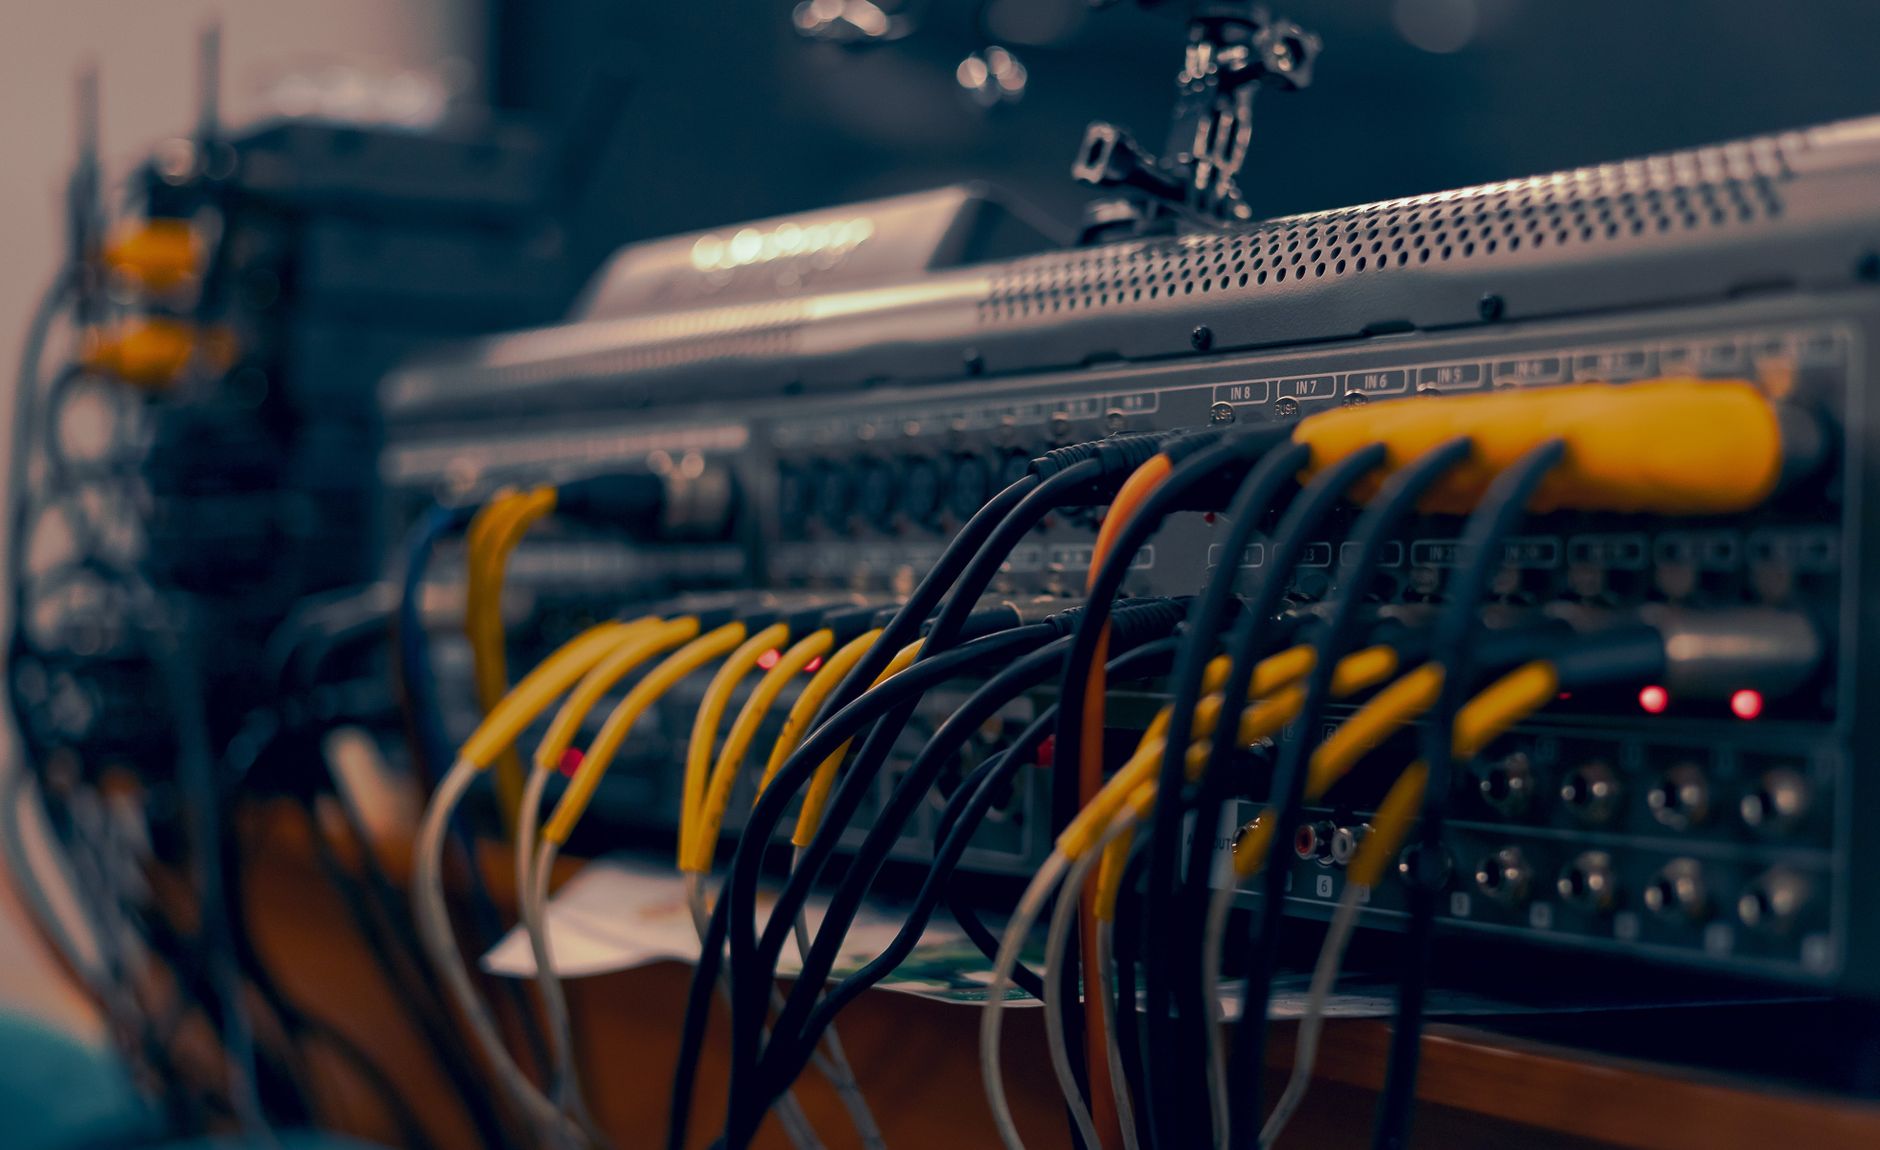
 Photo: Rafael Minguet Delgado via Pexels
Loading a Preset Sound
The browser on the left side organizes everything: instruments, sounds, samples, effects, plugins. The quickest path to a sound:
- Click Sounds in the browser sidebar
- Browse to any category (e.g., Synth Lead, Piano)
- Double-click any preset to load it on the selected MIDI track
Ableton’s built-in instruments — Analog, Operator, Wavetable, Simpler — are professional-quality synthesizers. Don’t go hunting for third-party plugins until you’ve explored these.
Recording a MIDI Clip
- Click the Arm button (the circle icon) on your MIDI track
- Click an empty clip slot in that track
- Press Space or the global record button to start recording
- Play your part; press Space again to stop
- The clip now loops automatically
To quantize notes after recording: select the clip, open the Piano Roll (double-click the clip), select all notes with Ctrl+A, then press Ctrl+U (Cmd+U) to quantize to the current grid setting.
Recording Audio: Microphones and Instruments
Direct Answer: Create an audio track, arm it, set your input to the correct interface channel, check your input level meter (aim for peaks around -12 dBFS), then record. That’s the whole flow — the same whether you’re recording vocals, guitar, or anything else.
Setting Up an Audio Track
- Ctrl+Shift+T (Cmd+Shift+T) — create an audio track
- Click the Input Type selector — choose “Ext. In”
- Choose your channel (1 for left input, 2 for right, 1/2 for stereo)
- Arm the track and check the level meter — speak or play while watching it
- Clip slot → click the record button → record
Critical setting: Make sure Monitor is set to Auto on recording tracks. This passes signal through your interface’s direct monitoring (zero latency) while still recording into Live.
Setting a Good Recording Level
| Level (dBFS) | What It Means |
|---|---|
| 0 dBFS | Clipping — distortion, unusable |
| -3 to -6 dBFS | Too hot for mixing headroom |
| -12 to -18 dBFS | Ideal — plenty of headroom |
| Below -24 dBFS | Too quiet — adds noise floor |
Using Loops and Samples: Ableton’s Browser and Simpler
Direct Answer: Drag any audio file from the browser directly onto a clip slot for instant loop playback, or drag it onto the Simpler instrument to slice and play it chromatically. Ableton ships with a solid library of loops — use them while learning, replace them when you’re ready.
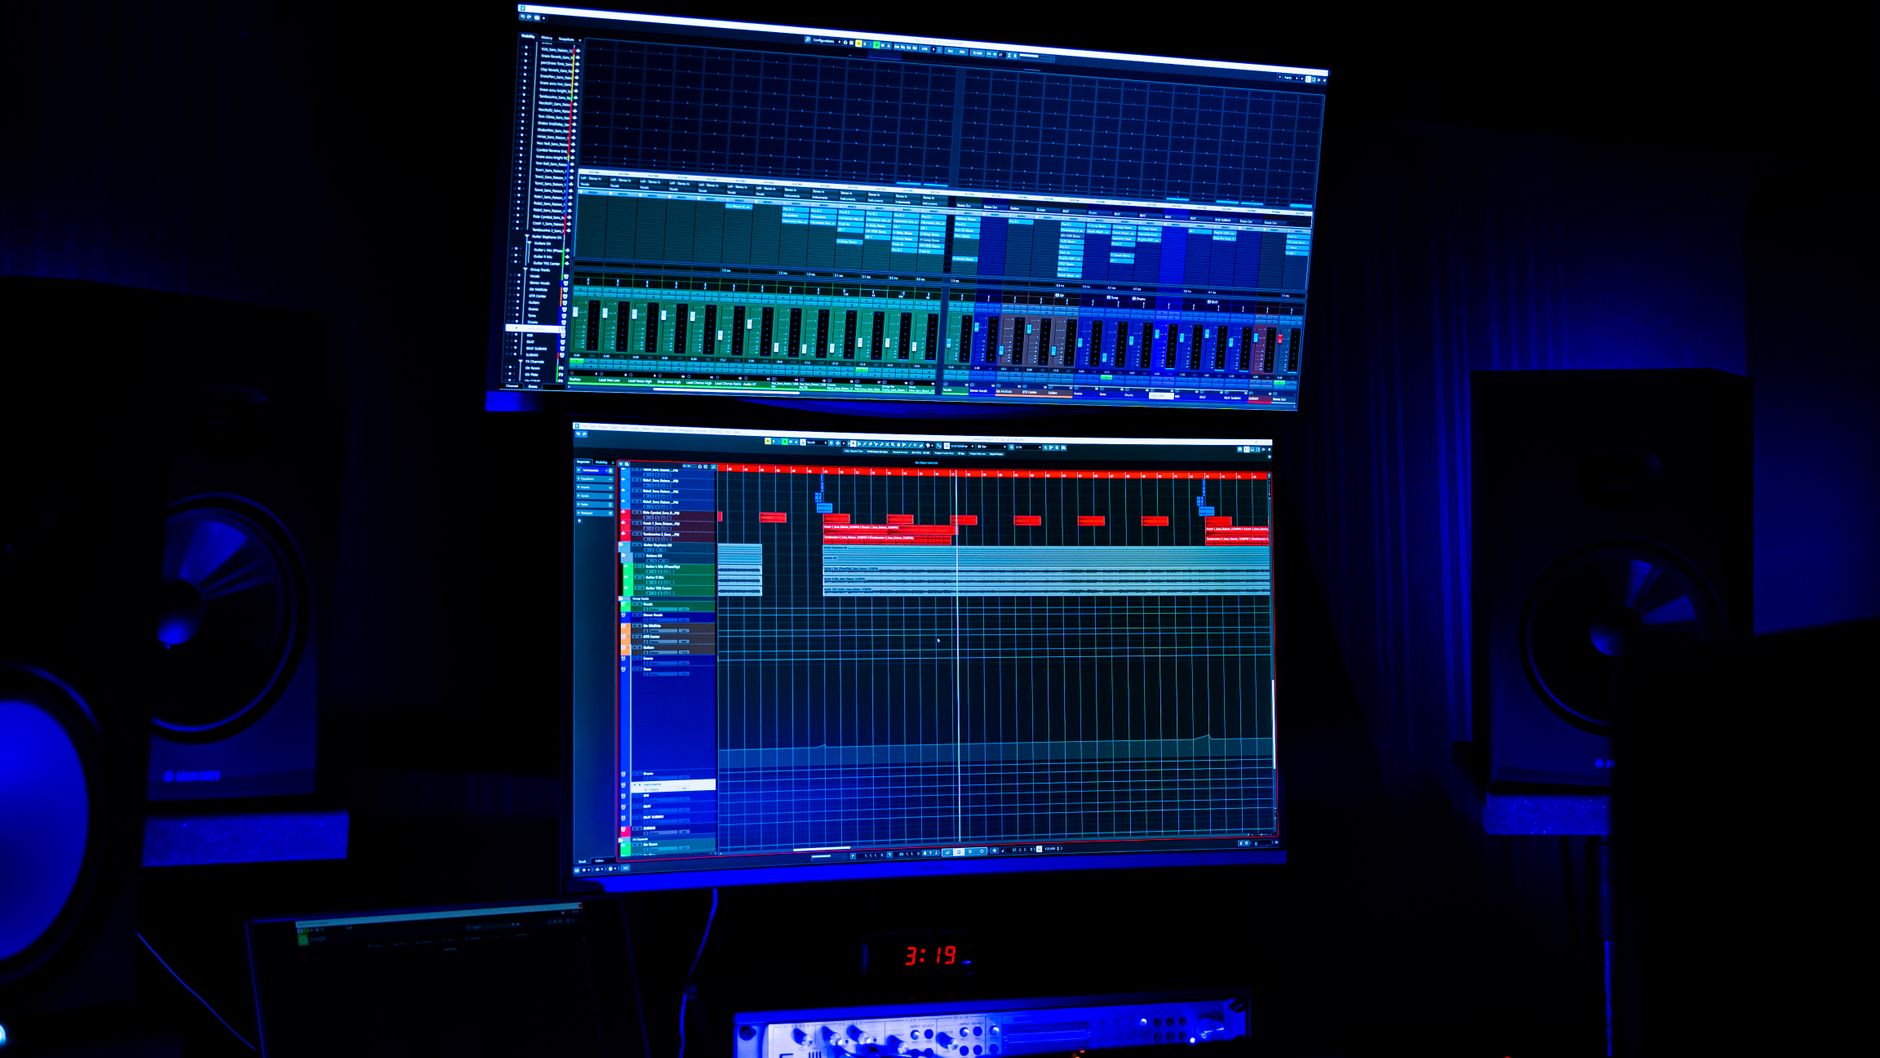
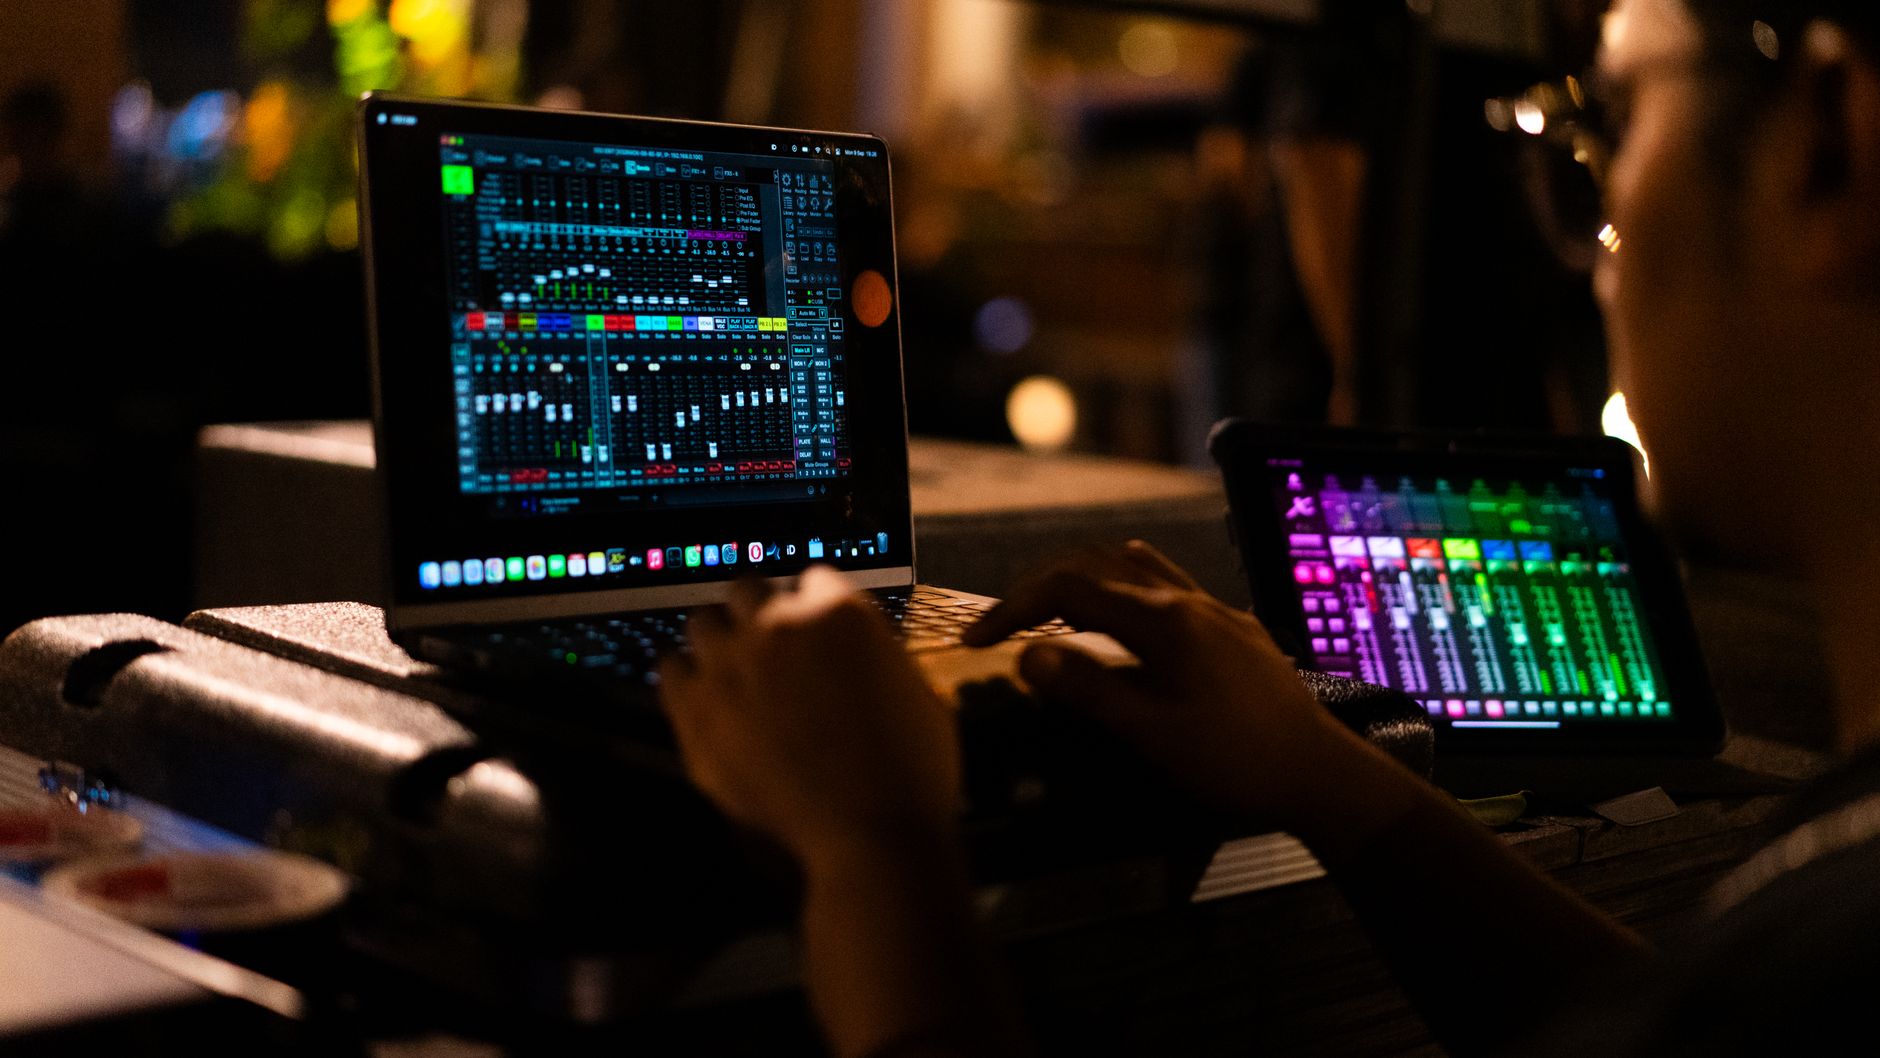 Photo: gabriel bodhi via Pexels
Warping Audio to Tempo
When you drag an audio loop into Session View, Ableton analyzes it and applies Warp — time-stretching to match your project tempo. Double-click the clip to open the Clip View and check the Warp button is active.
Warp modes by use case:
| Warp Mode | Best For |
|---|---|
| Beats | Drum loops, rhythmic samples |
| Tones | Monophonic instruments (bass, lead vocals) |
| Texture | Pads, ambient sounds |
| Re-Pitch | DJ-style pitch/tempo link (like vinyl) |
| Complex Pro | Full mixes, polyphonic material |
Basic Mixing Inside Ableton Live
Direct Answer: Every track has a volume fader, pan knob, and send/return controls in the Mixer section at the bottom of Session View or in the Arrangement View mixer. Start by setting relative levels — get everything balanced before touching EQ or compression.
The Signal Chain
Each track routes through: Instrument/Audio Input → Devices (effects) → Track Volume → Master.
Add effects by dragging from the browser’s Audio Effects section onto a track. The most useful starting effects:
- EQ Eight — corrective and creative EQ
- Compressor — control dynamics
- Reverb — add space
- Delay — rhythmic echoes
Keep it simple. Published mix engineer consensus consistently shows that over-processing during learning builds bad habits. Get levels and panning right first.
Gain Staging
Before mixing, set each track’s clip gain (the volume knob inside the clip view) so peaks hit around -12 to -18 dBFS. Then use the track fader for balance. Your master bus should peak no higher than -3 to -6 dBFS before you export.
Exporting Your First Track
Direct Answer: Go to File → Export Audio/Video (Ctrl+Shift+R / Cmd+Shift+R), set your range to the Arrangement Loop or Master output, choose WAV 24-bit at 44100 Hz, and click Export. That’s your final mixdown.
Export settings for different purposes:
| Use Case | Format | Bit Depth | Sample Rate |
|---|---|---|---|
| Final release / streaming | WAV | 24-bit | 44100 Hz |
| Sending to mastering | WAV | 24-bit | 44100 Hz |
| Sharing online quickly | MP3 | 320 kbps | 44100 Hz |
| Working stem export | WAV | 24-bit | 44100 Hz |
To export each track separately (stems): use File → Export Audio/Video with the “Render as Separate Tracks” checkbox enabled — only available in Standard and Suite.
Software and Plugin Notes
| Feature | Detail |
|---|---|
| Platform | Mac (Apple Silicon native) / Windows |
| Formats | AU (Mac), VST2/VST3 (Mac/Win), AAX (with Push 3 Standalone) |
| Price model | One-time purchase; Intro ~$99, Standard ~$449, Suite ~$749 |
| System requirements | macOS 11+ / Windows 10+, 8GB RAM minimum, 16GB recommended |
| Best For | Loop-based production, live performance, electronic music, beat-making |
Authorization: Ableton uses a challenge-response system or online activation. You get two active authorizations per license — use one for your main machine, one for a laptop.
CPU load: Live handles multi-core efficiently. Complex projects with many Max for Live devices can spike CPU; freeze tracks (right-click → Freeze) to reduce load without bouncing.
Free trial: Ableton offers a 90-day free trial of Live Suite — full-featured, no commitment. Start there.
→ See also
FAQ
How long does it take to learn Ableton Live as a beginner? Most beginners can produce a basic loop-based track within the first few hours. Comfortable, intuitive use typically takes two to four weeks of regular sessions. Deep fluency — using automation, live performance features, Max for Live — takes months of consistent practice.
Is Ableton Live good for complete beginners with no music theory? Yes. Live’s clip-based workflow is forgiving — you build music by triggering loops and patterns rather than scoring from scratch. Music theory helps, but plenty of producers use Ableton effectively without formal training, especially in electronic and hip-hop production.
What’s the difference between Ableton Live Intro, Standard, and Suite? Intro limits you to 16 tracks, 6 scenes, and a reduced instrument library — enough for learning but tight for full productions. Standard removes track and scene limits and adds more instruments. Suite adds the complete instrument and sample library plus Max for Live, Ableton’s modular programming environment. Most beginners are well-served by Intro or Standard.
Can I use Ableton Live without an audio interface? Yes — Live works with your computer’s built-in audio. According to user reports and manufacturer documentation, the main limitation is latency: built-in audio typically runs at 10–20ms output latency versus 2–5ms with a dedicated interface. For recording vocals or live instruments, an interface is strongly recommended.
What MIDI controller works best with Ableton Live for beginners? Ableton’s own Push 3 integrates most deeply — hardware maps directly to Session View with no setup required. For a budget option, any class-compliant MIDI keyboard controller works out of the box. The Arturia MiniLab 3 is frequently cited in beginner communities for its value-to-feature ratio at under $100.
Does Ableton Live support third-party plugins? Yes — VST3 and VST2 on both platforms, AU on Mac. Go to Preferences → Plug-Ins and point Live at your VST folder. Plugins appear in the browser under Plug-Ins once scanned. AAX is not supported outside the Push 3 Standalone context, so Pro Tools plugin collections won’t transfer directly.
Editorial methodology: Assessments are based on manufacturer specifications, published user reviews, and editorial research. Physical hands-on testing is noted explicitly where it occurred. Rankings reflect our editorial judgment and are not influenced by affiliate commission rates. Full editorial policy · Affiliate disclosure