Contents
How to Set Up an Audio Interface (Step by Step)
TL;DR: To set up an audio interface, plug it into your computer via USB (or Thunderbolt), install the manufacturer’s drivers, select it as your input/output device in your DAW and OS sound settings, then set your sample rate and buffer size. The whole process takes under 15 minutes for most interfaces.
What You Need Before You Start
Direct Answer: You need the interface itself, a USB or Thunderbolt cable (usually included), a computer running Windows or macOS, and your DAW installed. Download drivers from the manufacturer’s site before you plug anything in — it saves a reboot.
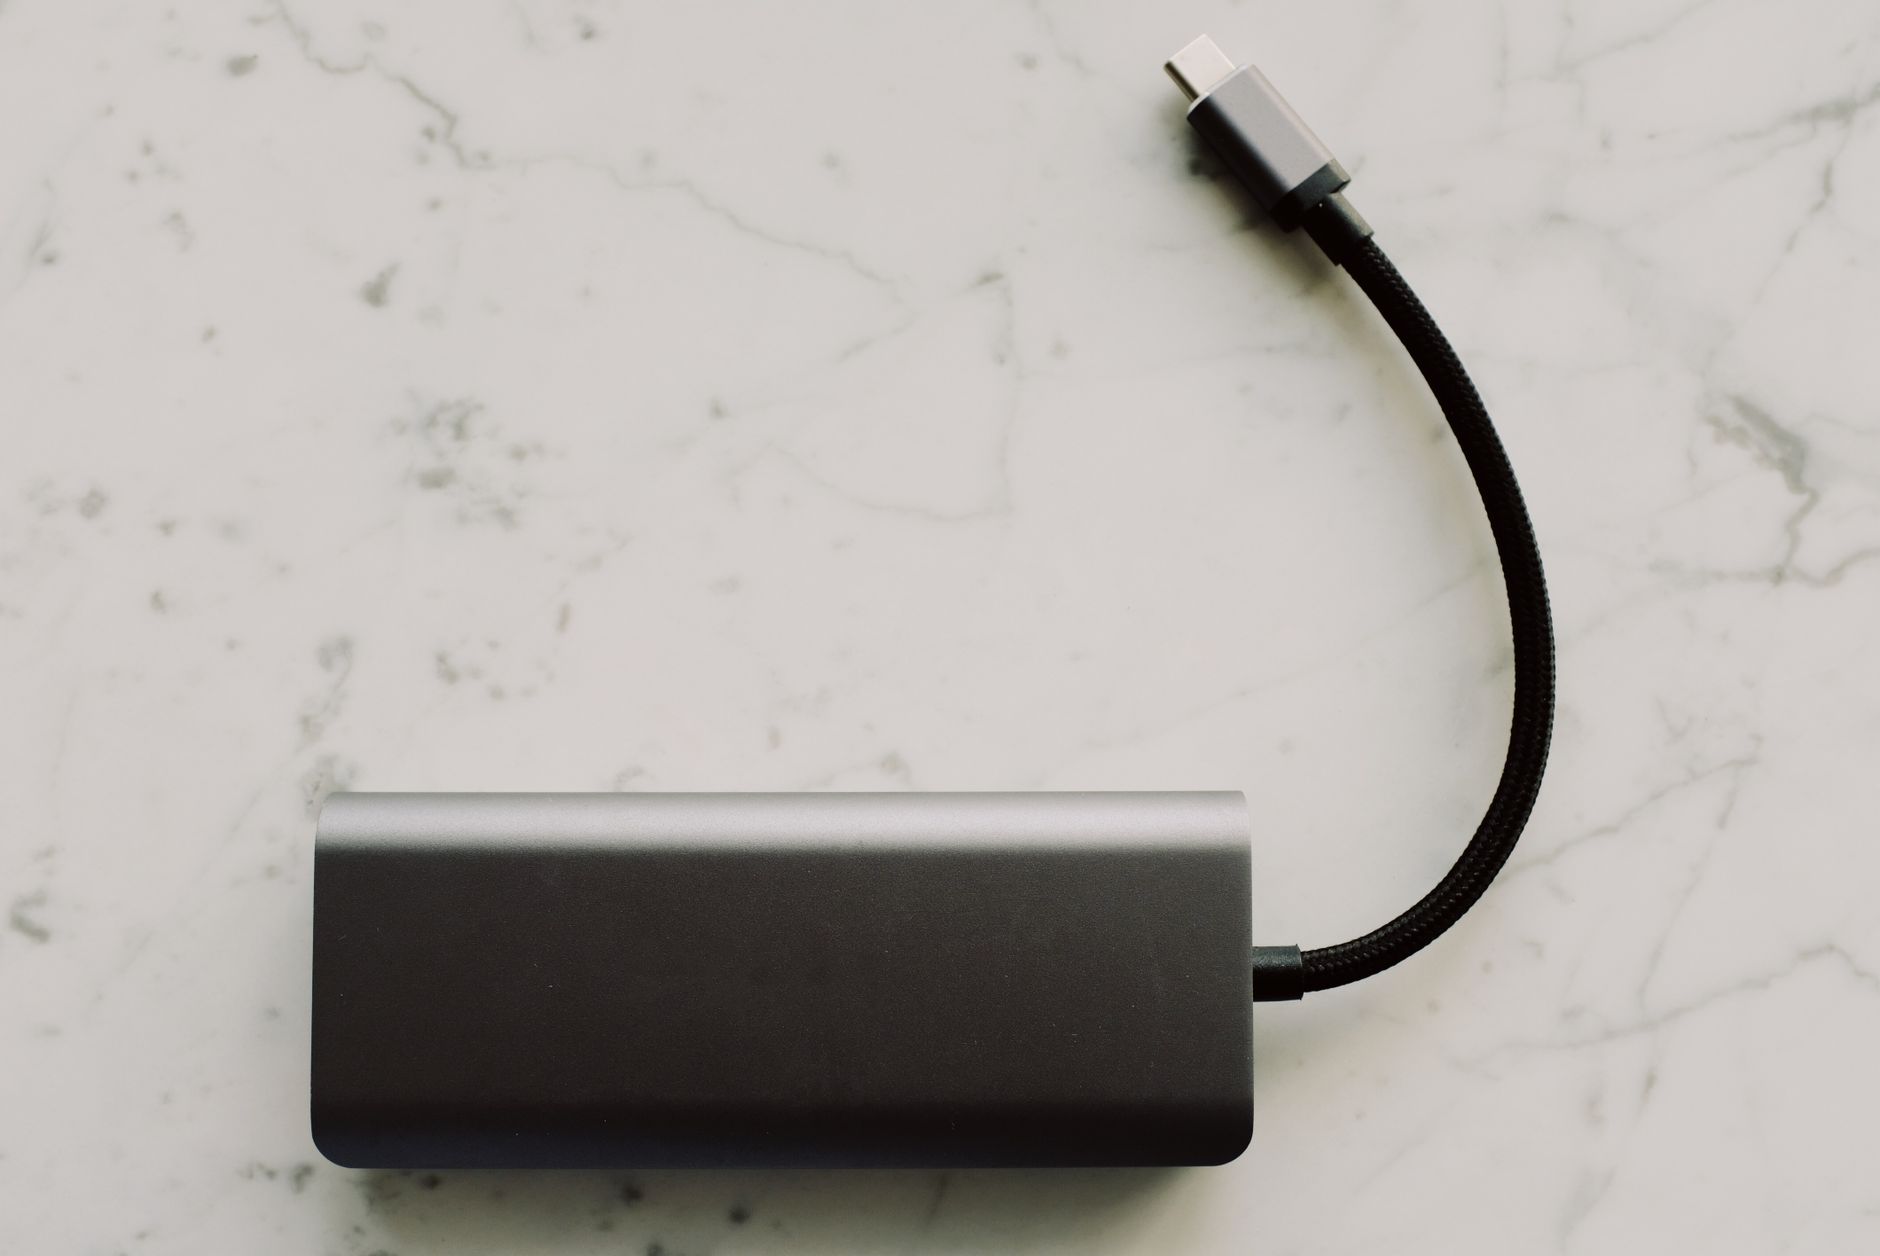 Photo: ready made via Pexels
Before touching cables:
- Download drivers first. Focusrite, PreSonus, MOTU, and Universal Audio all host current drivers on their support pages. Installing drivers before connecting the hardware avoids Windows detecting the interface as a generic audio device and assigning the wrong driver.
- Check your cable type. Most interfaces under $300 use USB-A or USB-C. Thunderbolt interfaces (Apollo series, MOTU 828) require a Thunderbolt port — USB-C shaped but electrically different.
- Close your DAW. Audio devices re-enumerate on connection. Opening the DAW after the interface is recognized prevents routing conflicts on first launch.
Step 1 — Install Drivers and Software
Direct Answer: Class-compliant interfaces (most Focusrite Scarlett, Audient iD, and SSL 2 models) work on macOS without drivers — plug in and play. On Windows, or with any interface that ships a driver disc or download link, always install the manufacturer driver for lower latency and full feature access.
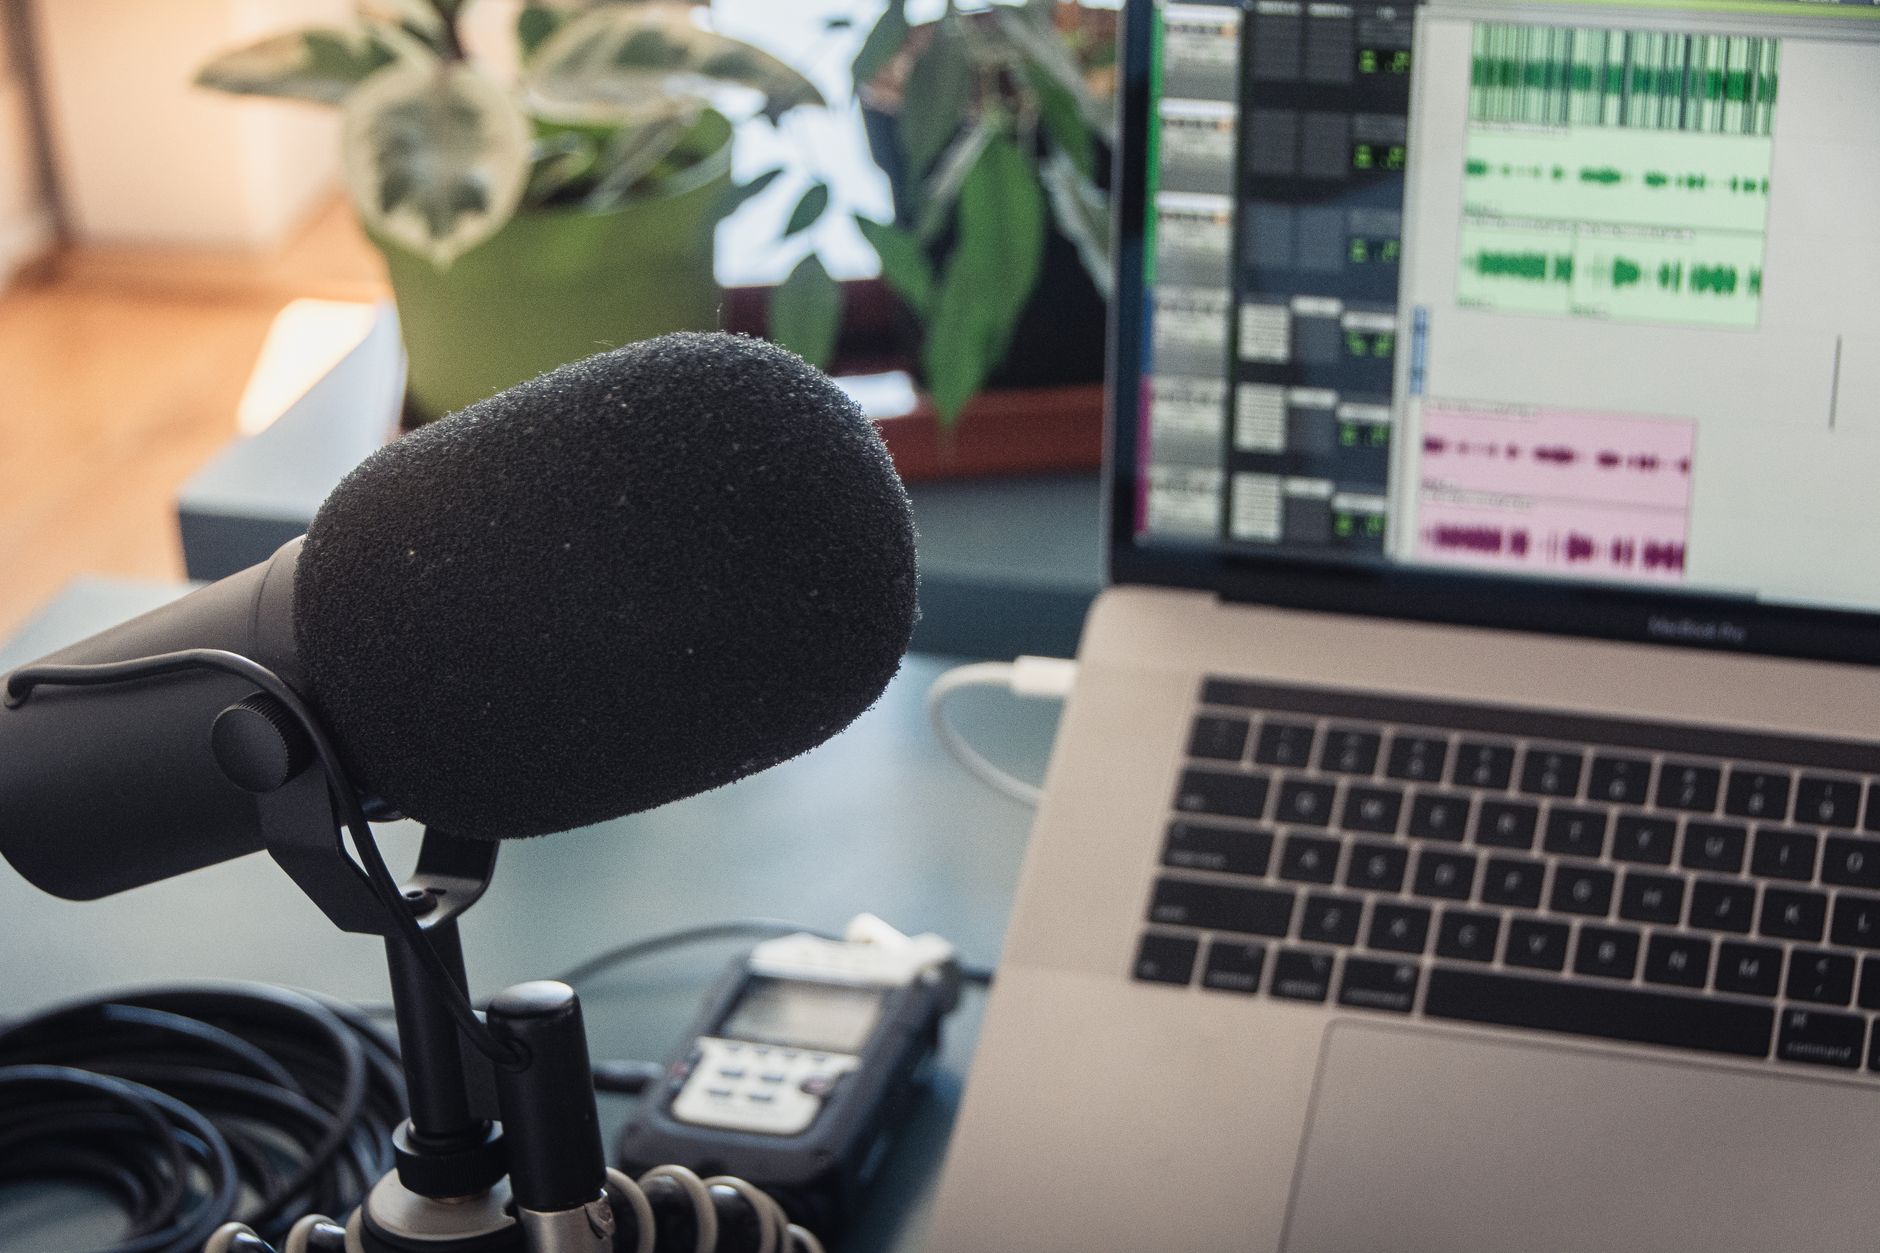 Photo: Jeremy Enns via Pexels
macOS: If your interface is class-compliant, macOS loads a generic USB Audio driver automatically. You still want to install the companion app (Focusrite Control, Audient Console) to access preamp gain, phantom power routing, and direct monitoring mix controls — these aren’t exposed through macOS system preferences.
Windows: Generic Windows USB Audio drivers work but deliver high latency and lack ASIO support. Install the manufacturer ASIO driver. ASIO (Audio Stream Input/Output) bypasses Windows Audio Session API (WASAPI), cutting round-trip latency from 50–150ms down to 3–10ms — the difference between playable and unplayable when monitoring through plugins.
No manufacturer ASIO driver? Use ASIO4ALL as a fallback — it wraps the WDM driver in an ASIO interface. Based on user reports, it adds ~2–5ms compared to native ASIO but works on any Windows audio device.
Step 2 — Connect and Power the Interface
Direct Answer: Plug the USB cable into the interface first, then into the computer. Bus-powered interfaces draw power from the USB connection — no wall adapter needed. Interfaces with standalone preamps or multiple outputs (Focusrite Scarlett 4i4 and above) often ship with a power adapter; use it.
Connection order matters for one reason: some interfaces run a brief firmware handshake on first connect. Connecting to the computer while the DAW is open can interrupt that handshake, causing the device to appear in Device Manager but not in audio software.
Bus power vs. wall power — when it matters:
| Interface Type | Power Source | Notes |
|---|---|---|
| 1–2 channel USB | Bus (USB) | Fine for most laptops; avoid USB hubs |
| 4+ channel USB | Bus or adapter | Heavy-draw units may be unreliable on bus alone |
| Thunderbolt | Bus (TB) | Thunderbolt provides 15W — adequate for most pro units |
| Rackmount / standalone | Wall adapter required | Always |
Avoid cheap USB hubs. Unpowered hubs share a 500mA (USB 2.0) or 900mA (USB 3.0) budget across all ports. An interface drawing 400mA plus a hard drive can cause dropouts or failed initialization.
Step 3 — Set the Interface as Your System Audio Device
Direct Answer: Open your OS sound settings and select the interface as both the input and output device. This step is separate from DAW routing — system audio (browser, Spotify, video calls) routes through the OS setting, while DAW audio routes through the DAW’s own preferences.
macOS:
- System Settings → Sound → Output tab → select your interface
- Sound → Input tab → select your interface
- Optionally: open Audio MIDI Setup (Applications → Utilities) to set sample rate — match this to your DAW project rate (44.1 kHz or 48 kHz)
Windows:
- Settings → System → Sound → Output → select interface
- Sound → Input → select interface
- Right-click the volume icon → Sound settings → More sound settings → open the interface’s playback properties → Advanced tab → set bit depth and sample rate to match your DAW
 Photo: Burst via Pexels
Step 4 — Configure Your DAW
Direct Answer: In your DAW’s audio preferences, set the audio device to your interface, set buffer size to 128 or 256 samples for tracking (lower latency), and bump it to 512 or 1024 for mixing (lower CPU load). Sample rate should match your project — mismatches cause pitch-shifted playback.
Every DAW has the same three settings under a different menu name:
| DAW | Audio Preferences Location |
|---|---|
| Ableton Live | Options → Preferences → Audio |
| Logic Pro | Logic Pro → Settings → Audio |
| Pro Tools | Setup → Playback Engine |
| Reaper | Options → Preferences → Audio → Device |
| FL Studio | Options → Audio Settings |
| Studio One | Studio One → Options → Audio Setup |
Buffer size explained simply: Buffer size is how many audio samples your computer processes in one batch before sending them to output. Smaller buffers = lower latency = higher CPU demand. At 44.1 kHz:
- 64 samples = ~1.5ms latency (needs a fast CPU)
- 128 samples = ~3ms (good for tracking vocals/guitar)
- 256 samples = ~6ms (reliable for most systems)
- 512–1024 samples = 12–23ms (fine for mixing, too slow for live monitoring)
Direct monitoring vs. software monitoring: Most interfaces include a direct monitoring switch or knob that routes the input signal directly to the output before it hits the computer — zero perceptible latency. Use this when tracking. Switch to software monitoring only if you need to hear processed sound (reverb, compression) through your DAW while recording.
 Photo: Elvis KAMBIRE via Pexels
Step 5 — Test Input and Output
Direct Answer: Plug a microphone or instrument into the interface, bring up the gain knob until the signal meter hits -18 to -12 dBFS on peaks, then record a test clip and play it back. If you hear sound, the interface is set up correctly.
Input test checklist:
- Mic/instrument connected? XLR for condenser or dynamic mics into a combo jack; TS/TRS instrument cable into the Hi-Z instrument input (usually labeled “INST” or marked with a guitar icon).
- Phantom power on for condenser mics? The +48V button must be active for any condenser (large-diaphragm, small-diaphragm, pencil). Dynamic mics and ribbon mics (most of them) don’t need it — and phantom power can damage some ribbon mics.
- Gain set correctly? Start at 7 o’clock (minimum), bring it up until the signal LED shows green on peaks. Avoid red clipping.
- Monitor mix set to input? The Mix or Direct knob (if present) blends direct input with DAW playback. Turn it toward “Input” for zero-latency monitoring while tracking.
No signal? Quick diagnostic:
- Check that the correct input is armed in your DAW track (mono vs. stereo, input 1 vs. input 2)
- Confirm phantom power is on if using a condenser
- Try a different cable — this is the most common culprit based on user reports
- Check that the DAW track is record-enabled (the red arm button)
Common Setup Mistakes (and How to Fix Them)
Direct Answer: The three most common problems are mismatched sample rates (causing chipmunk or slowed-down playback), no ASIO driver on Windows (causing high latency), and phantom power left on a ribbon microphone (which can damage the capsule).
| Problem | Symptom | Fix |
|---|---|---|
| Sample rate mismatch | Pitch-shifted or sped-up audio | Match OS, DAW, and interface to the same rate (44.1 kHz or 48 kHz) |
| No ASIO driver | >50ms latency, unplayable monitoring | Install manufacturer ASIO driver; fallback to ASIO4ALL |
| Wrong input selected in DAW | No signal on track | Check track input assignment matches physical input (Input 1, not Input 1–2 stereo) |
| Phantom power on ribbon mic | Potential capsule damage | Switch off +48V before connecting ribbon mics |
| USB hub power | Dropouts, device disconnects | Connect directly to a computer port |
| Buffer too low | Clicks, pops, crackle | Raise buffer to 256 or 512 samples |
Interface Setup by Popular Model
If you have a specific interface, here’s where each brand hides their key settings:
Focusrite Scarlett (2nd–4th gen) — Focusrite Control app handles phantom power, direct monitoring, and air mode (high-impedance preamp mode for brighter tone). The hardware Mix knob blends input and DAW playback.
PreSonus AudioBox / Studio series — UC Surface software manages routing. On the AudioBox USB 96, the Mix knob is on the front panel; no software needed for basic monitoring.
SSL 2 / SSL 2+ — The Legacy 4K button engages SSL’s harmonic enhancement circuit. No companion app required — all controls are hardware. The SSL 2+ adds MIDI I/O and two extra headphone outputs.
Universal Audio Volt series — Volt Control app is optional. The Vintage mic preamp mode (Volt 176) adds transformer-style saturation, useful for vocals and guitars. UA interfaces are class-compliant on both Mac and Windows.
MOTU M2 / M4 — No companion software required; all DSP mixing happens through a browser-based interface at http://motu.local on the same network. The M4 supports loopback routing natively, useful for streaming or podcasting.
→ See Also
- Best Audio Interfaces: The Complete Buyer’s Guide (2026) — if you haven’t chosen an interface yet
- Best Audio Interface for Beginners (2026) — top picks under $200 with simple controls
- Best Audio Interface Under $100 — budget options that still sound professional
FAQ
Do I need to install drivers for an audio interface? On macOS, class-compliant interfaces work without drivers — plug in and the OS handles it. On Windows, always install the manufacturer’s ASIO driver for low latency. Without ASIO, you’re using WDM drivers, which add 50ms or more of monitoring latency.
What sample rate should I use for recording? 44.1 kHz for music distributed on streaming platforms; 48 kHz for video or podcast production (it’s the broadcast standard). 96 kHz and 192 kHz consume significantly more storage and CPU with minimal audible benefit for most home recording applications, according to expert consensus among mixing engineers.
Why is there a delay when I sing or play through my interface? This is monitoring latency — the delay between input and hearing yourself in headphones. Fix it by enabling direct monitoring (the Mix knob routes signal before it hits the computer) or by lowering your DAW buffer size to 128 samples or below. Software monitoring through plugins always adds some latency.
Can I use an audio interface without a DAW? Yes. Once set up as the system audio device, an audio interface works with any application — video calls, browsers, podcast software like Audacity, streaming apps like OBS. A DAW is only needed for multitrack recording, plugin processing, and MIDI sequencing.
Why is my audio interface not showing up in my DAW? The most common causes: DAW was open before the interface was connected (close and reopen), drivers aren’t installed, or the interface is plugged into a USB hub that can’t supply enough power. Try a direct USB connection to the computer and restart the DAW after the interface is fully initialized (its LEDs stop cycling).
How do I record guitar directly into an audio interface? Use the Hi-Z instrument input — typically input 2 on single-channel interfaces, labeled “INST” or with a guitar icon. Connect a standard TS guitar cable from your guitar to this input. Set gain so peaks hit around -12 dBFS. For amp tone, use an amp simulator plugin (Neural DSP, IK AmpliTube, or the free plugins bundled with most interfaces) on the DAW track — record the clean DI signal and apply processing non-destructively.
What’s the difference between a USB audio interface and a Thunderbolt interface? USB interfaces are sufficient for most home recording use cases — up to 8 inputs at 96 kHz, low enough latency for comfortable tracking. Thunderbolt interfaces offer lower theoretical latency and higher channel counts without CPU overhead, and are worth the premium for professional studios tracking large ensembles or running DSP-heavy sessions. For one or two channels at home, USB is the practical choice.
Editorial methodology: Assessments are based on manufacturer specifications, published user reviews, and editorial research. Physical hands-on testing is noted explicitly where it occurred. Rankings reflect our editorial judgment and are not influenced by affiliate commission rates. Full editorial policy · Affiliate disclosure