Contents
How to Record Vocals in Your DAW
TL;DR: To record vocals in your DAW, set your audio interface as the input device, create a mono audio track, set the input to your microphone channel, enable monitoring, arm the track, and hit record. Getting a clean take requires gain staging, low-latency monitoring, and a treated recording space — not expensive gear.
Setting Up Your DAW for Vocal Recording
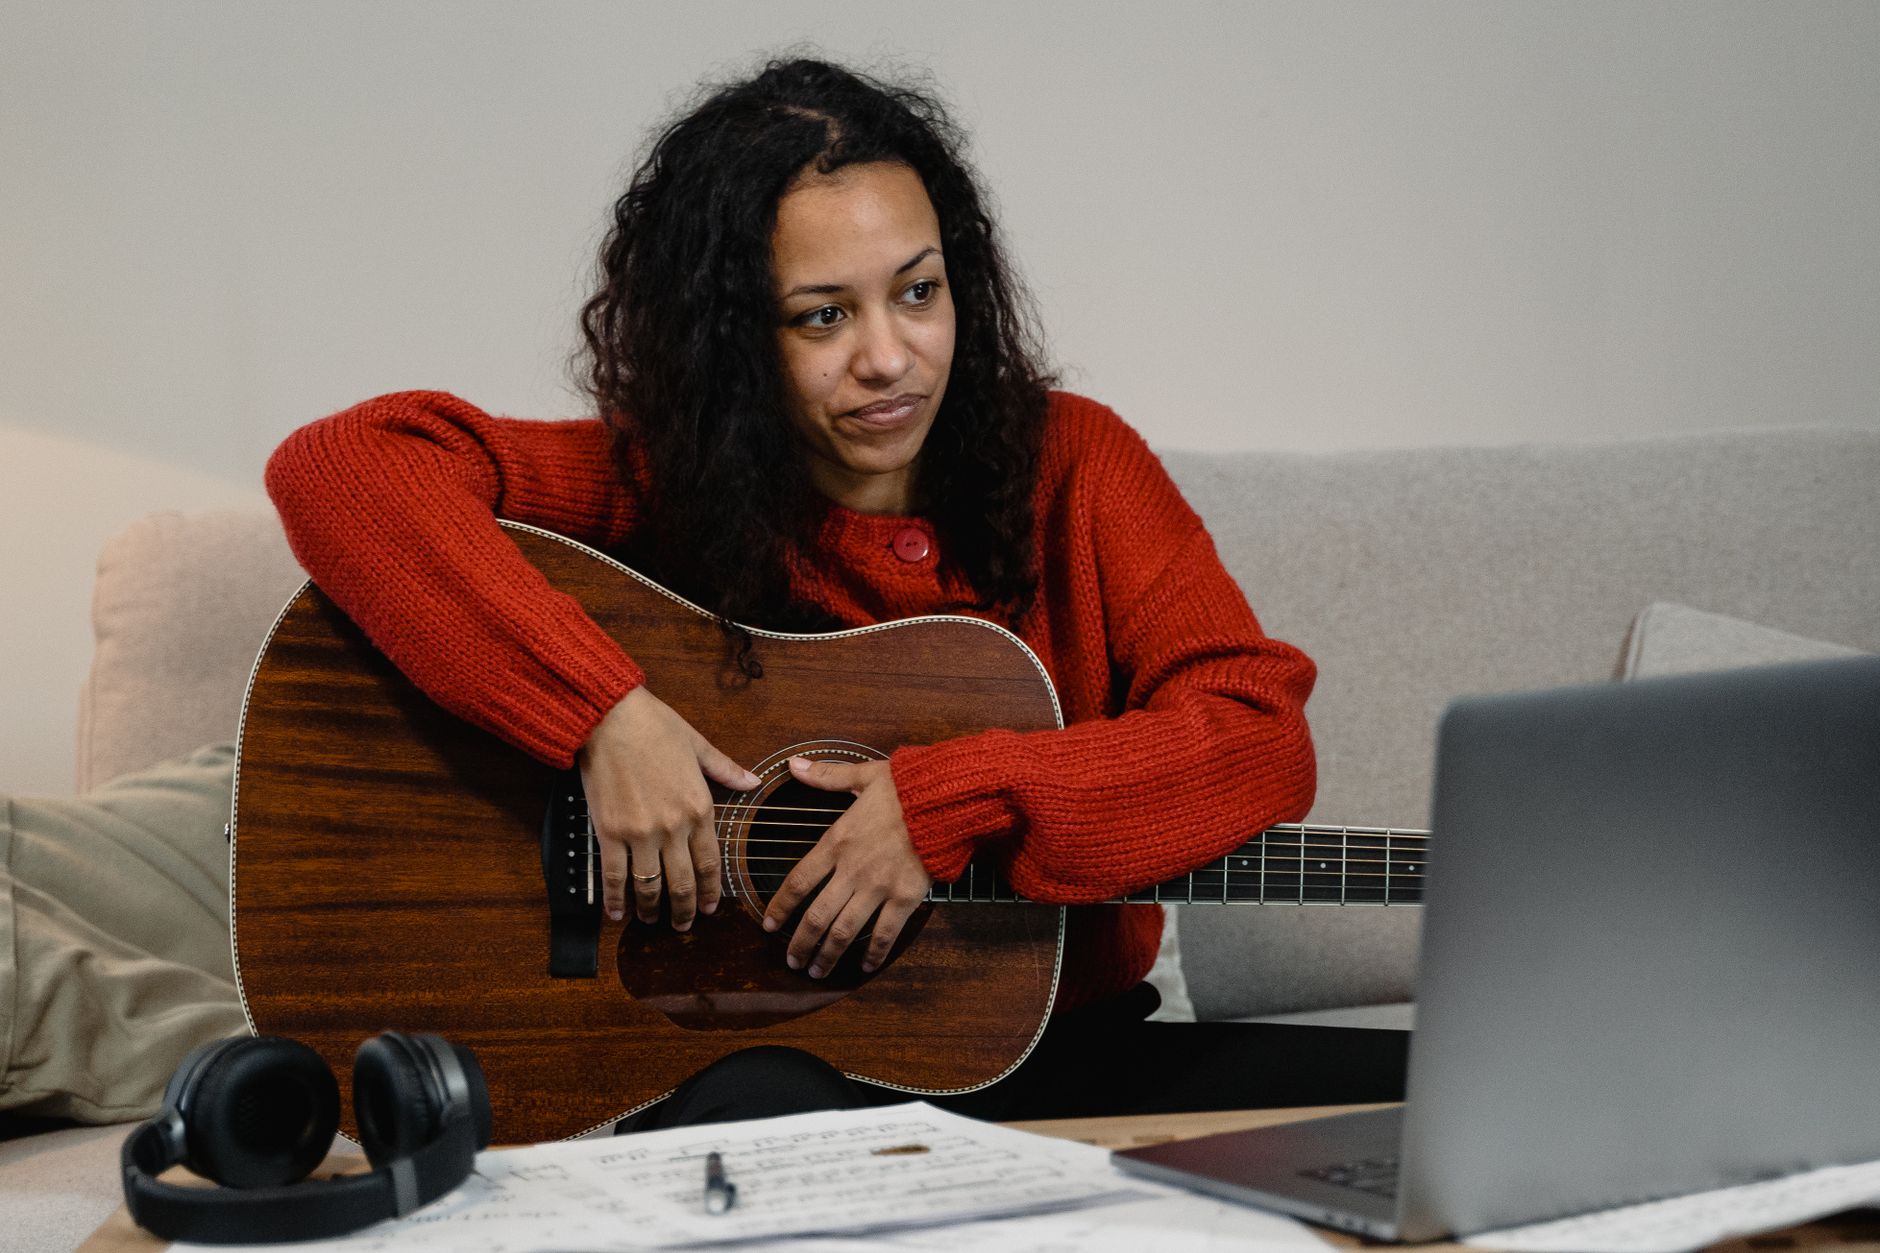
Direct Answer: Open your DAW’s audio preferences, select your audio interface as both input and output device, set buffer size to 128–256 samples for low-latency monitoring, and confirm your sample rate matches your project (44.1 kHz or 48 kHz). Without this, you’ll either get dropouts or unacceptable latency that throws off your performance.
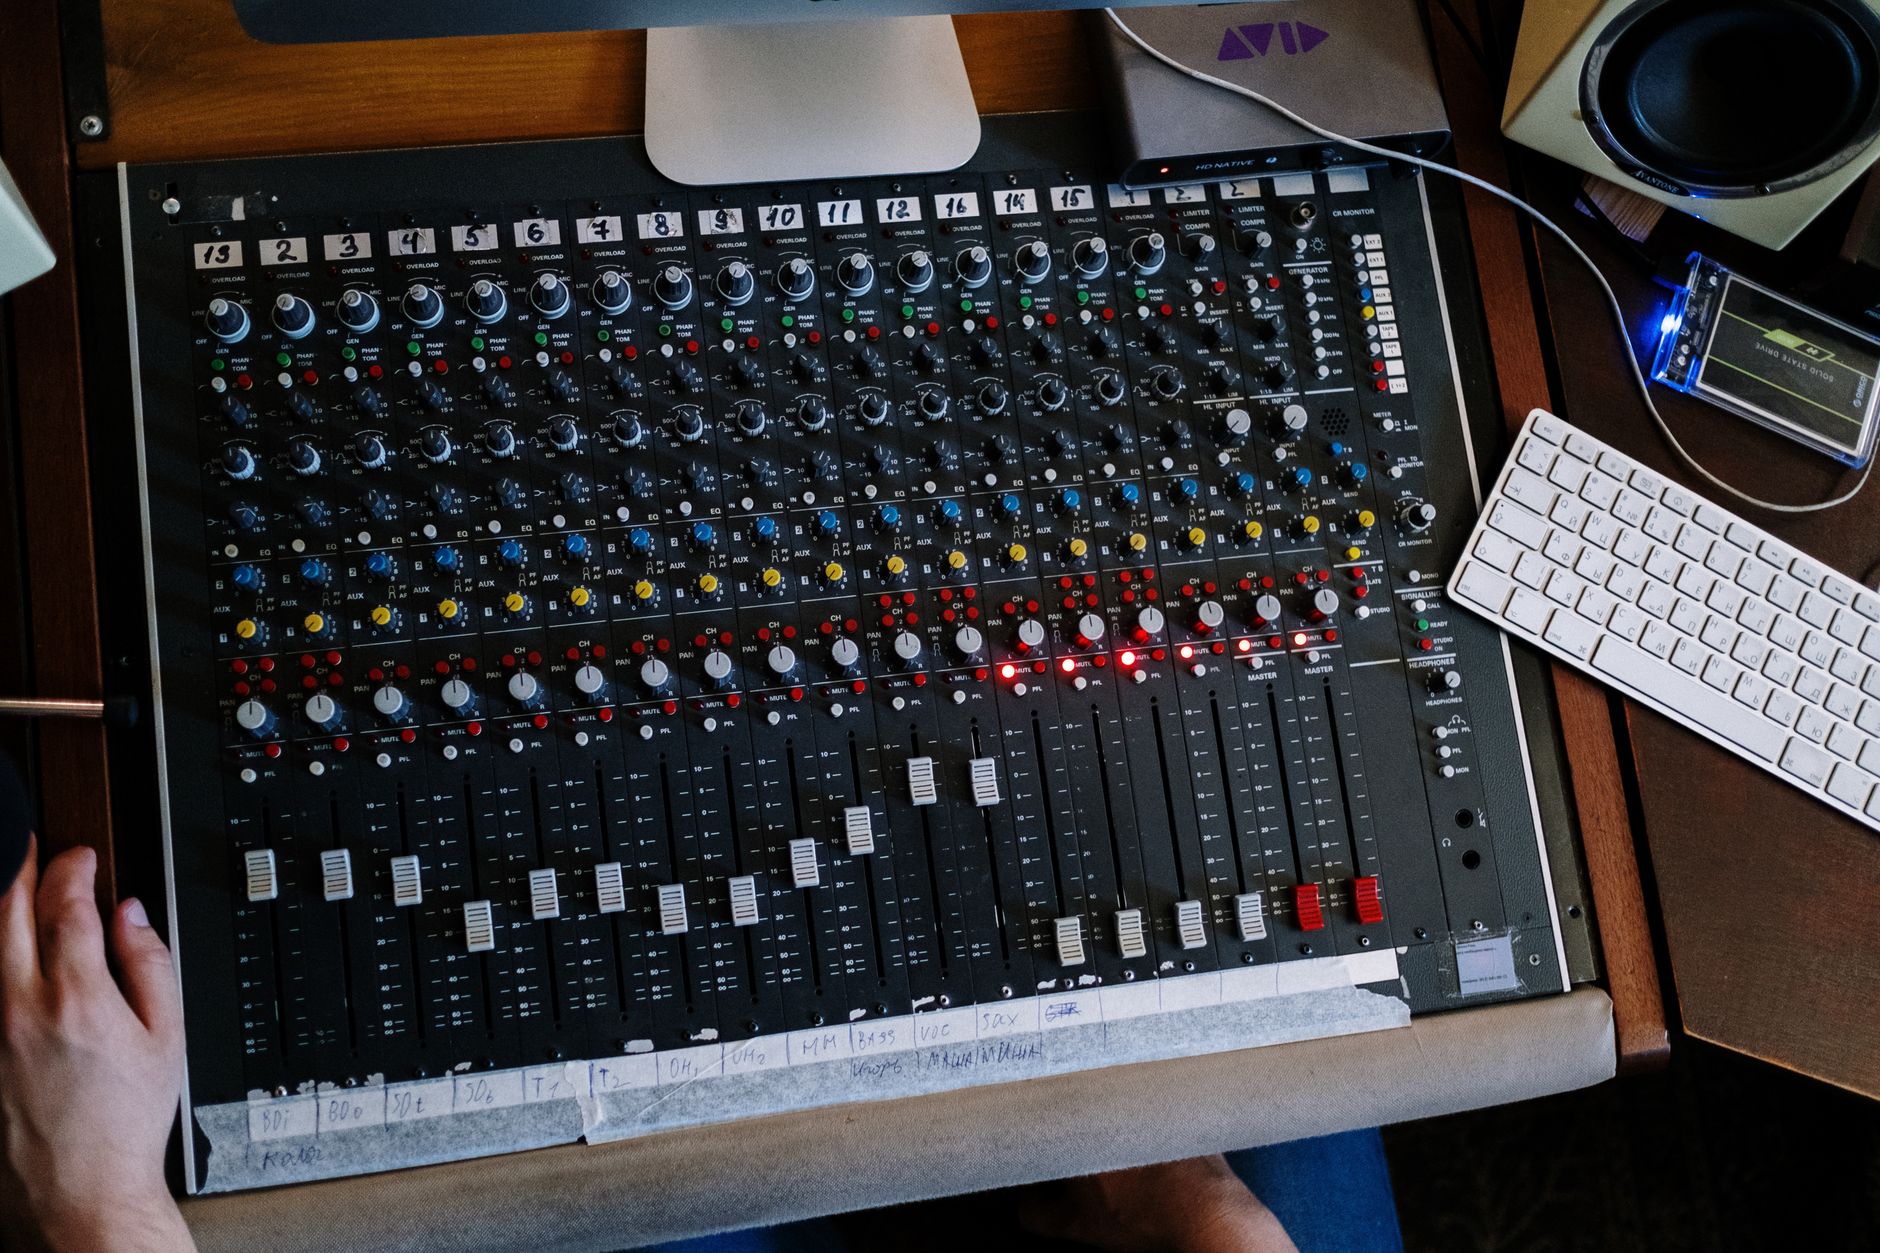 Photo: cottonbro studio via Pexels
Every major DAW — Ableton Live, Logic Pro, Pro Tools, Reaper, FL Studio — routes audio through the same chain: interface → DAW input → track. The settings live in different menus (Ableton: Preferences → Audio; Logic: Preferences → Audio; Pro Tools: Setup → Playback Engine) but the logic is identical.
Buffer size trade-off: Lower buffers (64–128 samples) reduce monitoring latency but increase CPU load. Higher buffers (512–1024) are safe for mixing but will cause noticeable delay when recording. Keep it at 128 samples while tracking, then push it up when mixing.
Choosing the Right Sample Rate
48 kHz is standard if your project will end up in video. 44.1 kHz is the CD standard and fine for music-only releases. Mismatches between your interface, project, and DAW cause pitch-shifting artifacts — set them all to the same value before you record a single word.
Creating and Configuring a Vocal Track
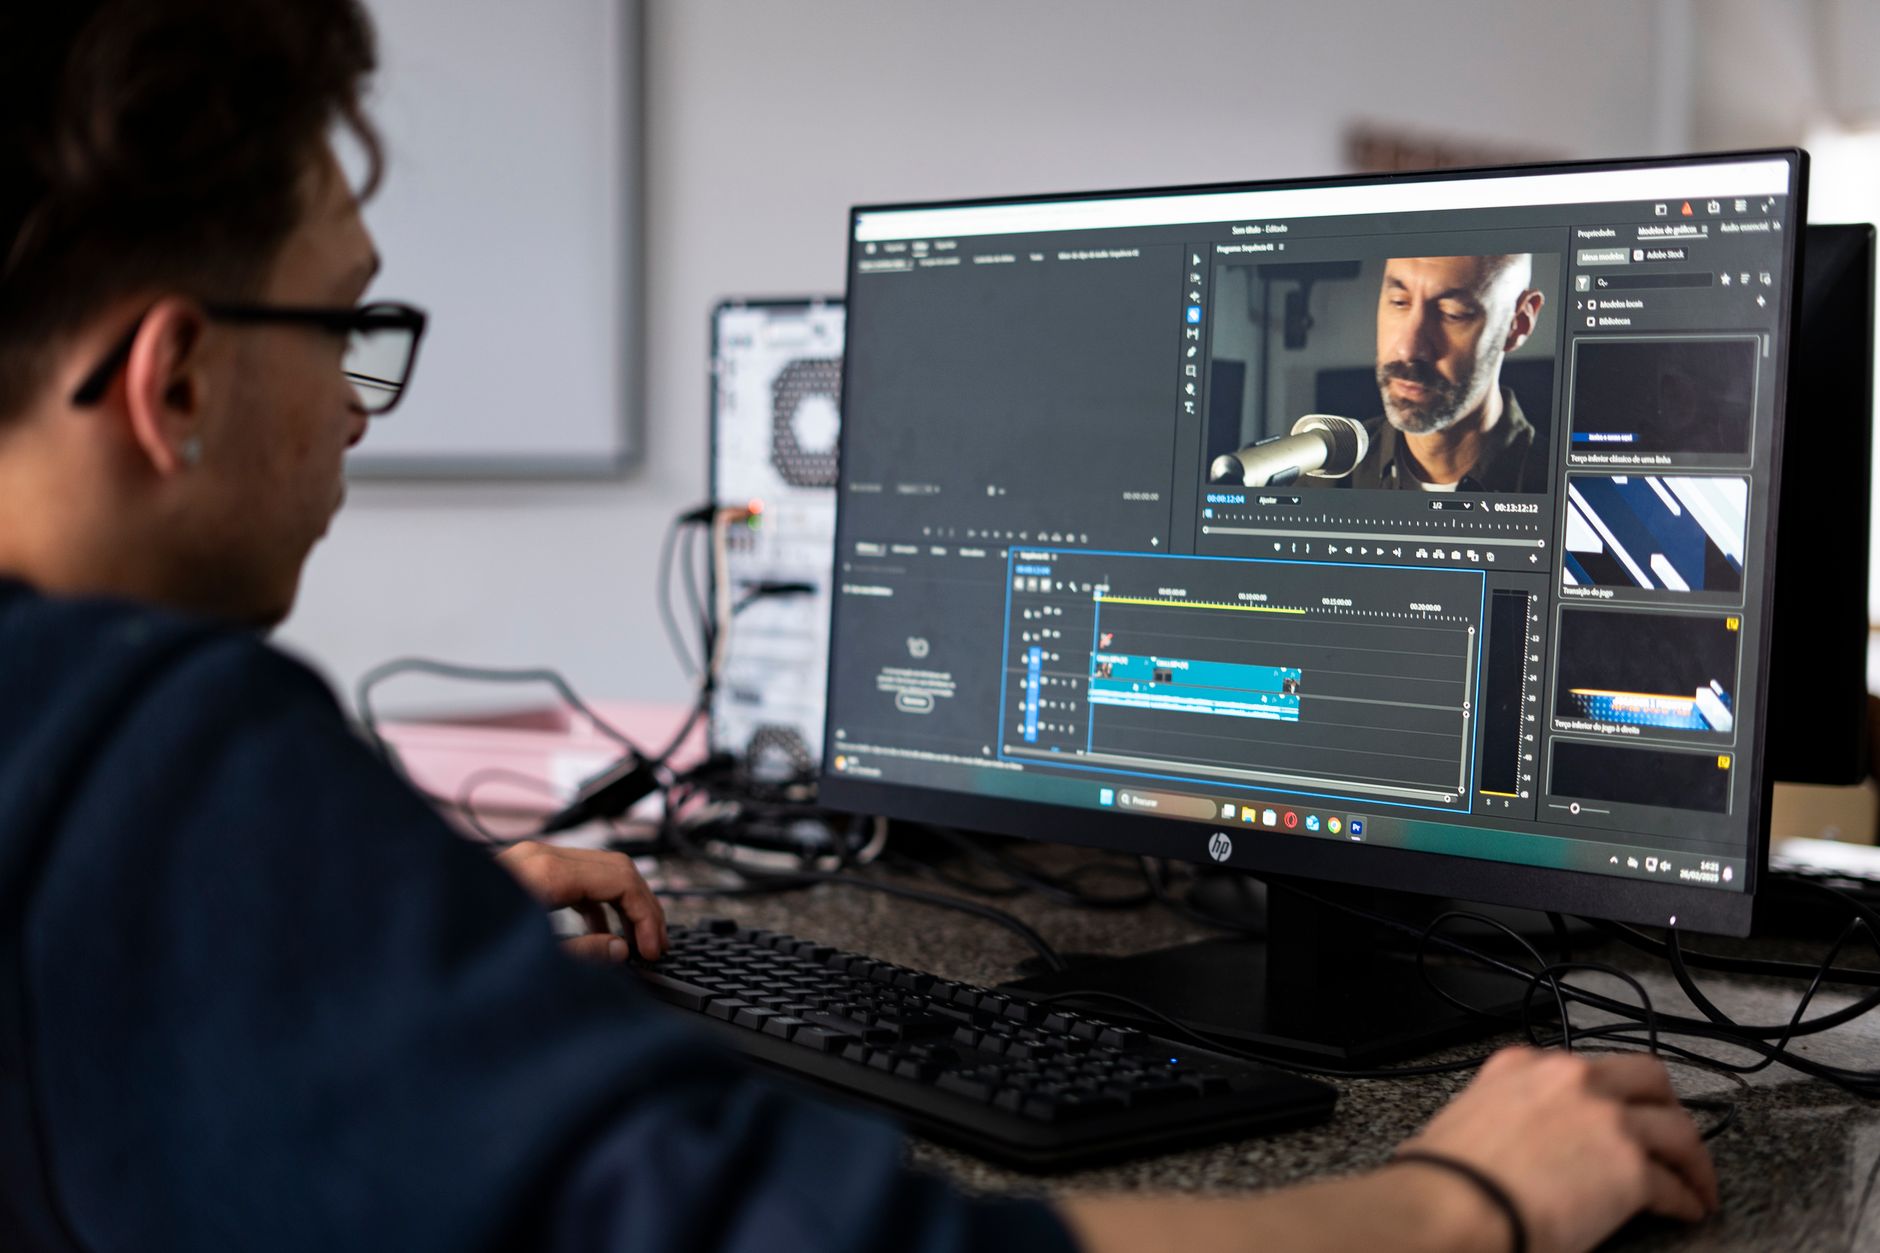
Direct Answer: Create a mono audio track (not stereo — microphones are mono sources), assign its input to the channel your mic is plugged into on your interface, enable input monitoring, and arm it for recording. A stereo track wastes disk space and can cause phase issues if you ever sum it to mono.
 Photo: Caleb Oquendo via Pexels
Input Assignment
In most DAWs, right-click (or click the input selector) on the track header to choose the input. If your mic is in interface input 1, select “Input 1” or “Mono In 1.” If you select a stereo pair by mistake, you’ll get a signal on one side only.
Phantom power: Condenser microphones require 48V phantom power from your interface. Dynamic mics don’t need it and won’t be damaged by it, but ribbon mics can be — always check before flipping the switch.
Gain Staging at the Source
Set your preamp gain so peaks hit around −12 to −18 dBFS on the DAW meter. This leaves headroom for louder moments without clipping the converter. The loudest syllable — usually a hard consonant like a “p” or “t” — should not push past −6 dBFS. If it clips at the interface, no amount of post-processing fixes it.
Monitoring While Recording
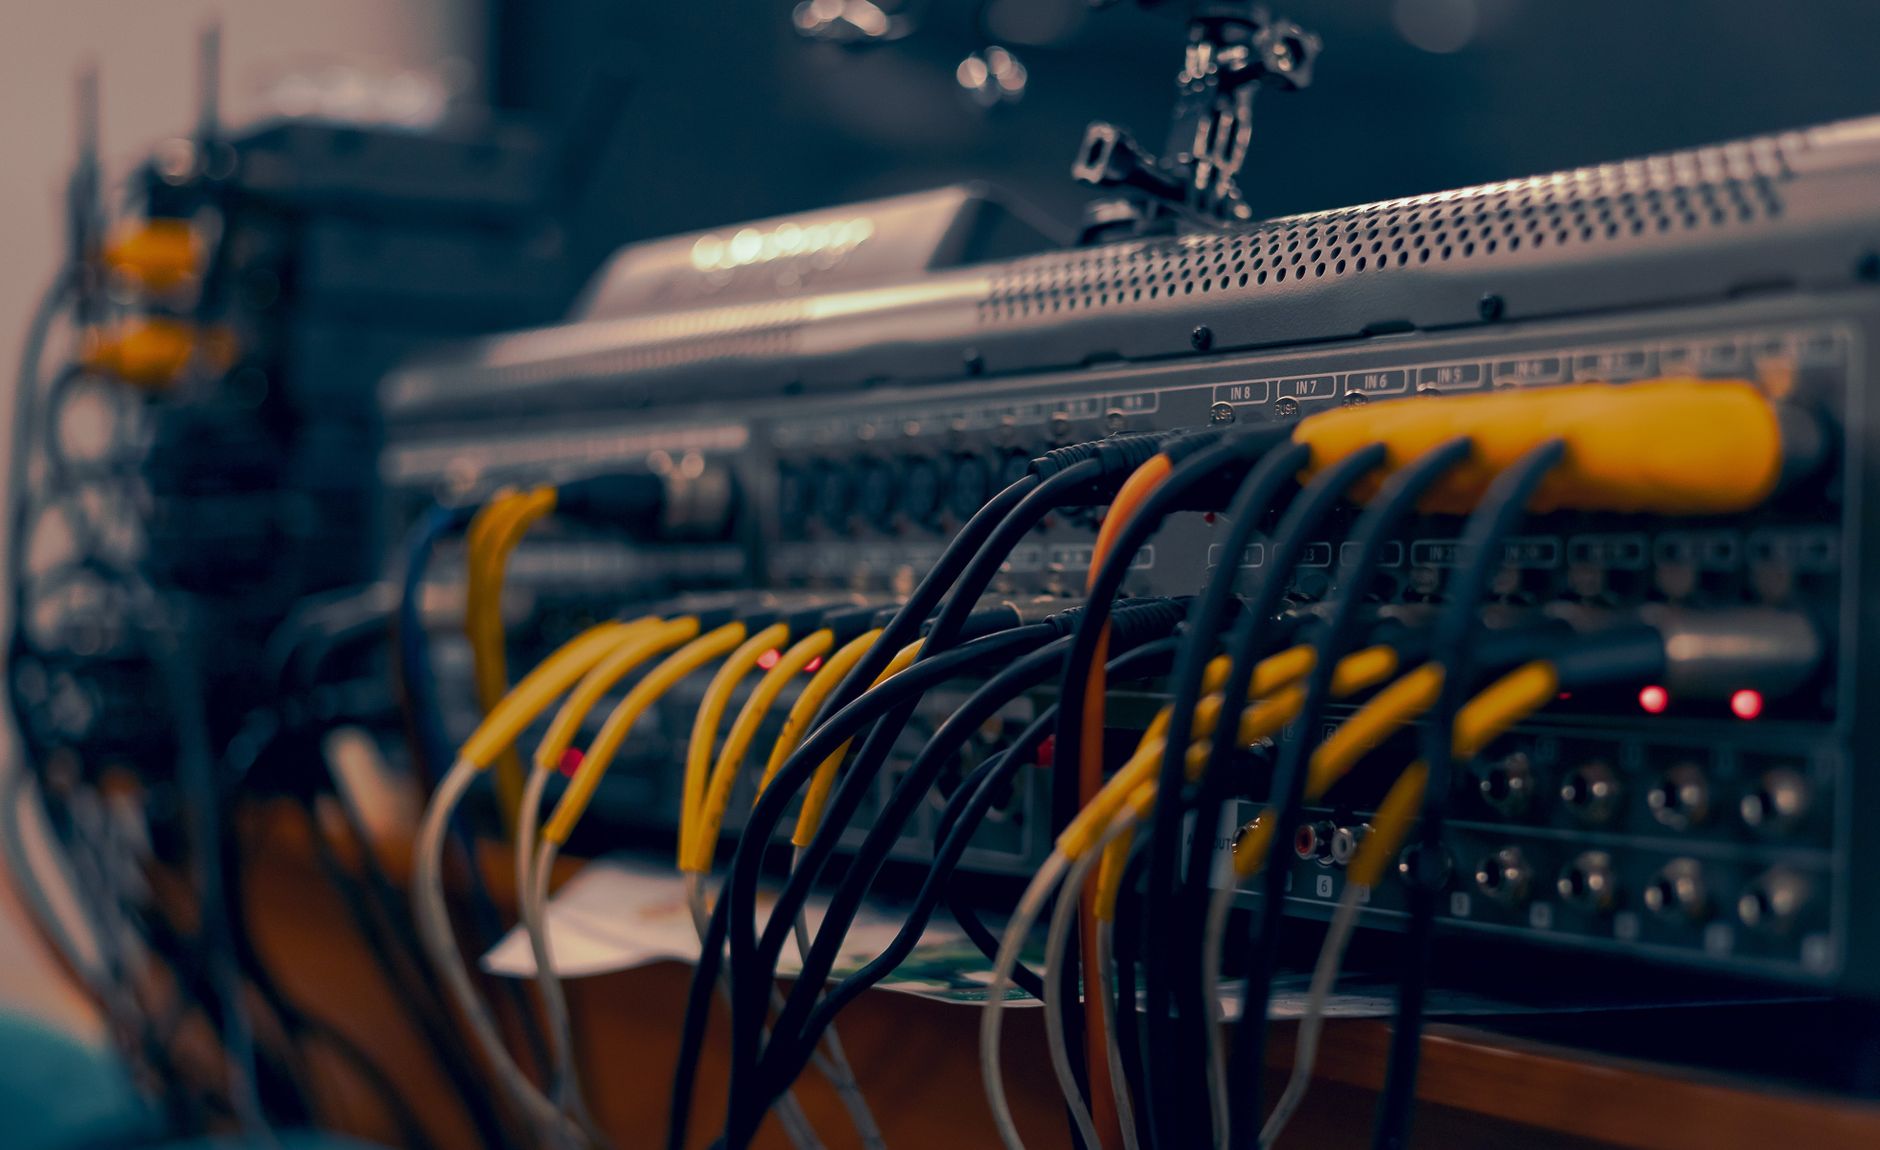
Direct Answer: Use direct monitoring through your audio interface (zero-latency hardware path) rather than software monitoring through the DAW. Software monitoring adds the latency of your buffer size — even 128 samples at 44.1 kHz is ~3ms, and most interfaces add processing overhead on top. Singers hear themselves delayed and either go flat or feel disconnected.
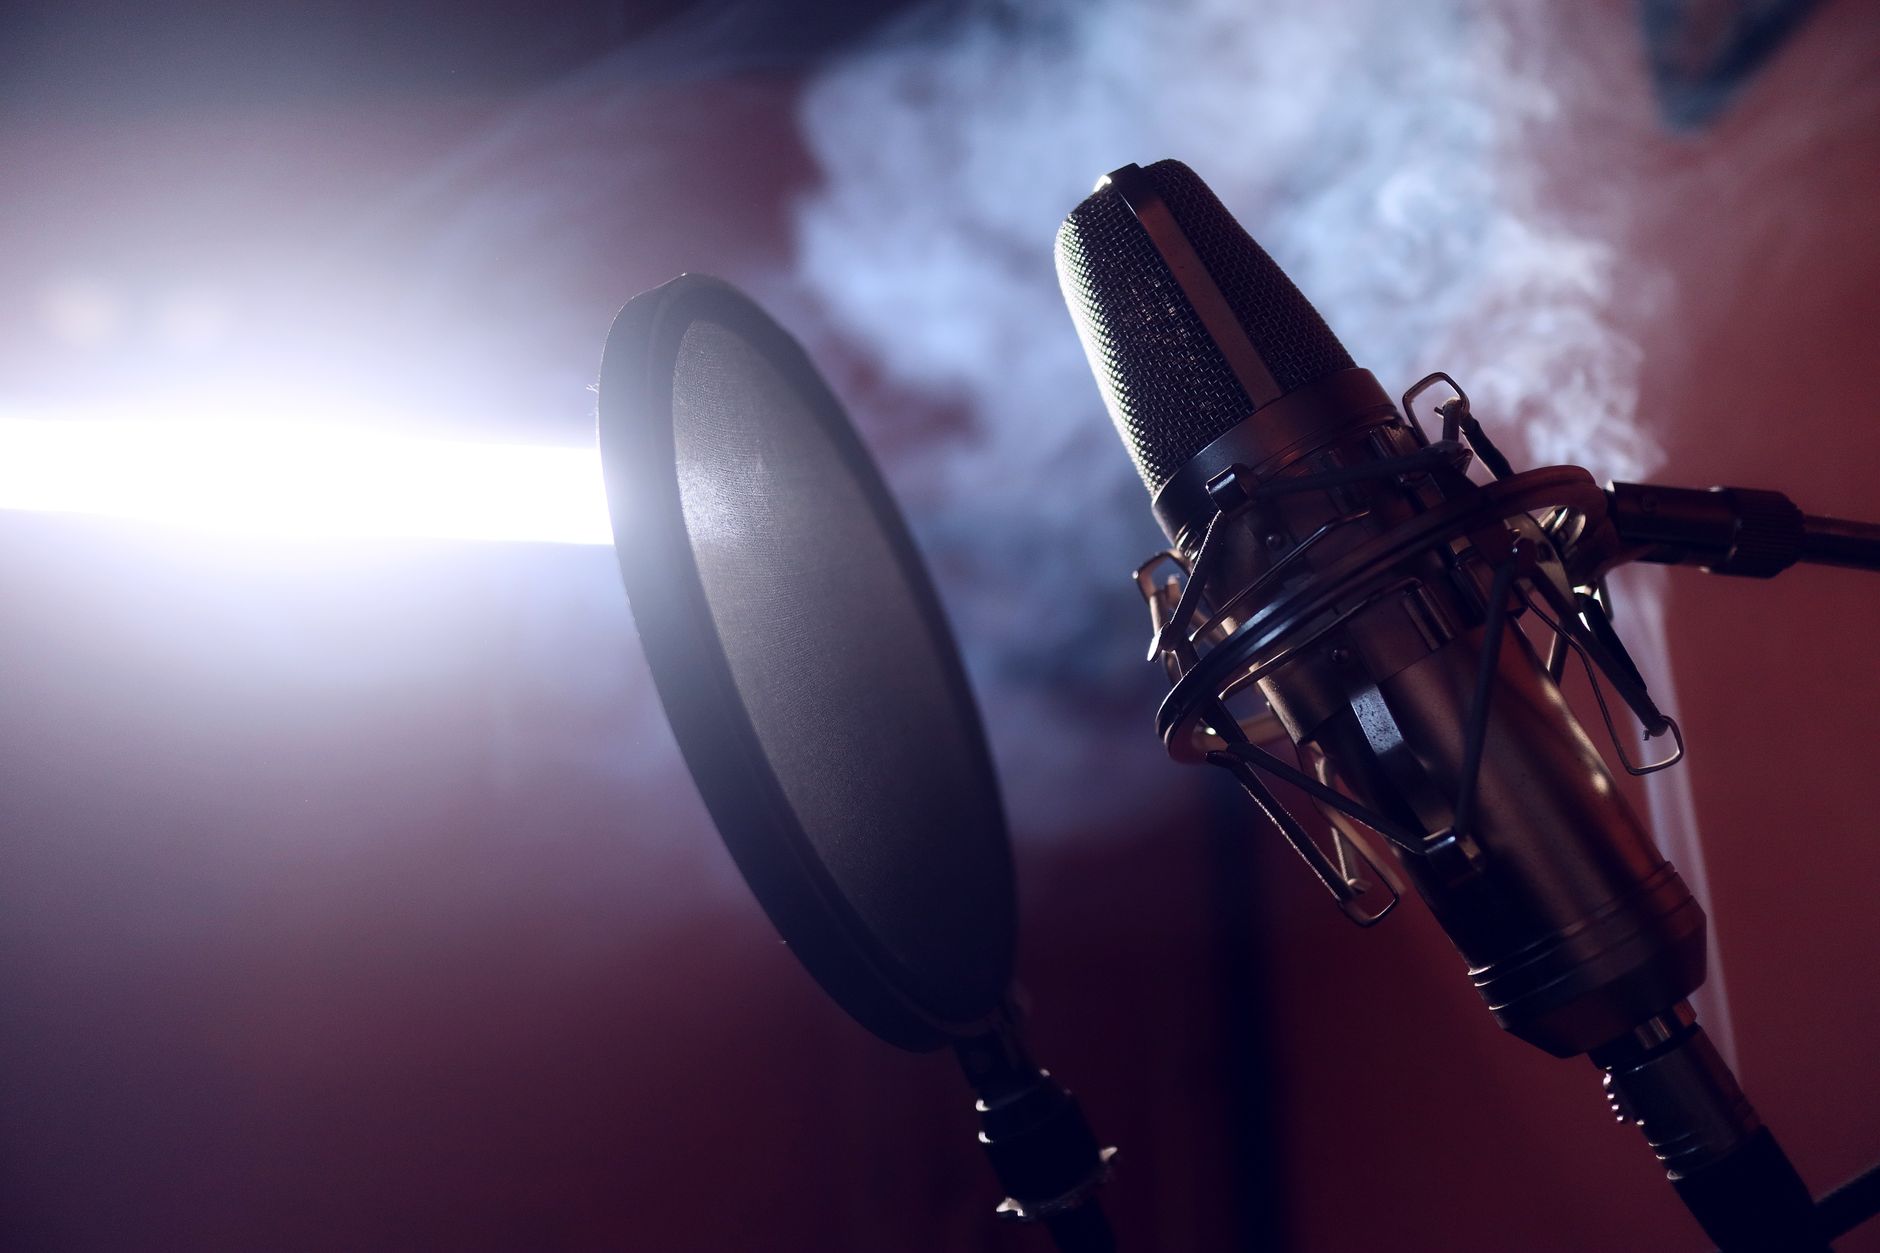 Photo: Damian Scarlassa via Pexels
Most audio interfaces have a direct monitoring knob or button — it blends the dry input signal directly to your headphones before it hits the computer. Enable it, then mute software monitoring on the DAW track (in Logic, uncheck “Software Monitoring”; in Ableton, turn off “Auto Monitor” for that track or set monitoring to “In”).
Headphone Mix for the Singer
A comfortable headphone mix matters more than most engineers give it credit for. Published research on recording performance consistently shows that singers perform better when they can hear themselves clearly and slightly above the backing track level. Most interfaces let you blend the direct signal with DAW playback — give the vocalist a mix where their voice is prominent.
Mic Placement and Room Treatment
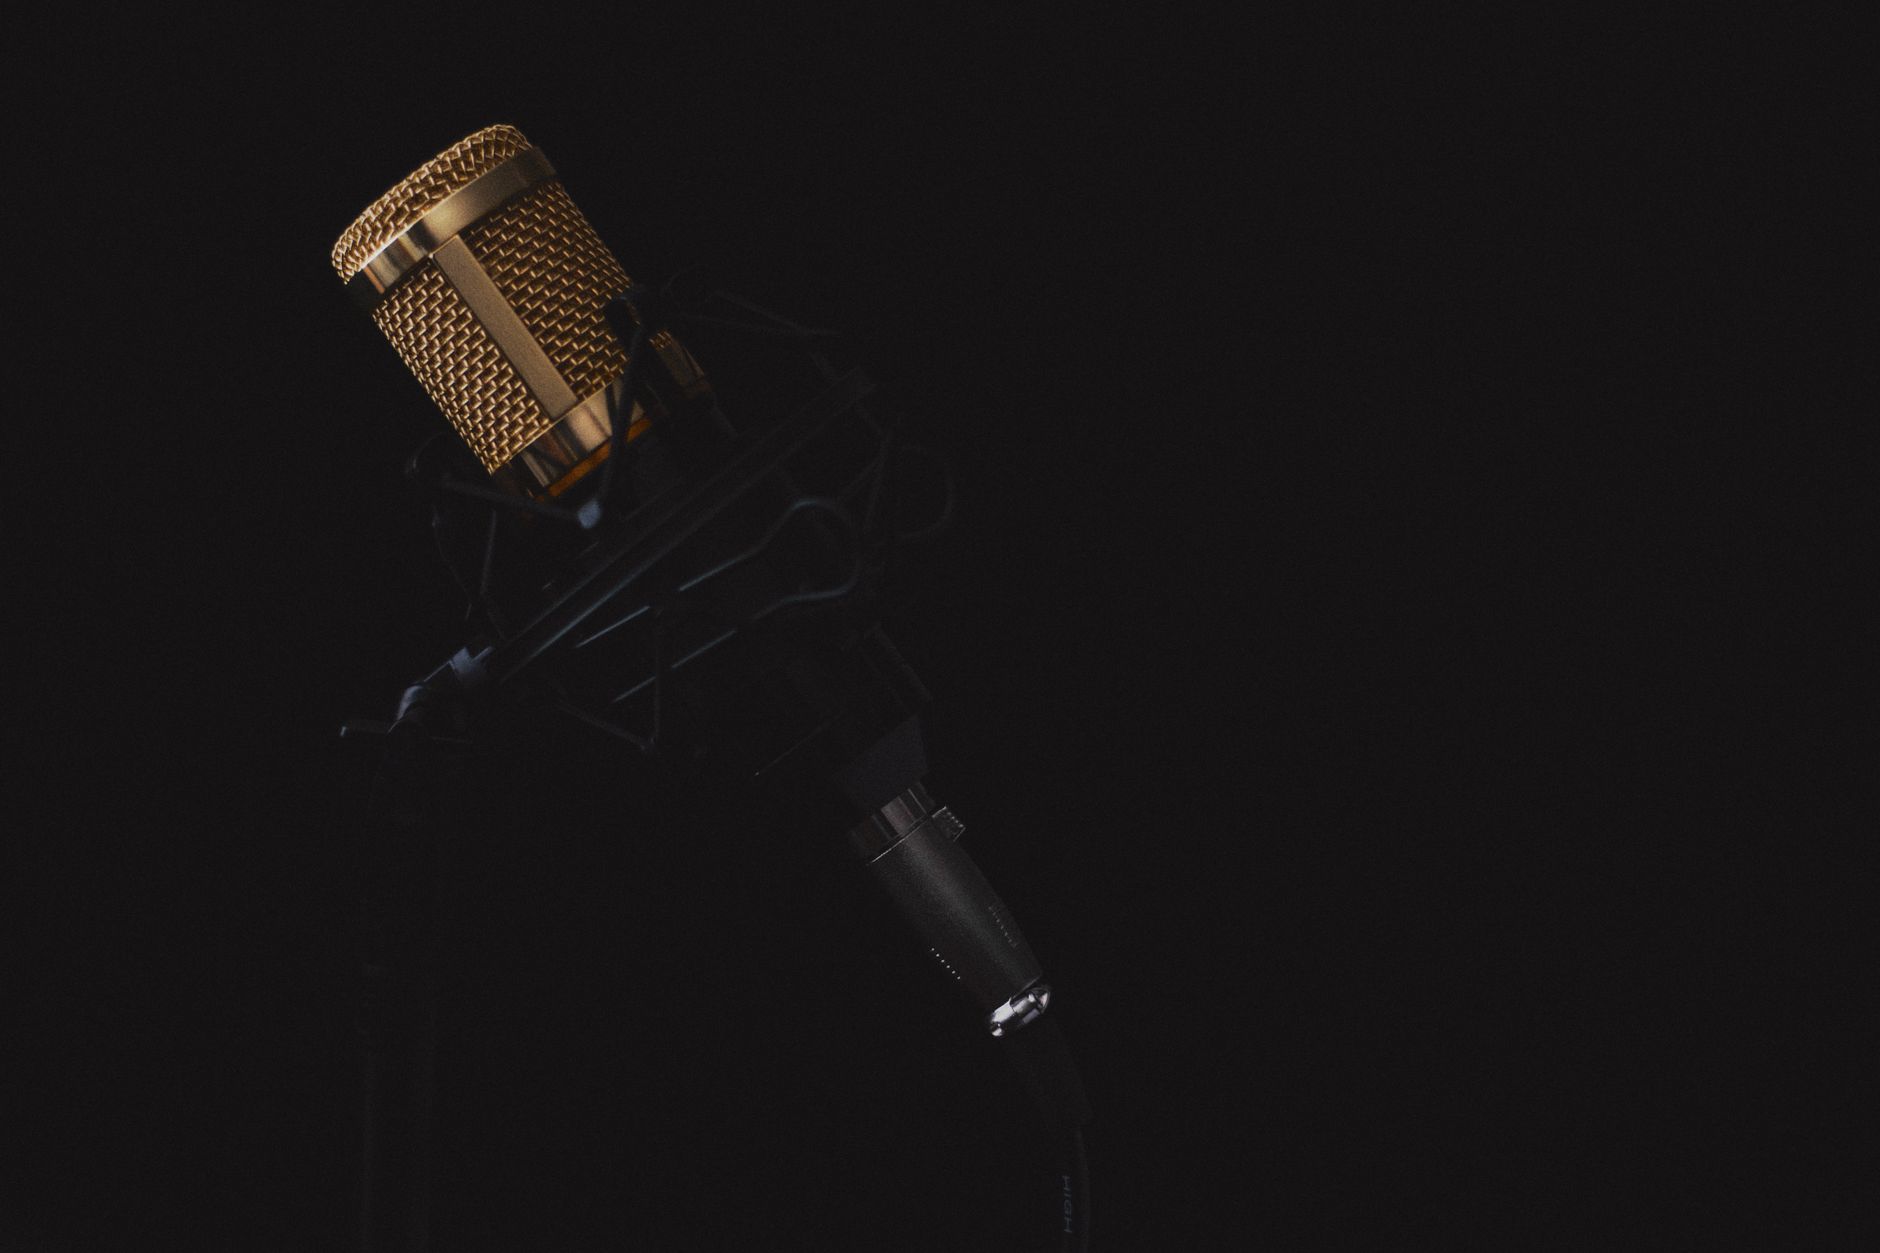
Direct Answer: Position the microphone 6–12 inches from the singer, slightly off-axis (angled 15–20 degrees) to reduce plosives and sibilance. Place a pop filter 2–3 inches in front of the capsule. Record in the deadest corner of the room you have — reflective rooms are the single biggest quality killer in home vocal recording, before gear is even a factor.
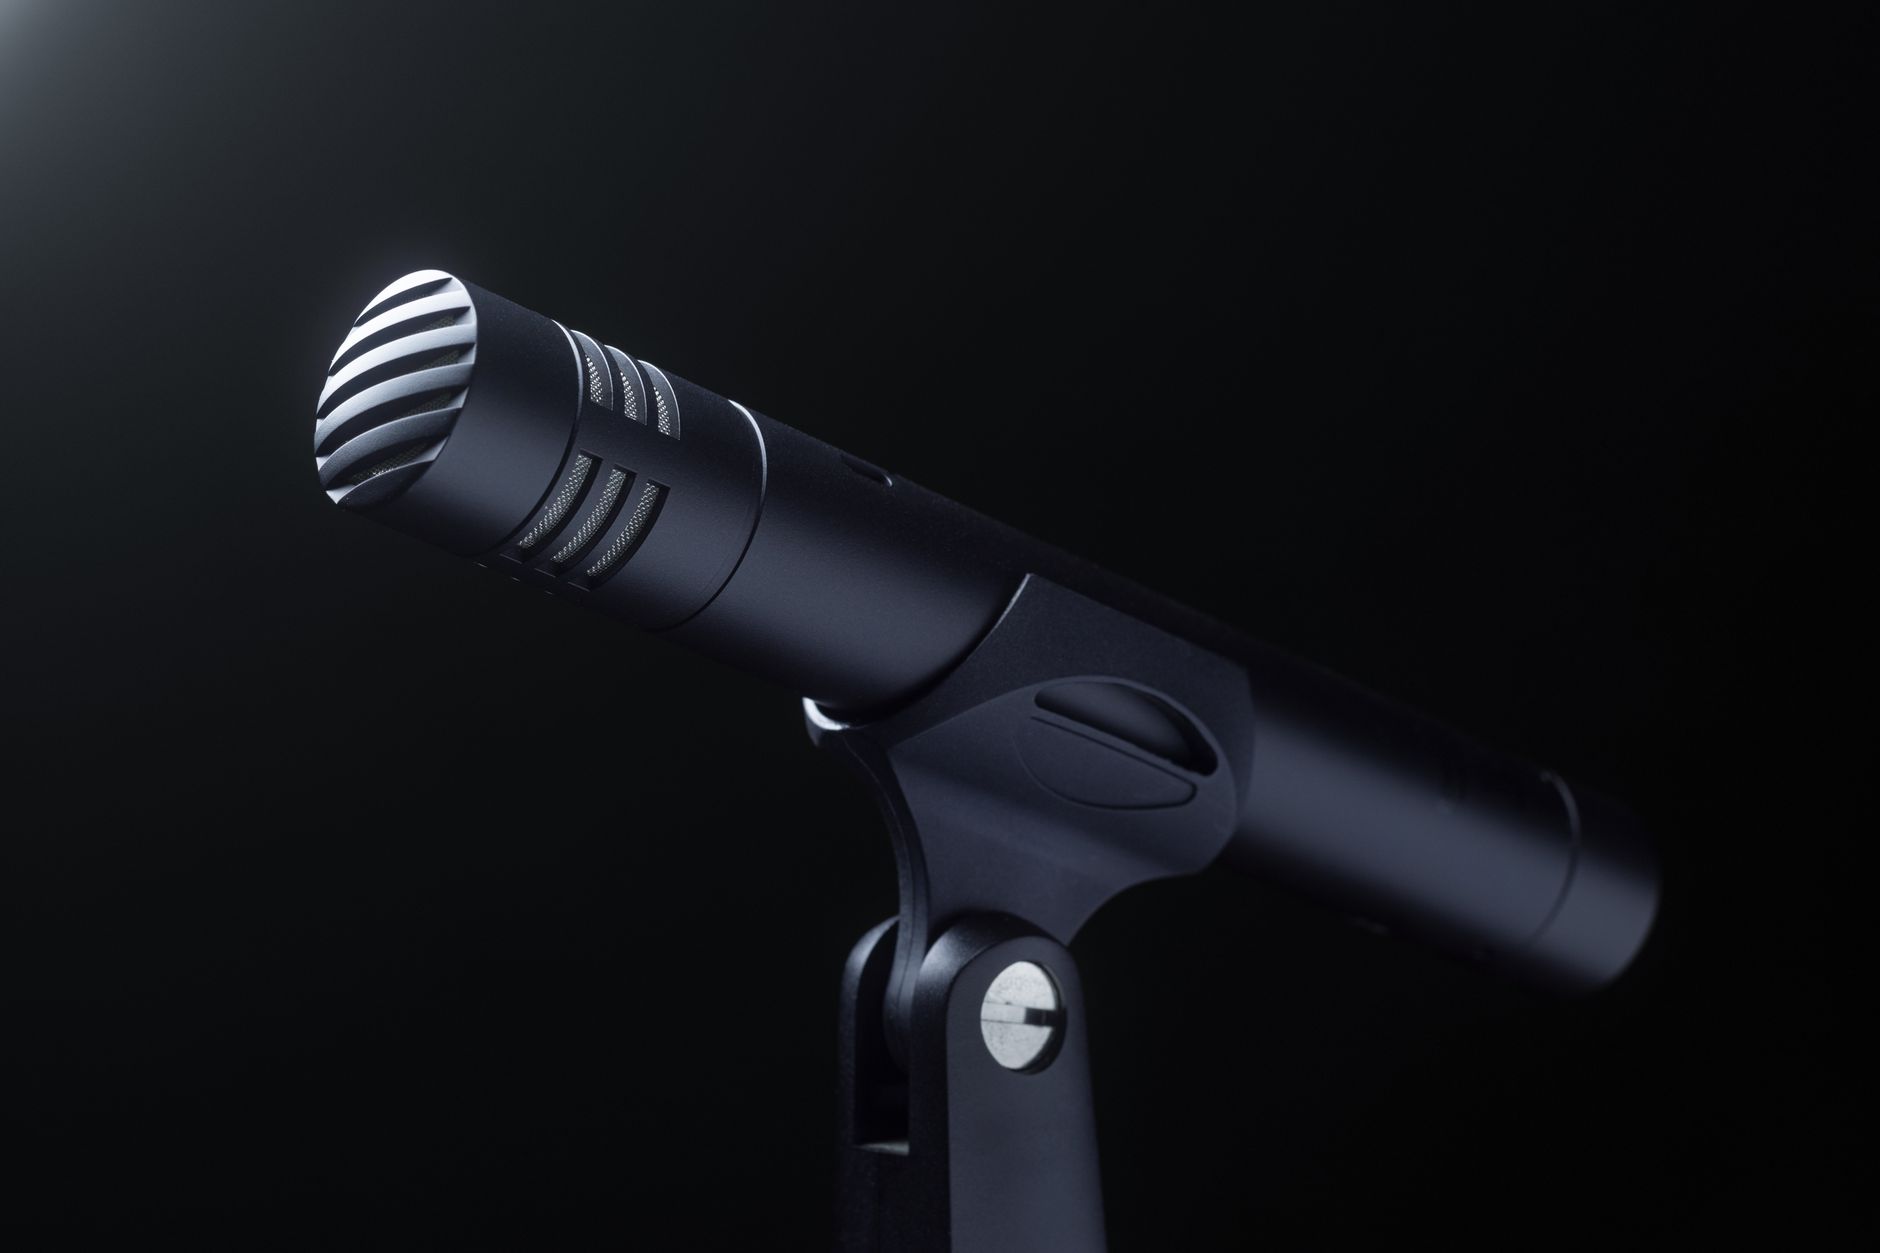 Photo: Neil Yonamine via Pexels
Managing Room Acoustics
You don’t need a treated studio to get a dry vocal sound. A walk-in closet with clothes is acoustically very effective. Acoustic panels on the wall behind the mic absorb rear reflections. A reflection filter (a curved panel that mounts to the mic stand) helps in untreated rooms — manufacturer specifications for models like the sE Reflexion Filter show meaningful reduction in low-frequency room bloom.
A hard parallel wall directly behind the singer causes early reflections that comb-filter with the direct signal. Hang a duvet, use a mattress, or record in a corner where two treated walls meet.
Recording the Take
Direct Answer: Use pre-roll (2–4 bars of count-in), record multiple takes to separate tracks or in a comping lane, and keep all takes until the mix is done. Choosing between takes during tracking wastes session time and you often can’t hear what’s actually best until the vocal is sitting in the full mix.
Comping Vocals
Most DAWs have a dedicated comping workflow:
| DAW | Comping Method |
|---|---|
| Logic Pro | Take folders — record in cycle mode, comp in the Take Editor |
| Pro Tools | Playlist comping — duplicate playlists for each take, comp in the Edit window |
| Ableton Live | Dummy clip comping — record takes to separate tracks, mute/unmute |
| Reaper | Takes lane — right-click track, “Show takes in lanes” |
| Studio One | Layer tracks — dedicated layer view in the editor |
| Cubase | Lane recording — automatic take stacking |
Record a minimum of three full passes before comping. Expert consensus among session engineers suggests judging between two takes is harder than triangulating from three — the best line from any of them usually stands out clearly against two alternatives.
Essential Plugins for Vocal Processing
Direct Answer: The minimum chain for a broadcast-ready vocal in your DAW is: high-pass filter → noise gate → compressor → de-esser → EQ → reverb/delay (on a send, not insert). Apply these in order. Doing it in the wrong sequence (e.g., compressing before filtering) amplifies problems rather than solving them.
Feature Table: Vocal Processing Plugins
| Plugin | Platform | Format | Price Model | System Requirements | Best For |
|---|---|---|---|---|---|
| Waves Vocal Rider | Mac/Win | VST/AU/AAX | One-time / subscription | macOS 12+, Win 10+ | Auto gain riding before compression |
| FabFilter Pro-Q 3 | Mac/Win | VST/AU/AAX | One-time ($179) | macOS 11+, Win 8.1+ | Surgical EQ with dynamic bands |
| iZotope Nectar 4 | Mac/Win | VST/AU/AAX | Subscription / one-time | macOS 12+, Win 10+ | All-in-one vocal suite |
| Waves DeEsser | Mac/Win | VST/AU/AAX | Subscription | macOS 11+, Win 10+ | Fast sibilance control |
| Logic Vintage VCA (built-in) | Mac only | AU | Free (Logic included) | macOS 12+ | Transparent opto-style compression |
Comparison Table: Vocal Plugin Suites
| Software | Price | Standout Feature | Learning Curve | Verdict |
|---|---|---|---|---|
| iZotope Nectar 4 | ~$99–$249 | AI-assisted chain setup | Low–Medium | Best starting point for beginners |
| FabFilter Vocal Bundle | ~$499 | Transparent, musical processing | Medium | Pro standard for precise control |
| Waves Vocal Bundle | ~$29–$99 (sale) | Value per plugin count | Medium | Good value, watch for sale pricing |
| Slate All Access | ~$14.99/mo | SSL/API emulations | Medium | Excellent for character compression |
| Built-in DAW plugins | Free | Zero latency, no authorization | Low | Sufficient for clean/modern sound |
Workflow Notes
Install/authorize: iZotope uses the Product Portal for activation; FabFilter uses a serial-number system with offline activation support. Both work reliably on Apple Silicon without Rosetta.
CPU load: Real-time pitch correction (Melodyne, Auto-Tune) is the heaviest vocal plugin category. According to published testing data, a single instance of Melodyne 5 uses roughly 3–8% CPU on a modern M-series Mac — manageable but plan for it during tracking if using direct monitoring through the DAW.
Free trials: FabFilter offers 30-day full trials on all plugins. iZotope Nectar 4 has a 10-day trial. Waves does not offer trials on individual plugins but provides a subscription tier.
Common Problems and Fixes
Latency When Monitoring Through the DAW
Switch to direct hardware monitoring on your interface. If you need to hear plugin effects while recording, most modern interfaces (RME, Universal Audio, SSL) support onboard DSP effects that run at near-zero latency.
Clipping at the Input
Back off the preamp gain and move the singer slightly further from the mic. If peaks still clip, engage the pad switch (usually −10 or −20 dB) on the interface or microphone.
Thin or Boxy Sound in the Recording
This is almost always room acoustics. Move to a deader space or add absorption behind the mic. EQ cannot add air that was never captured.
Hum or Buzz on the Track
A 50/60 Hz hum is a ground loop — try a different outlet, a ground lift adapter, or move the interface away from power supplies and screens. A high-frequency buzz often comes from LED dimmers or switching power supplies nearby.
→ See also:
FAQ
What sample rate should I use to record vocals in my DAW? Use 44.1 kHz for music-only projects and 48 kHz if the audio will be synced to video. The quality difference between 44.1 and 48 kHz is inaudible in practice — what matters is consistency across your interface, project settings, and export. Mismatched sample rates cause pitch artifacts that are difficult to diagnose.
Do I need a condenser mic to record good vocals at home? No. Dynamic microphones like the Shure SM7B or SM58 are routinely used on professional records. Condensers capture more room detail — which is a disadvantage in untreated spaces. A dynamic mic with a clean preamp in a dead room will outperform an expensive condenser in a live room.
How do I reduce echo and reverb in my vocal recordings? Record in the smallest, most furnished space available — bedrooms, closets, and curtained rooms all reduce reflections. Position the microphone close to the source (6–12 inches) to increase the direct-to-reverb ratio. A portable reflection filter mounts to the mic stand and absorbs rear-firing energy; user reviews for products like the sE Electronics Reflexion Filter consistently report audible improvement in home spaces.
Why is my vocal recording so quiet even with the gain turned up? Check that 48V phantom power is enabled if you’re using a condenser mic, confirm the correct input is selected in the DAW, and check that no pad switch is engaged on the mic or interface. If all that’s correct, some microphones — particularly passive ribbons — require a preamp with significantly higher gain than budget interfaces provide.
What’s the difference between input monitoring and software monitoring in a DAW? Input (direct) monitoring routes the mic signal to your headphones inside the interface, bypassing the computer entirely — latency is effectively zero. Software monitoring routes the signal into the DAW, applies any active plugins, and sends it back to your headphones — latency depends on your buffer size and driver overhead. Use direct monitoring for tracking, software monitoring only when you need to hear real-time plugin processing and your interface’s DSP can’t handle it.
How many takes should I record before comping a vocal? Three full passes is a practical minimum — it gives you triangulation rather than a binary choice. For lead vocals on the final mix, five passes is common in professional sessions. According to documented production workflows from engineers like Andrew Scheps and Michael Brauer, comping decisions made with more raw material consistently produce more natural-sounding performances than iterating on a single take.
Editorial methodology: Assessments are based on manufacturer specifications, published user reviews, and editorial research. Physical hands-on testing is noted explicitly where it occurred. Rankings reflect our editorial judgment and are not influenced by affiliate commission rates. Full editorial policy · Affiliate disclosure