Contents
Home Studio Setup for Recording Vocals: The Complete Guide
TL;DR: A solid home studio setup for vocals needs four things: a condenser microphone, an audio interface, acoustic treatment, and a DAW. You don’t need to spend thousands — a treated corner, a $100–200 mic, and a budget interface will outperform an expensive mic in a bare room every time.
What You Actually Need for a Vocal Recording Setup
The minimum viable vocal chain is mic → interface → DAW. Everything else — preamps, outboard gear, vocal booths — improves on that foundation but isn’t required to start. Most bedroom studio problems are acoustic, not gear-related. Fix the room first.
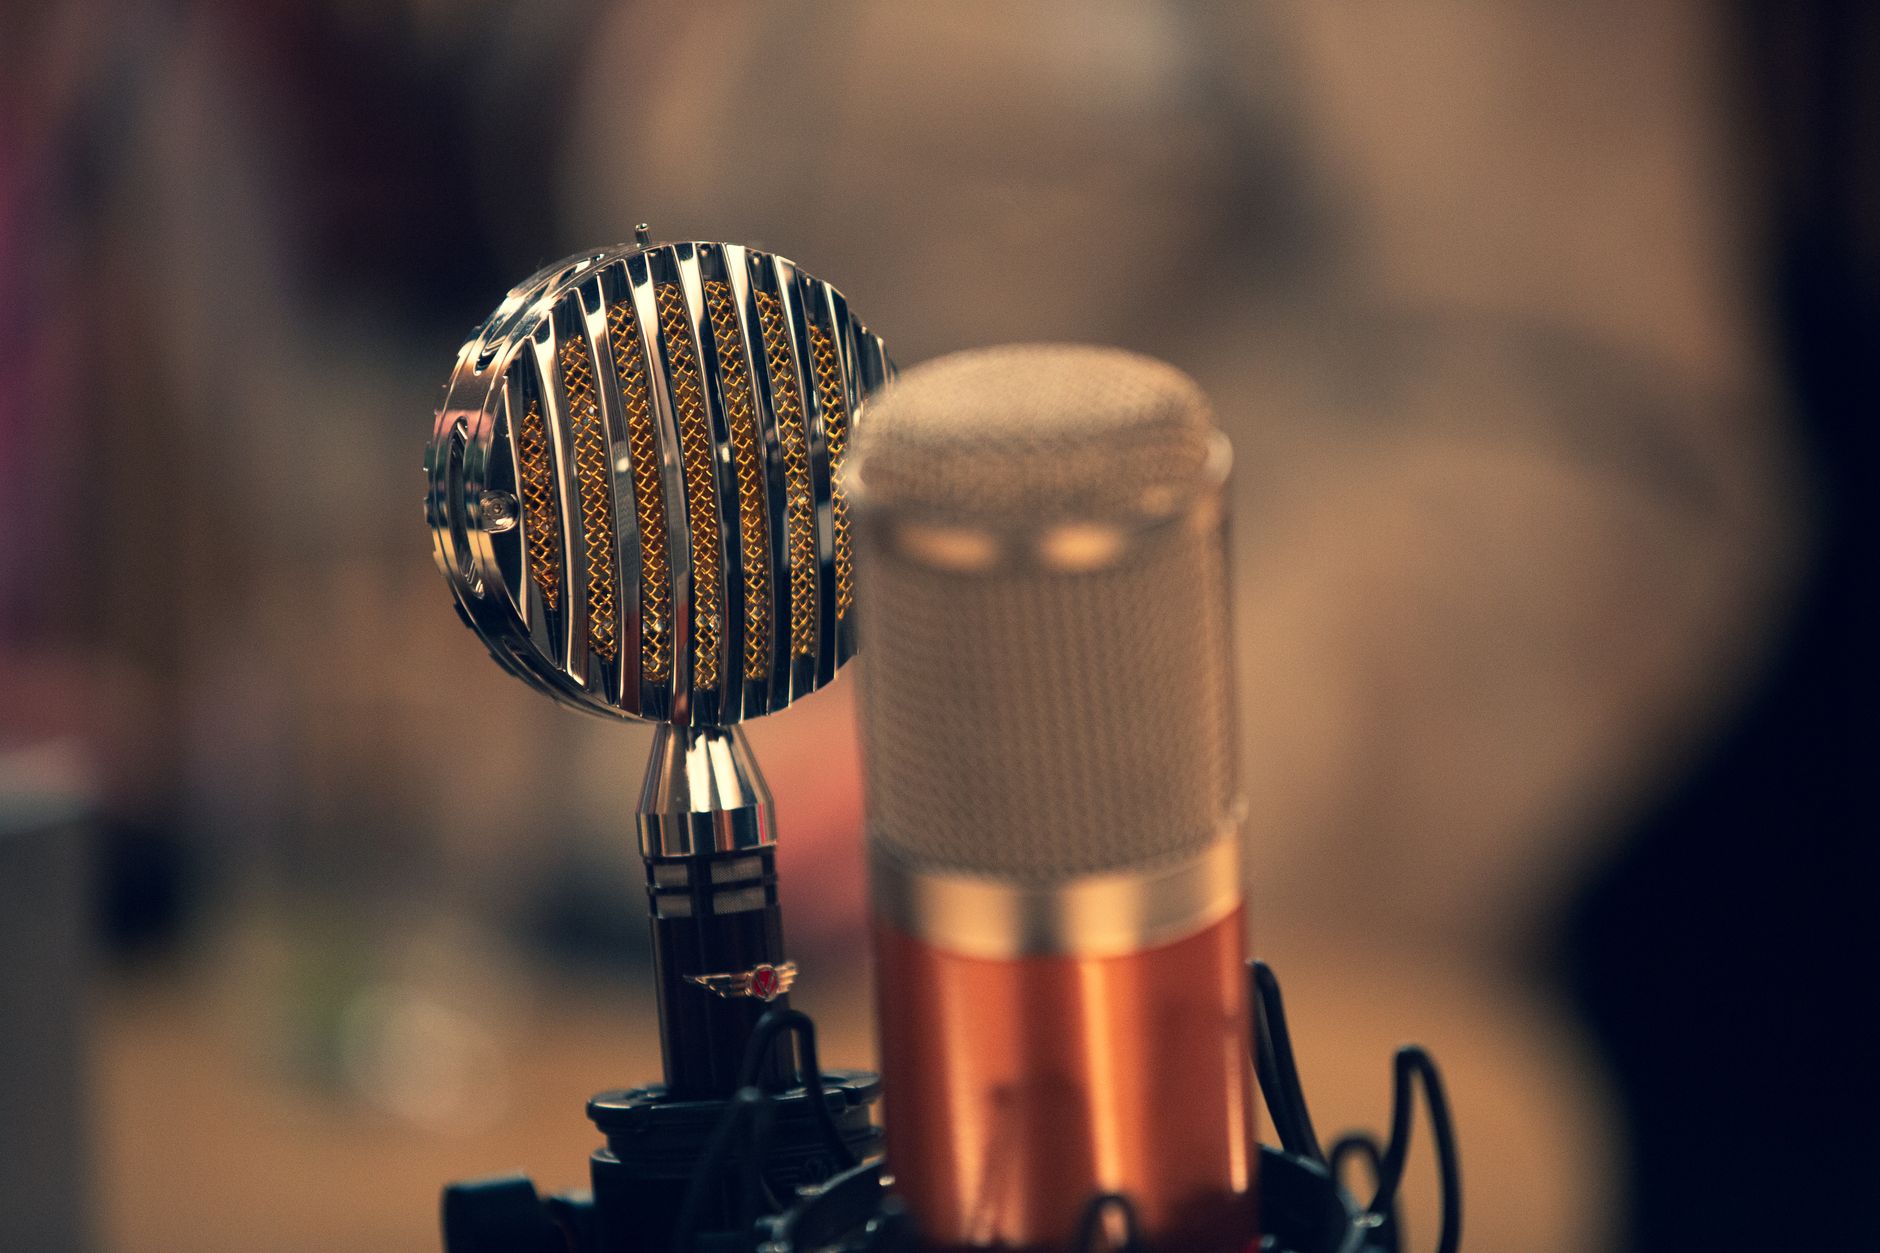 Photo: Clement Lepetit via Pexels
Your signal path determines your ceiling. A cheap mic in a treated room beats an expensive mic next to reflective walls.
Recommended vocal chain to start: Audio-Technica AT2020 ($99) → Focusrite Scarlett Solo ($120) → Reaper or GarageBand (free) → Sony MDR-7506 headphones ($100). Total under $320. Treats your room with heavy curtains or a closet and this setup records releasable vocals.
Here’s the full non-negotiable gear list:
| Component | Entry-Level Option | Mid-Range Option | Why It Matters |
|---|---|---|---|
| Condenser mic | Audio-Technica AT2020 | Rode NT1 5th Gen | Captures detail and air that dynamics miss |
| Audio interface | Focusrite Scarlett Solo (4th Gen) | Universal Audio Volt 276 | Clean preamp, low-latency monitoring |
| DAW | Reaper ($60) or GarageBand (free) | Logic Pro, Ableton Live | Tracking, comping, mixing |
| Acoustic treatment | DIY corner panels | Acoustic panels + bass traps | Kills reflections that ruin recorded takes |
| Pop filter | Any clip-on nylon mesh | Stedman Proscreen XL | Eliminates plosives before they hit the capsule |
Choosing the Right Microphone for Vocals
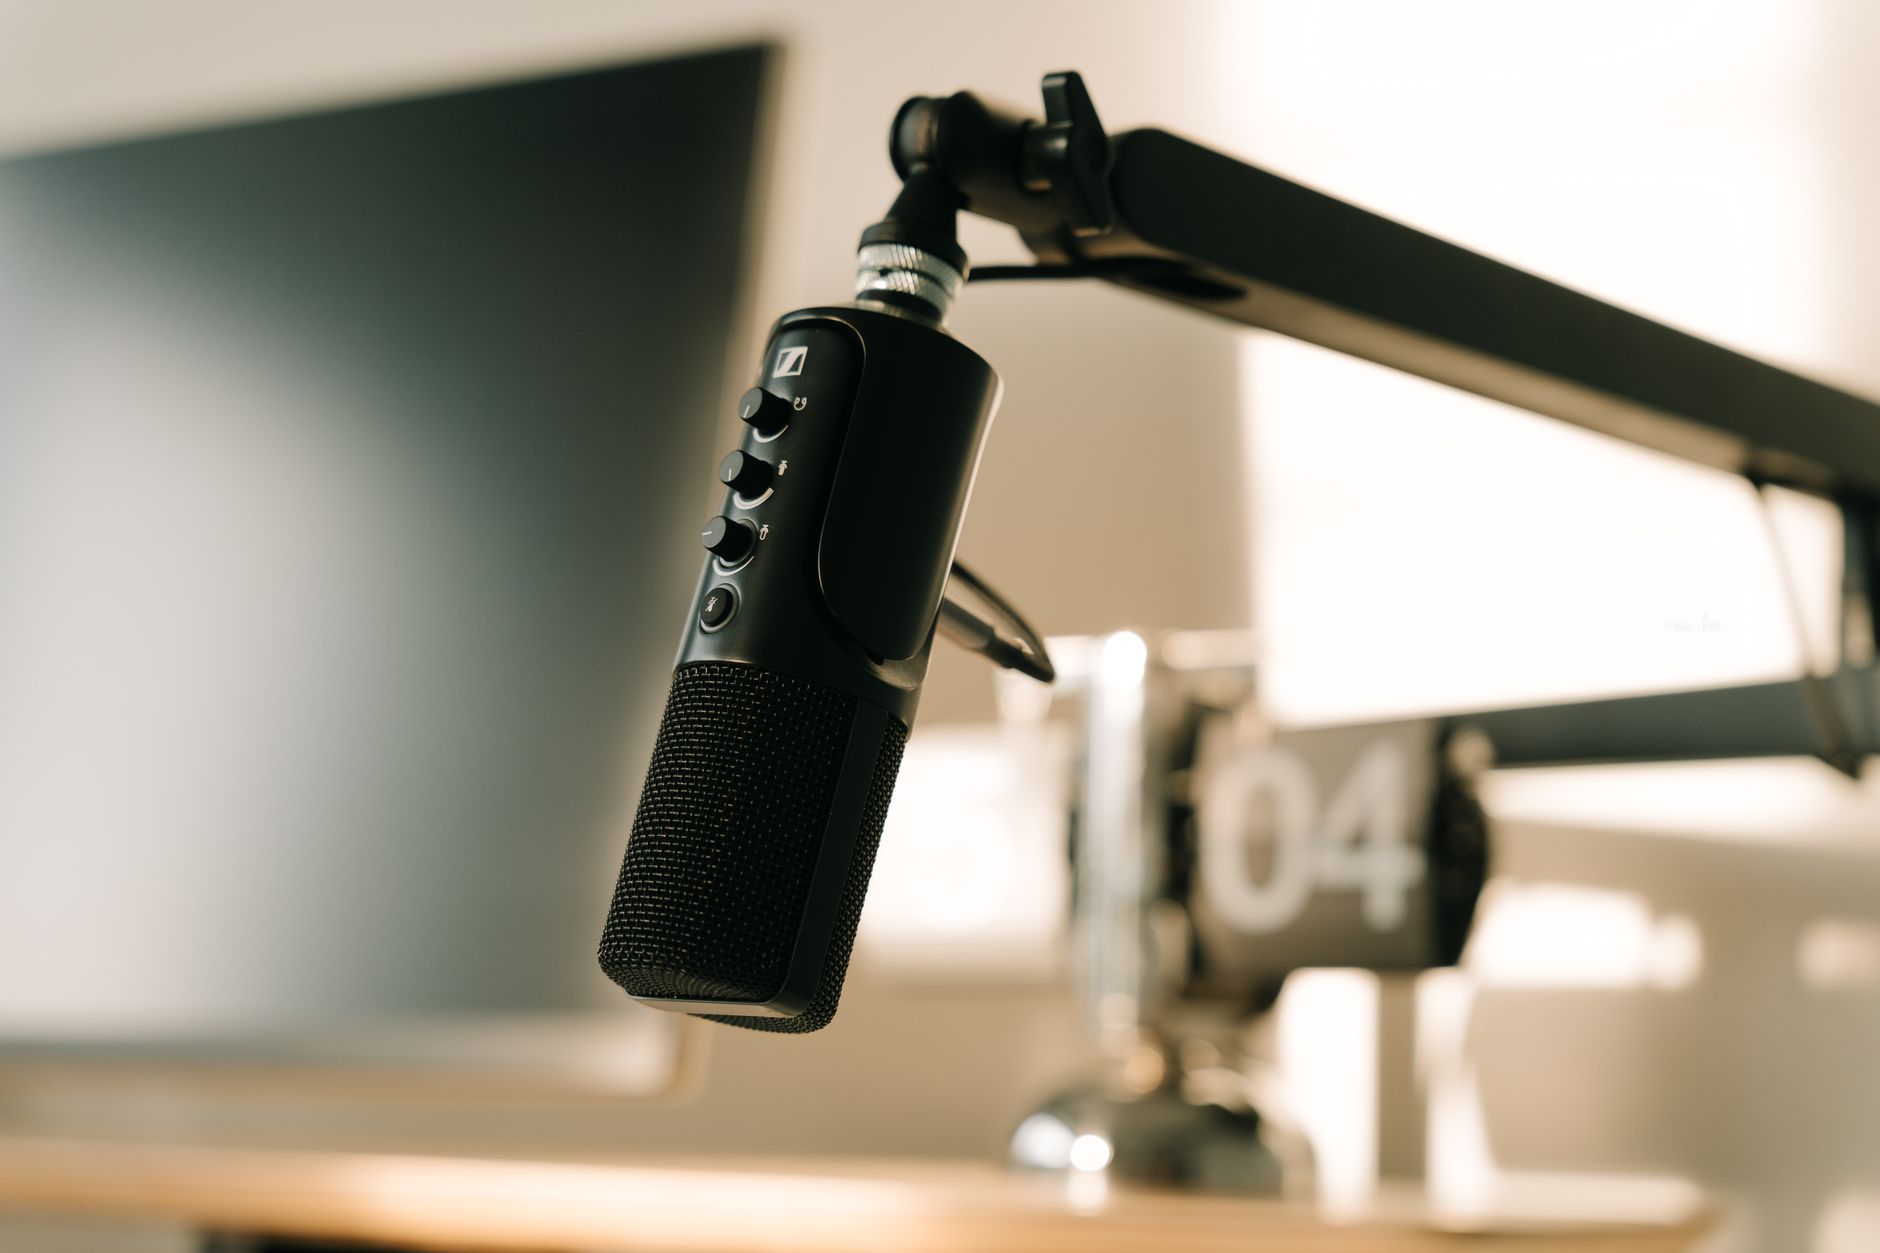
Large-diaphragm condensers are the standard for home vocal recording — they capture frequency detail and dynamic range that small-diaphragm and dynamic mics can’t match in a controlled environment. The one caveat: they expose room problems, so treat your space before upgrading the mic.
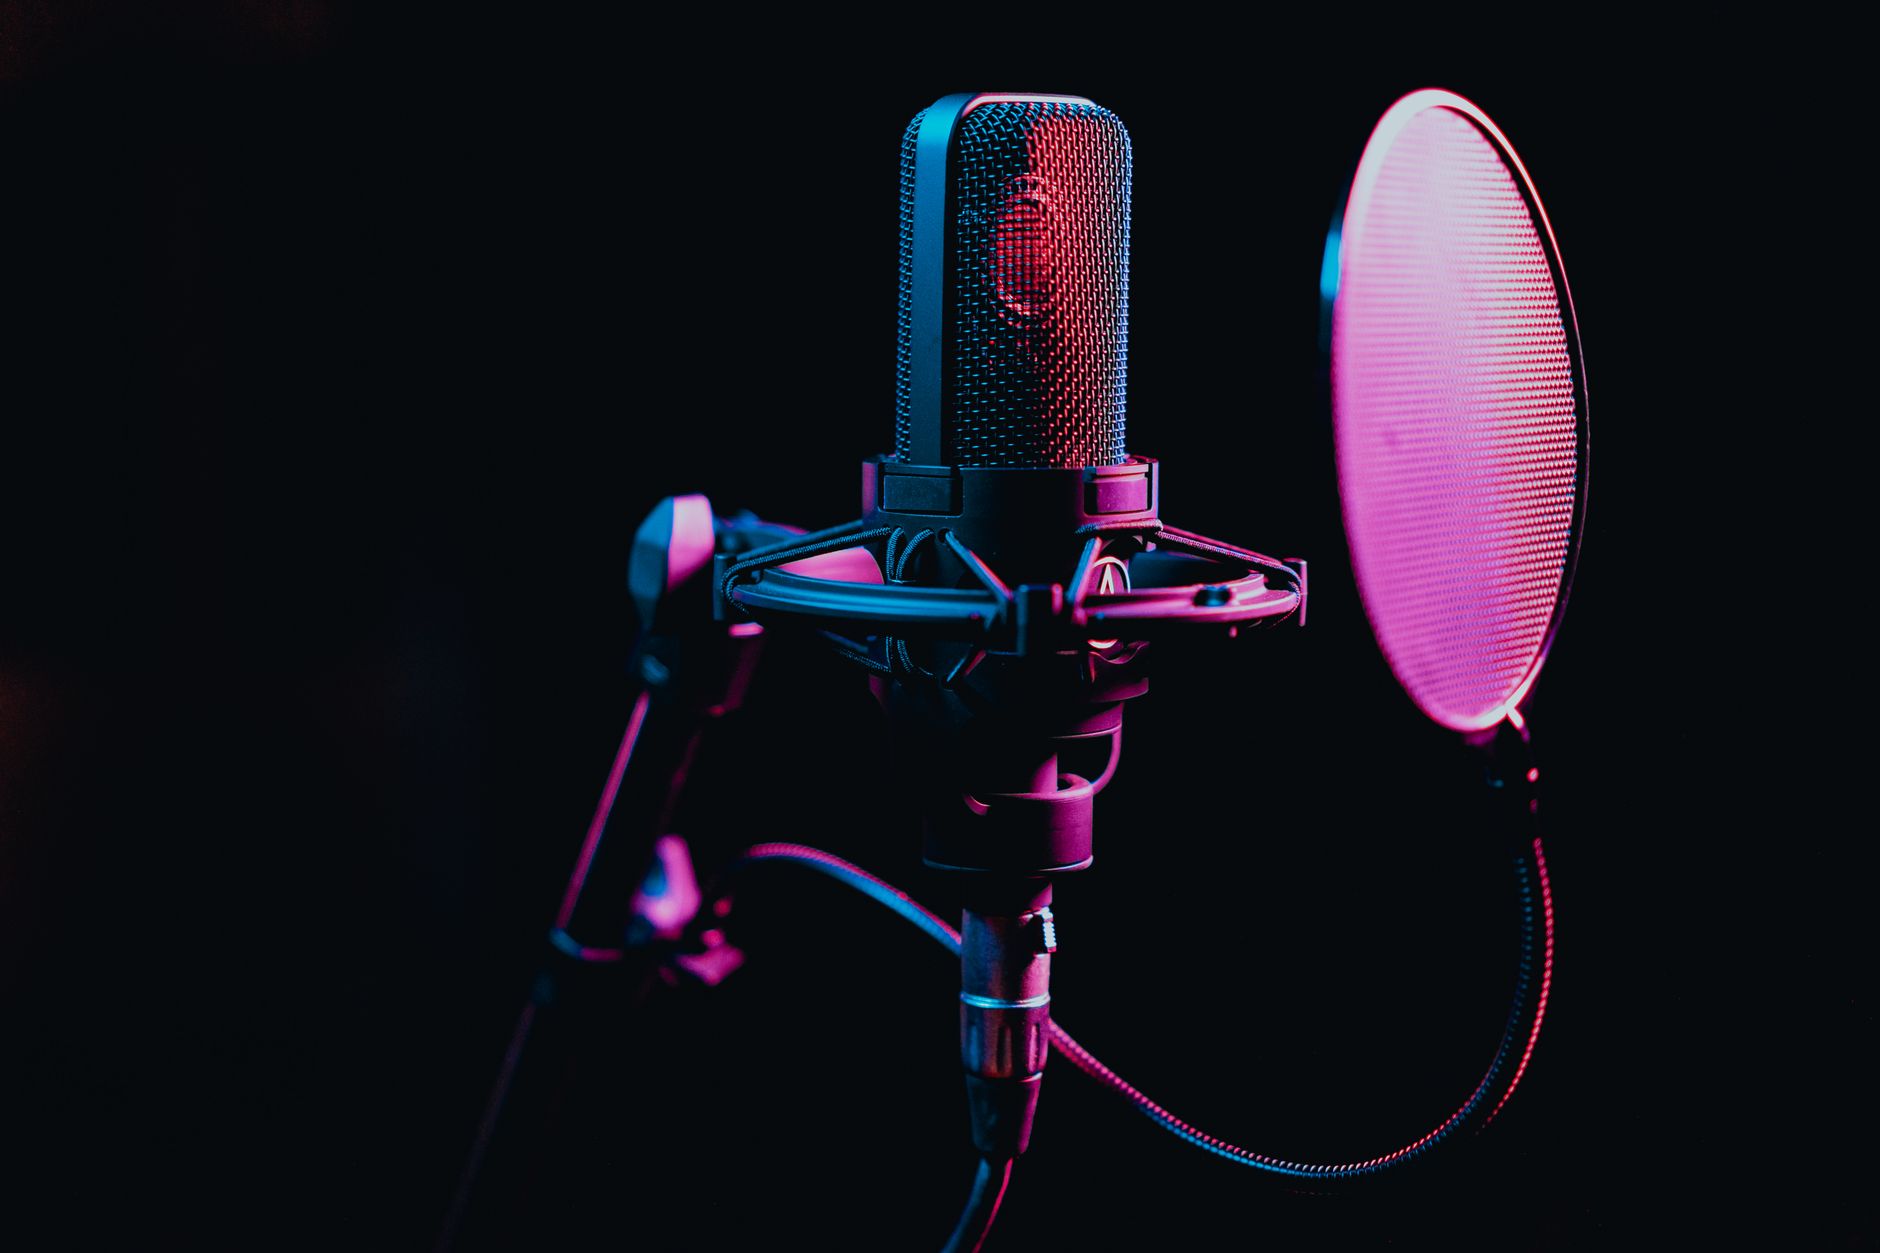 Photo: Los Muertos Crew via Pexels
Large-Diaphragm Condenser vs. Dynamic for Home Use
For most home studio vocalists, the choice comes down to environment. Condensers pick up everything — the performance, yes, but also the HVAC hum and flutter echoes. Dynamics are more forgiving of bad rooms but will sound comparatively dull on lead vocals.
Published testing data shows large-diaphragm condensers like the Rode NT1 consistently measure lower self-noise (below 5 dB-A) than most dynamic mics, which matters when recording quiet passages or intimate takes. The Shure SM7B is the exception — a dynamic that produces broadcast-quality vocal results — but it needs 60+ dB of clean gain, which means investing in a CloudLifter or an interface with a strong preamp.
Polar Pattern: Cardioid Is Correct for Untreated Rooms
Cardioid pattern rejects sound from the rear and sides. In a bedroom or home office, that means the mic is less likely to capture reflections off the back wall. Omnidirectional sounds more natural in a professionally treated space; cardioid is more practical everywhere else.
Audio Interface Selection and Gain Staging
Get an interface with at least one combo XLR/TRS input and 48V phantom power. For solo vocal recording, a one- or two-input interface is sufficient. Prioritize low-latency drivers and a clean preamp over features you won’t use.
The Focusrite Scarlett Solo remains the most-recommended entry-level interface in the home recording community for a reason: low-latency ASIO drivers on Windows, solid preamp measured at around 56 dB of gain, and plug-and-play setup on both Mac and Windows. The 4th Generation adds auto-gain and clip-safe technology, reducing the most common beginner mistake — recording a distorted take.
For vocalists wanting analogue warmth without outboard gear, the Universal Audio Volt 276 includes a 76 Unison preamp mode that models the UA 1176 compressor circuit at the preamp stage. According to manufacturer specifications, this adds subtle harmonic saturation before the signal hits the DAW.
Gain Staging for Vocals
Set your interface gain so peaks hit between -18 dBFS and -12 dBFS. This leaves headroom for comping and mixing without risking clipping. A signal peaking at -6 dBFS before any processing is too hot — you lose headroom for compression and limiting downstream.
Acoustic Treatment: The Most Important Investment
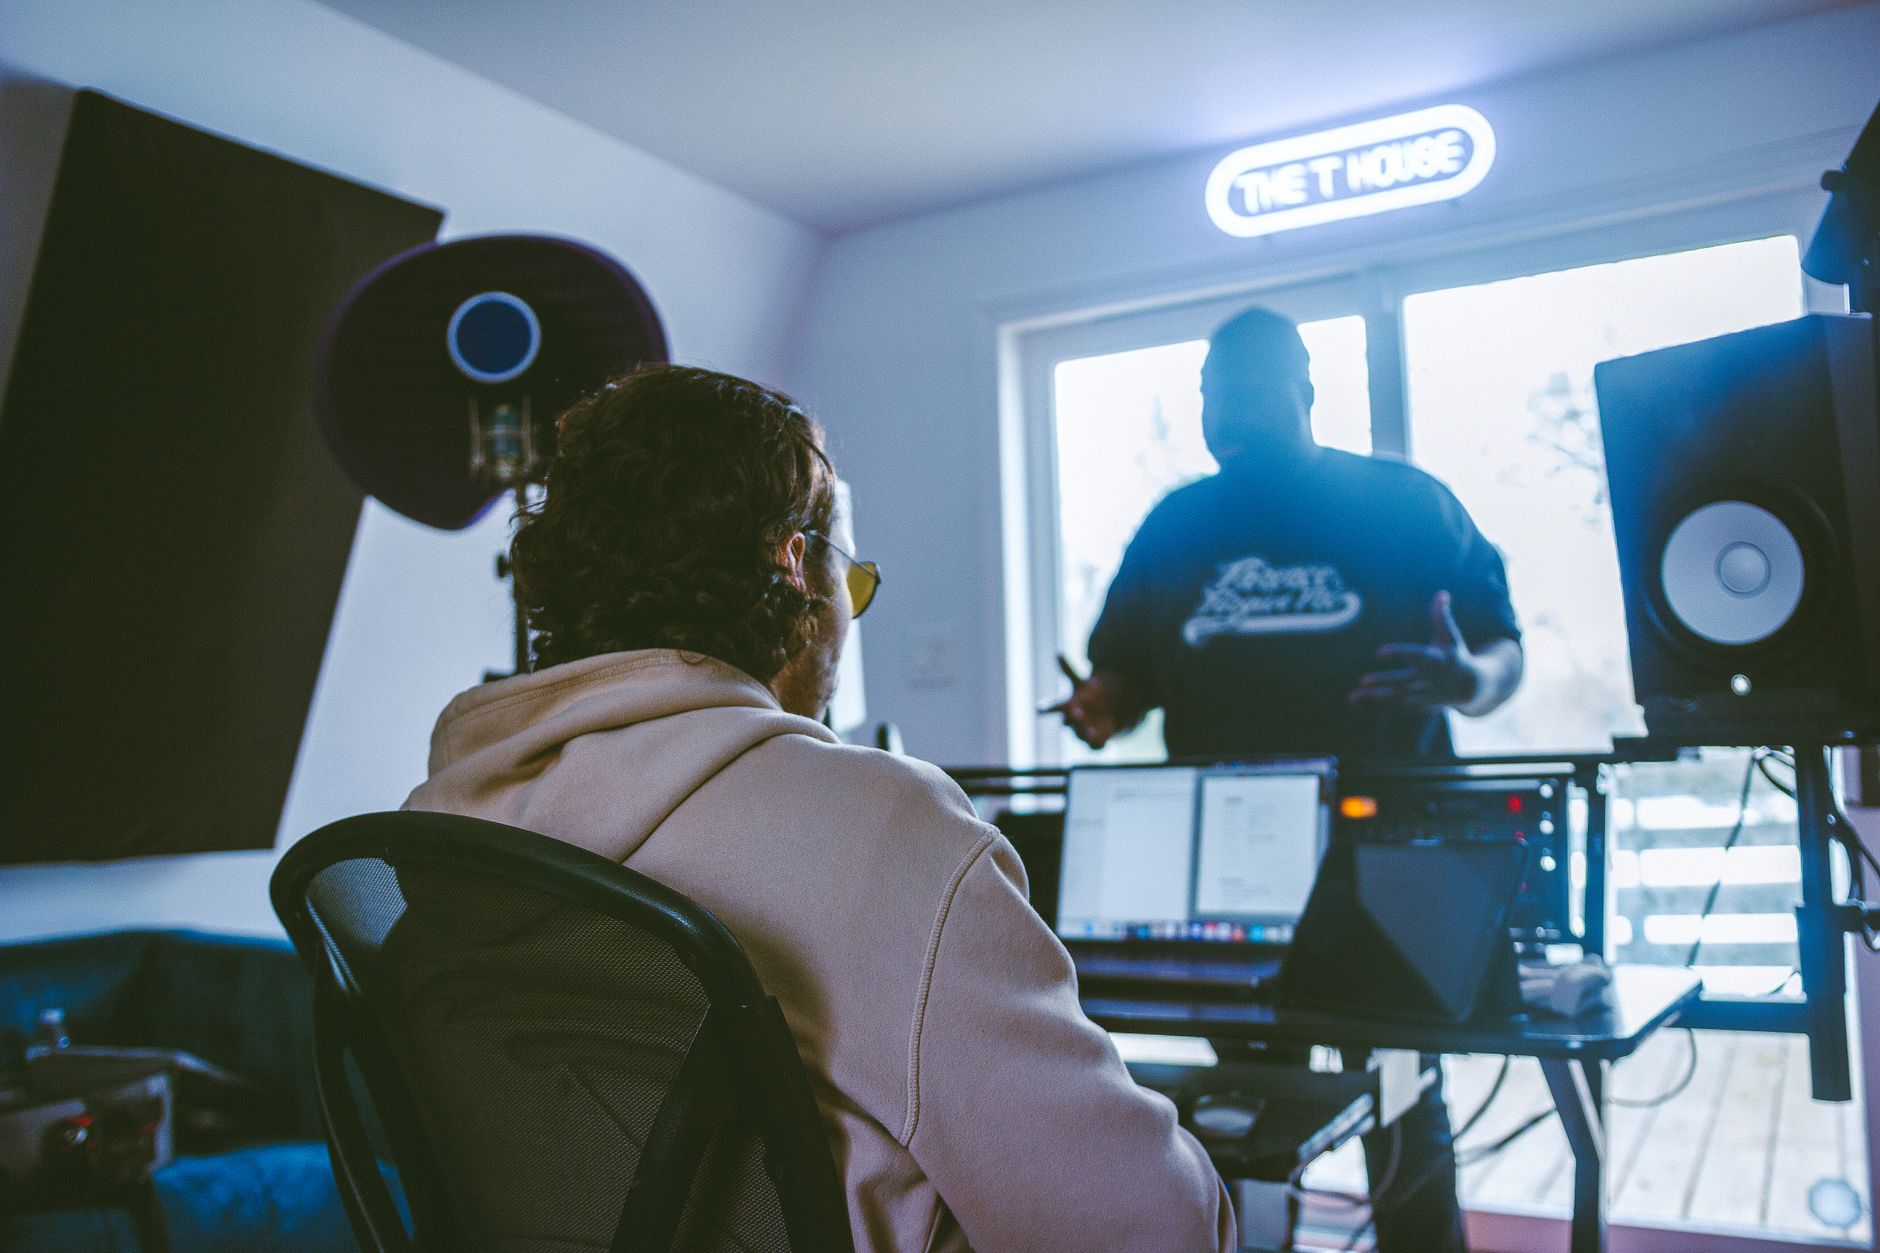
Acoustic treatment is where most home studio vocals fail. You don’t need a vocal booth — you need to kill early reflections at the mic position. Two or three absorption panels behind and beside the vocalist, plus a reflection filter on the mic stand, handles 80% of the problem.
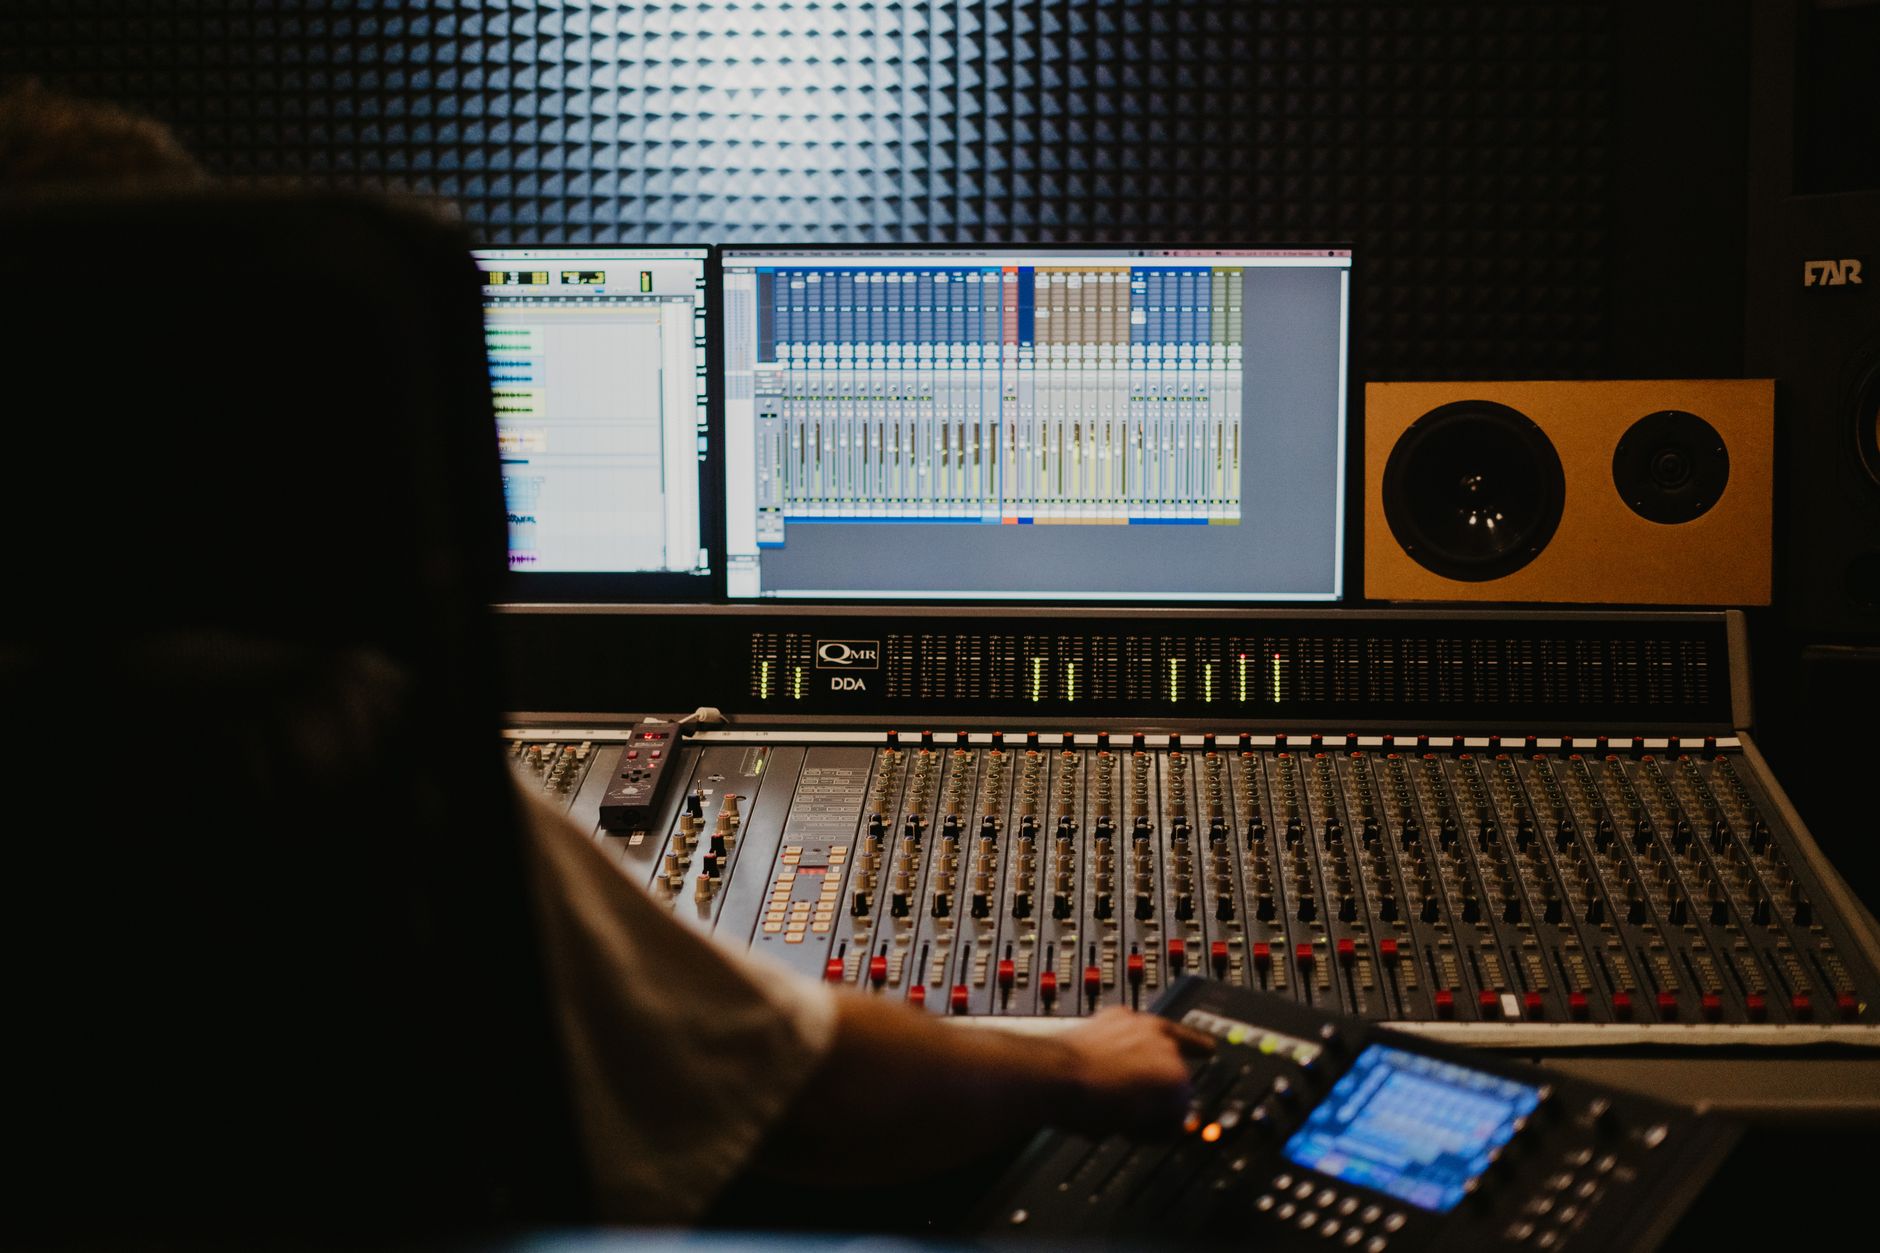 Photo: Tima Miroshnichenko via Pexels
DIY Treatment vs. Store-Bought Panels
Acoustic panels built from 2-inch Rockwool or rigid fiberglass (703/705) outperform most foam products and cost less per square foot. Expert consensus among acousticians suggests that 2-inch panels absorb mid and high frequencies effectively; low-frequency control requires thicker material (4-inch or corner bass traps).
Priority treatment positions:
- First reflection points — the wall directly behind the vocalist and the two side walls at mic height
- Rear wall — reduces flutter echo that wraps around and reaches the cardioid pattern’s rejection zone
- Corner bass traps — floor-to-ceiling in at least two corners reduces buildup below 200 Hz
A portable reflection filter like the sE Electronics Reflexion Filter Pro mounts on the mic stand and handles first reflections from behind the capsule when panel treatment isn’t possible. It’s a practical compromise for rental apartments or shared spaces.
Signal Chain and Workflow
Vocal Recording Signal Chain
Vocalist → Pop Filter → Condenser Mic → XLR Cable → Audio Interface (48V Phantom Power ON)
→ DAW Input (monitoring via direct mix, not DAW playback) → Record-Armed Track
Gain staging notes:
- Interface gain: peaks at -18 to -12 dBFS
- DAW track input: no plugins inserted while tracking (record clean, process later)
- Monitor mix: blend direct (zero-latency) monitoring with DAW playback at comfortable volume
Step-by-Step Vocal Recording Workflow
- Treat the room — hang panels at first reflection points before setting up any gear
- Position the mic — 6–8 inches from the vocalist, slightly below lip level angled upward, pop filter 2–3 inches in front of the capsule
- Enable 48V phantom power — condenser mics require it; confirm the interface indicator is lit before plugging in
- Set gain — have the vocalist sing at performance volume, not a quiet test hum; aim for peaks at -18 to -12 dBFS
- Enable direct monitoring — use zero-latency direct monitoring on the interface, not DAW playback, to eliminate latency-induced hesitation
- Record a reference take — one full pass to check gain, phase, and room reflections
- Listen back critically — if you hear boxy reflections (200–400 Hz buildup) or flutter, address treatment before tracking further
- Track in sections — verse, pre-chorus, chorus separately for easier comping
- Comp the final vocal — in your DAW, select the best syllables and phrases from multiple takes
- Tune and time — correct pitch and timing after comping, not before
Troubleshooting Matrix
| Symptom | Likely Cause | Fix |
|---|---|---|
| Latency/timing hesitation | DAW software monitoring active | Switch to direct monitoring on interface |
| No signal / no level | Phantom power off, or XLR not seated | Enable 48V, reseat cable at both ends |
| Distorted/clipped signal | Gain too high | Reduce interface gain; aim peaks at -18 dBFS |
| Boxy, hollow vocal tone | Early reflections, parallel walls | Add absorption panels at first reflection points |
| Hiss / noise floor | Preamp gain cranked, mic self-noise | Lower gain, use a mic with lower self-noise spec |
| Phase issues (thin/hollow with doubled vocal) | Two mics or duplicate track polarity mismatch | Flip phase on one track |
| Plosive thumps (P, B sounds) | No pop filter, mic too close | Add pop filter, increase mic distance 1–2 inches |
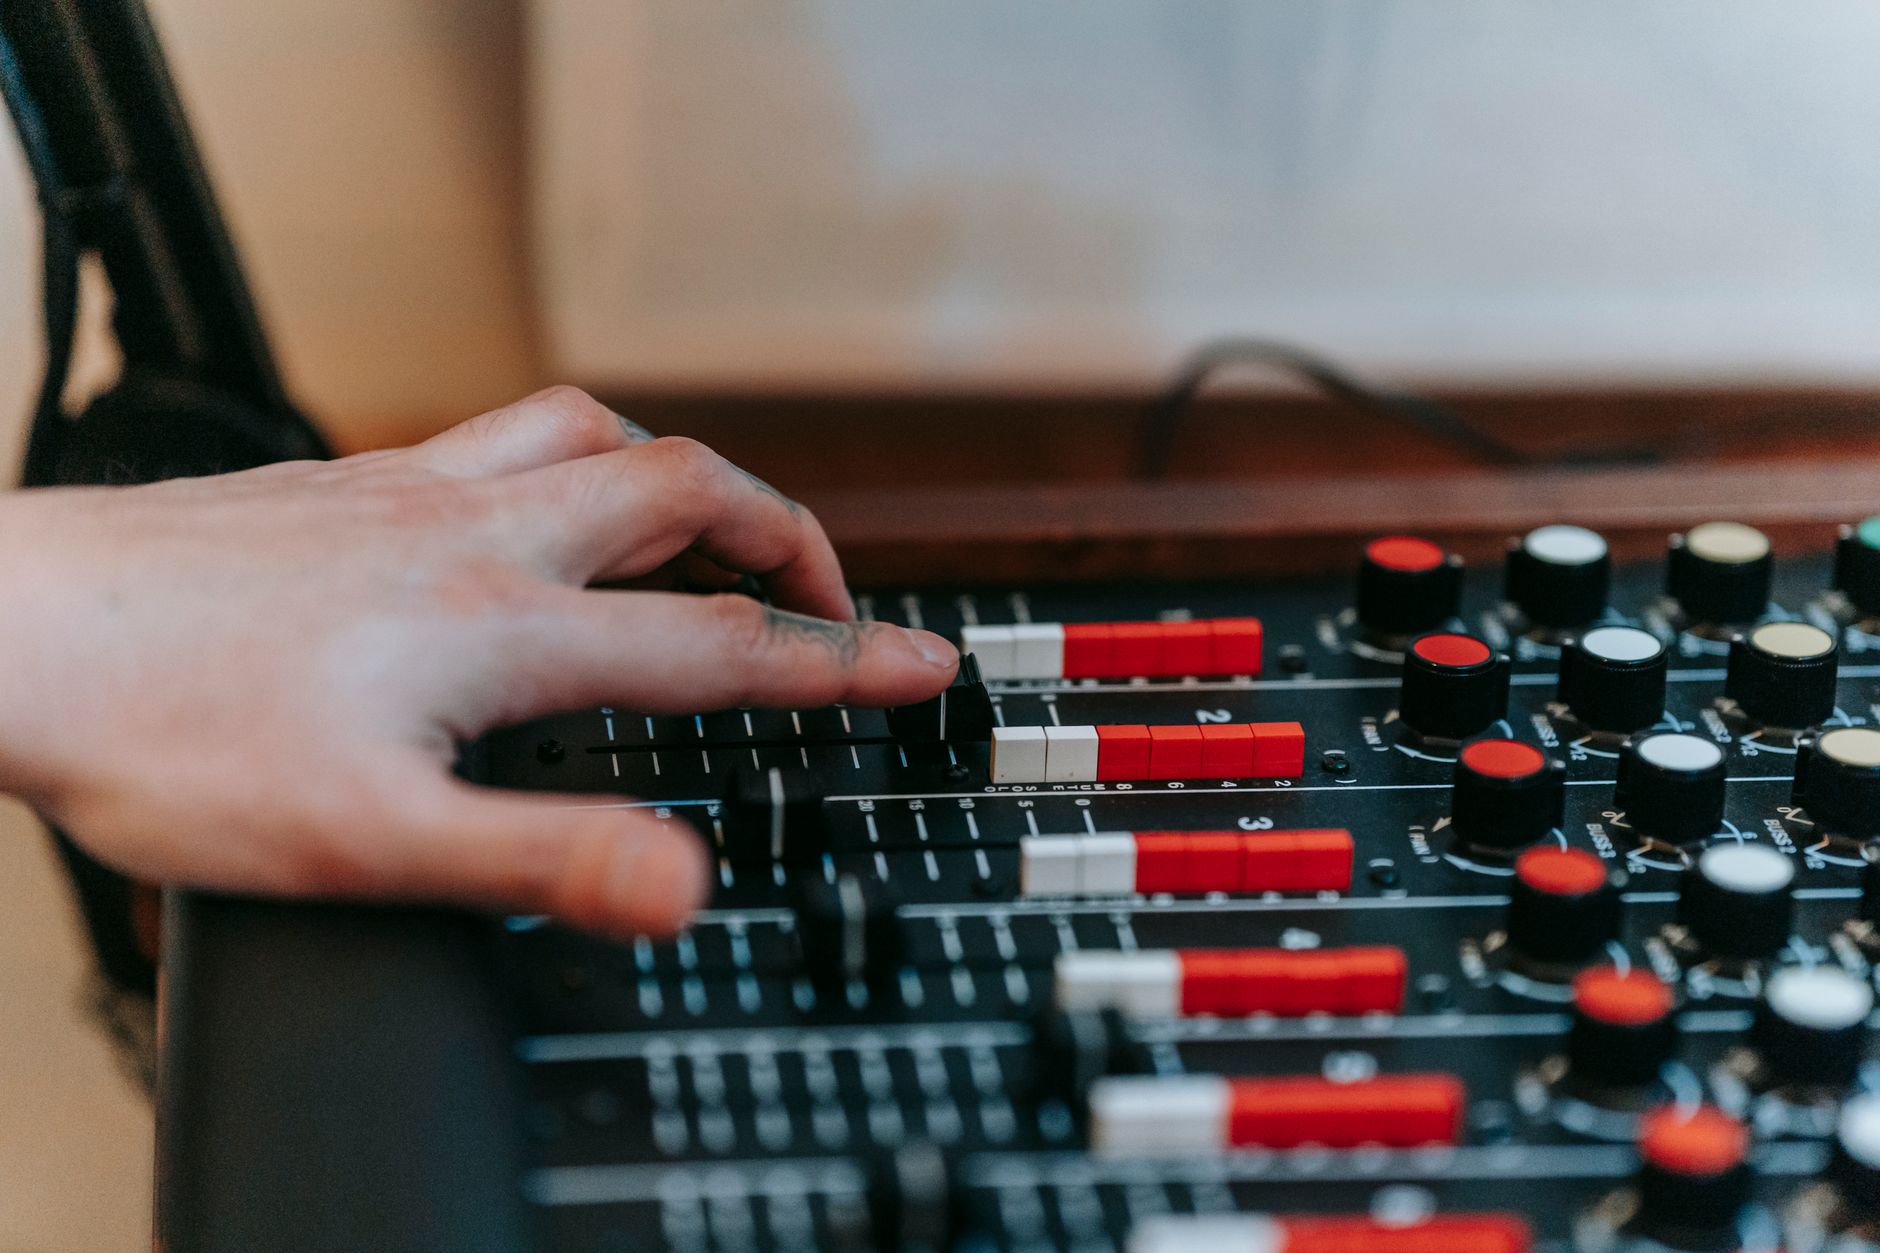 Photo: Anna Pou via Pexels
Headphones and Monitoring for Vocal Tracking
Closed-back headphones are required for the vocalist during tracking — open-back headphones bleed into the microphone. The Sony MDR-7506 has remained a studio standard for decades based on documented flat response and isolation. The beyerdynamic DT 770 Pro offers slightly better low-end extension at similar price points.
For playback and mixing after tracking, open-back headphones or nearfield studio monitors reveal mixes more accurately. The Yamaha HS5 is a widely-used reference monitor at the entry-mid level.
DAW Selection for Vocal Recording
| DAW | Price | Vocal Comping | Best For |
|---|---|---|---|
| GarageBand | Free (Mac) | Basic | Beginners, iPhone/Mac integration |
| Reaper | $60 personal | Excellent | Budget-conscious, highly customizable |
| Logic Pro | $199.99 (Mac) | Excellent | Mac users wanting full production suite |
| Ableton Live Standard | $449 | Good | Producers who also perform live |
| Pro Tools | $399/yr subscription | Industry-standard | Professional workflow, session compatibility |
For vocal recording specifically, Logic Pro and Reaper both offer superior comping workflows compared to GarageBand. Reaper’s take lane system is particularly efficient for multi-take vocal sessions.
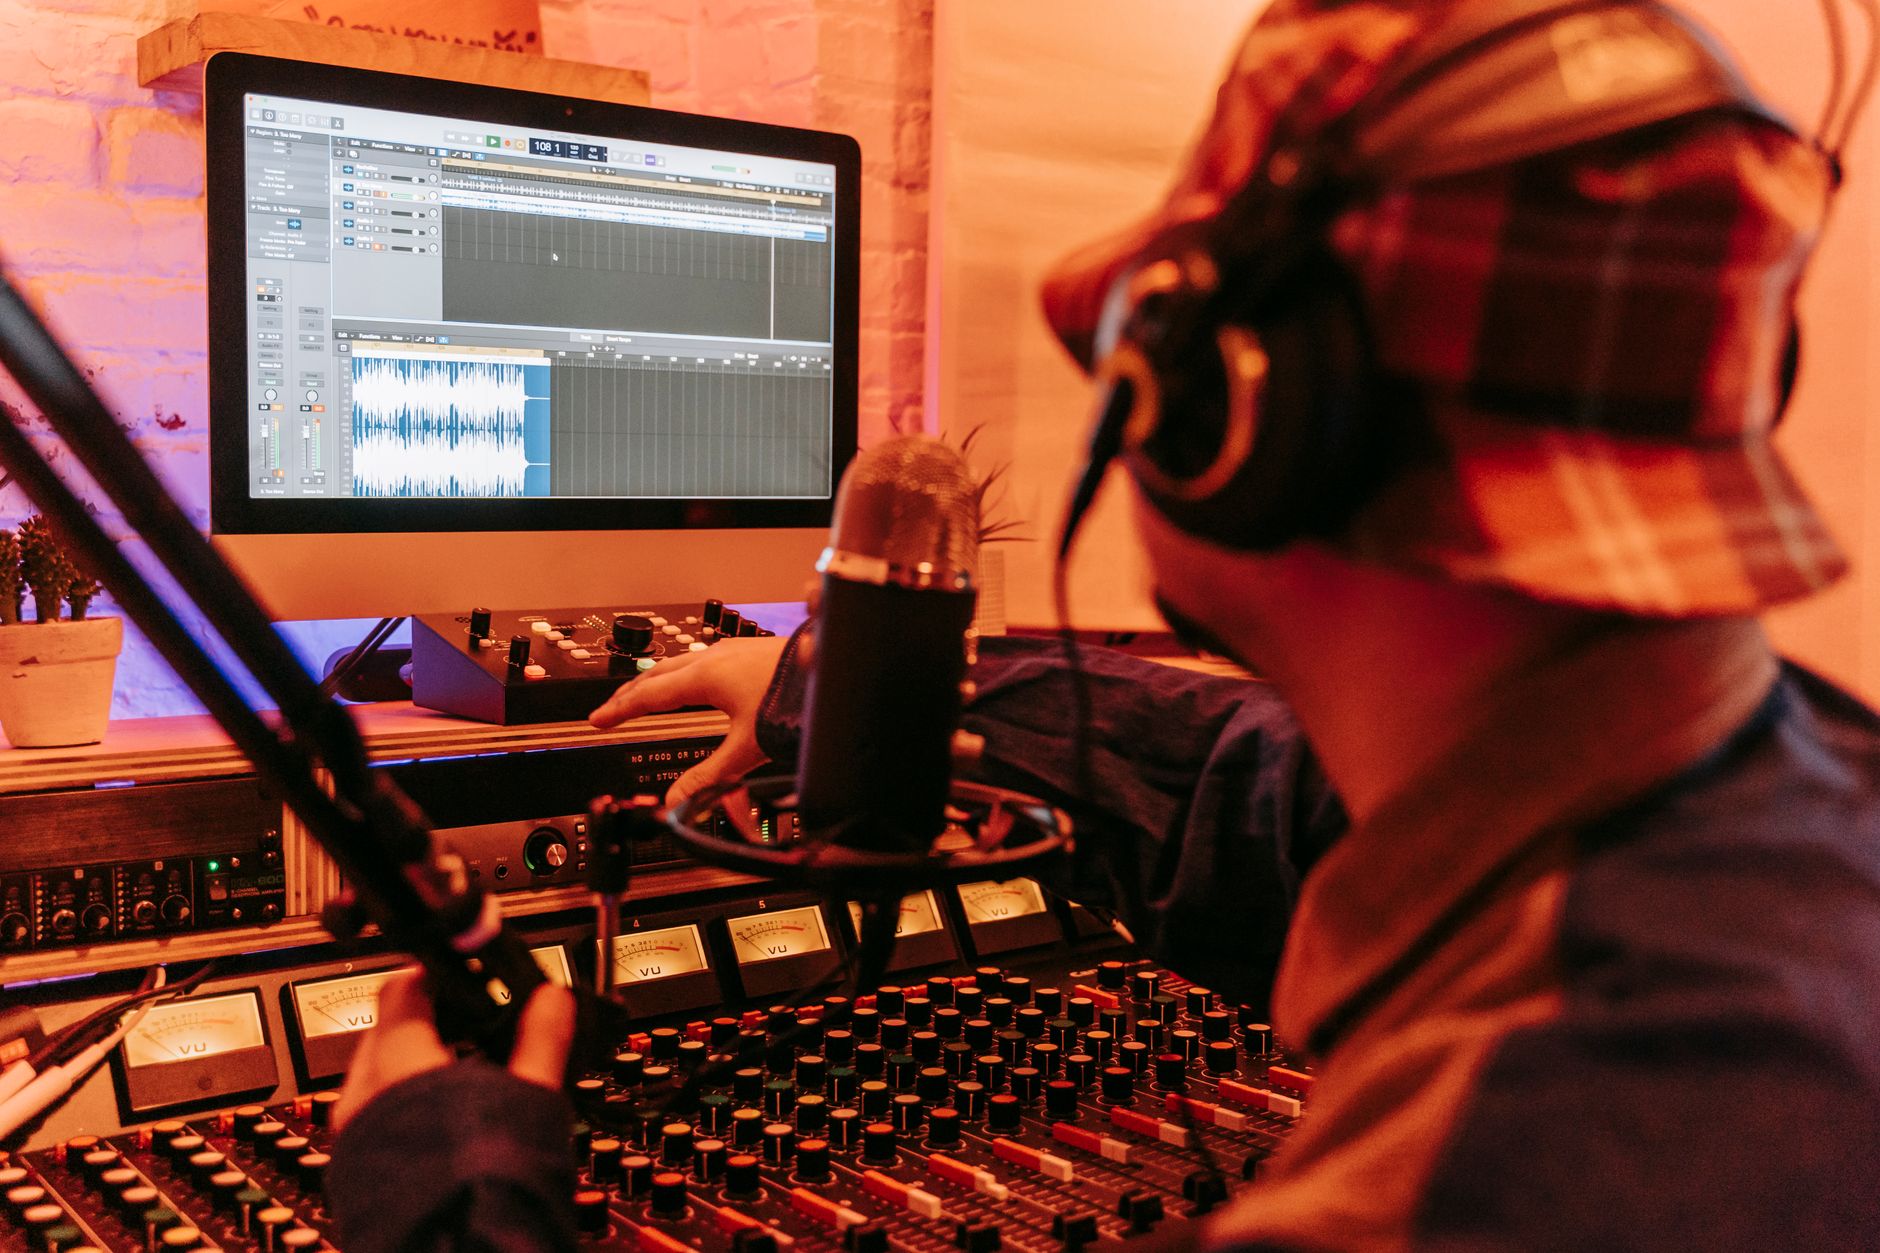 Photo: Anna Pou via Pexels
→ See also:
- The Complete Home Recording Studio Setup Guide (2026)
- How to Build a Home Studio for $500 (2026)
- How to Build a Home Studio for $300 (2026)
FAQ
What’s the minimum budget for a home studio setup for vocals? You can get a functional home studio setup for vocals for around $200–250: an AT2020 or similar large-diaphragm condenser, a Focusrite Scarlett Solo, and a free DAW like GarageBand or the Reaper trial. Budget the same amount again for acoustic treatment materials and you’ll have a setup capable of professional-sounding results.
Do I need a vocal booth for home recording? No. A dedicated vocal booth improves isolation but isn’t necessary for quality recordings. Strategic acoustic treatment — absorption panels at first reflection points and a portable reflection filter — handles most room problems. Many commercially released albums were tracked in treated bedrooms without a booth.
Why does my recorded vocal sound hollow or boxy? That characteristic tone is almost always room reflections in the 200–400 Hz range bouncing off parallel walls and landing on the microphone. Adding absorption panels at the side walls and behind the vocalist removes the reflective surfaces contributing to that buildup. Positioning the vocalist away from walls helps too.
Should I record vocals with compression? Recording without compression on the track is generally safer — apply it in the mix. The exception is a very light hardware compressor or the preamp compression on an interface like the UA Volt 276, which can tame transient peaks before they clip. If you do compress while tracking, use a gentle setting (4:1 ratio, slow attack) so you don’t print a sound that’s hard to reverse.
What’s the correct microphone distance for vocal recording? Six to eight inches is the standard starting point. Closer positioning increases proximity effect — a low-frequency bass boost that can muddy the tone. Farther away picks up more room sound. With a pop filter two to three inches in front of the capsule, the vocalist naturally sits at the right distance. Adjust based on the singer’s volume and the mic’s character.
Does microphone polar pattern matter for home vocals? Yes — cardioid is the right choice for untreated or semi-treated rooms. It rejects sound from the rear 180 degrees, which means wall reflections directly behind the mic have less impact on the recorded signal. Omnidirectional patterns pick up equally from all directions and require more comprehensive room treatment to sound clean.
Editorial methodology: Assessments are based on manufacturer specifications, published user reviews, and editorial research. Physical hands-on testing is noted explicitly where it occurred. Rankings reflect our editorial judgment and are not influenced by affiliate commission rates. Full editorial policy · Affiliate disclosure