Contents
Home Studio Setup for Singer-Songwriters (2026)
TL;DR: A home studio setup for singer-songwriters doesn’t require a rack full of gear. You need a USB audio interface, a large-diaphragm condenser mic, studio headphones, and a DAW. Budget $300–$600 and you can track professional-quality demos and release-ready recordings from any quiet room.
What Every Singer-Songwriter Actually Needs
The core home studio setup for singer-songwriter work is four things: audio interface, microphone, headphones, and DAW. Everything else is optional until you’ve outgrown these. Acoustic treatment helps, but a well-positioned mic in a carpeted room with soft furnishings gets you 80% of the way there before you spend a cent on foam panels.
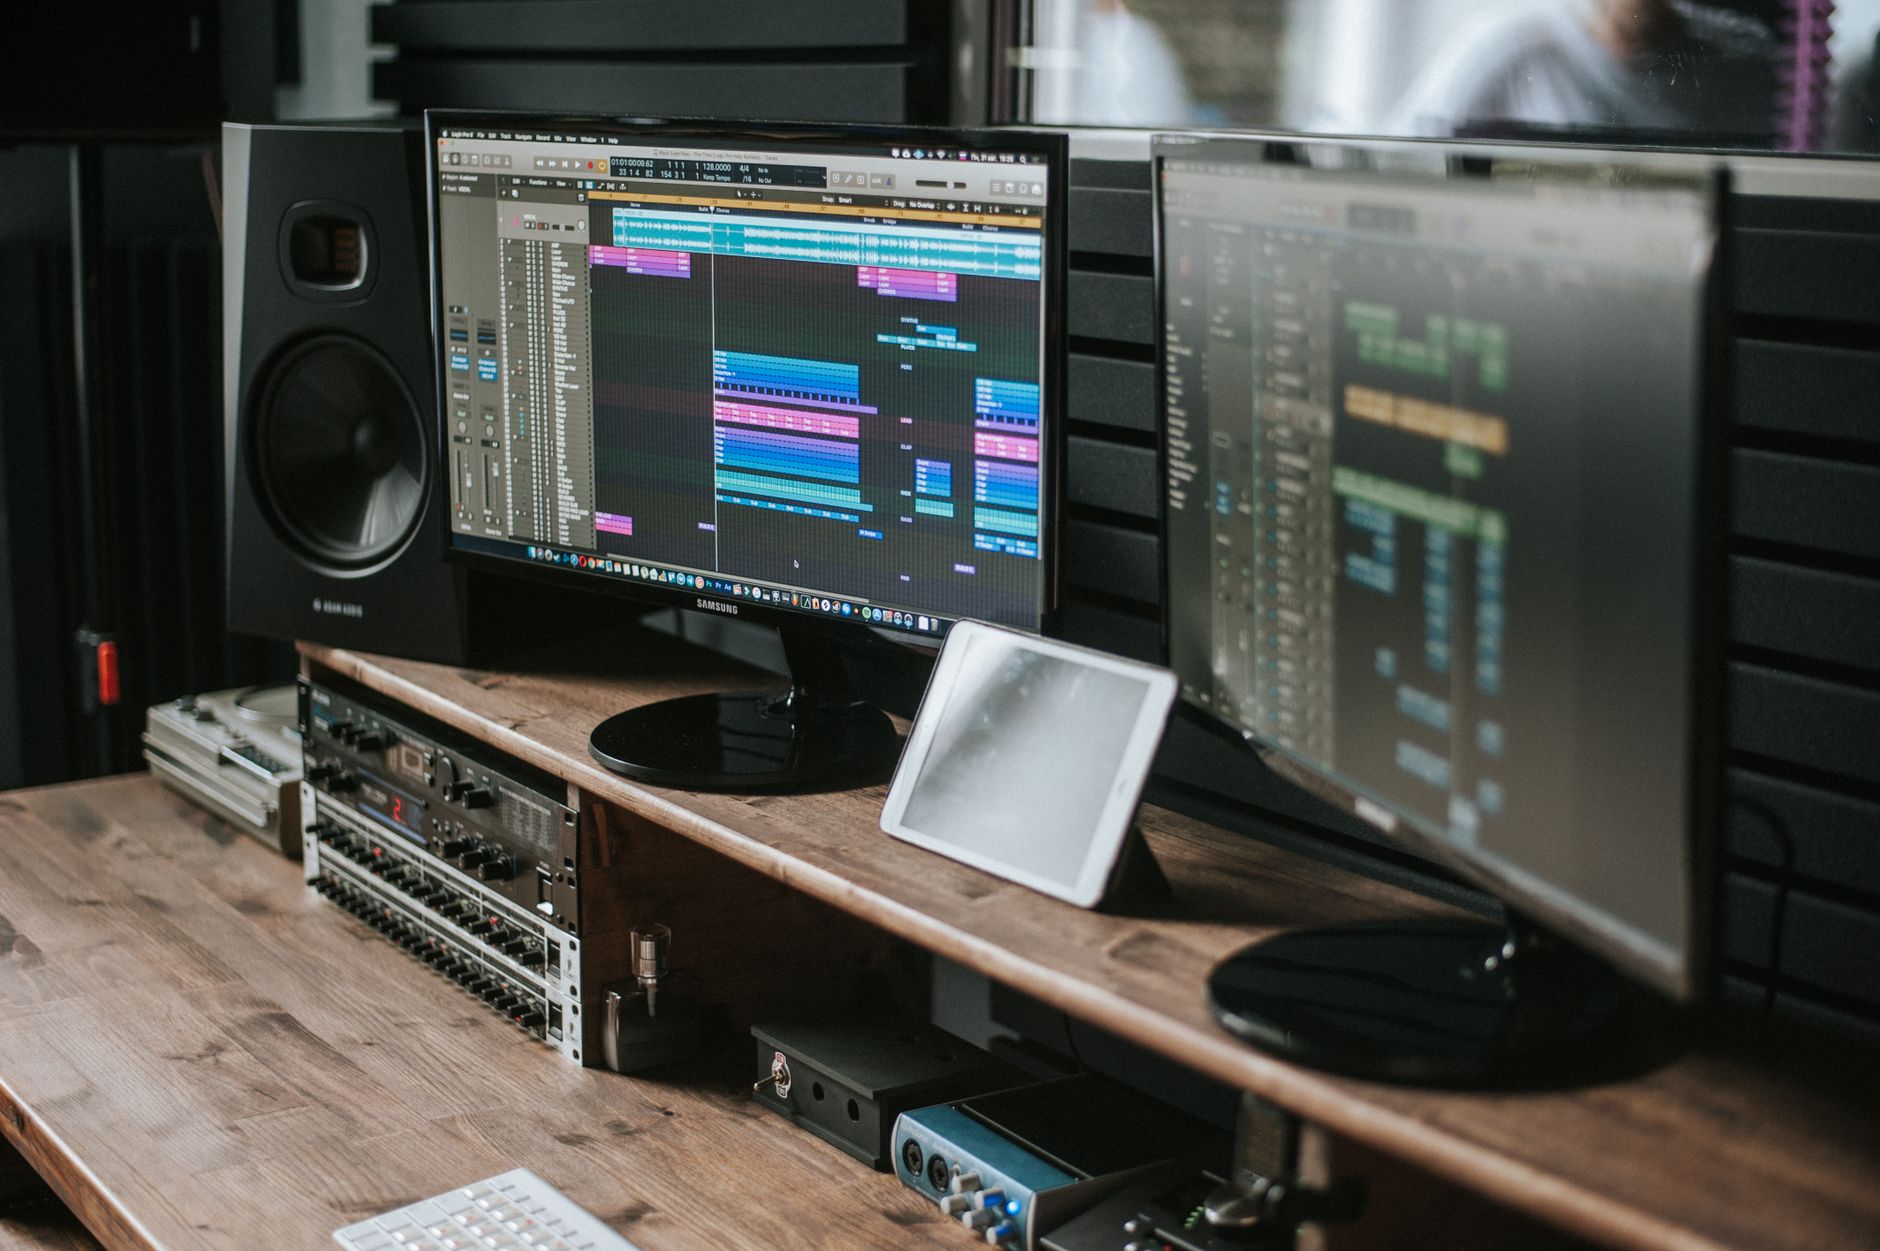 Photo: John Taran via Pexels
The goal here is signal chain clarity — clean gain from source to digital. A $150 interface with a good mic pre will serve you better than a $500 interface paired with a $30 dynamic mic you bought for live gigs.
The Non-Negotiables
| Component | Entry Pick | Step-Up Pick | Why It Matters |
|---|---|---|---|
| Audio Interface | Focusrite Scarlett Solo | Focusrite Scarlett 2i2 | Converts analog signal to digital; mic preamp quality lives here |
| Microphone | Audio-Technica AT2020 | Rode NT1 | Large-diaphragm condenser captures voice and acoustic guitar with detail |
| Headphones | Sony MDR-7506 | Beyerdynamic DT 770 Pro | Closed-back for tracking; don’t bleed into mic |
| DAW | GarageBand (free/Mac) | Reaper ($60) | Where you record, edit, and mix |
Choosing Your Audio Interface
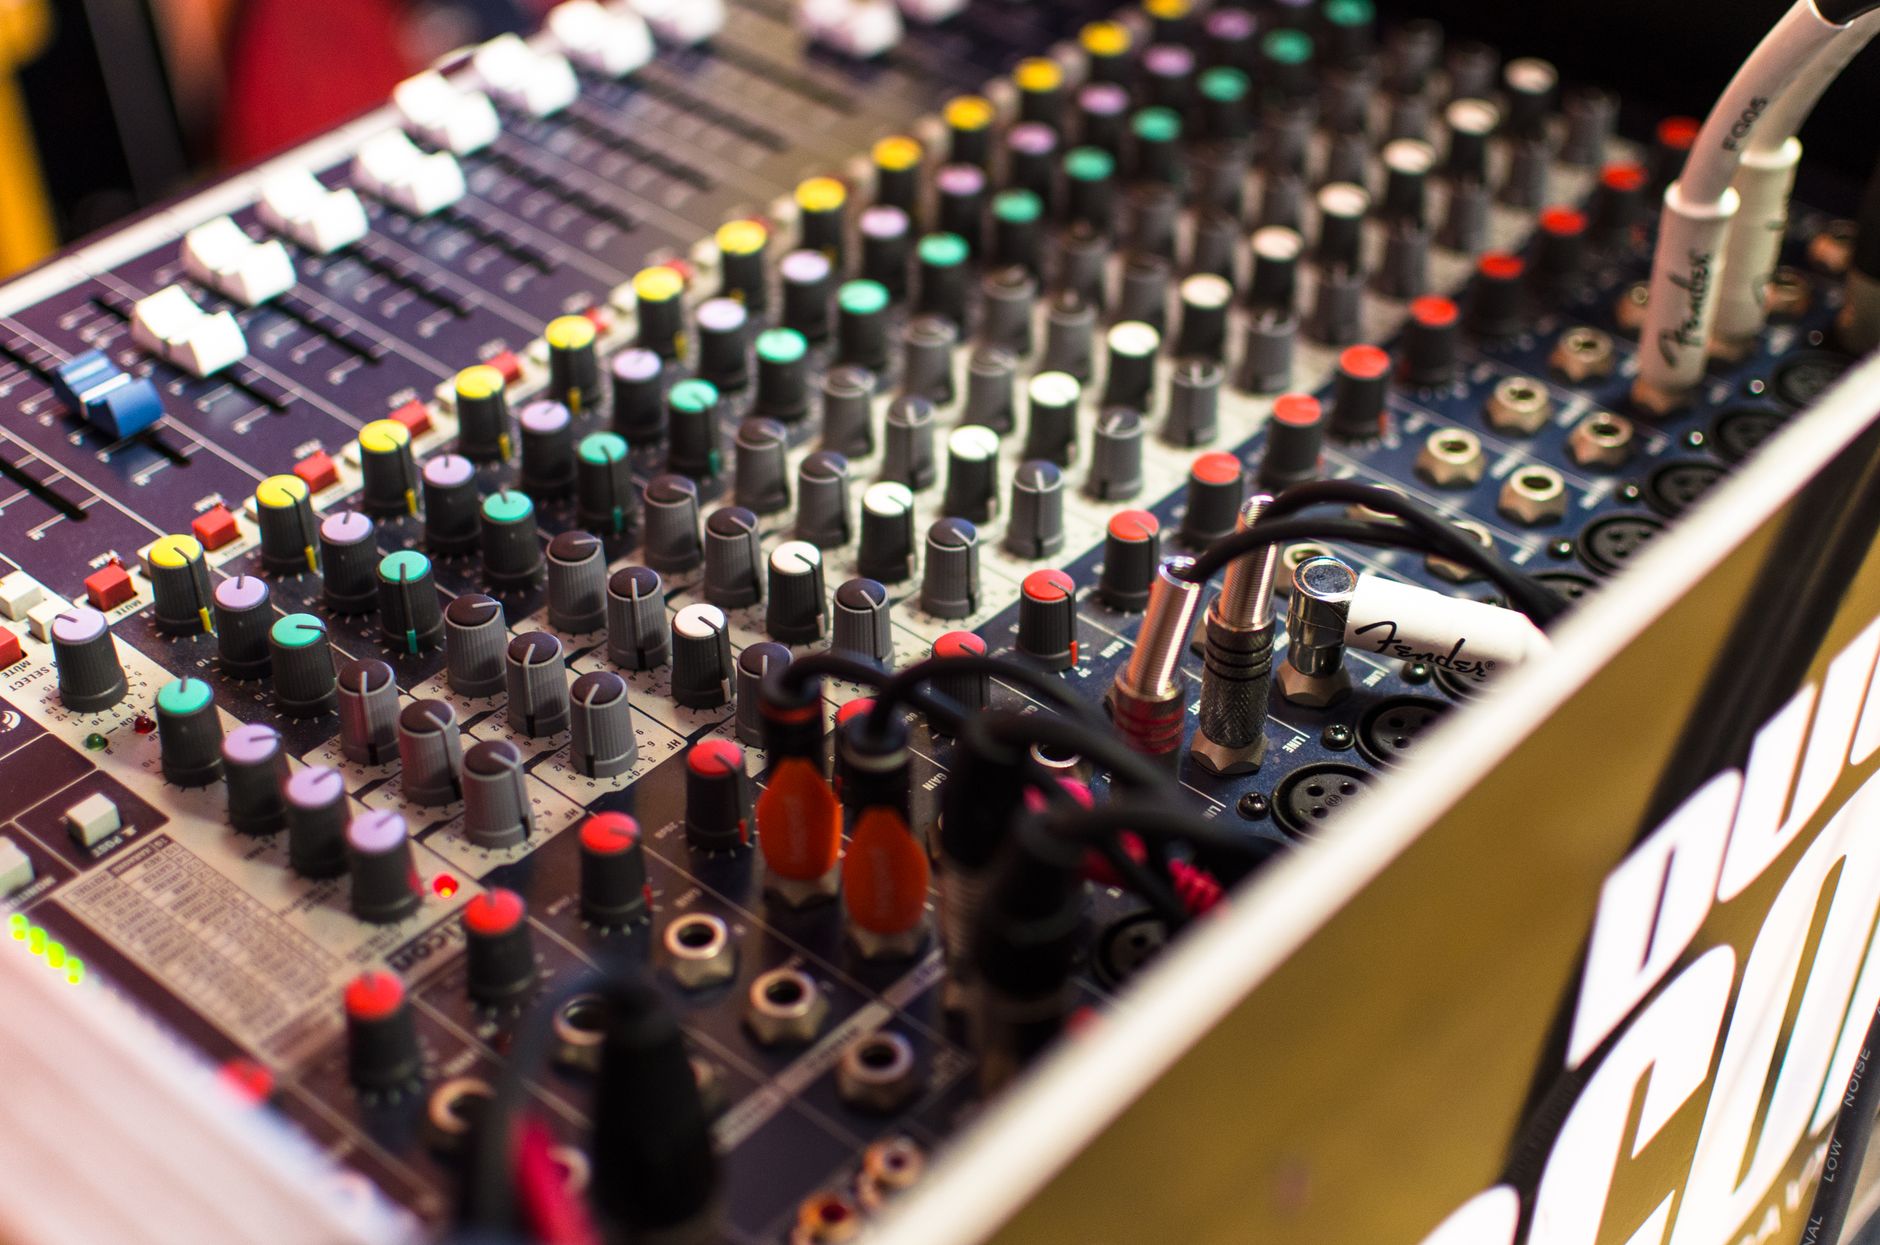
An audio interface is your studio’s front door — everything passes through it. For solo singer-songwriter work, a single-channel (Solo) or two-channel (2i2) USB interface is all you need. The Focusrite Scarlett Solo handles one mic and one instrument input simultaneously, which covers acoustic guitar DI + vocal in a single pass if needed.
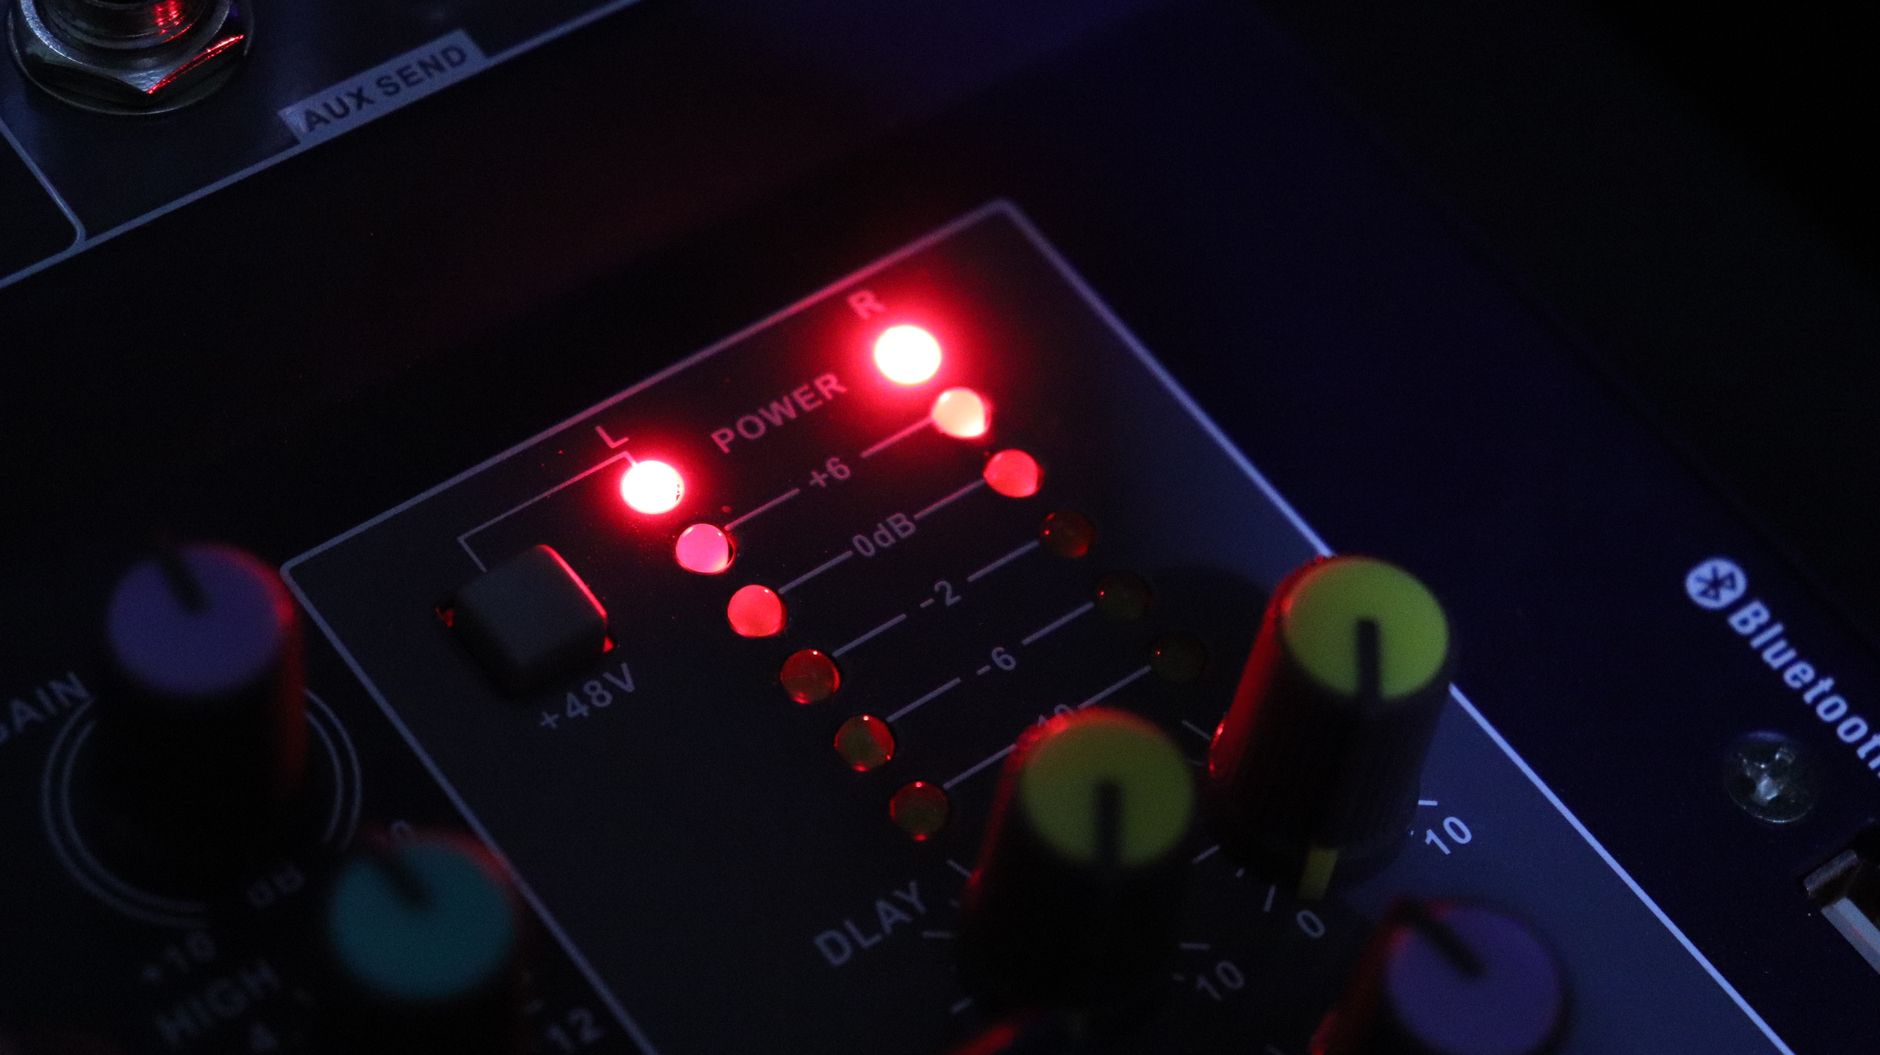 Photo: Oliver Provenance via Pexels
The Scarlett 2i2 adds a second mic pre — useful if you ever want to mic an acoustic guitar while singing live, or track with a room mic alongside a close mic. For most singer-songwriters starting out, the Solo is the smarter buy: lower cost, identical preamp quality per channel.
What to Look for in an Interface
- Phantom power (+48V): Required for condenser mics. Every modern interface has it; just confirm before buying.
- Direct monitoring: Lets you hear yourself through the interface with zero latency while recording. Critical for confident vocal takes.
- USB bus-powered: No separate power brick. Simplifies your desk.
- Sample rate: 48kHz/24-bit is the floor for professional work. 96kHz is nice but not necessary.
Picking the Right Microphone
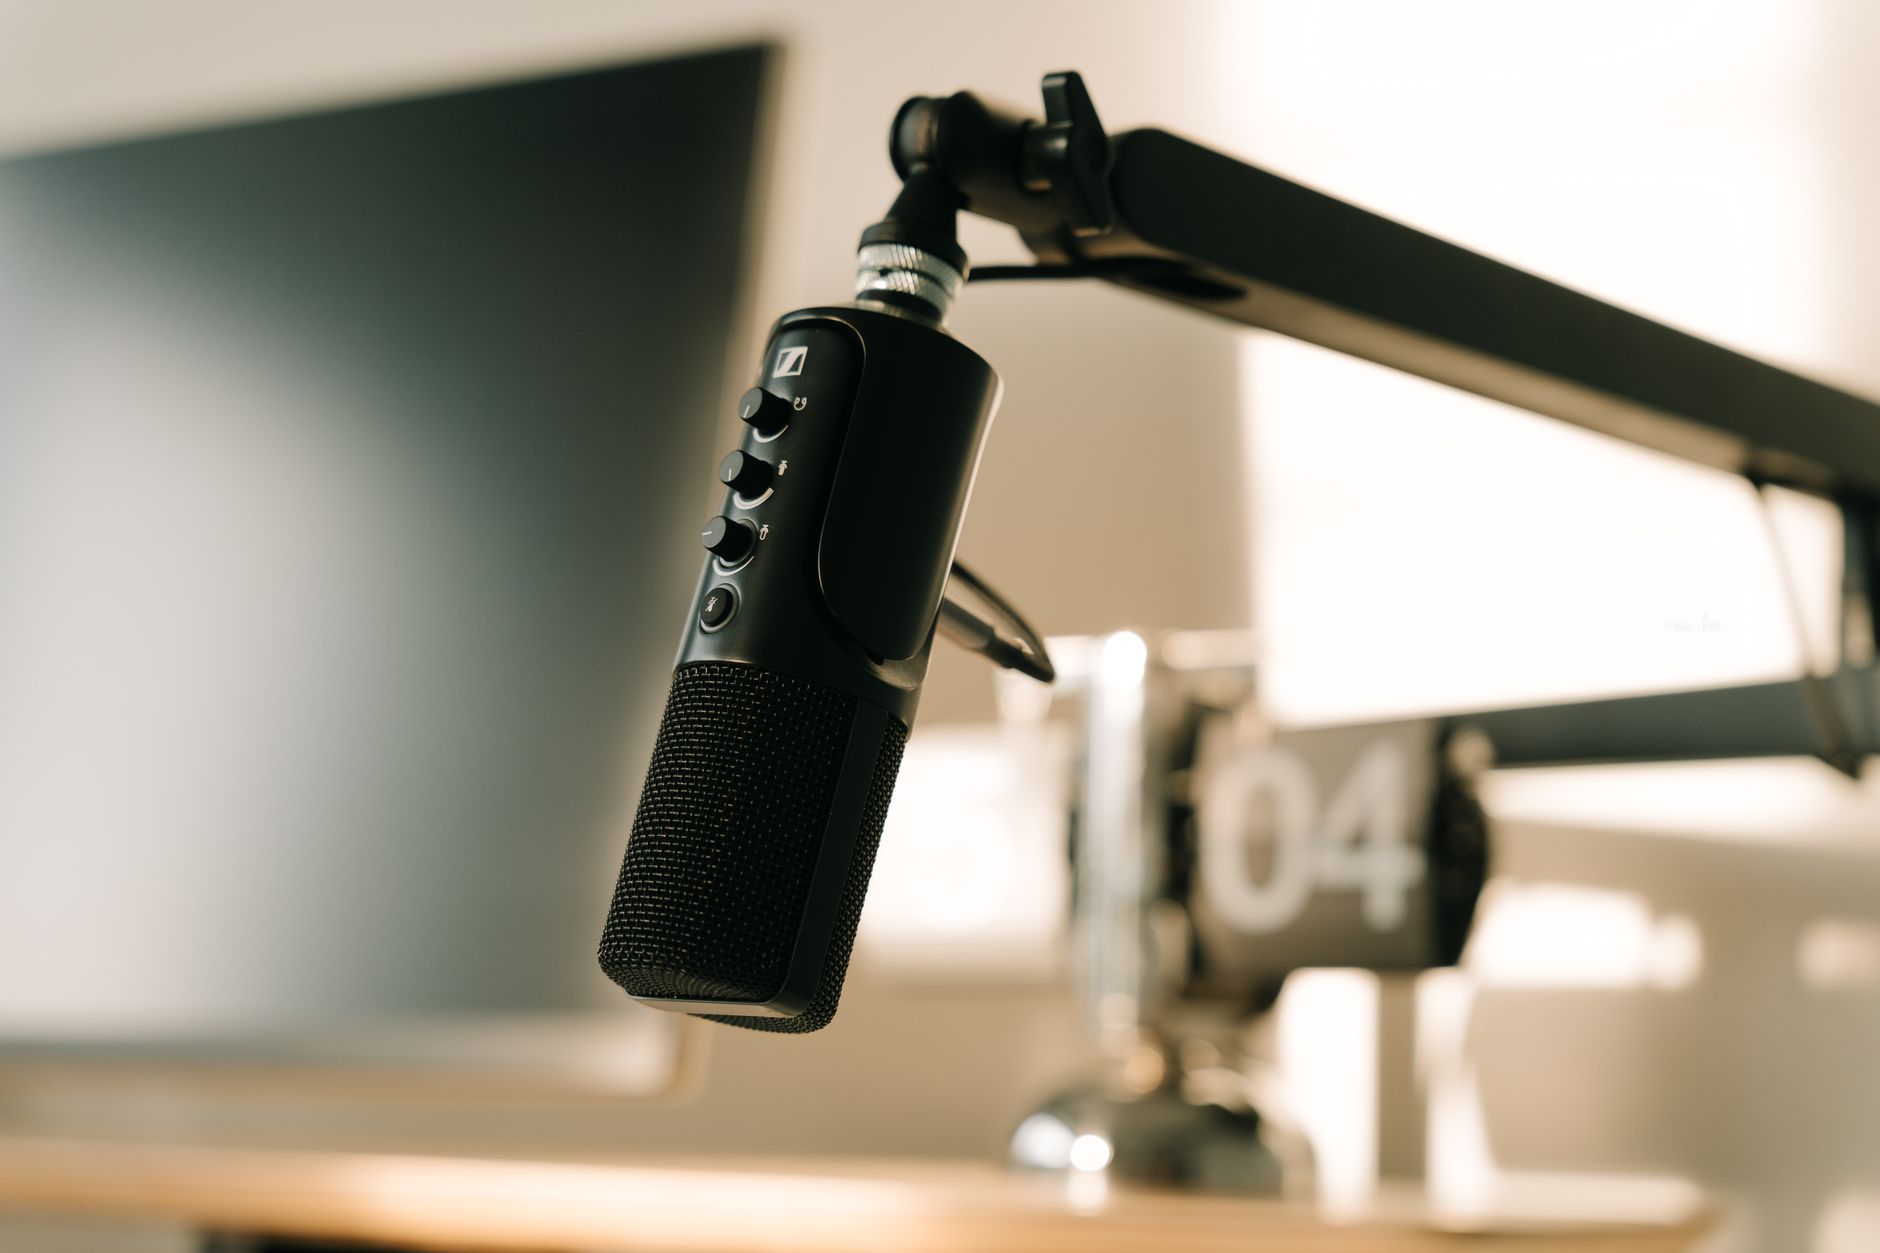
For vocals and acoustic guitar, a large-diaphragm condenser is the standard choice — it captures the full harmonic range of both sources with sensitivity that small-diaphragm and dynamic mics can’t match in a quiet room. The Audio-Technica AT2020 consistently appears in published reviews and beginner studio guides as the benchmark value mic at its price point.
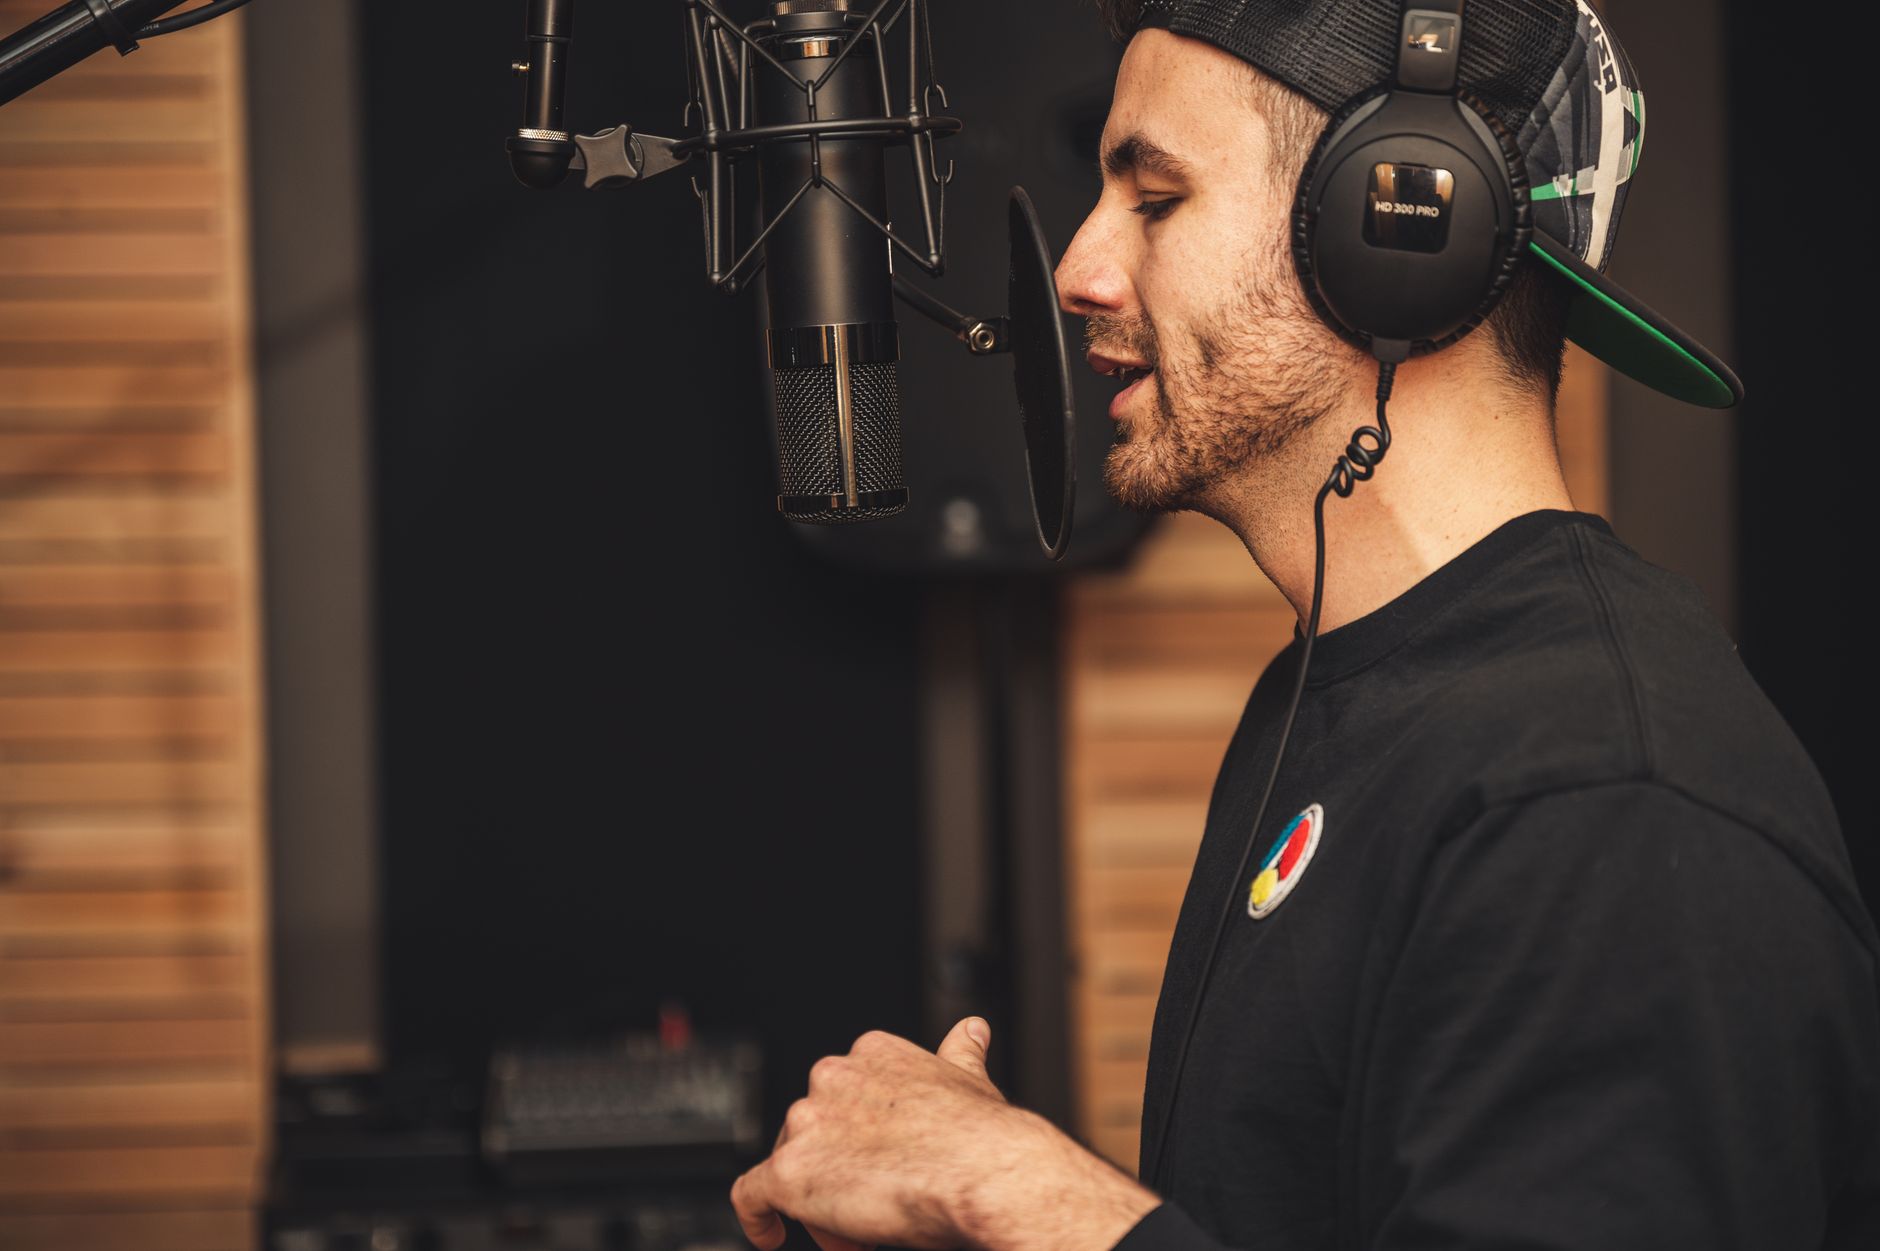 Photo: Brett Sayles via Pexels
The Rode NT1 is the step-up that working singer-songwriters gravitate toward — its self-noise floor (4.5 dB-A, per manufacturer specifications) is among the lowest of any affordable condenser, which matters when you’re recording quiet fingerpicked passages or close-mic’d voice.
Mic Placement for Singer-Songwriters
The most common mistake is putting the mic directly in front of your mouth. For combined voice-and-acoustic-guitar recording:
- Position the mic 6–8 inches from your mouth, angled 15° off-axis to reduce plosives
- Point it at the 12th fret area of the guitar if tracking both simultaneously — the guitar’s fullest tone sits between the soundhole and the neck joint
- Use a pop filter at 4–6 inches from the mic capsule; a cheap mesh one works as well as an expensive metal one
If tracking vocals and guitar separately (recommended for more mix control):
- Vocals: mic at lip height, 6–10 inches back, slight downward angle
- Acoustic guitar: SM57 or small-diaphragm condenser at the 12th fret, 8–12 inches back, angled toward the soundhole for warmth
Headphones, Monitors, and Acoustic Treatment
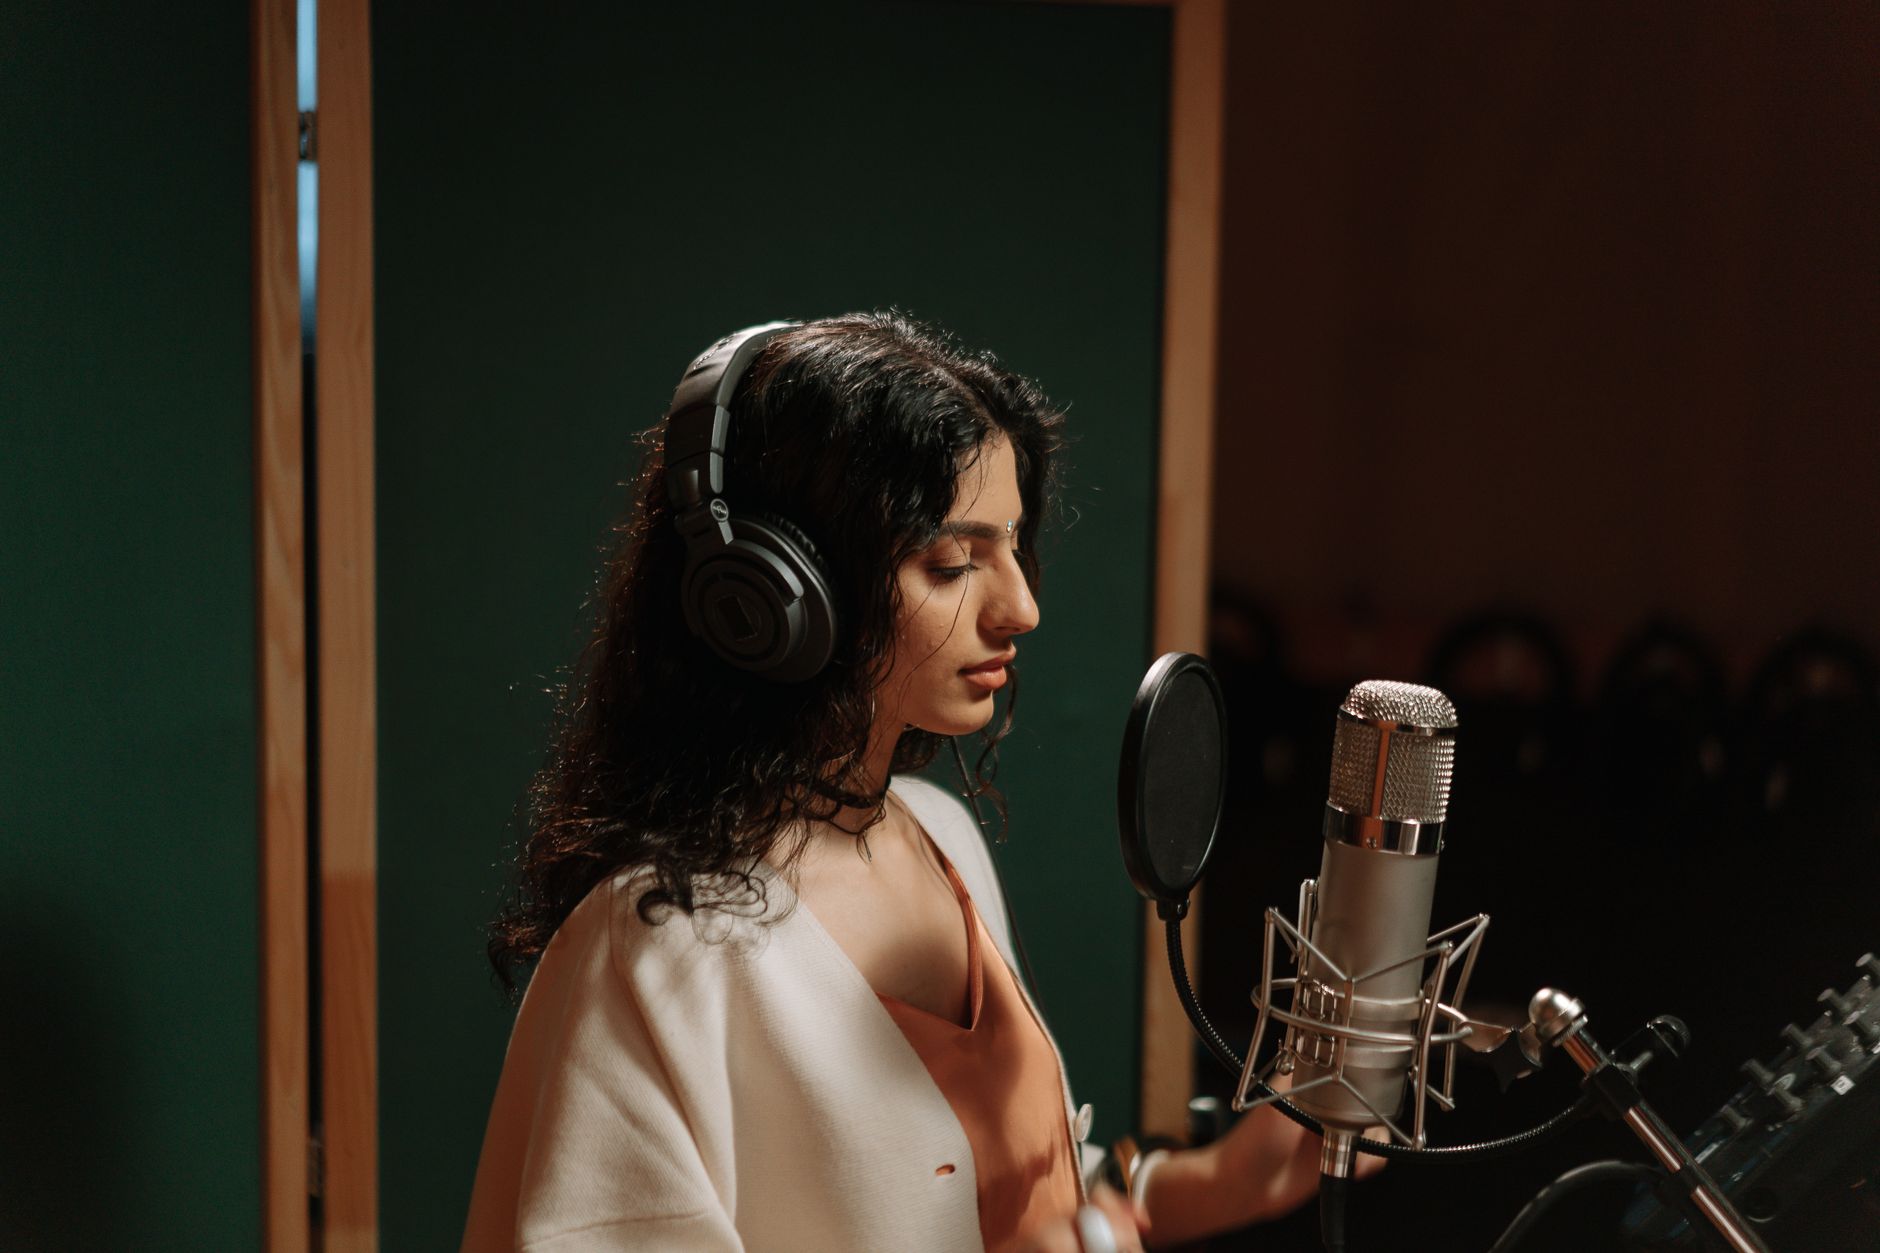
Close-back headphones are the right tool for tracking; open-back headphones are better for mixing. Studio monitors are ideal for final mix decisions but require acoustic treatment to be useful — in an untreated room, headphones give you more accurate results. Start with a closed-back set and add monitors later.
The Sony MDR-7506 has been a studio standard for decades — published audio engineering guides consistently cite its flat frequency response and durability. The Beyerdynamic DT 770 Pro offers a slightly wider soundstage and is preferred by engineers who do long mixing sessions.
Budget Acoustic Treatment
Before buying foam panels, address these first — they cost nothing:
- Record in a room with carpet, soft furniture, and curtains. Hard-walled rooms with tile floors are your enemy.
- Face a corner of the room when tracking vocals — corners absorb low-end reflections.
- Hang a heavy blanket on the wall directly behind your mic.
- Keep the mic away from the center of the room to avoid standing wave buildup.
If you want to invest: two broadband absorption panels (2“ rockwool or rigid fiberglass) flanking your mix position make a measurable difference. Foam egg-crate panels look good but do almost nothing for low-frequency issues.
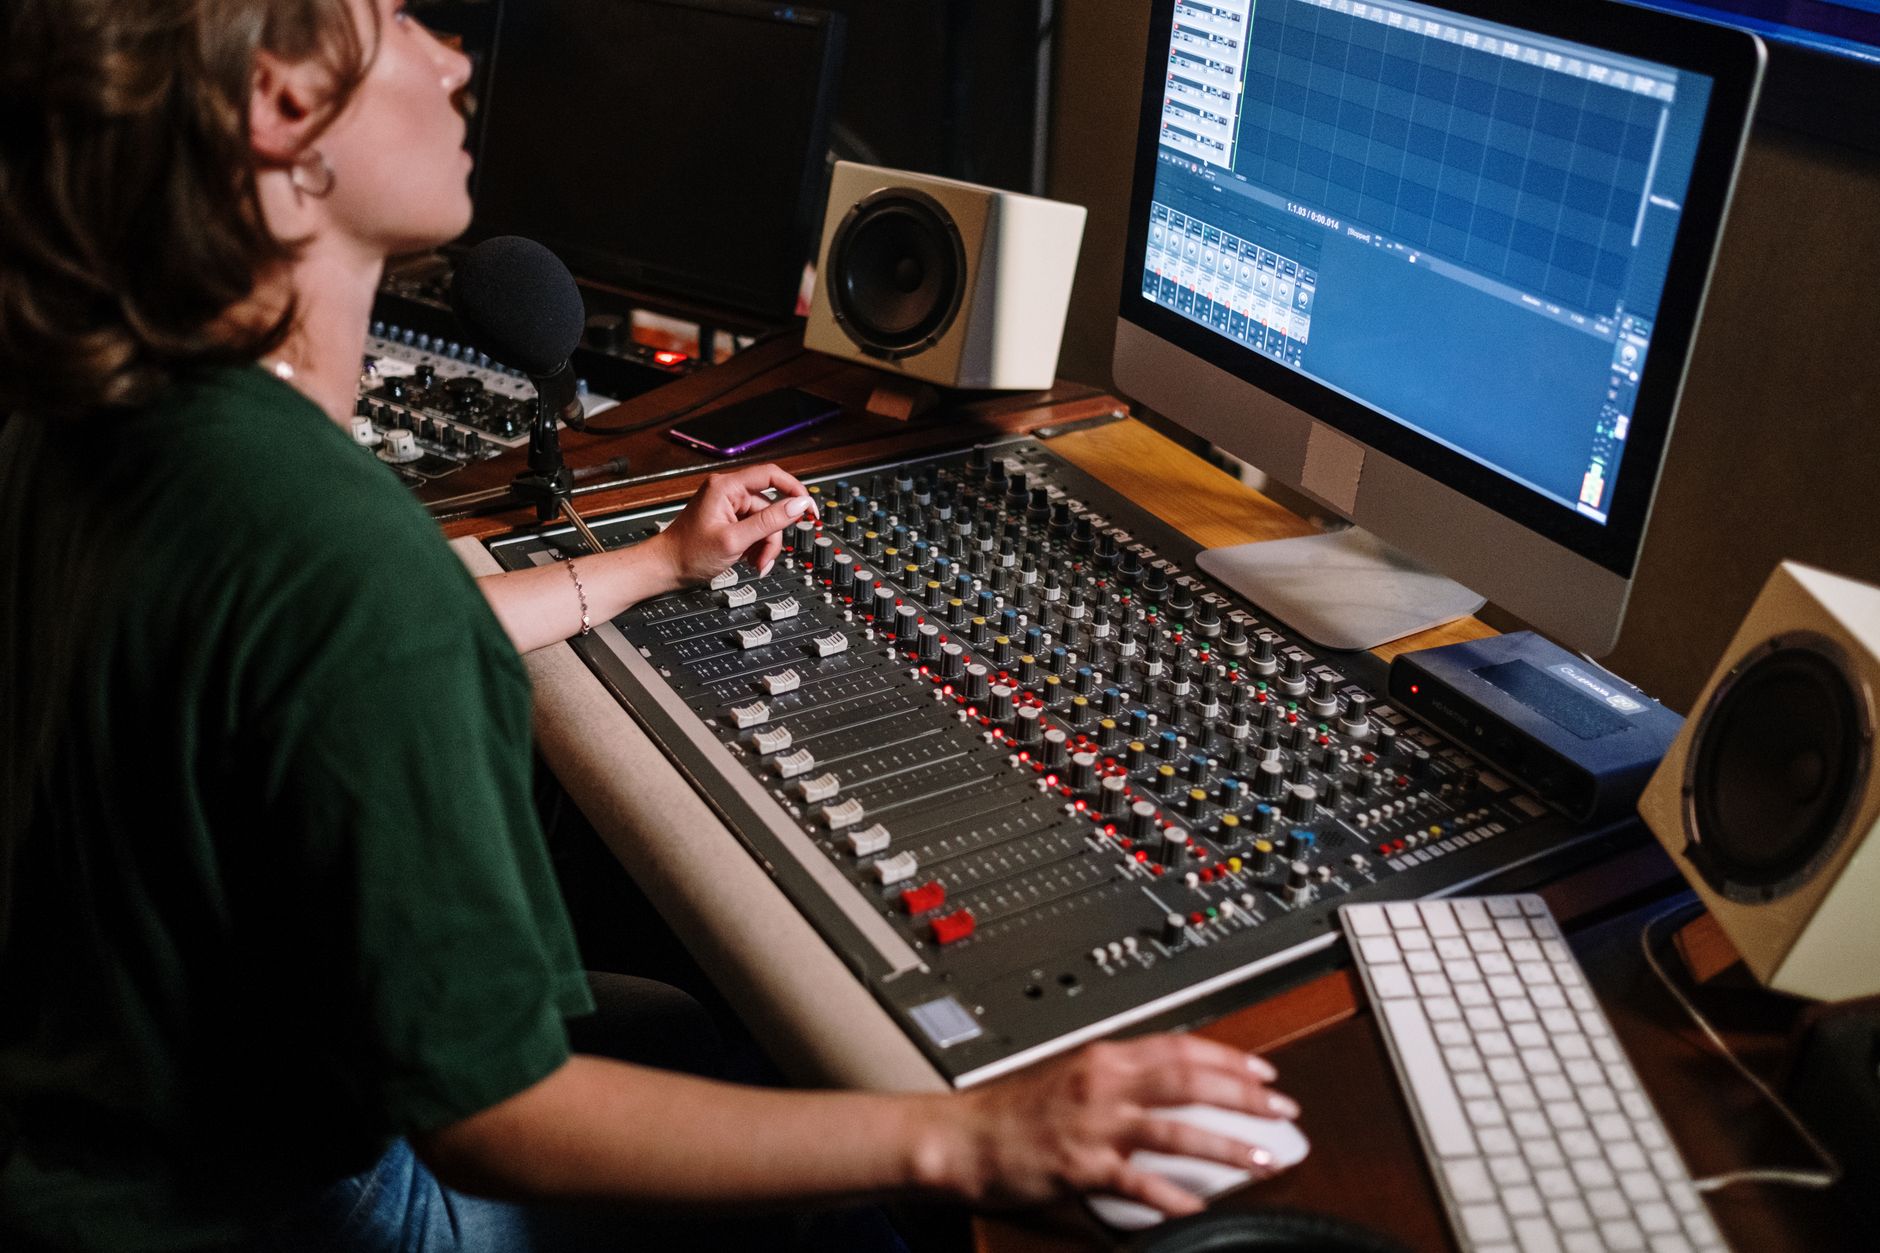 Photo: cottonbro studio via Pexels
DAW Selection for Singer-Songwriters
GarageBand is free on Mac and fully capable of release-quality recordings — there’s no sonic penalty for using it. If you’re on Windows or want more control, Reaper at $60 (discounted license) is the most cost-effective professional DAW available.
| DAW | Platform | Cost | Best For |
|---|---|---|---|
| GarageBand | Mac only | Free | Beginners, Apple ecosystem, quick demos |
| Reaper | Mac/Windows | $60 | Power users, customization, low CPU overhead |
| Logic Pro | Mac only | $199 | Full production, large plugin library |
| Ableton Live Intro | Mac/Windows | $99 | If you layer loops or produce electronic elements |
Most singer-songwriters don’t need more than GarageBand or Reaper. The DAW is not the limiting factor in your recordings — the room, the mic placement, and the performance are.
Complete Signal Chain and Recording Workflow
Signal Chain
Voice/Guitar → Microphone → XLR Cable → Audio Interface (Mic Pre + AD Converter) → USB → DAWGain staging notes:
- Set interface gain so your loudest singing peaks at −12 to −6 dBFS on the DAW meter
- Never let the signal clip at the interface — analog clipping is harsh and unrecoverable
- Record at 24-bit depth; the extra headroom means you don’t need to push levels hot
Step-by-Step Recording Workflow
- Set up your room. Close windows, turn off HVAC, silence your phone. Record in a dead room, not a live one.
- Connect your interface. USB into your computer; confirm it shows as the default audio device in your OS settings.
- Plug in the mic. XLR from mic to interface input 1. Enable phantom power if using a condenser.
- Put on headphones. Enable direct monitoring on the interface (usually a knob between “input” and “playback”). This gives you zero-latency monitoring.
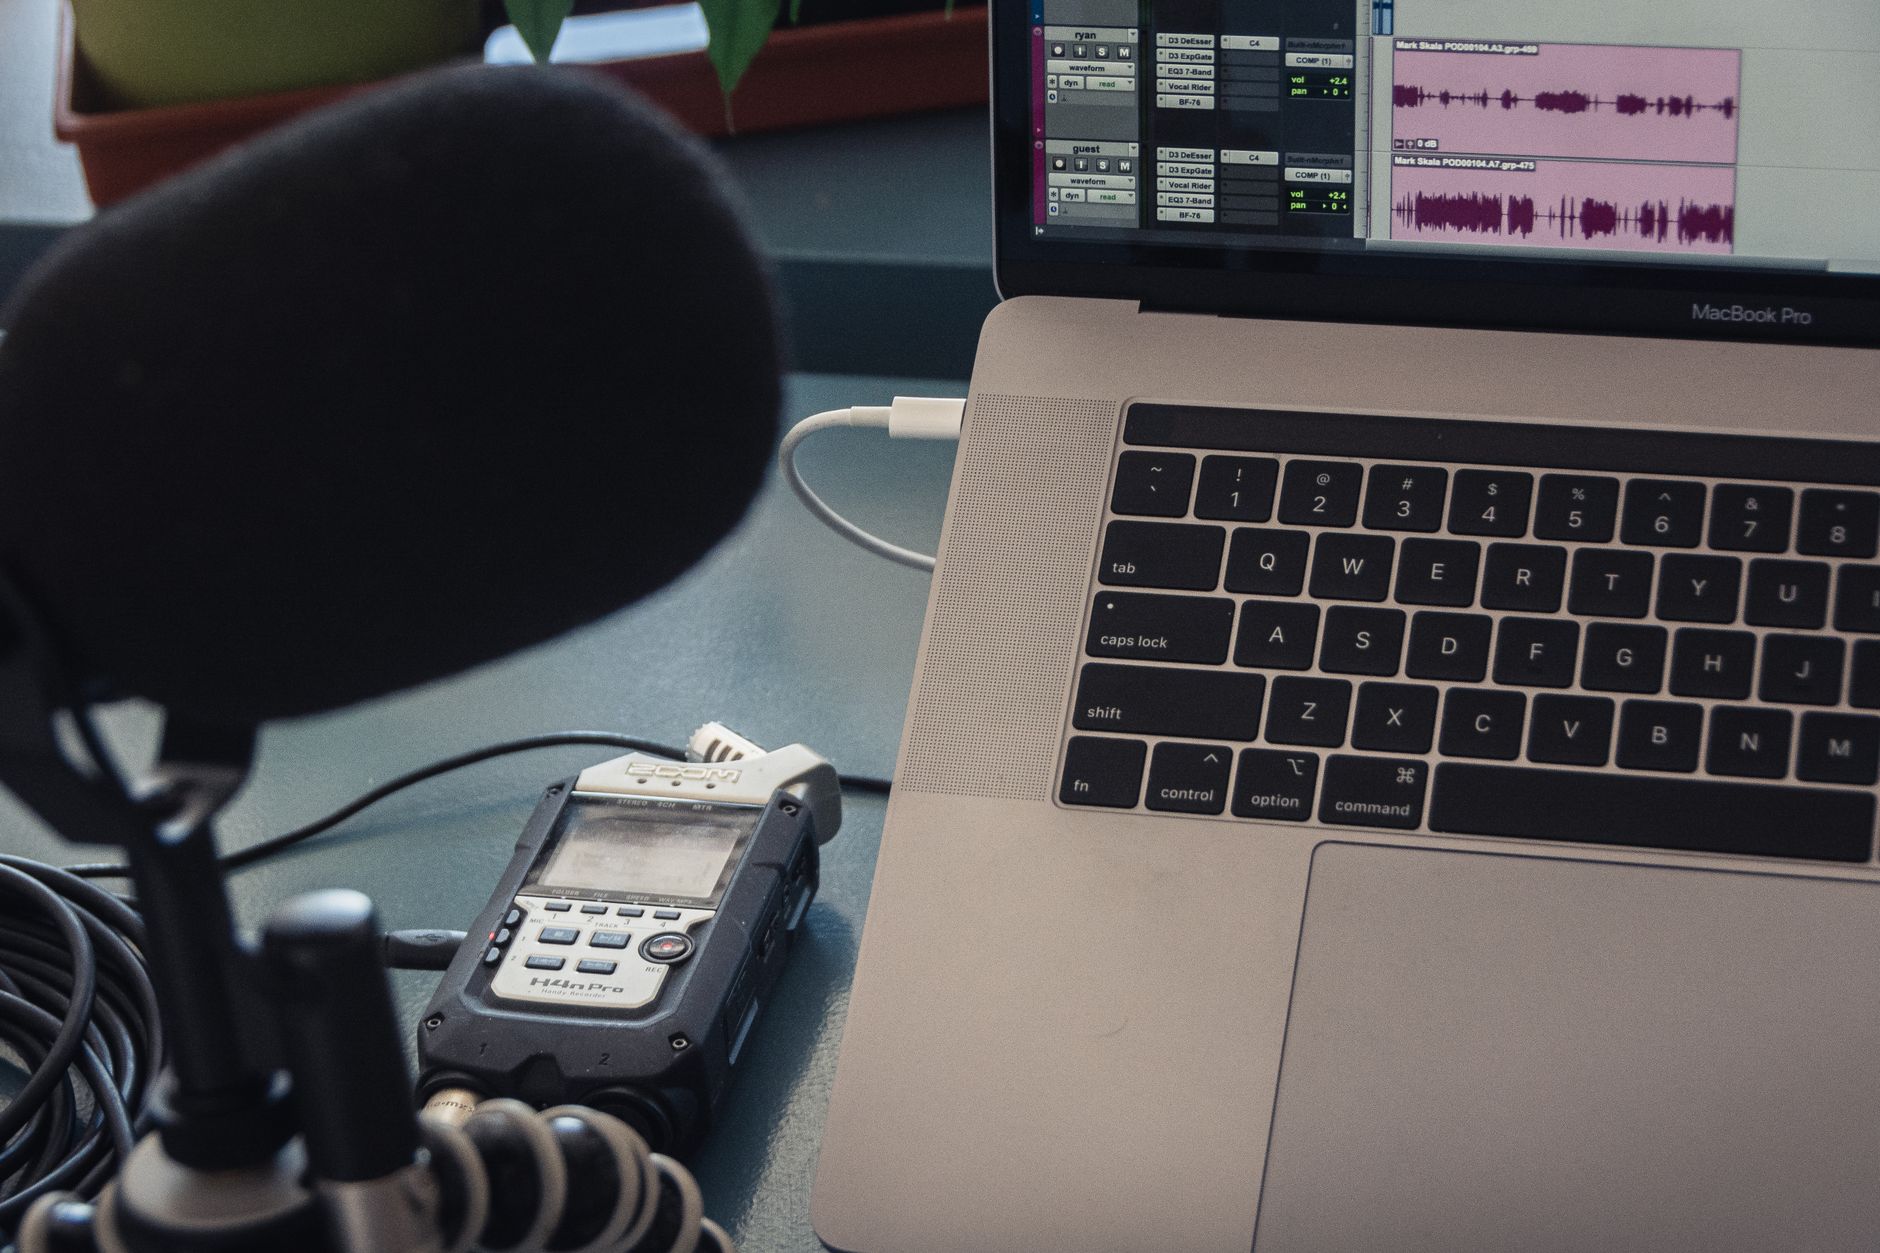
- Open your DAW. Create a new audio track, set input to Interface Channel 1, set sample rate to 48kHz/24-bit.
- Set gain. Sing at performance volume while watching the meter. Aim for peaks at −12 to −6 dBFS.
- Record a scratch take. Don’t aim for a keeper — get comfortable with headphone monitoring and your mic placement.
- Review and adjust. Listen back with headphones off. Is there room noise? Adjust mic placement if you’re hearing too much room.
- Record your keeper takes. Do at least 3 full passes. Comping from multiple takes is faster than chasing one perfect take.
- Export a rough mix. Stereo WAV at 48kHz/24-bit for reference.
Troubleshooting Matrix
| Symptom | Likely Cause | Fix |
|---|---|---|
| No signal in DAW | Wrong input selected, phantom power off, cable issue | Check input routing; toggle phantom power; swap cable |
| Loud hum/buzz (60Hz) | Ground loop between interface and laptop charger | Unplug laptop charger while recording; use a different outlet |
| Harsh digital clipping | Gain set too high | Pull interface gain knob back until peaks stay below −6 dBFS |
| Hollow, roomy sound | Recording in hard-walled room with no treatment | Face a corner; add soft furnishings; hang blankets |
| Latency monitoring through DAW | Buffer size too high in DAW | Switch to direct monitoring on the interface; or reduce buffer to 64–128 samples |
| Thin vocal, no low end | Mic too far back, no proximity effect | Move mic to 6 inches; angle slightly downward |
→ See also:
- The Complete Home Recording Studio Setup Guide (2026)
- How to Build a Home Studio for $500 (2026)
- How to Build a Home Studio for $300 (2026)
FAQ
Do I need studio monitors or can I mix on headphones? You can mix entirely on headphones, especially with a closed-back or semi-open set with a flat response. Expert consensus suggests checking mixes on multiple playback systems (earbuds, car speakers, phone speaker) before finalizing — headphone-only mixes sometimes lack low-end accuracy that translates poorly to speakers.
What’s the minimum I need to spend to get a professional-sounding home studio? Based on current retail pricing, a Focusrite Scarlett Solo, Audio-Technica AT2020, and Sony MDR-7506 run about $280–$320 together. Add GarageBand (free on Mac) and you have a complete, professional-grade tracking rig. The limiting factor at that budget is room acoustics, not the gear.
Should I record vocals and acoustic guitar at the same time or separately? Separately, unless you’re chasing a live-in-the-room sound. Tracking them separately gives you independent control over levels, EQ, and reverb in the mix. It’s slower but gives better results for polished recordings. Live-together works well for demos and for artists whose vocal and guitar performance are deeply linked in feel.
Do I need a pop filter? Yes. Plosive transients (B, P, hard K sounds) cause low-frequency spikes that are difficult to fix in post. A basic nylon mesh pop filter costs under $15 and eliminates the problem at the source. Position it 4–6 inches from the mic capsule.
Is GarageBand good enough for professional releases? Yes. GarageBand records at 24-bit/96kHz and its stock plugins are competitive with paid alternatives. According to documented user case studies, many independently released albums have been tracked and mixed entirely in GarageBand. The ceiling is the engineer, not the software.
What’s the biggest mistake beginner singer-songwriters make in their home studio? Buying too much gear before learning mic placement and gain staging. A well-placed $150 mic through a clean preamp outperforms an expensive mic placed badly. Master the signal chain first — every dollar spent on acoustic treatment returns more than the same dollar spent on a mic upgrade.
Editorial methodology: Assessments are based on manufacturer specifications, published user reviews, and editorial research. Physical hands-on testing is noted explicitly where it occurred. Rankings reflect our editorial judgment and are not influenced by affiliate commission rates. Full editorial policy · Affiliate disclosure