Contents
Home Studio Setup for Podcasting: Sound Great From Day One
TL;DR: A solid home studio setup for podcasting doesn’t require a professional budget — you need a decent dynamic or condenser mic, an audio interface, basic acoustic treatment, and a DAW or dedicated recording software. Get those four things right and your podcast will sound better than 90% of what’s published.
What Gear Do You Actually Need?
The minimum viable podcasting setup is: a microphone, something to connect it to your computer, and software to record. Everything else is optimization. A USB mic skips the interface entirely — useful for absolute beginners — but an XLR mic into an audio interface gives you more headroom, better preamps, and room to grow.
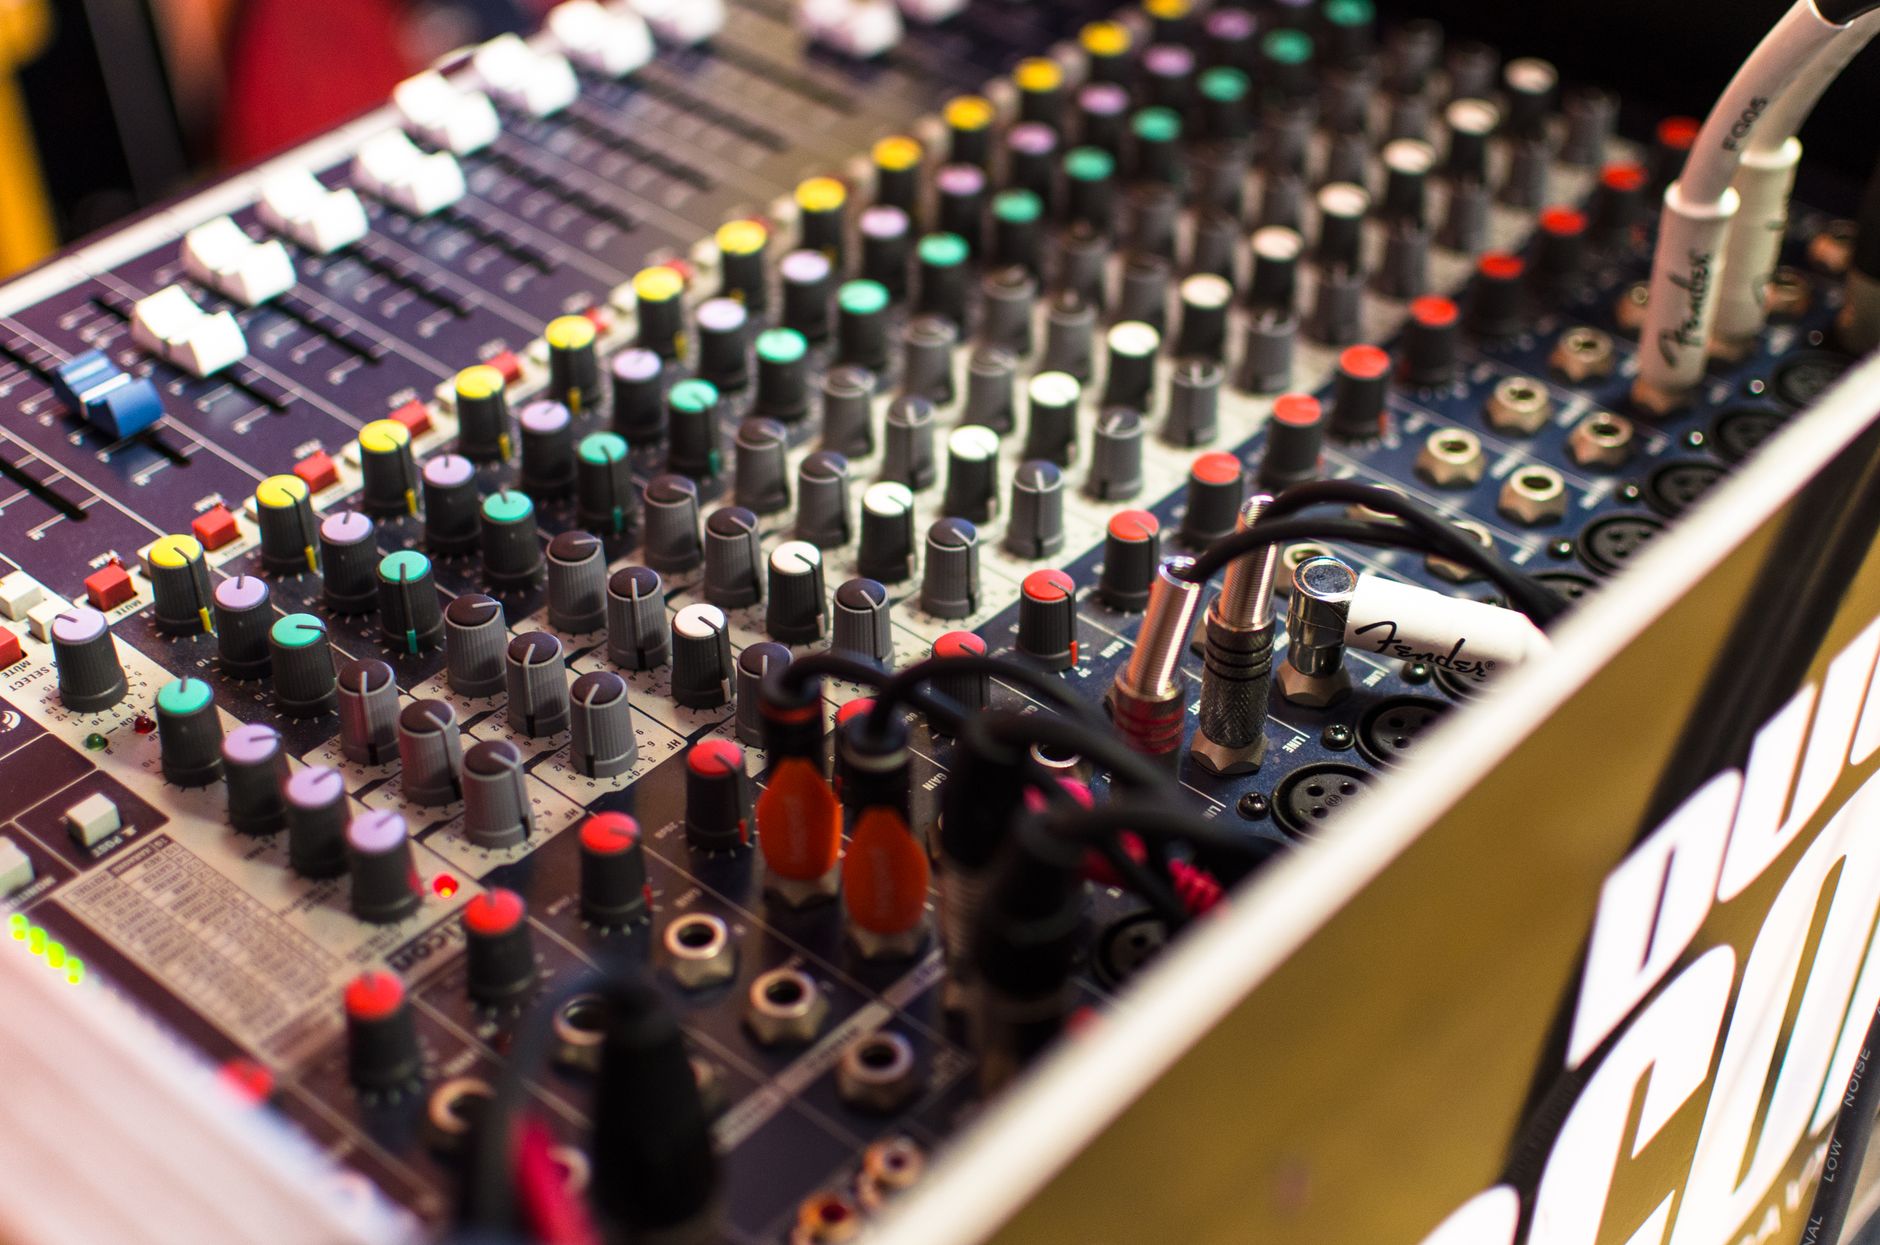
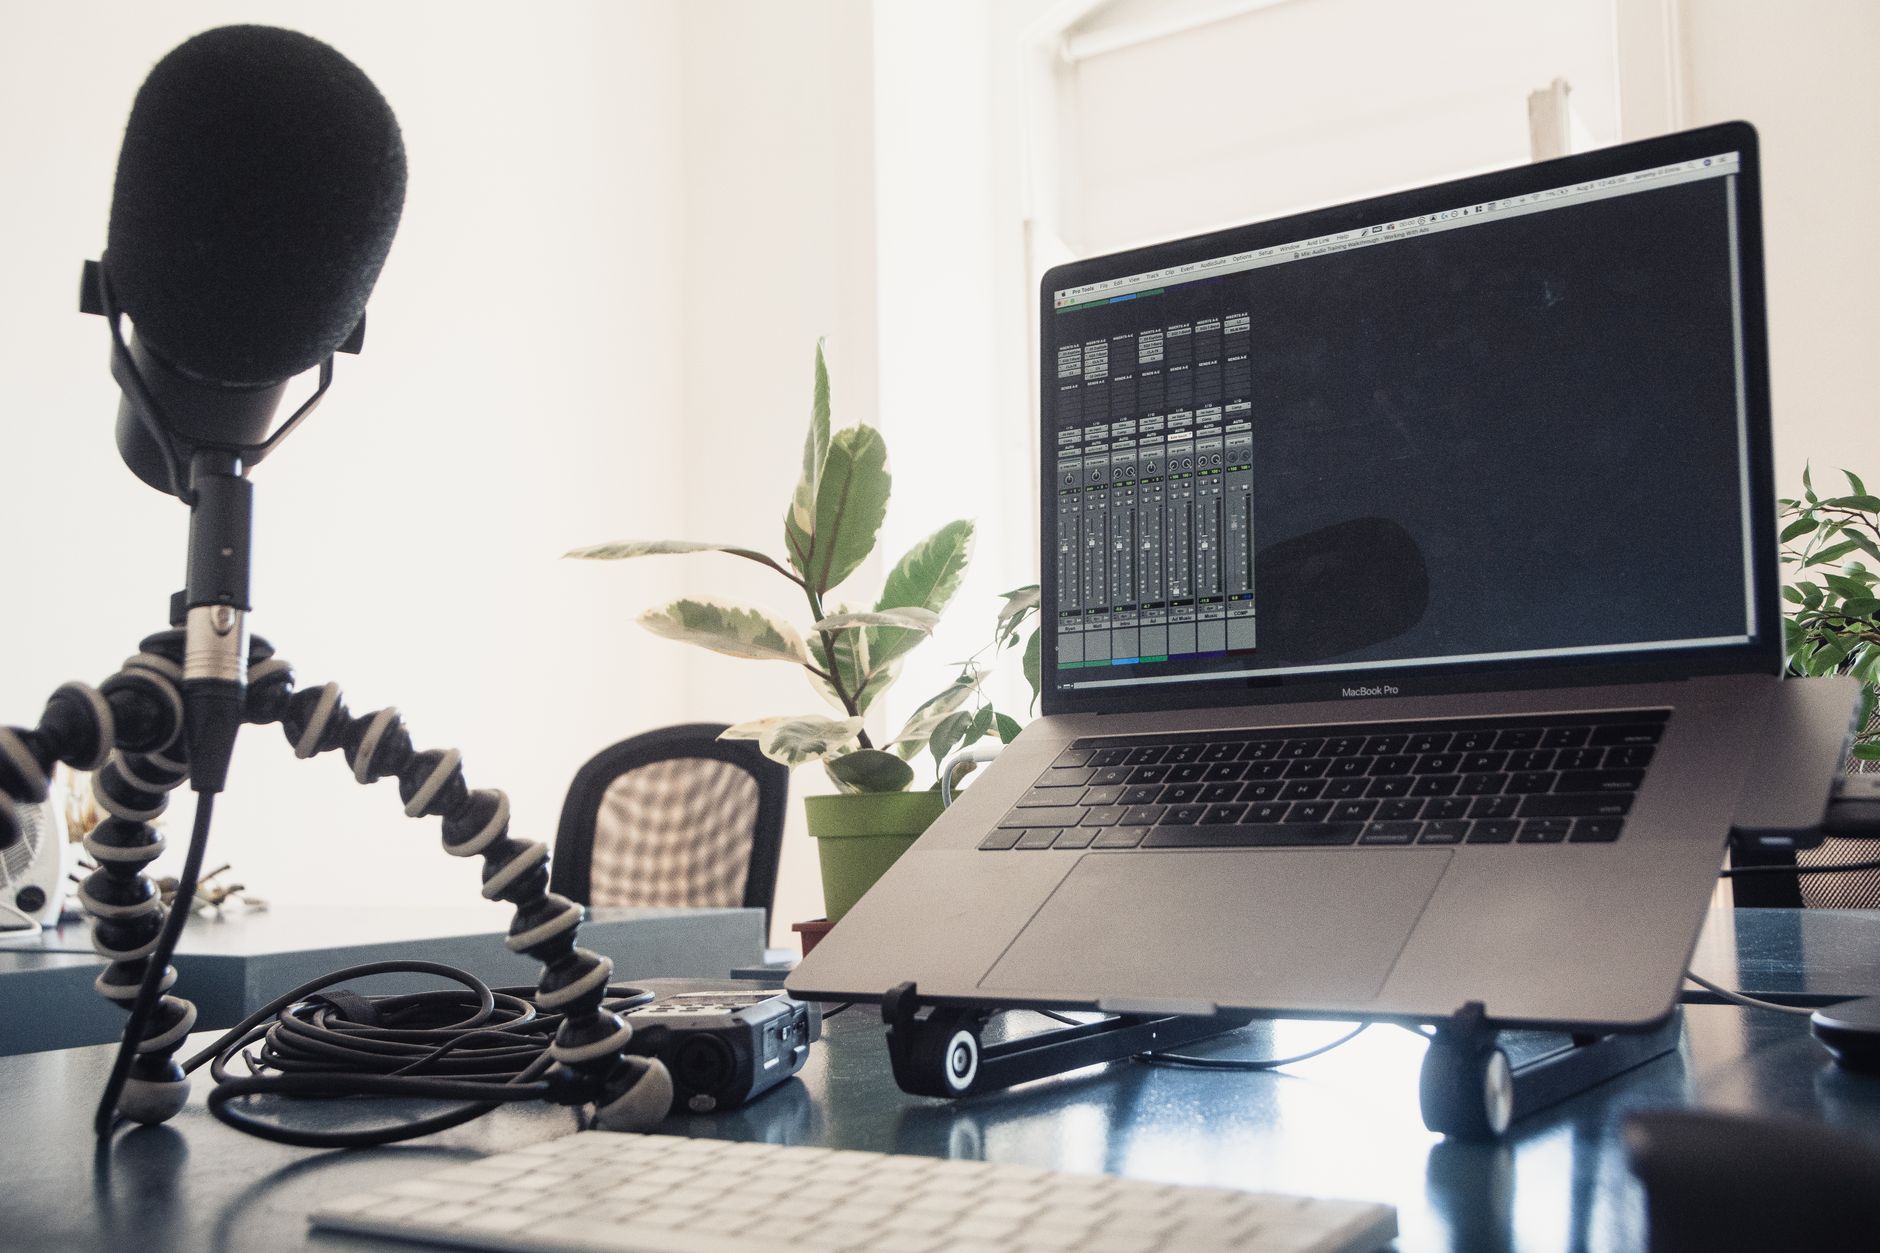 Photo: Jeremy Enns via Pexels
Your core signal chain has three links:
| Component | Entry Level | Mid-Range | Notes |
|---|---|---|---|
| Microphone | Samson Q2U | Shure SM7dB | Dynamic mics forgive room noise better than condensers |
| Audio Interface | Focusrite Scarlett Solo | Universal Audio Volt 2 | 48V phantom power needed for condensers |
| Headphones | Audio-Technica ATH-M20x | Sony MDR-7506 | Closed-back to prevent bleed during recording |
| Recording Software | Audacity (free) | Hindenburg Journalist | Audacity is fine; Hindenburg is faster for spoken word |
One note on USB vs XLR: the Samson Q2U does both, which makes it the smartest starter mic — you can go USB day one and switch to XLR when you add an interface.
Dynamic vs Condenser Mic: Which Is Right for Podcasting?
Dynamic mics are the default right answer for most home studios. They reject off-axis noise, handle untreated rooms well, and don’t need phantom power. Condenser mics capture more detail and air, but they also capture every HVAC hum, keyboard click, and neighbor’s dog.
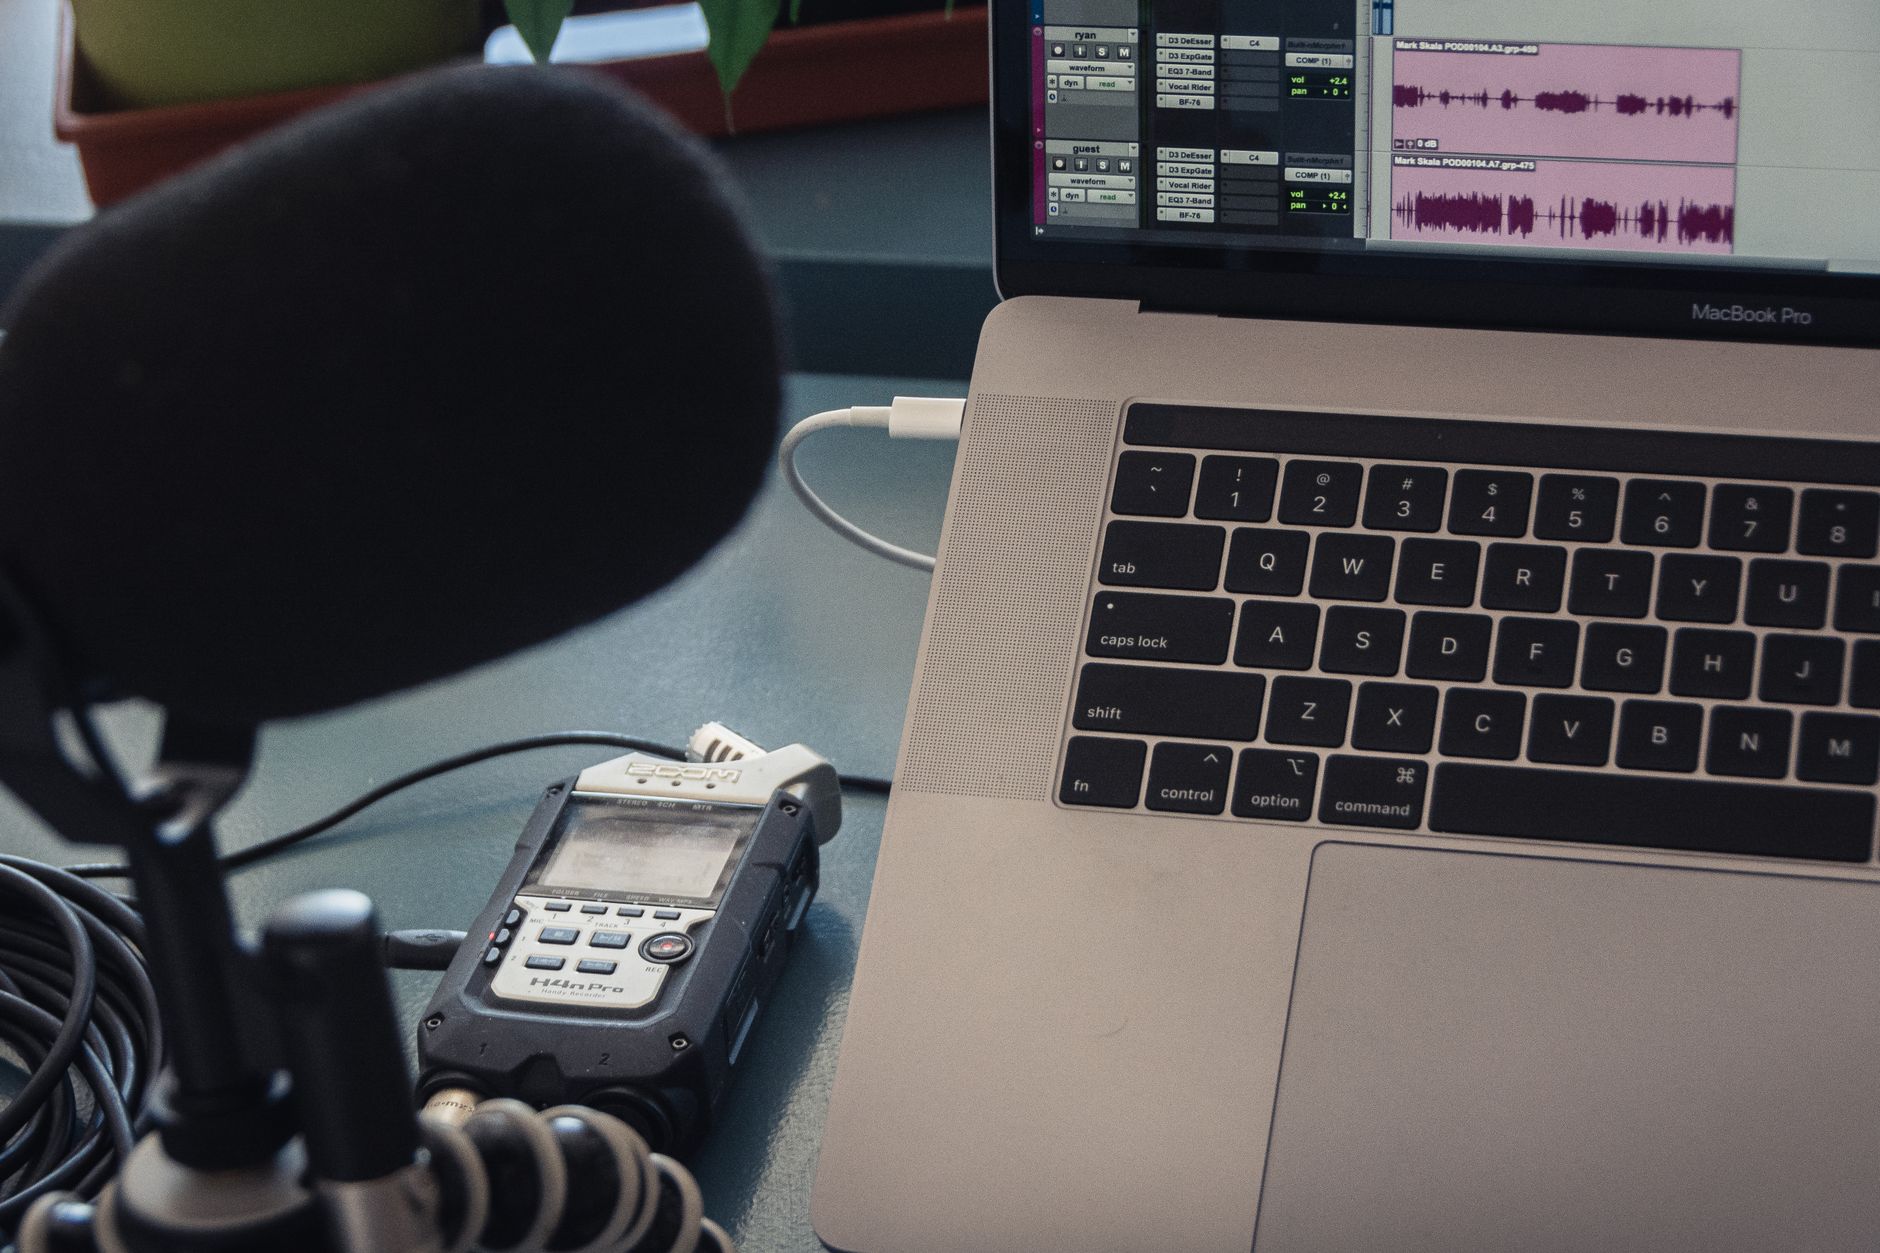
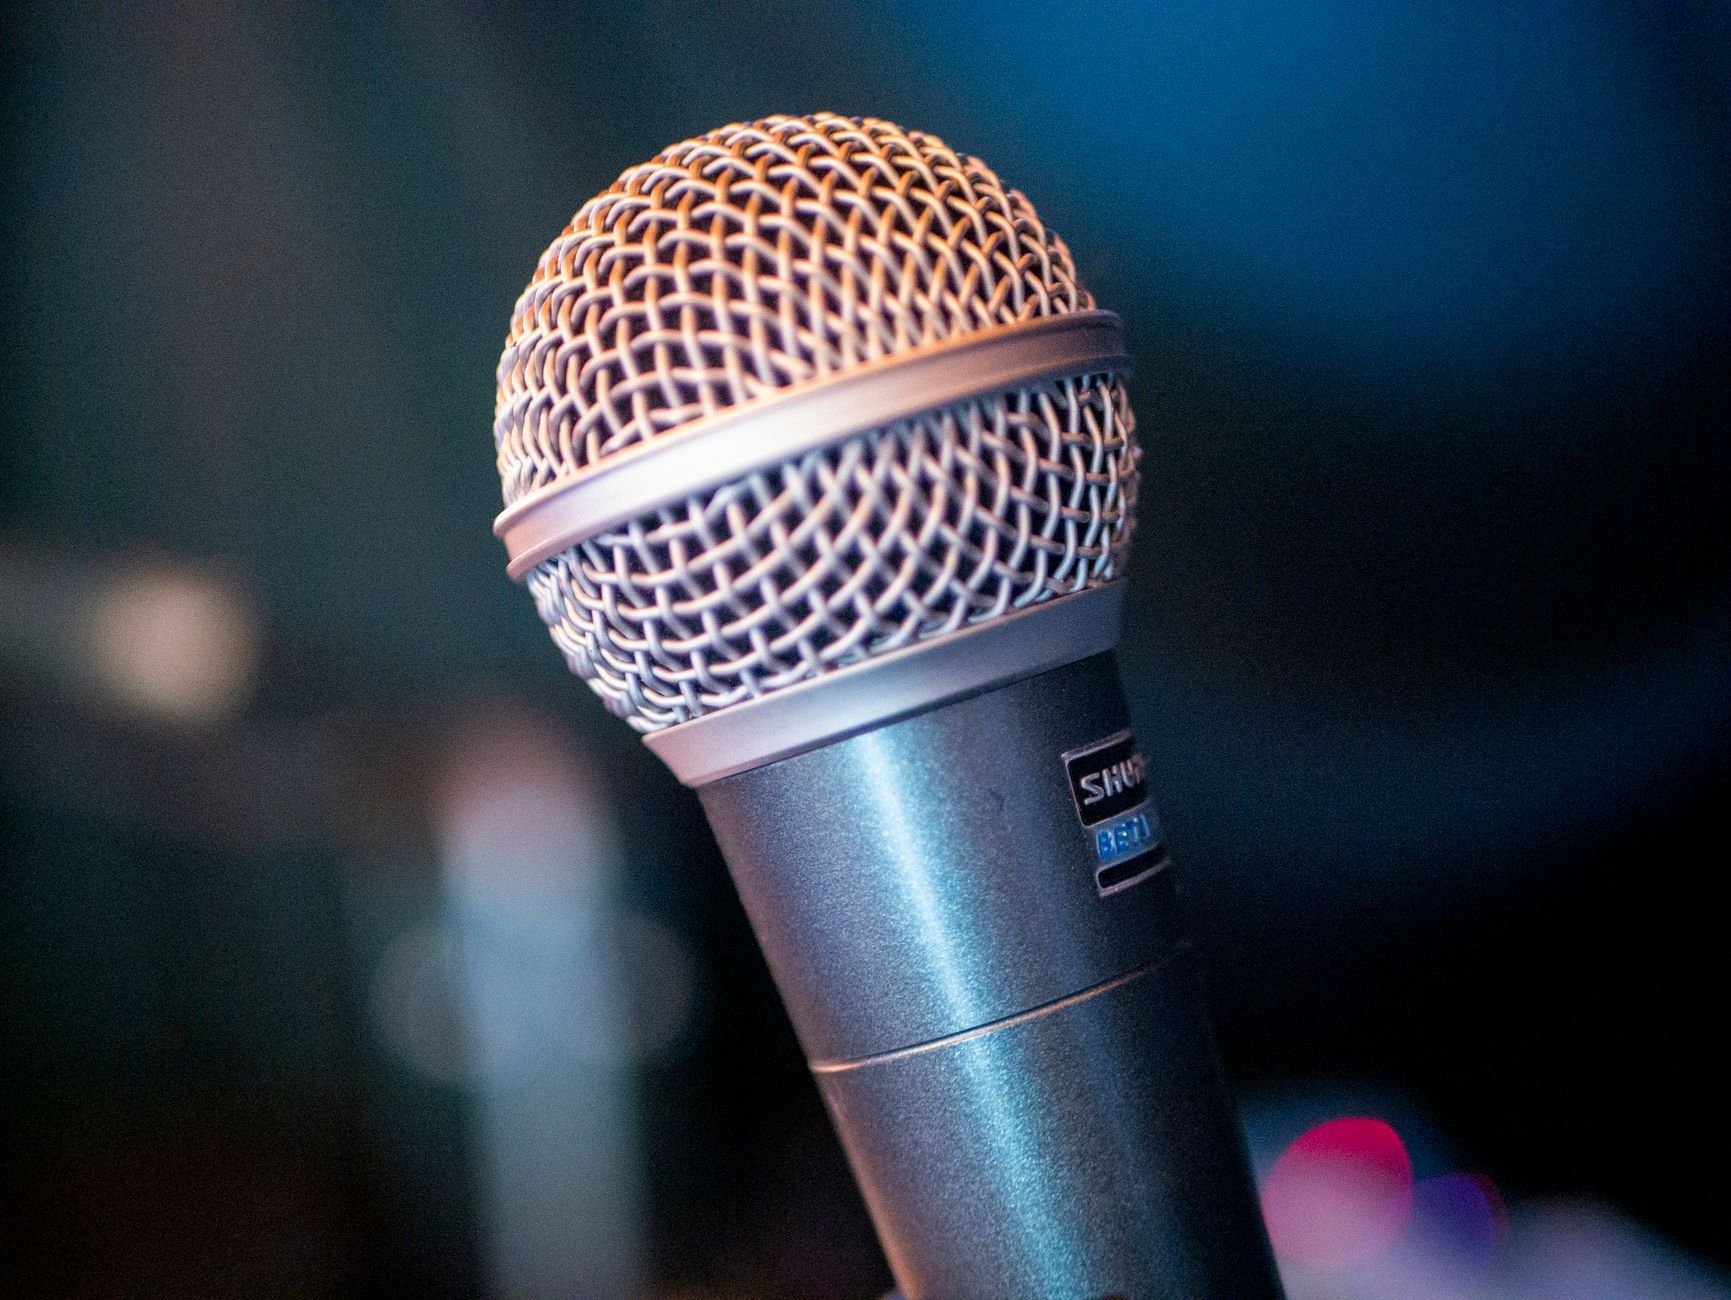 Photo: Patricio Quintana via Pexels
The exception: if you’ve done real acoustic treatment — panels on walls, no hard parallel surfaces — a condenser like the Audio-Technica AT2020 will sound richer and more broadcast-ready. For everyone else, a dynamic mic is more forgiving.
Polar pattern matters more than people admit. Cardioid captures sound from the front, which is what you want for a single-host setup. Omnidirectional picks up the whole room — avoid it unless you’re recording in a genuinely treated space or doing roundtable interviews where everyone is equidistant.
Acoustic Treatment: The Cheapest Upgrade You’ll Ever Make
Treating your room costs less than a new microphone and makes a bigger difference than any gear upgrade. You’re not building a recording studio — you’re reducing flutter echo and early reflections so your voice sounds clear, not like it was recorded in a bathroom.
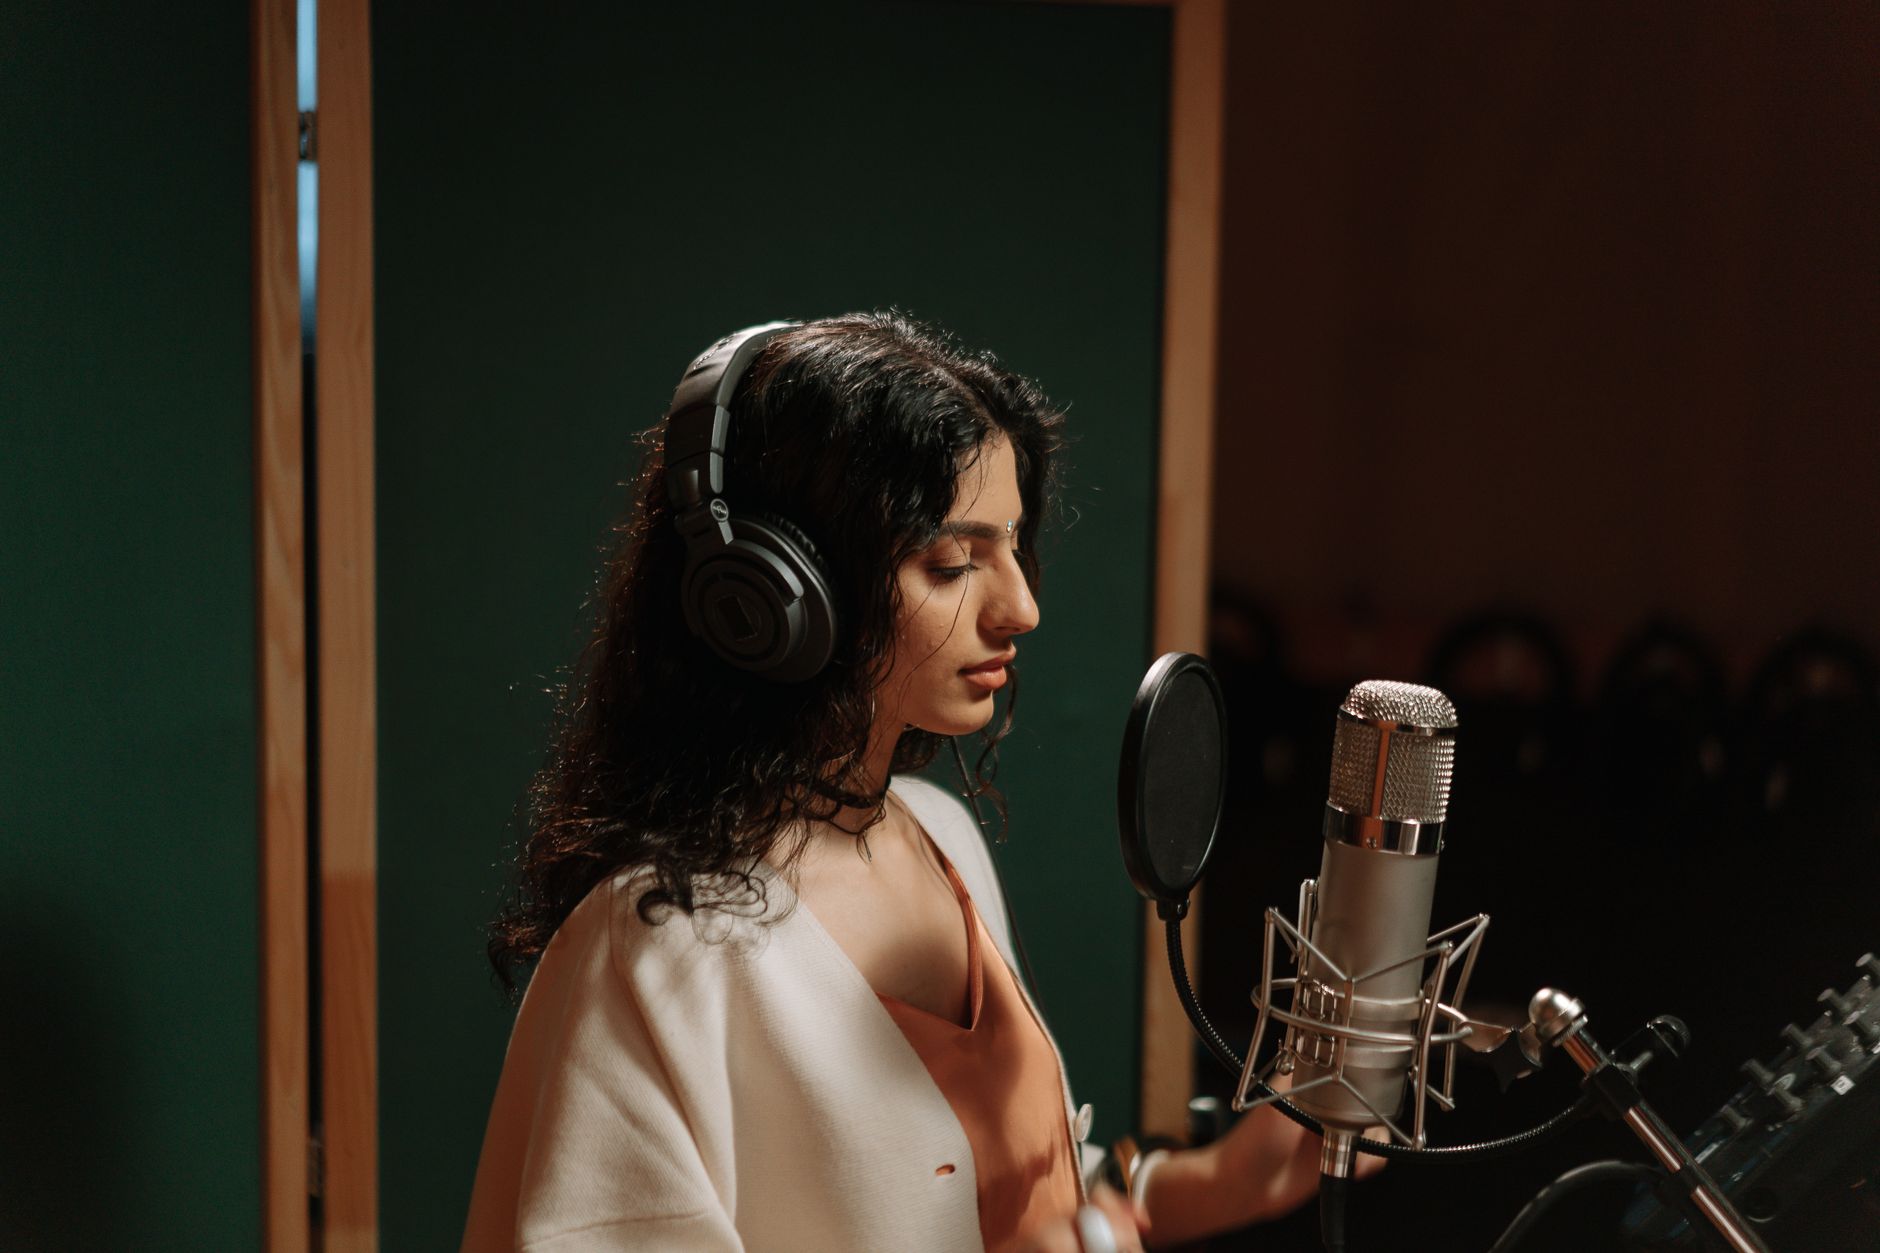
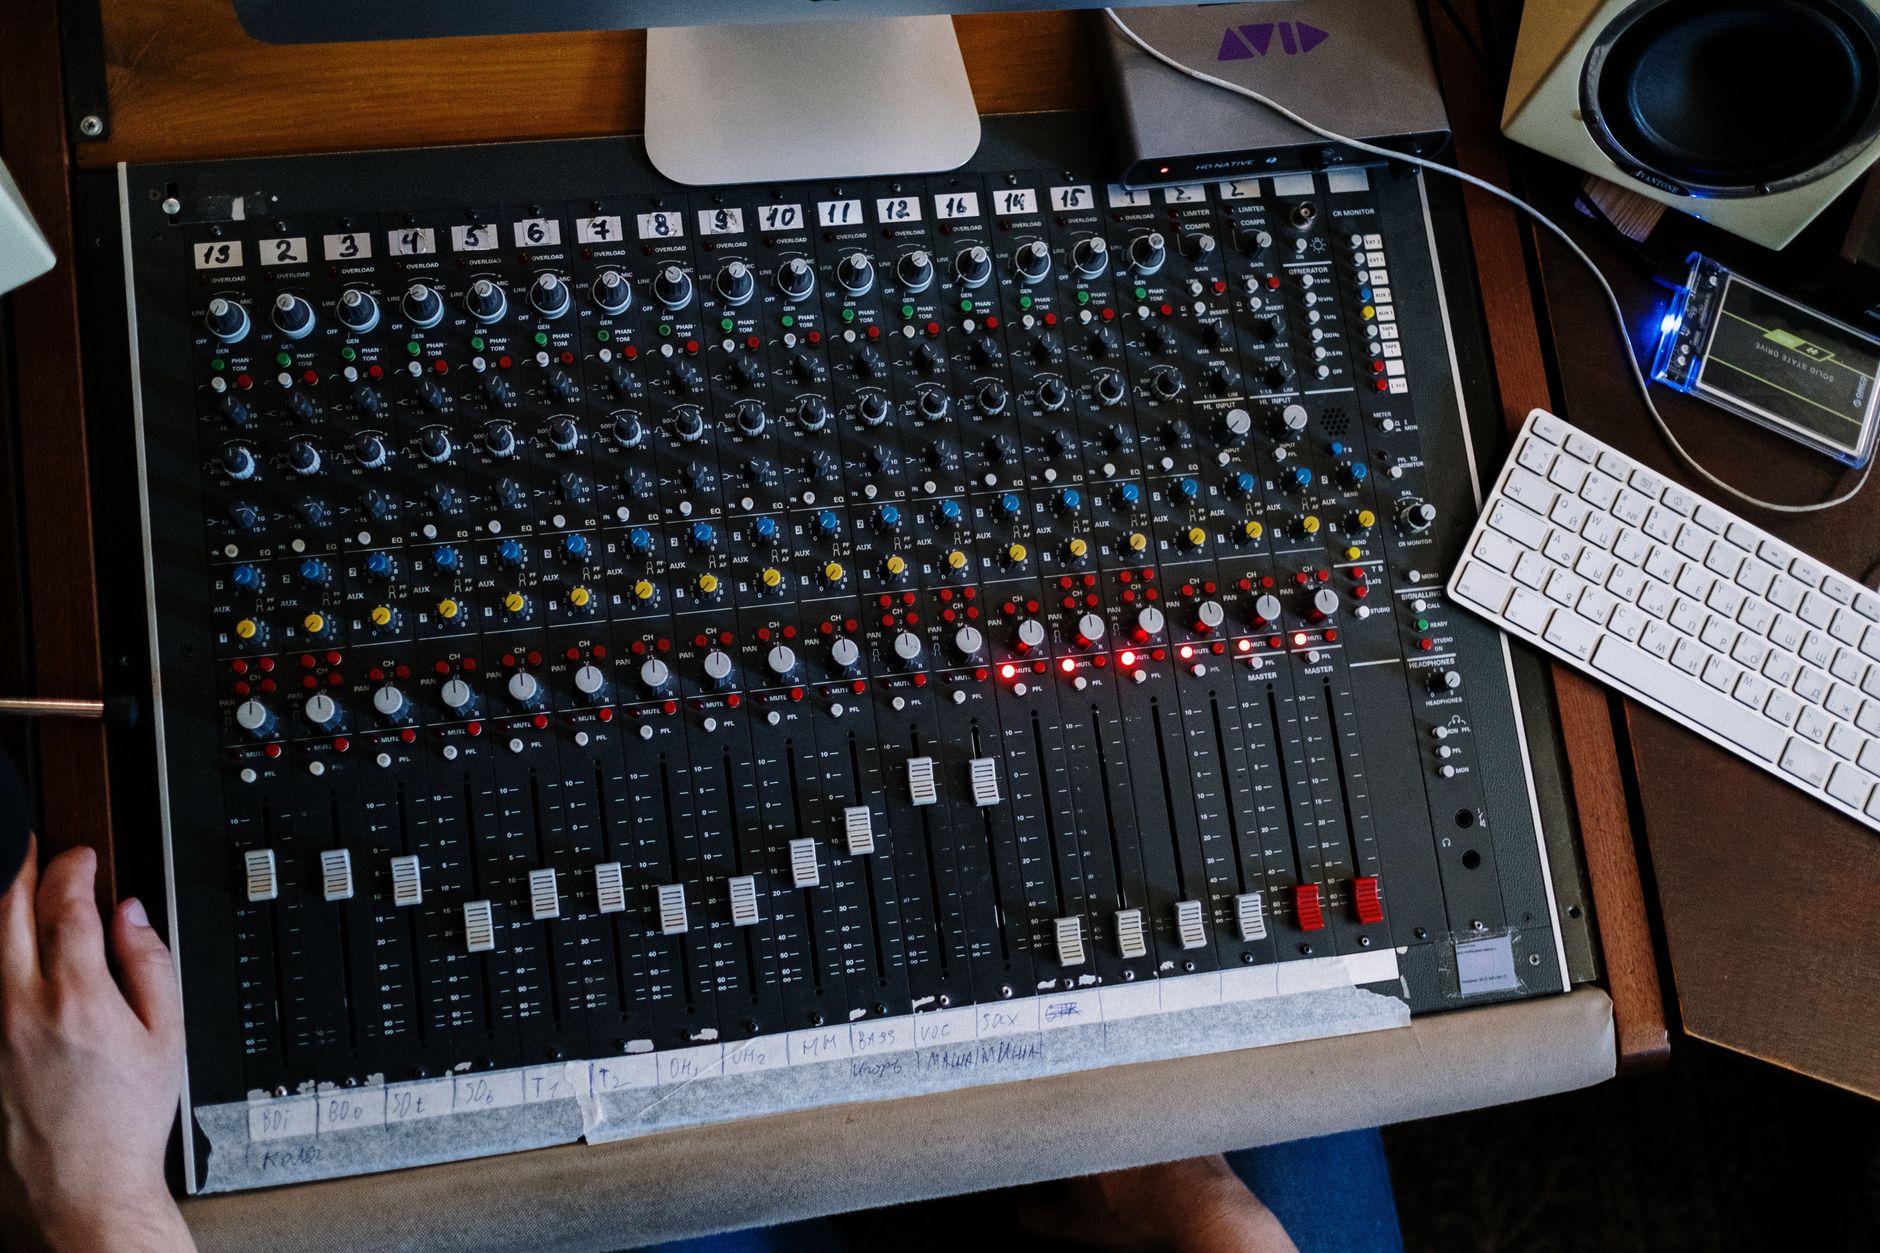 Photo: cottonbro studio via Pexels
The highest-impact, lowest-cost moves:
- Move your mic away from walls. At least 18 inches. Proximity to a hard wall creates comb filtering.
- Record in a closet. Clothes act as broadband absorbers. Sounds absurd; it works.
- Add a reflection filter. A portable shield like the sE Electronics RF-X mounts behind the mic and kills room reflections without touching your walls.
- Hang moving blankets or heavy curtains. Not pretty, not permanent, genuinely effective.
What acoustic foam panels do not do: they don’t block sound from entering the room (that’s soundproofing — a completely different and expensive problem), and thin foam only absorbs high frequencies. Broadband absorption — thick panels or bass traps in corners — is what actually cleans up a room.
Setting Up Your Signal Chain
Interface Gain Staging
Gain staging is the single most common beginner mistake. Set it wrong and you’re fighting noise or distortion before you’ve opened your mouth.
Signal chain: Microphone → XLR cable → Audio Interface (preamp gain) → DAW input → DAW output → Headphones/speakers
Gain staging workflow:
- Set interface preamp gain so your voice peaks at -12 to -18 dBFS in the DAW. Leave headroom.
- Never clip the preamp (the gain knob’s red clip LED is a hard stop — back off immediately).
- Record dry — no processing in the chain. Add compression and EQ in the DAW afterward.
- Monitor input, not playback, while recording to catch issues in real time.
Step-by-Step Recording Workflow
- Open your DAW (Audacity, GarageBand, Adobe Audition ) and create a new mono track for your voice.
- Set sample rate to 44.1 kHz, 16-bit minimum. 48 kHz / 24-bit if your platform supports it.
- Arm the track for recording and speak at normal volume. Adjust interface gain until your average speech level sits around -12 dBFS.
- Record a 30-second room tone clip before your actual content. You’ll use this for noise reduction later.
- Record your episode in sections rather than one long take — easier to edit.
- Apply processing in this order: noise reduction → high-pass filter (roll off below 80–100 Hz) → light compression (3:1 ratio, slow attack) → EQ → loudness normalization to -16 LUFS (Spotify/Apple Podcasts standard).
- Export as WAV, then encode to MP3 at 128 kbps mono (sufficient for voice; stereo wastes bitrate).
Troubleshooting Matrix
| Symptom | Likely Cause | Fix |
|---|---|---|
| High background hiss | Gain too high at interface | Lower preamp gain, move mic closer to mouth |
| Hollow, roomy sound | Untreated room / recording near hard wall | Add reflection filter, record in a smaller space or closet |
| Latency / monitoring delay | Buffer size too large | Reduce DAW buffer to 64–128 samples; use direct monitoring on interface |
| No signal in DAW | Wrong input selected | Confirm interface is selected as input device in DAW preferences |
| Thin, no low-end | High-pass filter cutting too much, or mic too far | Reduce high-pass threshold; move mic 6–8 inches from mouth |
| Clipping / distortion | Preamp overloaded | Reduce gain; engage pad switch if interface has one |
| Phase issues (two mics) | Mics picking up same source out of phase | Flip phase on one channel; reposition mics |
Interview Podcasts: Recording Multiple Voices
Remote Guests
Remote recording — the norm now — has one right answer: record locally on both ends. Tools like Riverside.fm and Zencastr record lossless audio on each participant’s machine and upload post-session. Never rely solely on a recorded Zoom call.
Each guest should ideally have at minimum a wired headset. The single biggest upgrade you can push a remote guest toward is getting them off their laptop speakers — a USB headset prevents bleed from your voice back into their mic.
In-Person Multi-Mic Setup
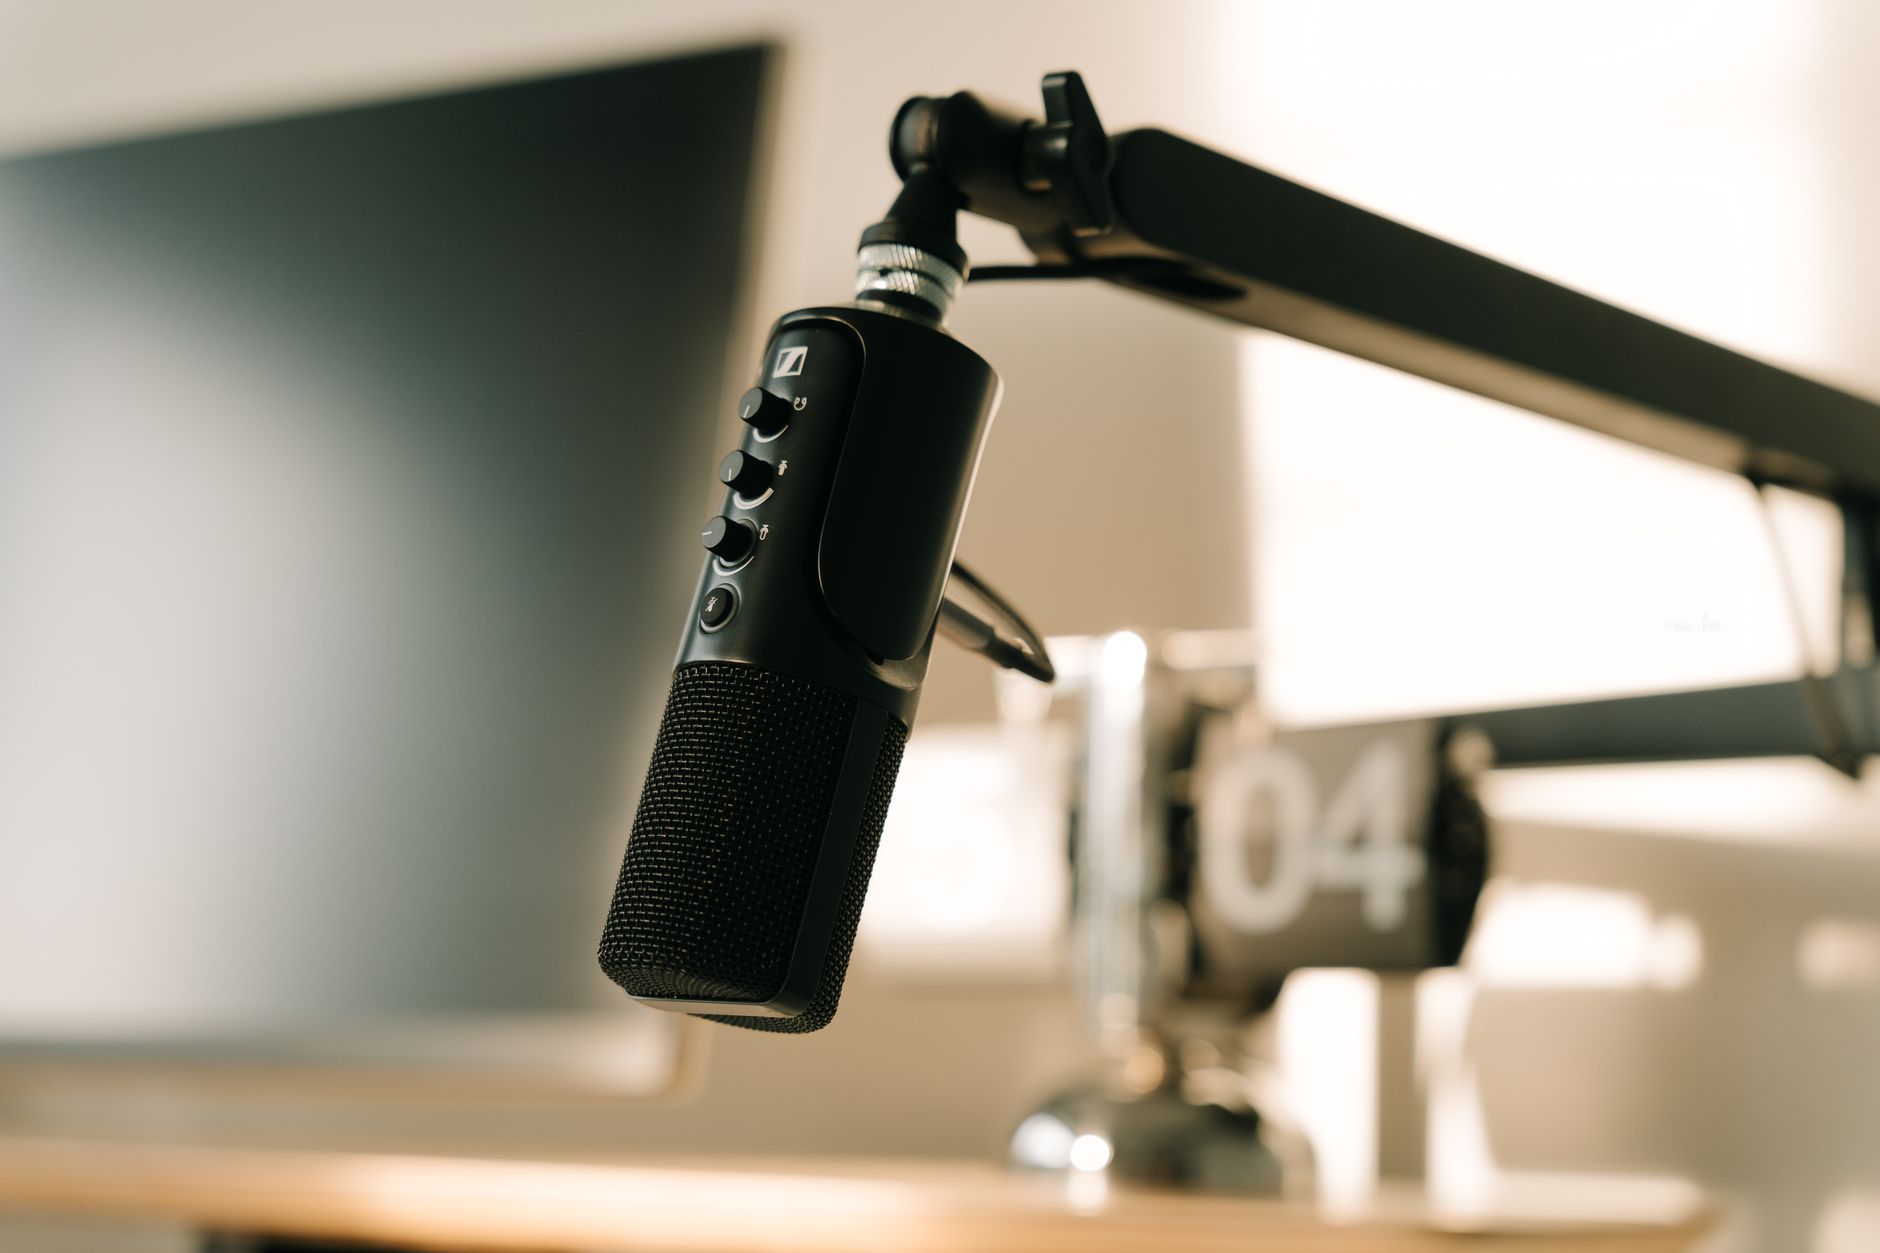
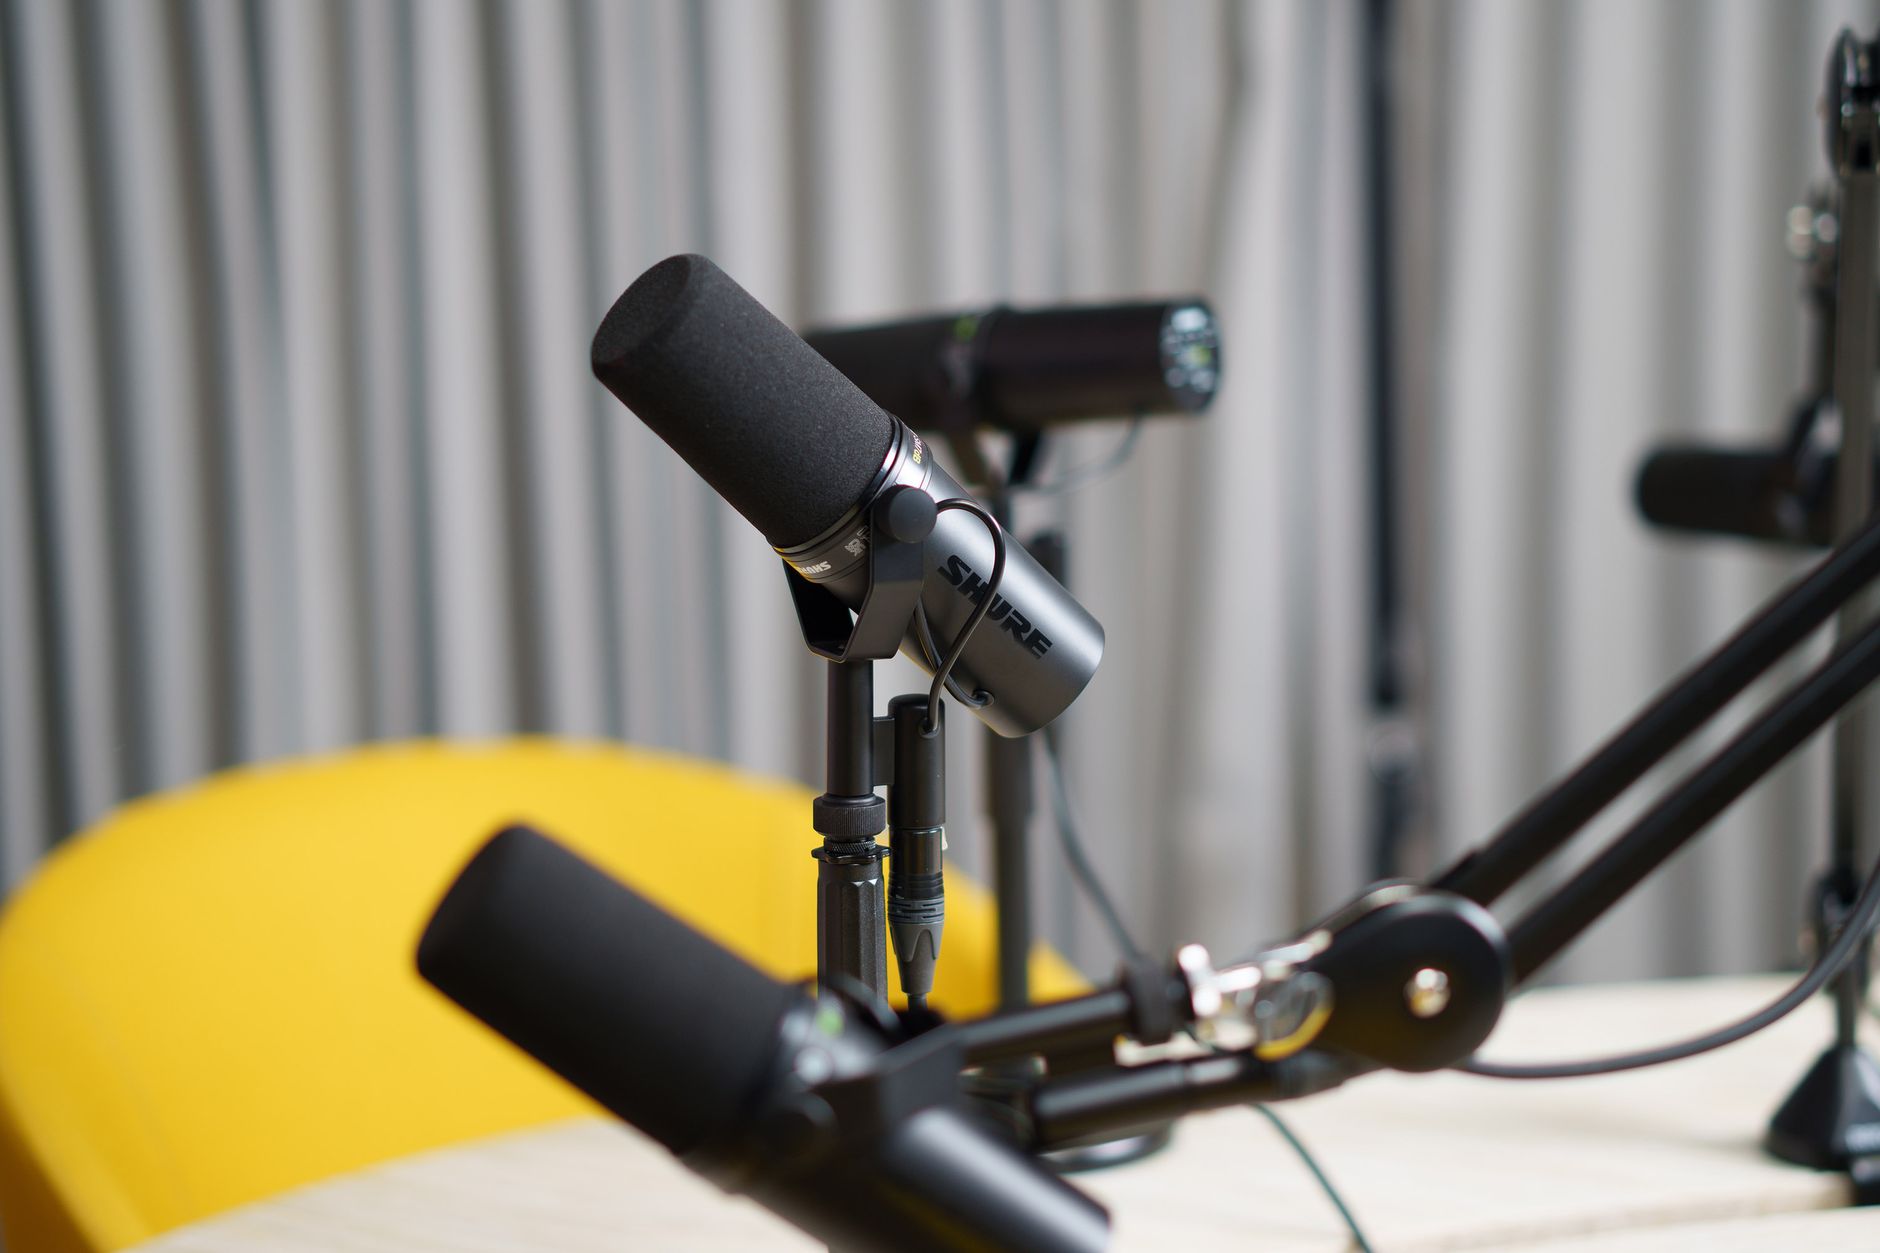 Photo: Jakub Zerdzicki via Pexels
For two people in the same room:
- Use two identical mics if possible — makes gain matching and EQ much simpler.
- Position mics on separate boom arms, cardioid pattern aimed at each host, angled slightly away from each other to minimize bleed.
- Record each mic to a separate track. Never mix to stereo during recording.
- An interface with two preamps handles this — the Focusrite Scarlett 2i2 is the standard choice here.
Software and Editing
Audacity is free and genuinely capable. For podcasters who want a faster workflow, Descript is in a different category — it transcribes your audio, lets you edit by deleting text, and removes filler words automatically. The time savings on editing are substantial.
For basic processing chains:
- Audacity: Noise Reduction → Compressor → Normalize. Free, effective, slower workflow.
- GarageBand: Built-in compressor and EQ are surprisingly good. Mac only, but zero cost.
- Adobe Audition: Spectral repair and auto-ducking are genuinely professional tools. Worth it if you’re editing full-time.
Publishing platforms (Buzzsprout, Podbean, Anchor/Spotify for Podcasters) handle RSS feed distribution — you don’t need to manage that yourself until you have specific needs.
→ See also:
- The Complete Home Recording Studio Setup Guide (2026)
- How to Build a Home Studio for $500 (2026)
- How to Build a Home Studio for $300 (2026)
FAQ
Do I need an audio interface for podcasting? Not necessarily. A USB microphone like the Samson Q2U connects directly to your computer and skips the interface entirely — acceptable audio quality with zero setup complexity. An interface becomes worth it when you want to use professional XLR microphones, need better preamps for cleaner gain, or are recording more than one person simultaneously.
What’s the best microphone for a home studio podcast setup? The Shure SM7B is the broadcast standard and sounds excellent, but it requires significant gain — pair it with a Cloudlifter or an interface with strong preamps. For most beginners, the Samson Q2U or Audio-Technica ATR2100x hits the best quality-to-price ratio without needing extra hardware.
How do I reduce echo in my podcast recordings? Echo and reverb are room problems, not microphone problems. The fastest fixes: get closer to your mic (6–10 inches), hang heavy fabric behind you and to the sides, and avoid recording in rooms with hard parallel walls. A portable reflection filter helps significantly without permanent room modifications.
What loudness level should I export my podcast at? Normalize your finished episode to -16 LUFS integrated for most podcast platforms (Spotify, Apple Podcasts, Google Podcasts). Some platforms normalize on their end, but mastering to -16 LUFS ensures consistent playback without your episode sounding quieter than everything around it.
Can I record a podcast on my phone? Yes, as a backup or for field recording. The built-in mics on recent iPhones record surprisingly clean audio in quiet environments. For a permanent home studio setup for podcasting, a dedicated mic and interface will sound substantially better and give you control over processing that a phone cannot match.
Is acoustic foam enough to treat a home studio for podcasting? Thin acoustic foam treats high-frequency reflections but does almost nothing for low-mid buildup or bass resonance. For voice recording, thicker panels (2–4 inch mineral wool or rigid fiberglass) in the first reflection points — the walls directly to your sides and behind you — do far more work. Foam is better than nothing, but it’s not a complete solution.
Editorial methodology: Assessments are based on manufacturer specifications, published user reviews, and editorial research. Physical hands-on testing is noted explicitly where it occurred. Rankings reflect our editorial judgment and are not influenced by affiliate commission rates. Full editorial policy · Affiliate disclosure