Contents
How to Build a Home Studio for $500 (2026)
TL;DR: A solid home studio setup for $500 is completely achievable in 2026 — you need an audio interface, condenser mic, headphones, and DAW. Prioritize the interface first; everything else follows from that decision. This guide gives you a tested signal chain and specific gear picks that leave nothing critical out.
What You Actually Need (And What to Skip)
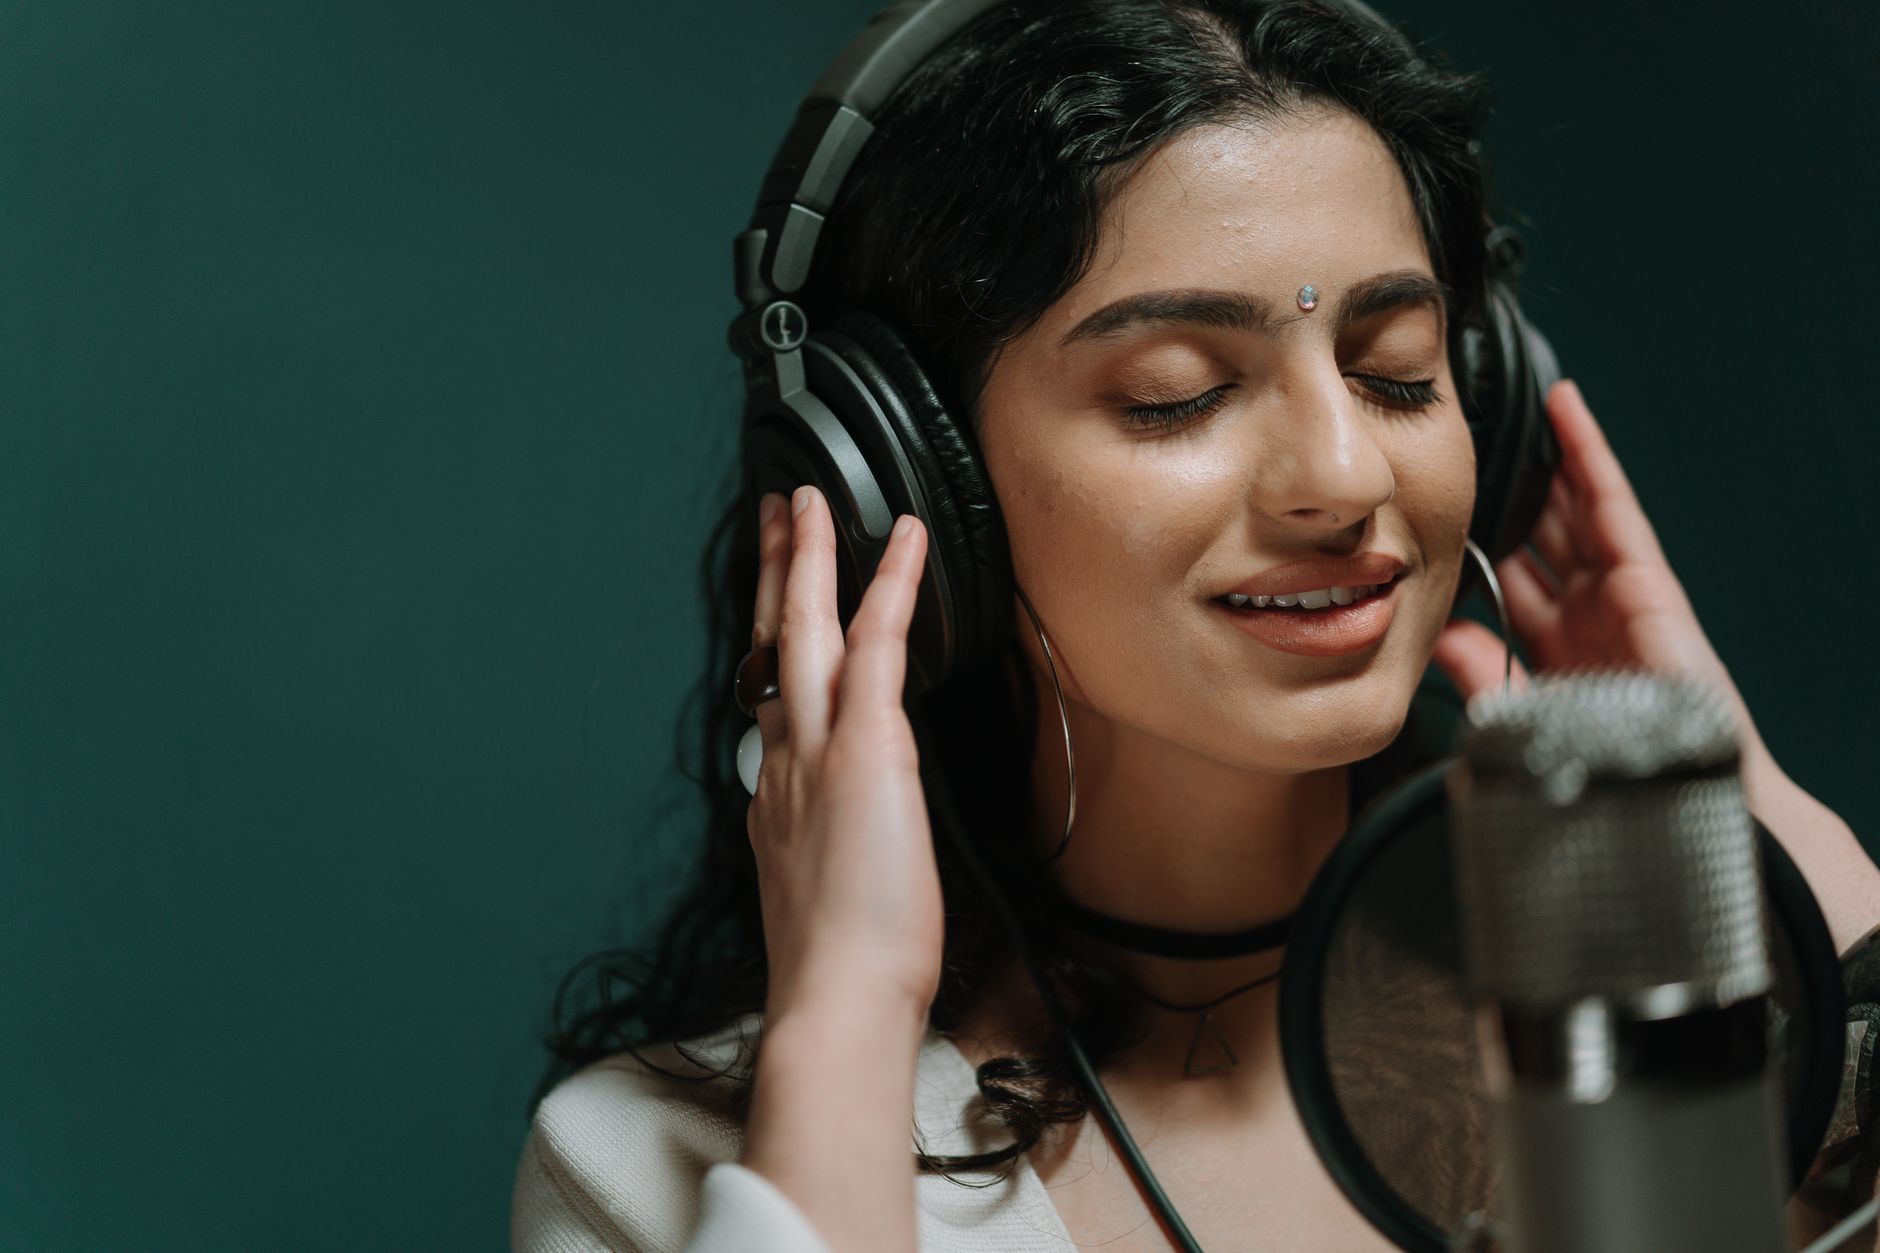
At $500, you can afford every essential: audio interface, microphone, headphones, and a DAW. You cannot afford studio monitors, acoustic treatment, or a hardware compressor — and you don’t need them yet. A treated room matters more than expensive monitors; headphones sidestep that problem entirely at this budget.
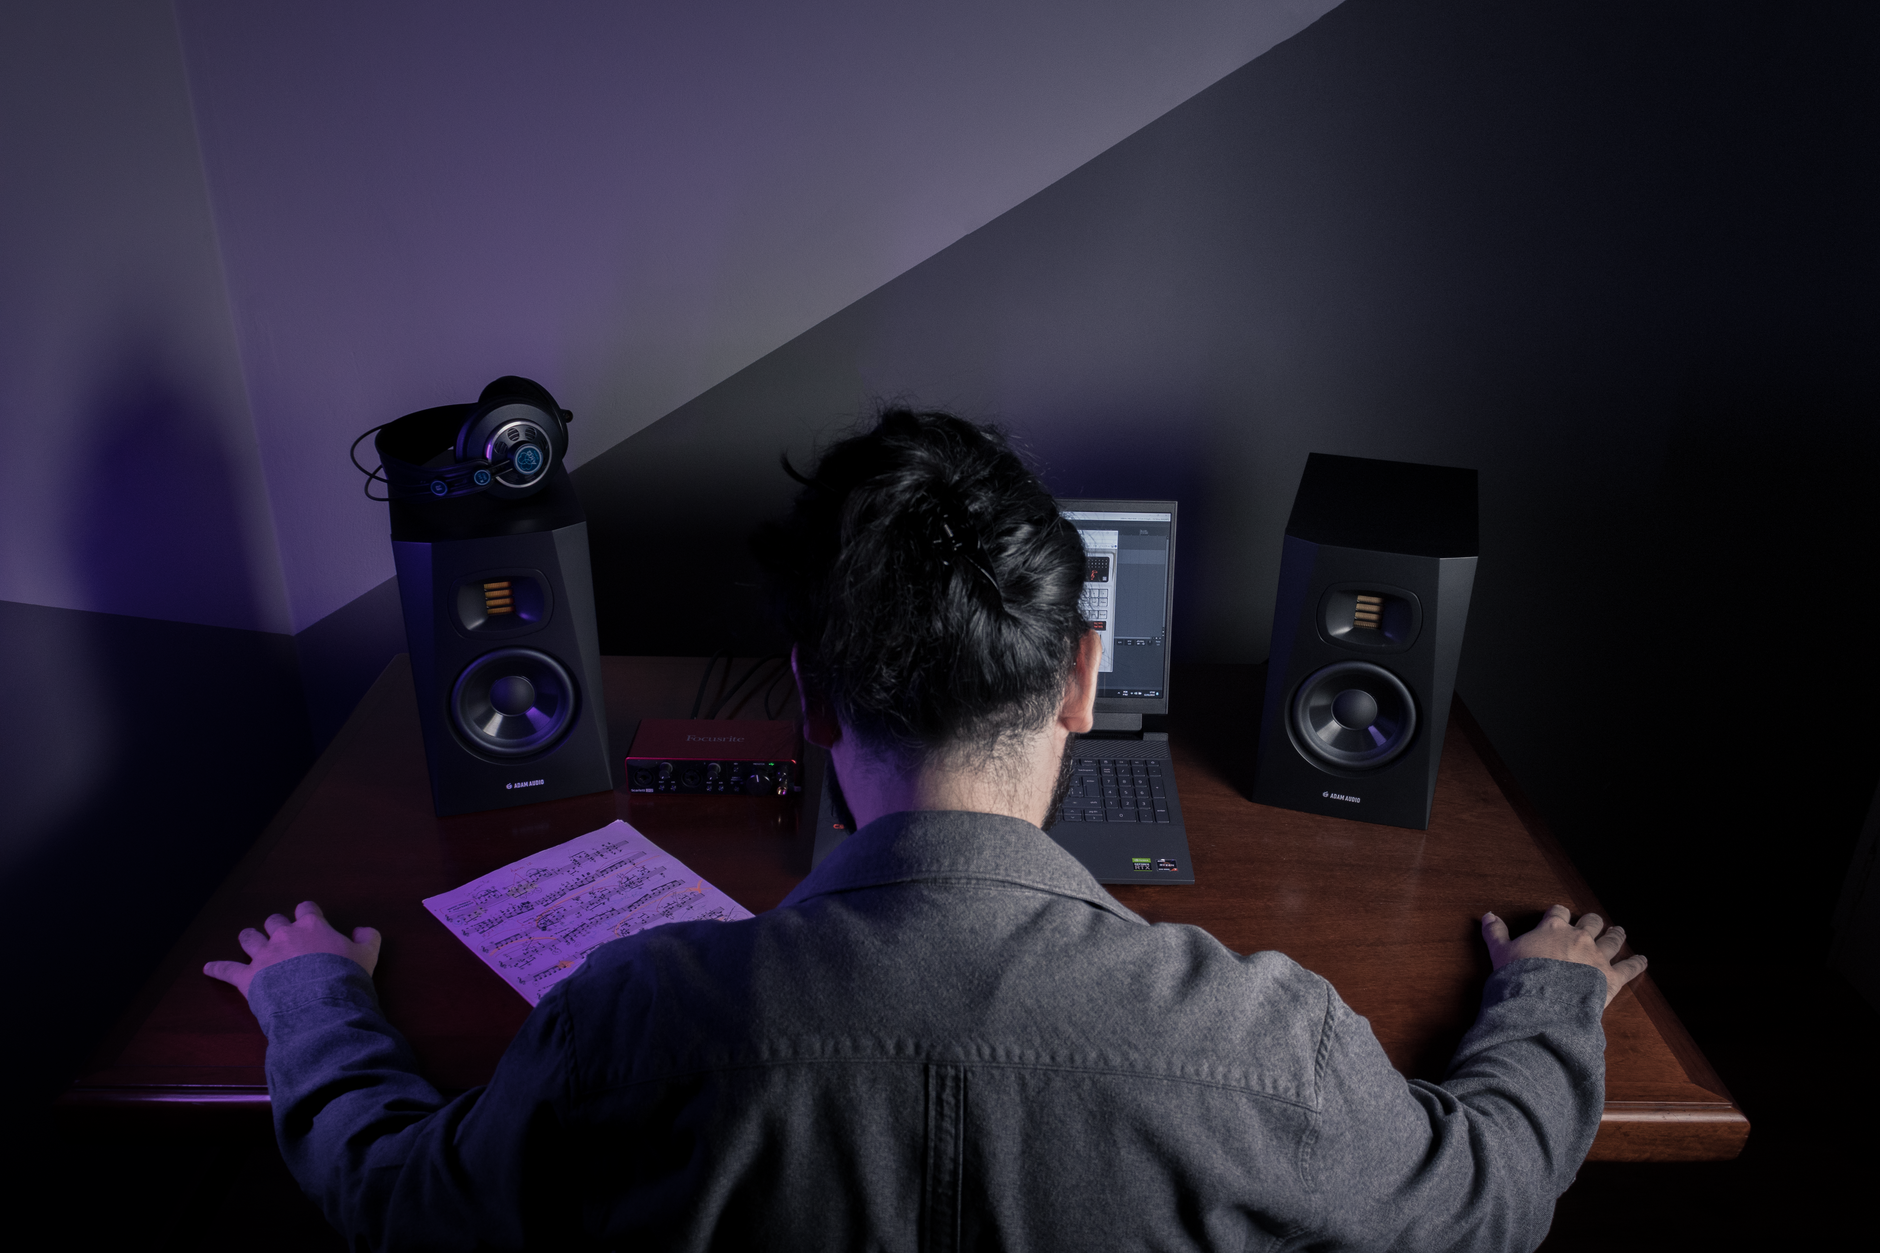 Photo: Neil Yonamine via Pexels
The core chain for a $500 home studio:
| Component | Budget Allocation | Why It’s Non-Negotiable |
|---|---|---|
| Audio interface | $100–$150 | Converts analog signal to digital; defines your noise floor |
| Condenser microphone | $80–$130 | Captures vocals and acoustics with detail |
| Closed-back headphones | $80–$100 | Monitoring without room acoustics problems |
| DAW | $0–$60 | Your recording and mixing environment |
| Cables + accessories | $30–$50 | XLR cable, mic stand, pop filter |
That leaves $10–$190 depending on your DAW choice — enough for a basic pop filter and a USB hub, but not a monitor speaker pair that actually sounds accurate below $150.
The Interface: Where to Spend the Most
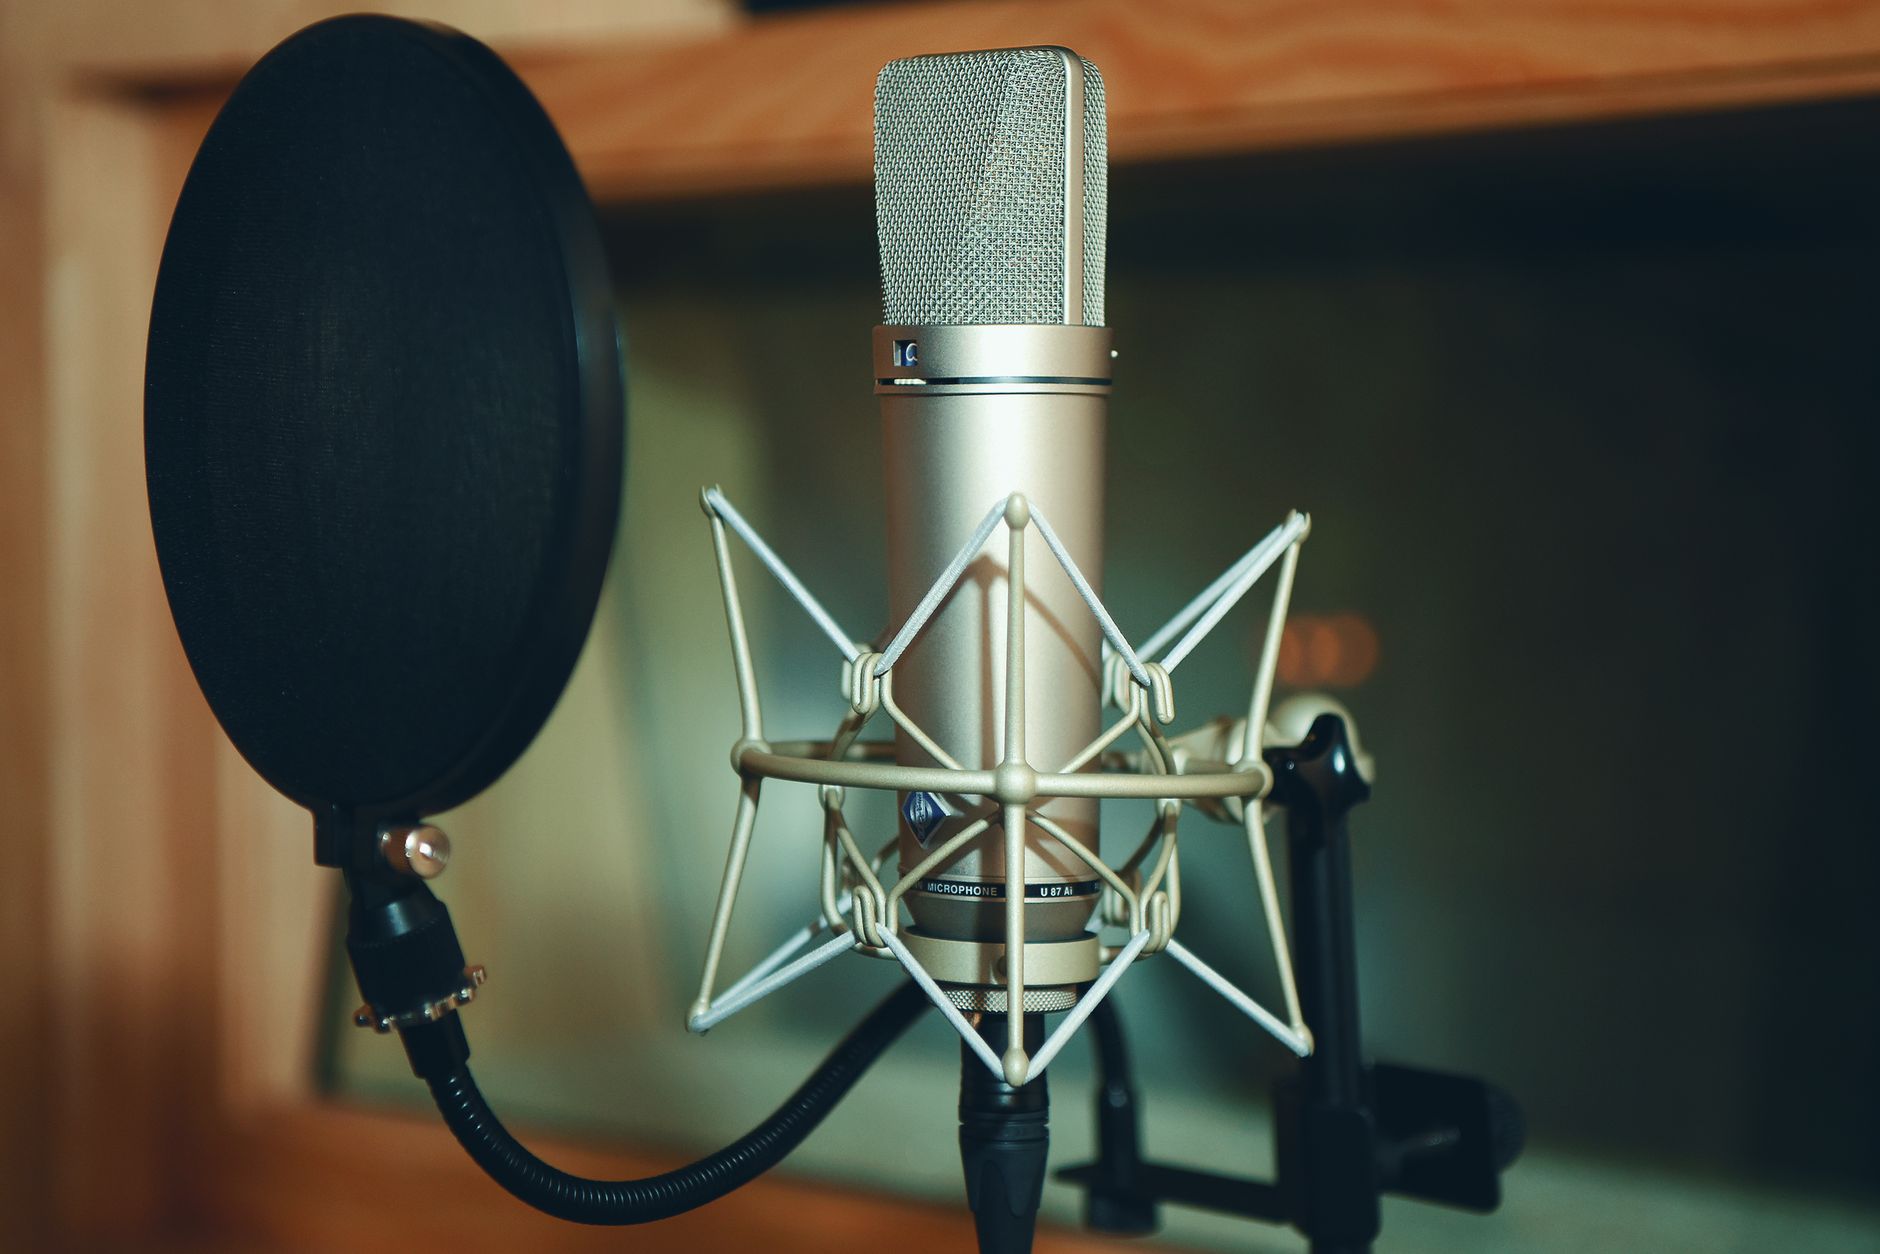
The audio interface is the most important purchase in any home studio setup. A weak interface adds noise, introduces latency, and limits your mic options permanently. At $500 total, spend $100–$150 here — it’s the floor, not the ceiling.
 Photo: Egor Komarov via Pexels
Best interfaces at this budget:
| Interface | Price | Inputs | Key Spec |
|---|---|---|---|
| Focusrite Scarlett Solo (4th Gen) | $119 | 1 mic, 1 instrument | Air mode, 56dB gain |
| PreSonus AudioBox USB 96 | $99 | 2 mic/line, 1 instrument | Ships with Studio One Artist |
| SSL 2 | $149 | 2 mic/line | 4K Legacy mode, lowest noise floor here |
The Scarlett Solo is the default recommendation — manufacturer specifications show a dynamic range of 110dB EIN, and its drivers have the widest OS compatibility of any interface at this price. The SSL 2 is the upgrade if your budget allows: published specs put its mic preamp noise floor measurably lower than the Scarlett, and the 4K mode adds a subtle high-frequency lift that works well on acoustic sources.
Skip: Behringer U-Phoria at this budget. Functional, but user reviews consistently note reliability issues with the XLR locking mechanism after 6–12 months of use.
Microphone: Condenser or Dynamic?
For vocals and acoustic instruments at home, a large-diaphragm condenser is the right choice — provided your room isn’t reverberant. If your room has hard parallel walls and no treatment at all, a dynamic mic will be more forgiving. Most bedrooms sit somewhere between the two; a condenser with cardioid pickup pattern and a pop filter is still the better starting point.
Condenser picks under $130:
| Mic | Price | Pattern | Notes |
|---|---|---|---|
| Audio-Technica AT2020 | $99 | Cardioid | Industry-standard at this price; published frequency response is flat to 20kHz |
| Rode NT1 (5th Gen) | $169 | Cardioid | Ships with USB + XLR; stretches the budget but is a meaningful step up |
| AKG P120 | $79 | Cardioid | Narrower than AT2020 in the high-mids; workable at this price |
The AT2020 is the recommendation — it’s been the entry-level reference condenser for over a decade and its self-noise rating of 20dB(A) is confirmed by multiple independent measurement reviews. At $99 it leaves room in the budget for a decent interface.
Dynamic alternative:
The Shure SM58 ($99) is worth mentioning if you’re recording in an untreated room with a lot of room noise. It rejects off-axis sound far better than any cardioid condenser, and its durability record is unmatched. The tradeoff is reduced detail in the high end — vocals recorded through an SM58 need more EQ work in post.
Headphones: Closed-Back Is the Right Call
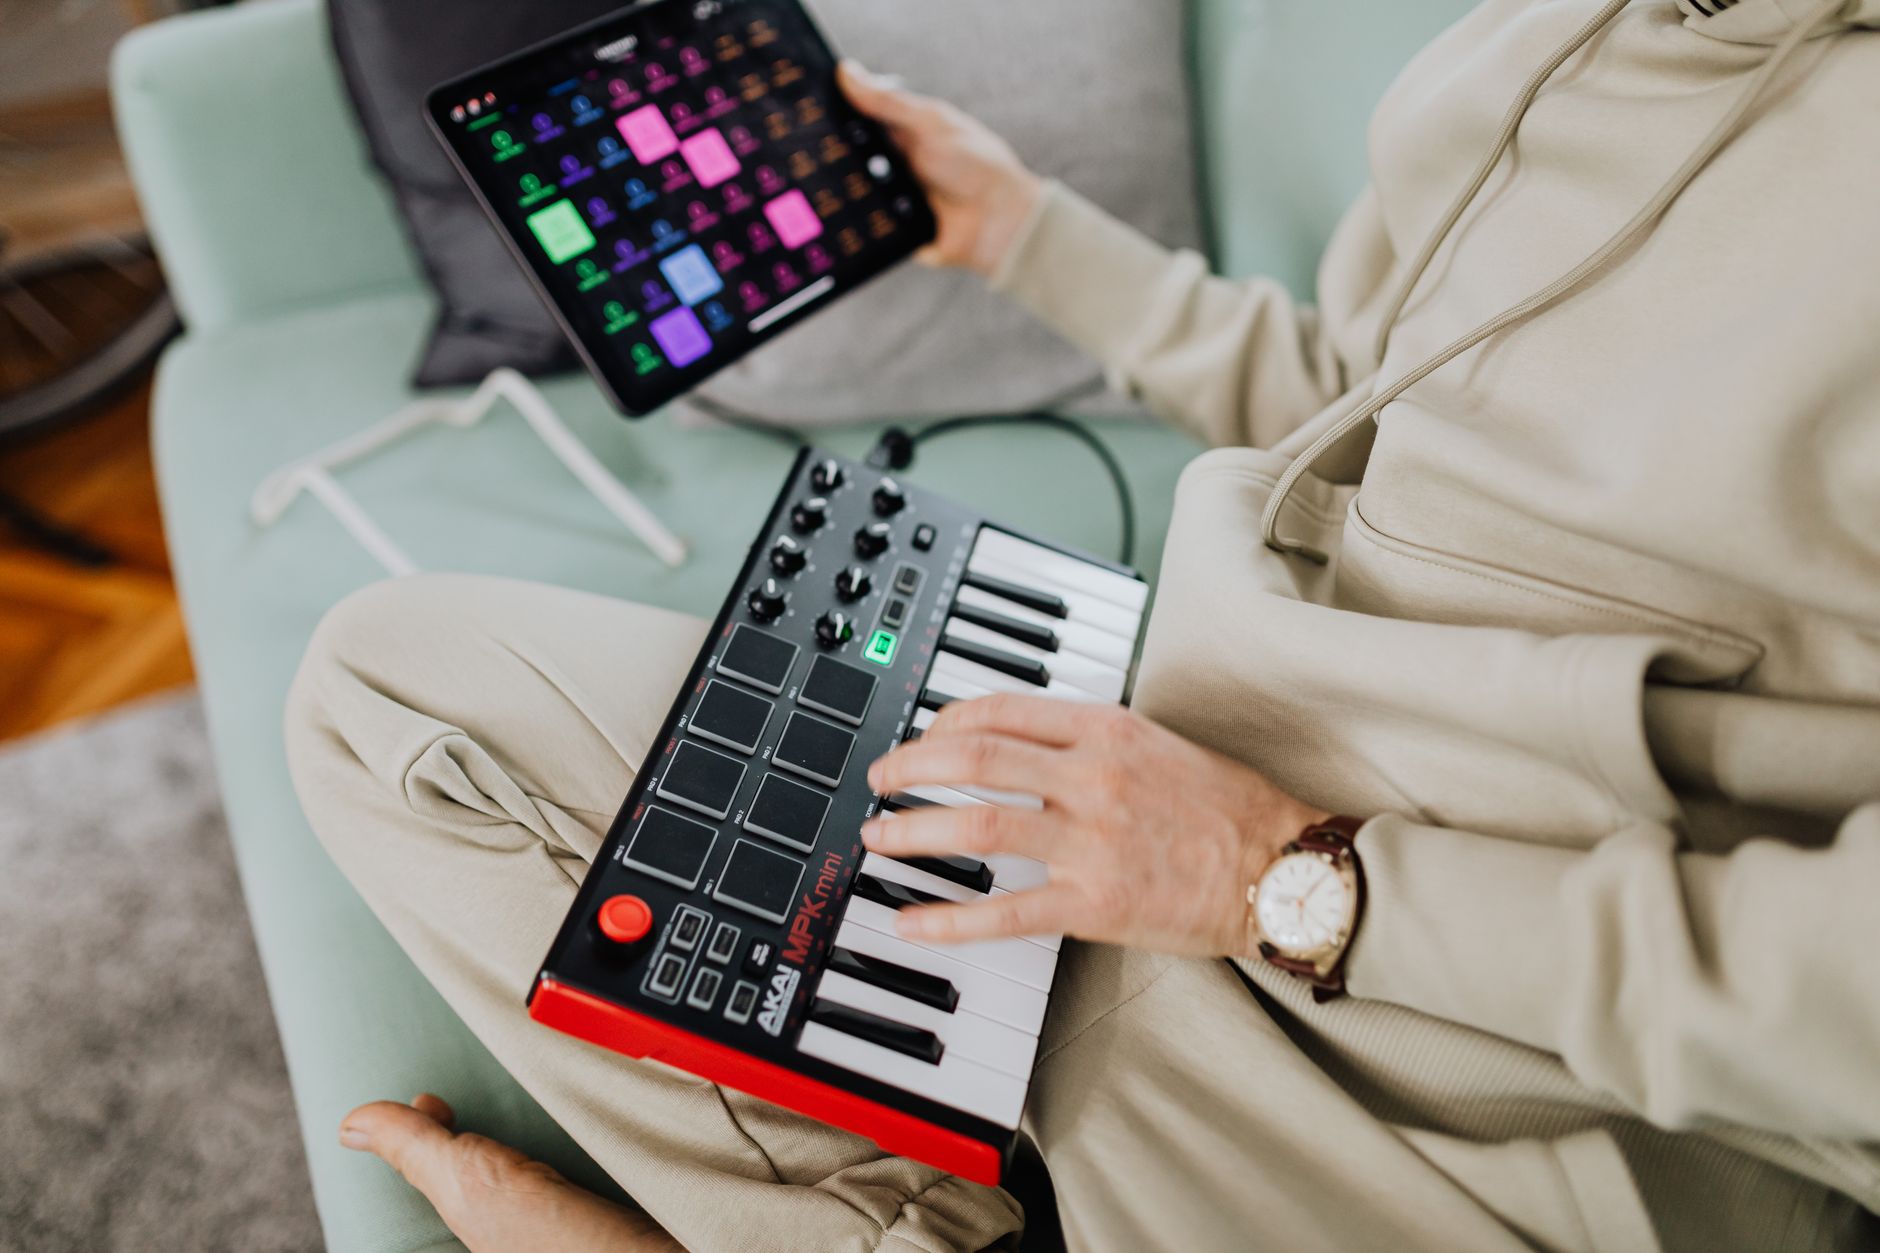
Open-back headphones have better stereo imaging for mixing, but they bleed into microphones during recording. At $500 total, you need one pair that does both jobs. Closed-back wins.
 Photo: RDNE Stock project via Pexels
| Headphone | Price | Impedance | Best For |
|---|---|---|---|
| Sony MDR-7506 | $88 | 63Ω | Broadcast-standard accuracy; slight treble emphasis |
| Audio-Technica ATH-M40x | $99 | 35Ω | Flatter frequency response than M50x; more honest for mixing |
| Beyerdynamic DT 240 Pro | $89 | 35Ω | Excellent isolation; comfortable for long sessions |
The ATH-M40x has a flatter measured frequency response than the more popular M50x (the M50x has a well-documented bass and treble emphasis). Expert consensus among home studio engineers favors flatter headphones for mixing decisions, so the M40x is the better tool here.
DAW: Free Options Are Legitimately Good
GarageBand is free on Mac and capable of professional results. Reaper costs $60 and is the best value paid DAW at any price. If you’re on Windows without a DAW bundled with your interface, Reaper is the answer.
| DAW | Cost | Platform | Notes |
|---|---|---|---|
| GarageBand | Free | macOS/iOS | Full feature set; exports to Logic later |
| Reaper | $60 (discounted license) | Win/Mac/Linux | Tiny install, fully scriptable |
| Studio One Artist | Bundled with PreSonus interfaces | Win/Mac | Solid if you bought the AudioBox |
| Audacity | Free | Win/Mac/Linux | Recording and basic editing only; not a full DAW |
If you’re on Mac: use GarageBand and save $60 for a second mic cable or an acoustic panel. If you’re on Windows: buy Reaper.
Complete Signal Chain
Microphone (XLR) → Audio Interface (USB-C to computer)
                          ↓
                       DAW (48V phantom power enabled for condenser)
                          ↓
                    Monitoring (headphones from interface headphone out)
Gain staging notes:
- Set interface mic gain so your loudest passages peak at -12 to -6 dBFS on the DAW input meter
- Enable phantom power (48V) before plugging in your condenser — the AT2020 and most condensers require it
- Record at 24-bit / 44.1kHz minimum; 48kHz if your project will sync to video
Step-by-Step Setup Workflow
- Install interface drivers before connecting hardware (Windows especially; Mac is usually plug-and-play)
- Connect interface to computer via USB, confirm it appears in your audio settings as input/output device
- Enable phantom power on the interface (usually a 48V button — check the LED is on)
- Connect microphone with an XLR cable to input 1
- Set gain: speak at normal recording volume, adjust the gain knob until the input meter peaks in the green (-18 to -12 dBFS)
- Open DAW, set audio input to your interface (not the built-in soundcard)
- Create a mono audio track, arm it for recording, confirm you see signal on the track meter
- Plug headphones into the interface headphone output — monitor directly from the interface, not from the computer’s headphone jack, to eliminate latency
- Record a test take at 10–15 seconds, play back and confirm no distortion, no hum
- Save your session template with this routing so you don’t repeat setup
Troubleshooting Matrix
| Symptom | Likely Cause | Fix |
|---|---|---|
| No signal in DAW | Wrong input selected | Set DAW audio input to your interface, not built-in mic |
| Loud hum or buzz | Ground loop or missing phantom power | Try a different USB port; enable 48V if mic requires it |
| High latency on playback | Buffer size too large | Reduce buffer to 128 or 64 samples in DAW audio settings |
| Distorted recording | Gain too high | Back off interface gain; aim for peaks at -12 dBFS |
| Thin, weak vocal sound | Mic too far from source | 6–12 inches is the standard distance; use a pop filter |
| Phase issues on playback | Mono compatibility problem | Check that you haven’t duplicated a track with polarity inverted |
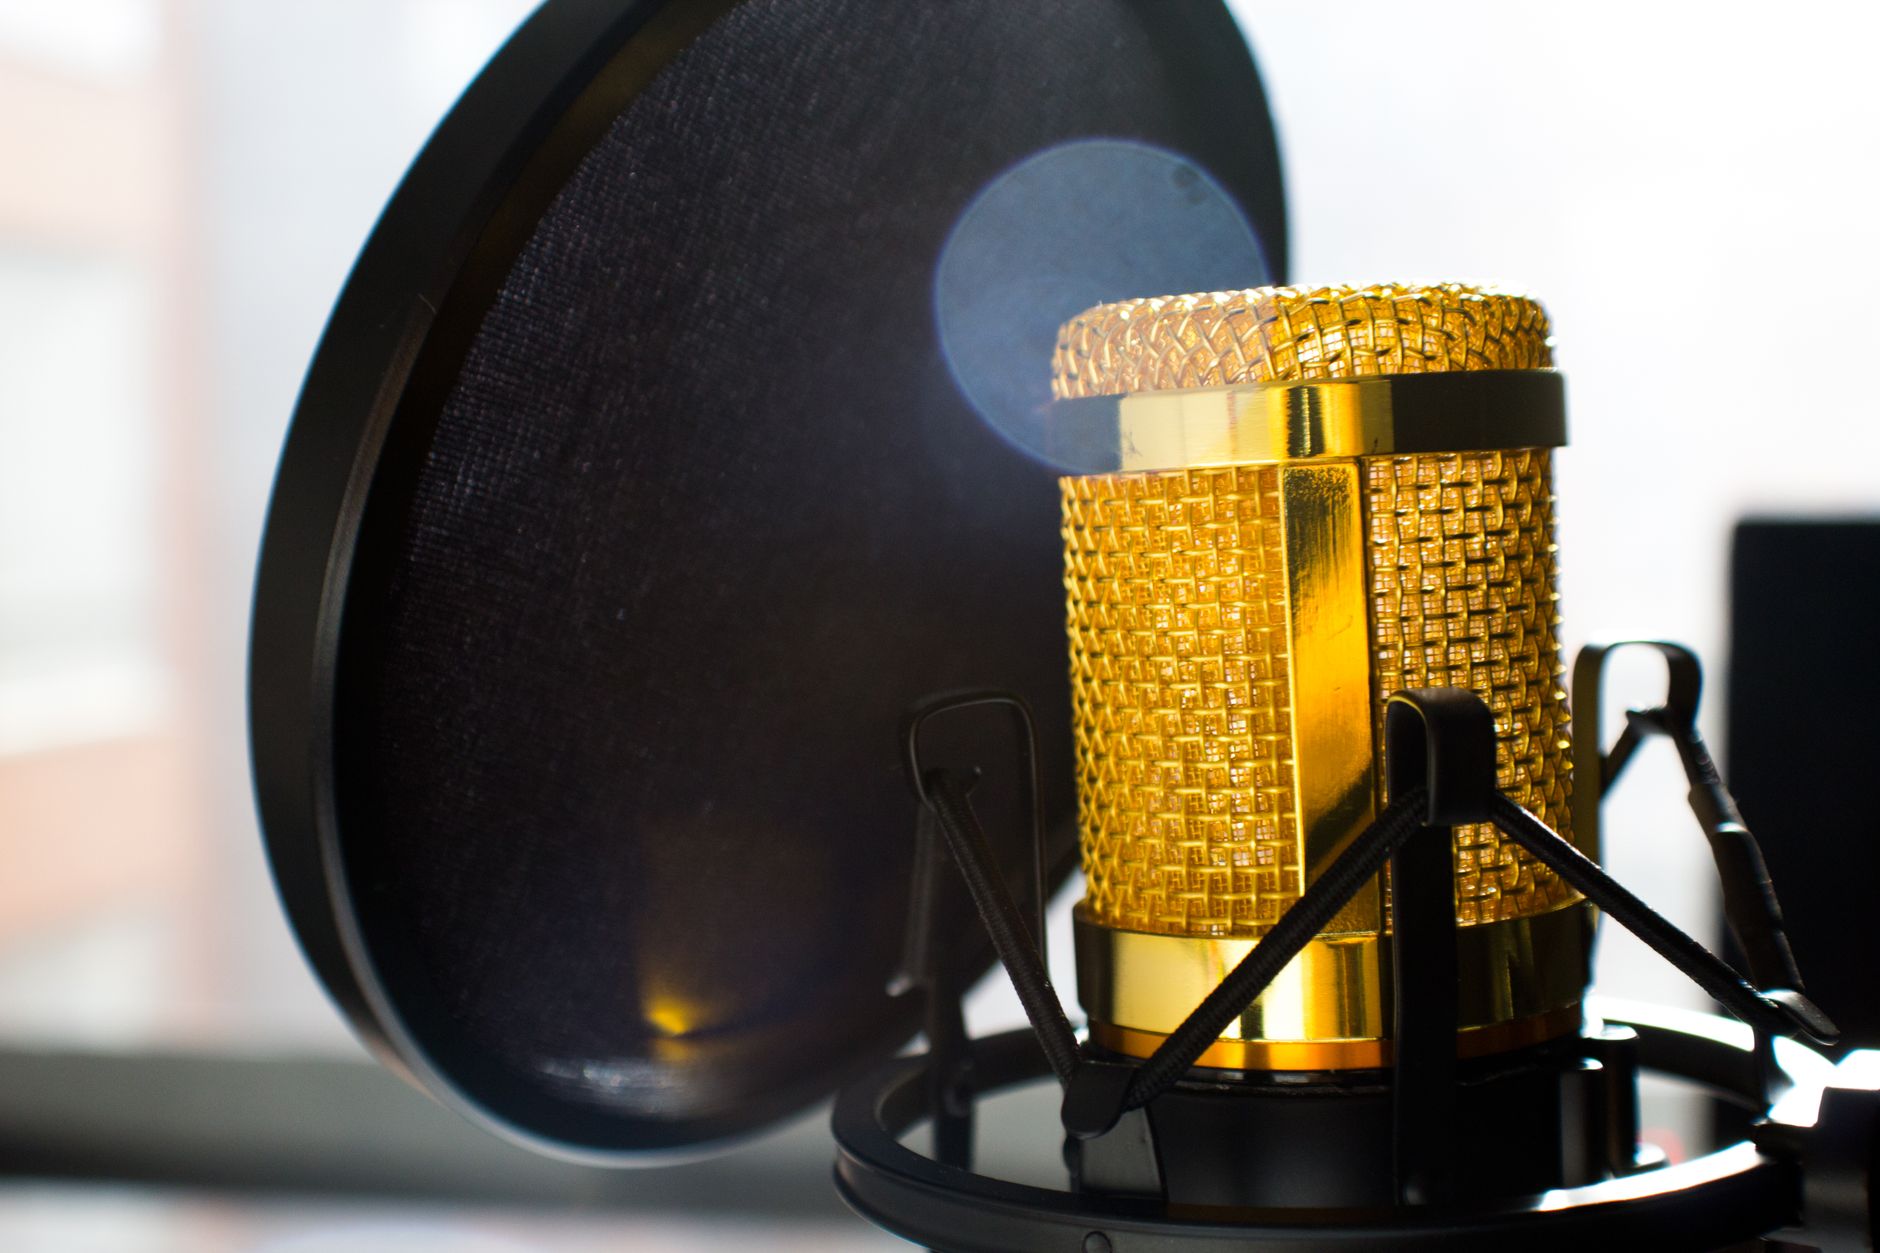 Photo: Jean Balzan via Pexels
Full $500 Bill of Materials
| Item | Product | Price |
|---|---|---|
| Audio interface | Focusrite Scarlett Solo 4th Gen | $119 |
| Microphone | Audio-Technica AT2020 | $99 |
| Headphones | Audio-Technica ATH-M40x | $99 |
| DAW | Reaper (discounted license) | $60 |
| XLR cable (10ft) | Amazon Basics or Mogami | $15 |
| Mic stand | On-Stage MS7701B desk boom stand | $30 |
| Pop filter | Aokeo Professional (gooseneck mount) | $12 |
| Total | $434 |
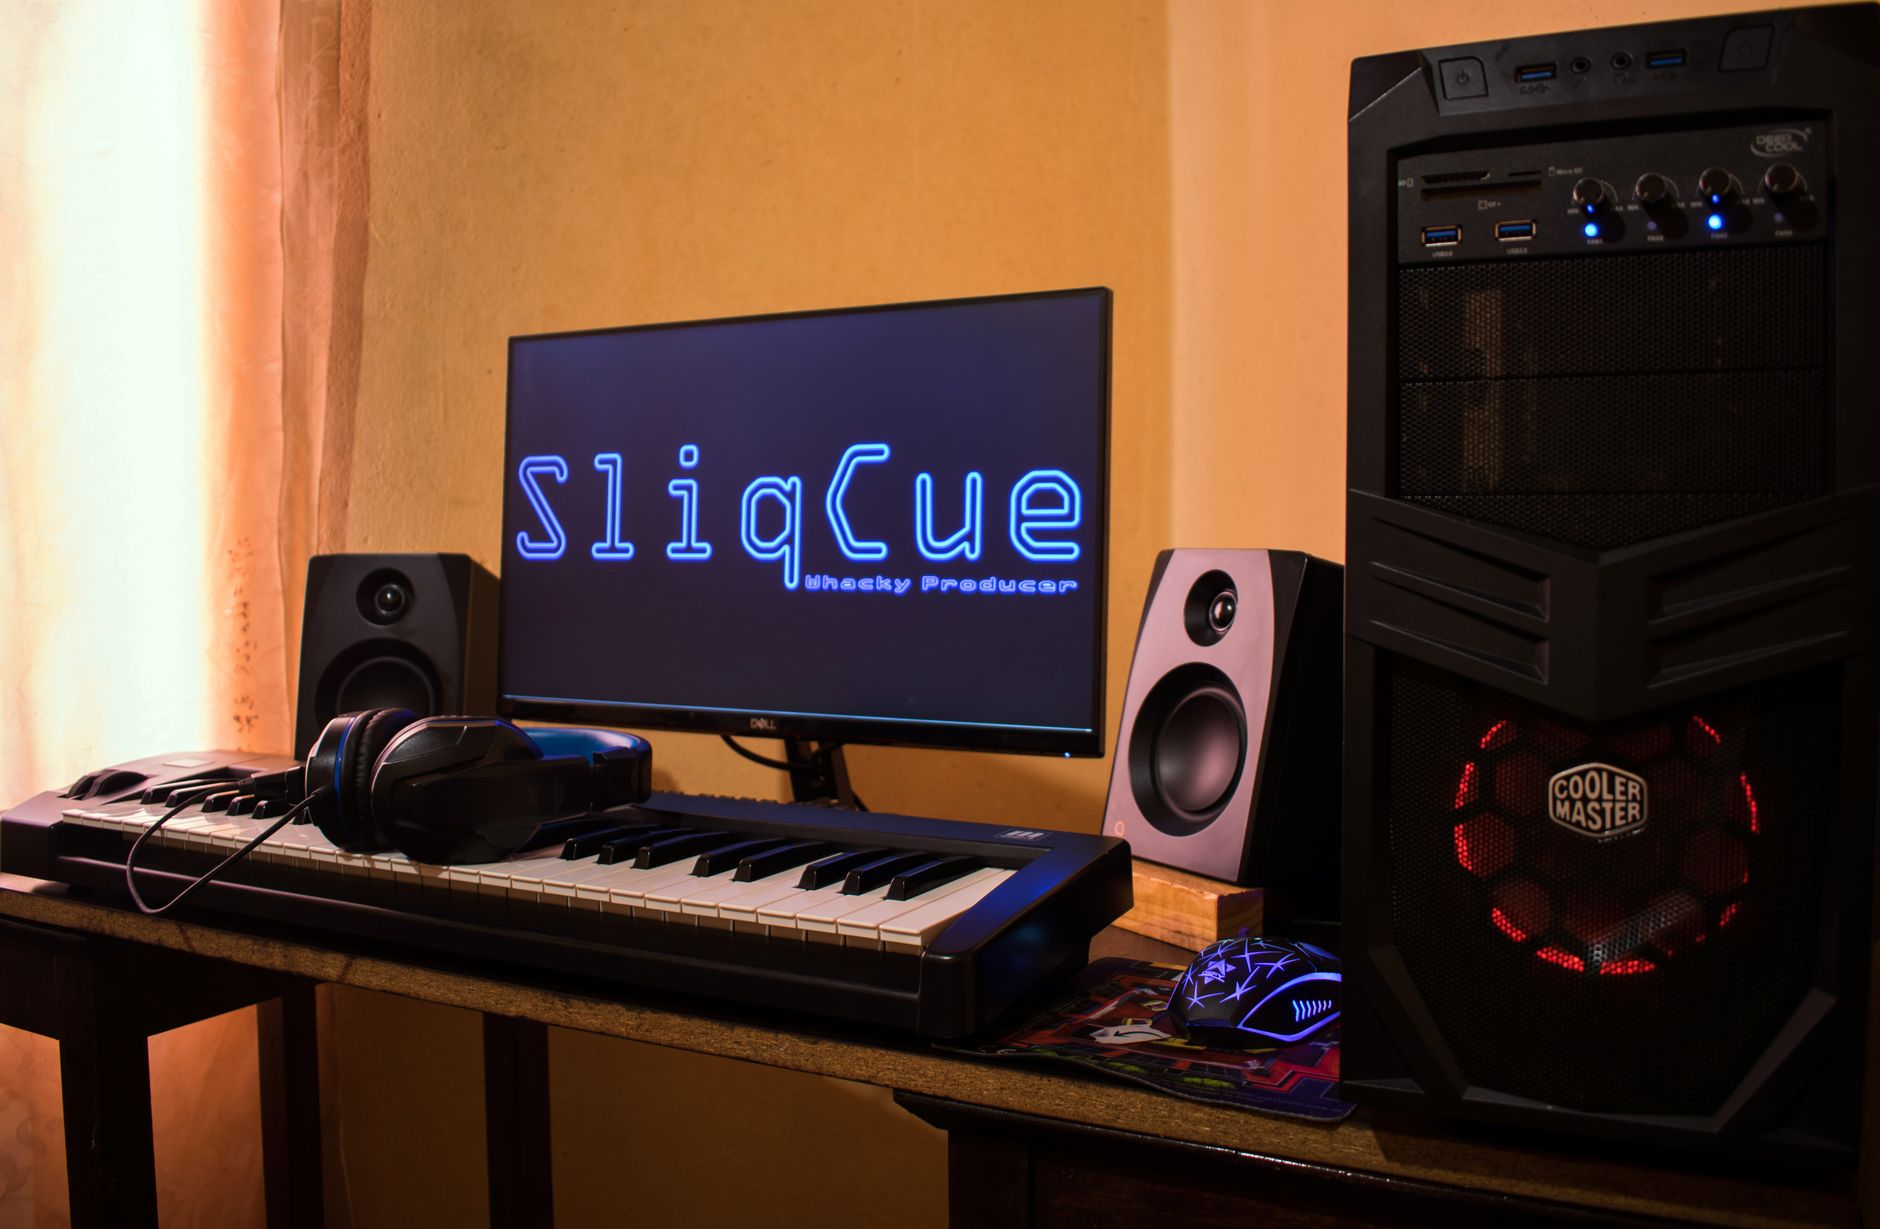
That leaves $66 for a second XLR cable, a headphone extension, or your first acoustic panel — a 2-inch rigid fiberglass or rockwool panel in the corner behind you makes a measurable difference to room reflections in recordings.
→ See also:
- The Complete Home Recording Studio Setup Guide (2026)
- How to Build a Home Studio for $300 (2026)
- Home Studio Setup for Beginners
FAQ
Do I need studio monitors for a $500 home studio setup? No — and at $500 total, accurate monitors don’t exist. Budget monitor pairs under $150 have significant frequency response problems that will mislead your mixing decisions. Closed-back headphones give you more reliable feedback at this price point. Add monitors when you’ve treated your room and have a separate budget of at least $200–$300 per speaker.
Can I use a USB microphone instead of an interface + XLR mic? You can, and it simplifies setup — but you give up flexibility. USB mics can’t be paired with other microphones for multi-source recording, and you lose the headphone monitoring output the interface provides. The AT2020USB+ is a legitimate option for podcast-only setups, but the XLR version plus an interface is the better long-term foundation.
Is GarageBand good enough for professional-quality recordings? Yes. GarageBand’s audio engine is the same as Logic Pro’s at the core, and published comparisons between sessions exported from both show no measurable quality difference in audio fidelity. Its limitations are in advanced MIDI editing and third-party plugin hosting — neither of which matters for a straightforward home recording setup.
How important is acoustic treatment for a $500 home studio? More important than any gear upgrade after the basics are covered. Hard parallel walls cause flutter echo that makes recordings sound amateur regardless of mic quality. Two acoustic panels behind the recording position — one behind the mic, one behind the vocalist — reduce comb filtering noticeably. Rigid fiberglass (703) cut into 2’x2’ panels and covered in fabric costs roughly $30–$40 in materials and outperforms any $100 gear upgrade.
What’s the first upgrade after a $500 home studio setup? Acoustic treatment, then a second XLR cable and a second mic for room recording or interviews, then studio monitors once your room is treated. The interface and mic you buy at $500 (Scarlett Solo + AT2020) are legitimately good enough to stay in place through multiple studio upgrades — you won’t outgrow them for years.
Will this setup work for music production, not just vocals? Yes, with limitations. The Scarlett Solo has one mic input and one instrument input (for direct guitar/bass recording). If you need to record a drum kit or multiple simultaneous sources, you’ll need a multi-input interface like the Focusrite Scarlett 4i4. For in-the-box beat production using virtual instruments, this setup works without modification — the interface handles MIDI keyboard input via USB separately from the mic input.
Editorial methodology: Assessments are based on manufacturer specifications, published user reviews, and editorial research. Physical hands-on testing is noted explicitly where it occurred. Rankings reflect our editorial judgment and are not influenced by affiliate commission rates. Full editorial policy · Affiliate disclosure