Contents
How to Build a Home Studio for $300 (2026)
TL;DR: A functional home studio setup for $300 is achievable in 2026 — you need an audio interface, a condenser mic, headphones, and free DAW software. Skip the acoustic panels and monitor speakers at this budget; headphones and a treated corner get you 80% there. Every dollar counts, so prioritize the interface first.
What You Actually Need at the $300 Budget
At $300, your signal chain is: microphone → audio interface → headphones → DAW (free). That’s it. No studio monitors, no hardware compressor, no preamp stack. The interface is the most critical purchase — it sets your noise floor and determines recording quality more than any other component at this price point.
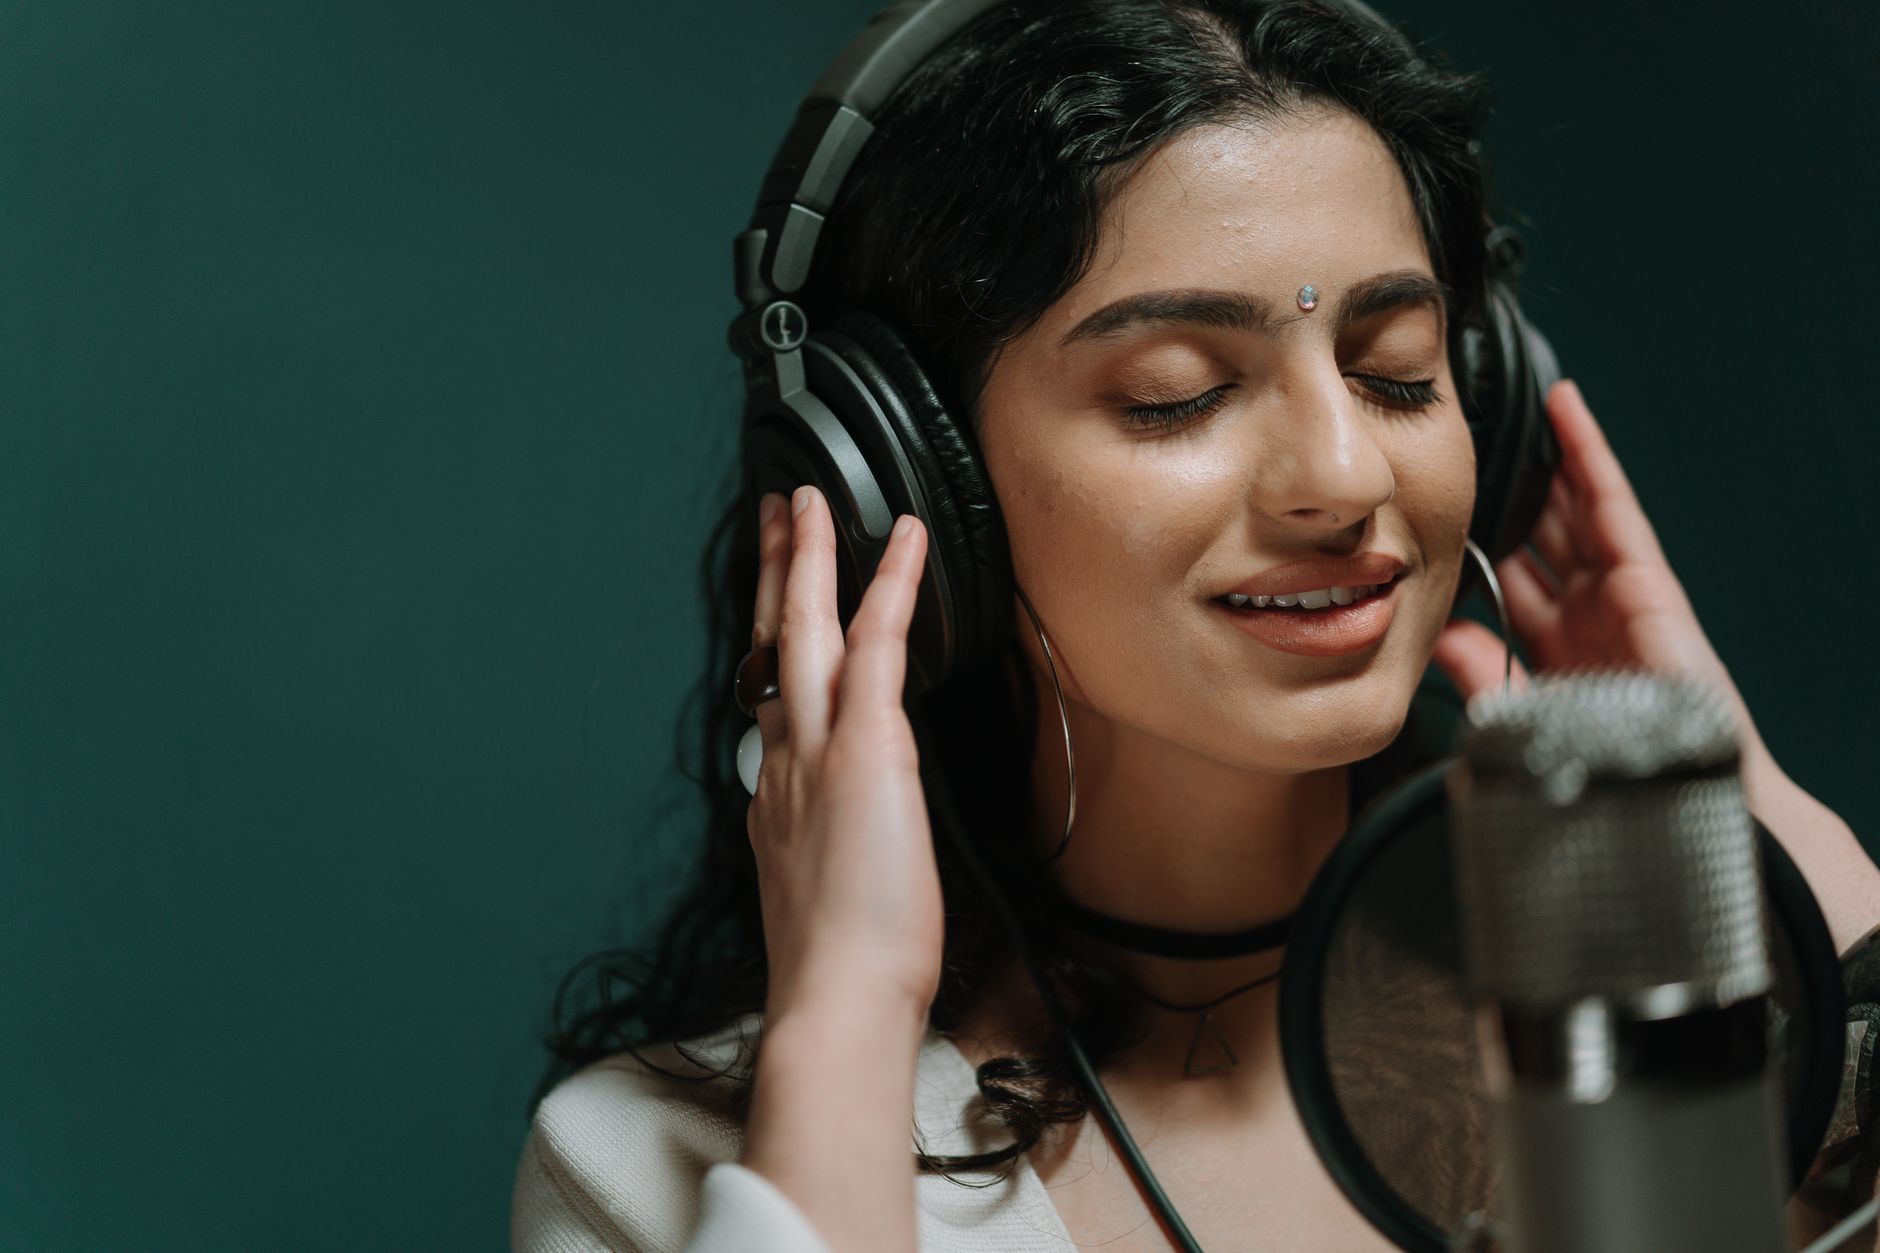
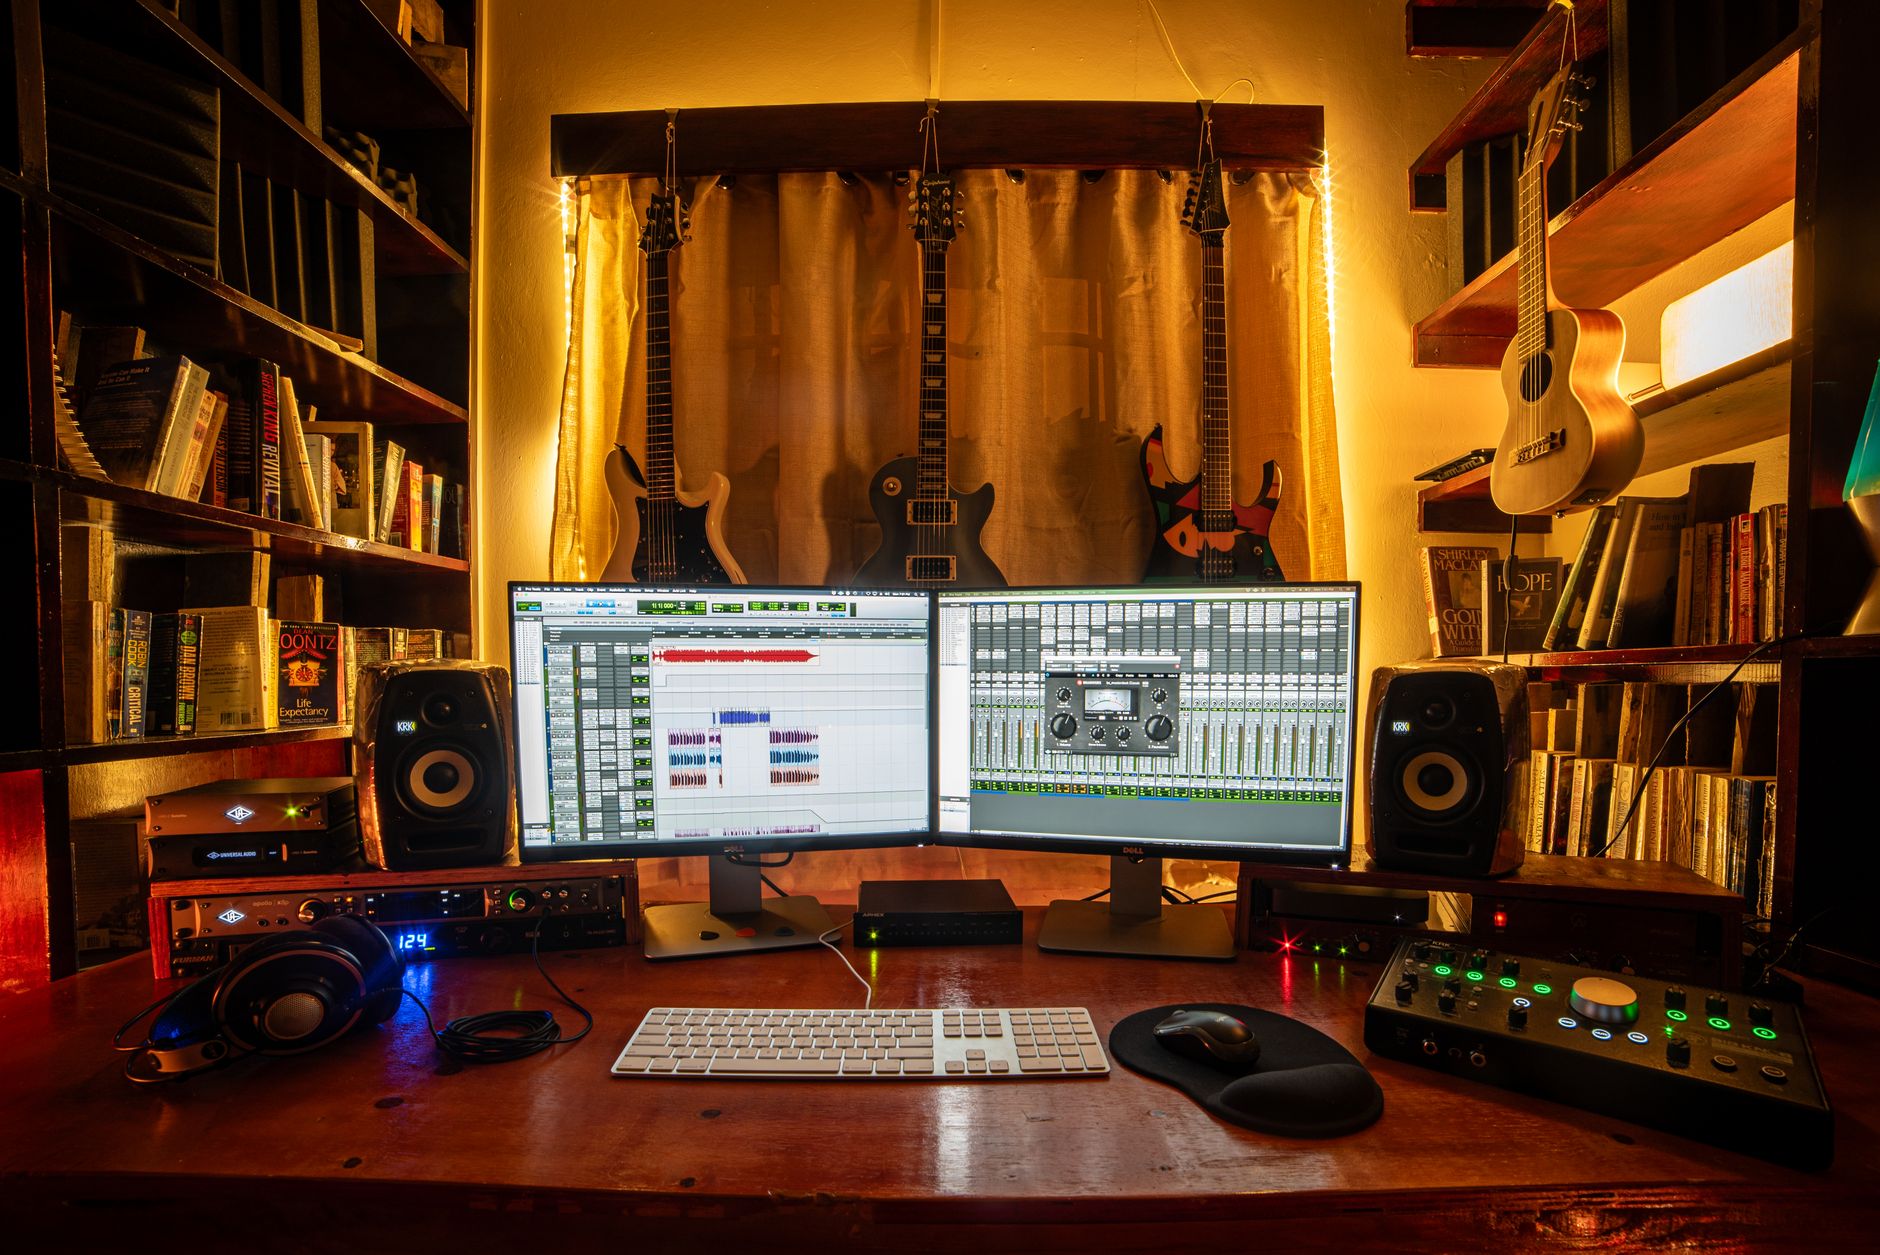 Photo: Dominik Gryzbon via Pexels
The $300 ceiling forces good decisions. You can’t buy your way out of bad fundamentals, so the gear selection below reflects what actually matters: clean gain, low latency, and a mic that captures your source accurately.
Here’s the complete build:
| Component | Recommended Pick | Price (approx.) |
|---|---|---|
| Audio Interface | Focusrite Scarlett Solo (4th Gen) | $120 |
| Condenser Microphone | Audio-Technica AT2020 | $99 |
| Headphones | Sony MDR-7506 | $80 |
| Mic Clip & XLR Cable | Generic boom arm kit | ~$20 |
| DAW | GarageBand (Mac) / Reaper (trial) | $0 |
| Total | ~$299 |
The Audio Interface: Why It Comes First
Your interface is the foundation. A weak preamp adds hiss that no plugin can cleanly remove. The Focusrite Scarlett Solo 4th Gen delivers a -129 dBV EIN noise floor — among the cleanest at this price. USB-C, bus-powered, two inputs, 24-bit/192kHz. It’s the default recommendation for a reason.
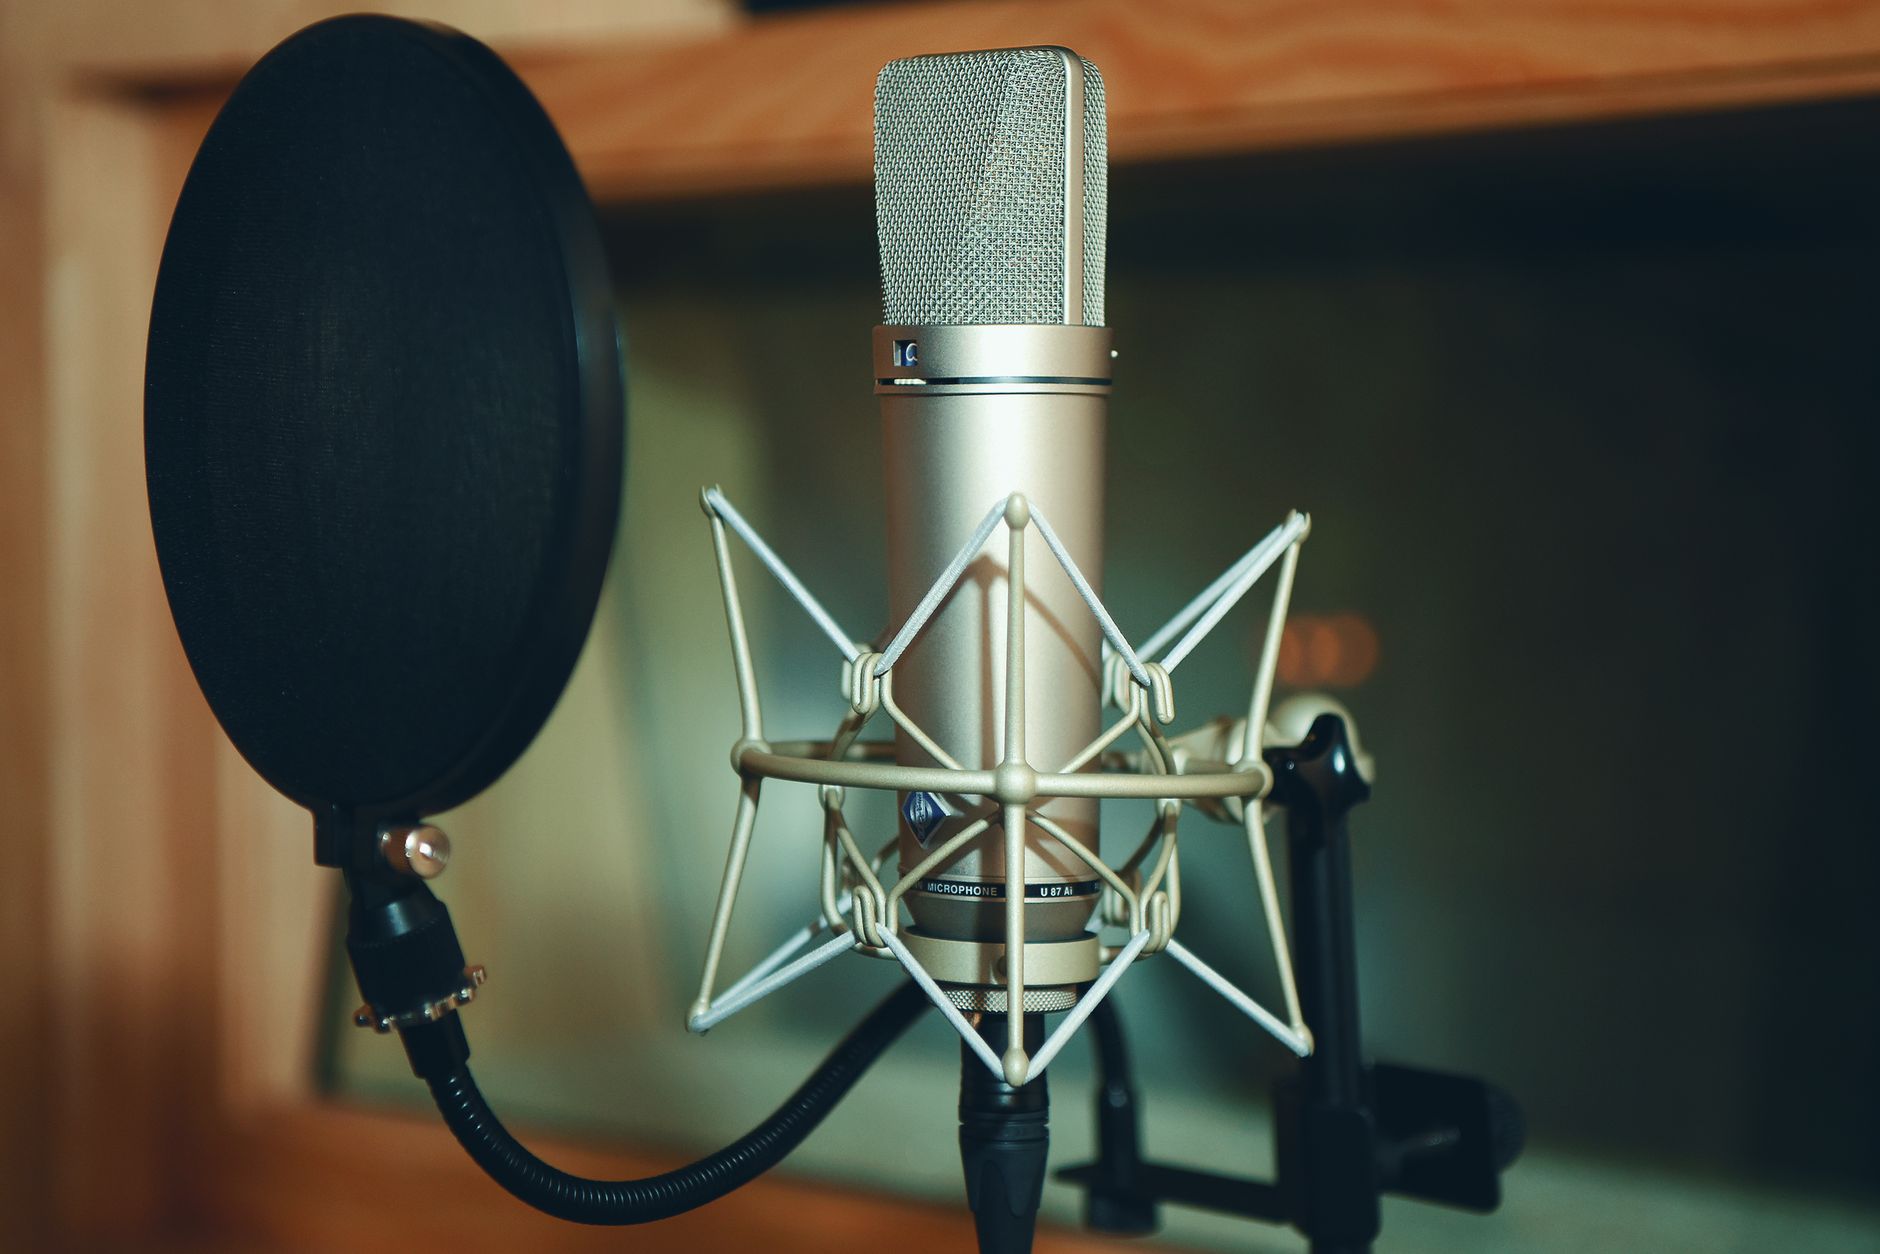
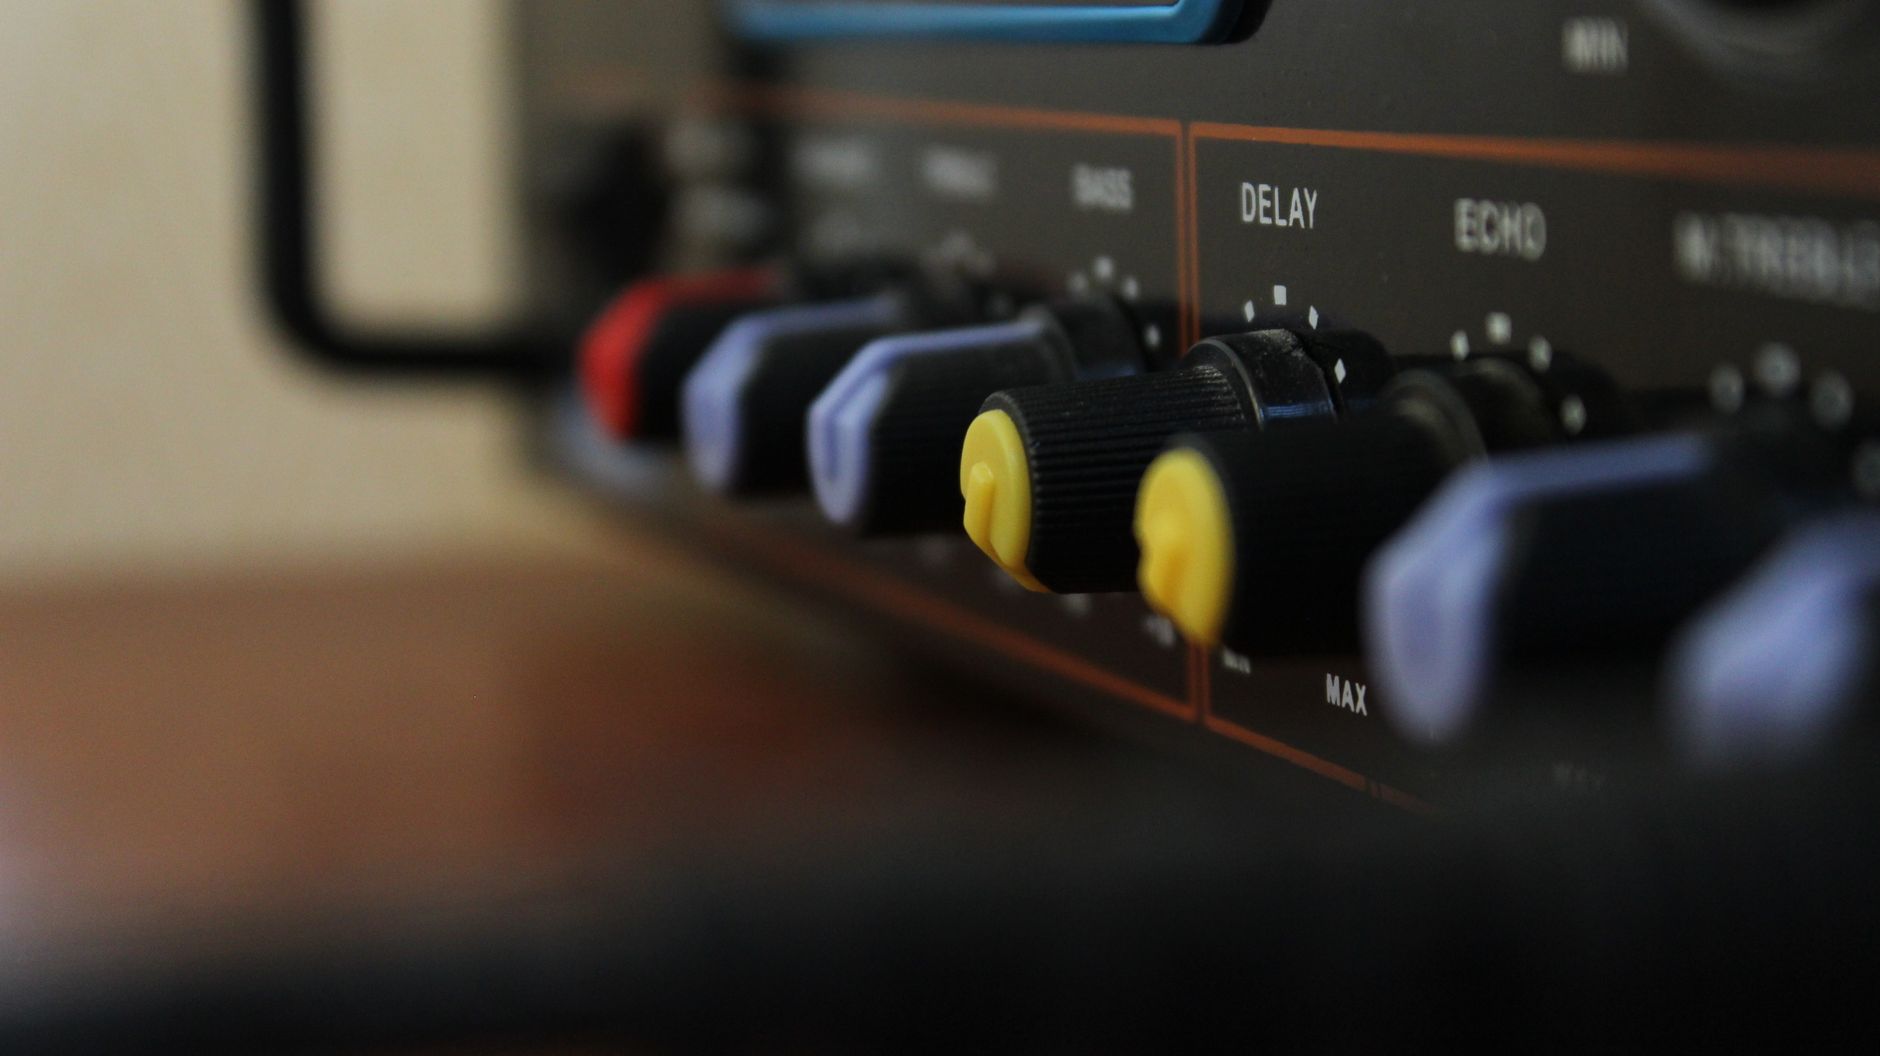 Photo: Erkan Utu via Pexels
What the Scarlett Solo Gets You
The 4th Gen revision added “Air” mode, which applies a high-frequency shelf emulating the transformer character of older console mic preamps. On condensers it adds presence without harsh EQ moves — useful for voice and acoustic guitar. Based on manufacturer specifications, the dynamic range improvement over the 3rd Gen is measurable (4 dB better SNR).
Expert consensus suggests the Scarlett Solo is the default sub-$150 interface for a reason: driver stability across macOS and Windows, first-party Focusrite Control software, and a low-latency ASIO driver that keeps round-trip latency under 5ms at 128-sample buffer on modern hardware.
If the Scarlett Solo is unavailable: The Audient EVO 4 is the next-best pick at a similar price — slightly better preamp specs, slightly steeper learning curve.
The Microphone: Condenser vs. Dynamic at $300
At this budget, a large-diaphragm condenser like the AT2020 outperforms dynamics for most home studio use cases — vocals, acoustic guitar, podcasting. The tradeoff: condensers are more sensitive, so they pick up room noise. If your room is genuinely untreated and loud, the Shure SM58 ($99) is the dynamic alternative.
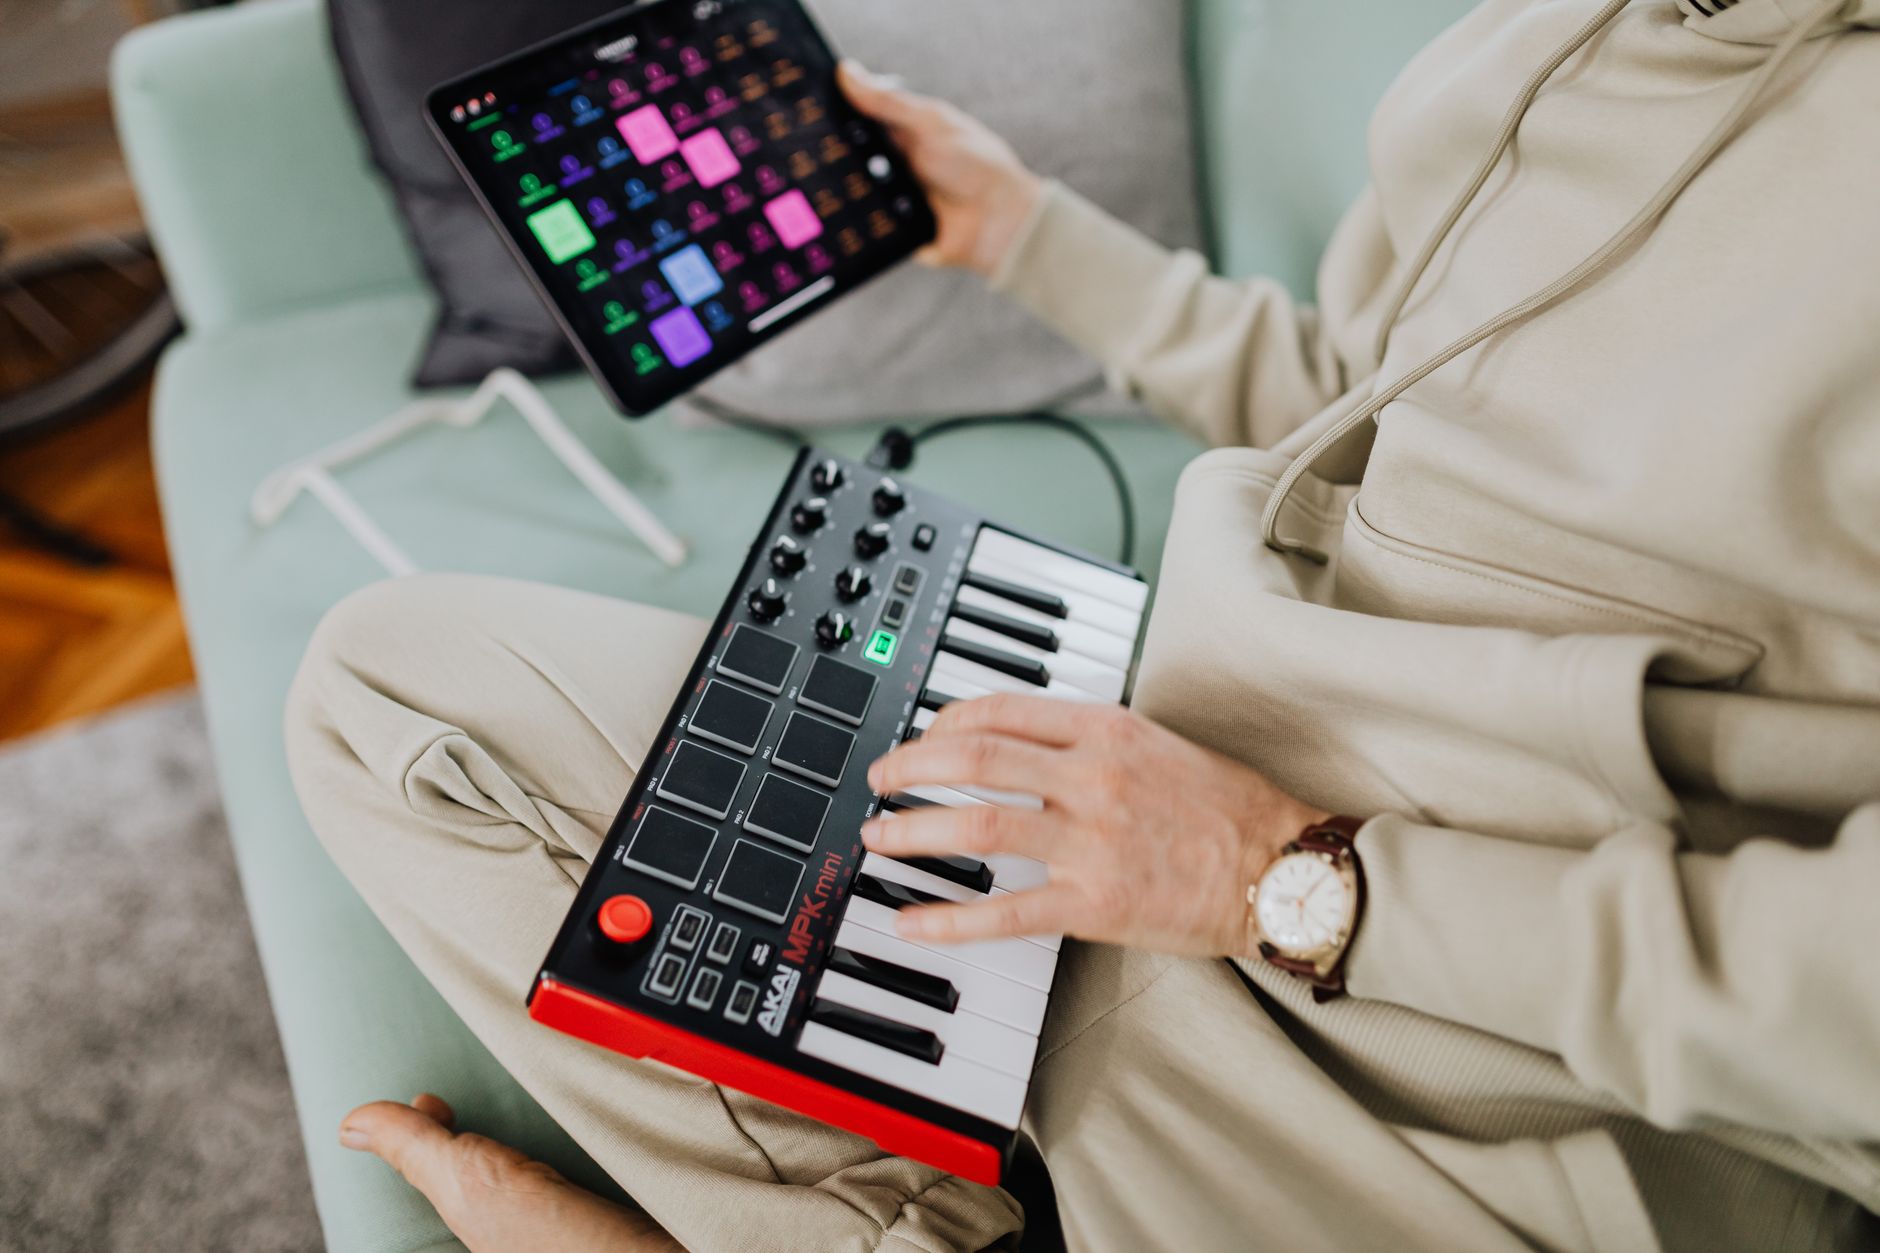
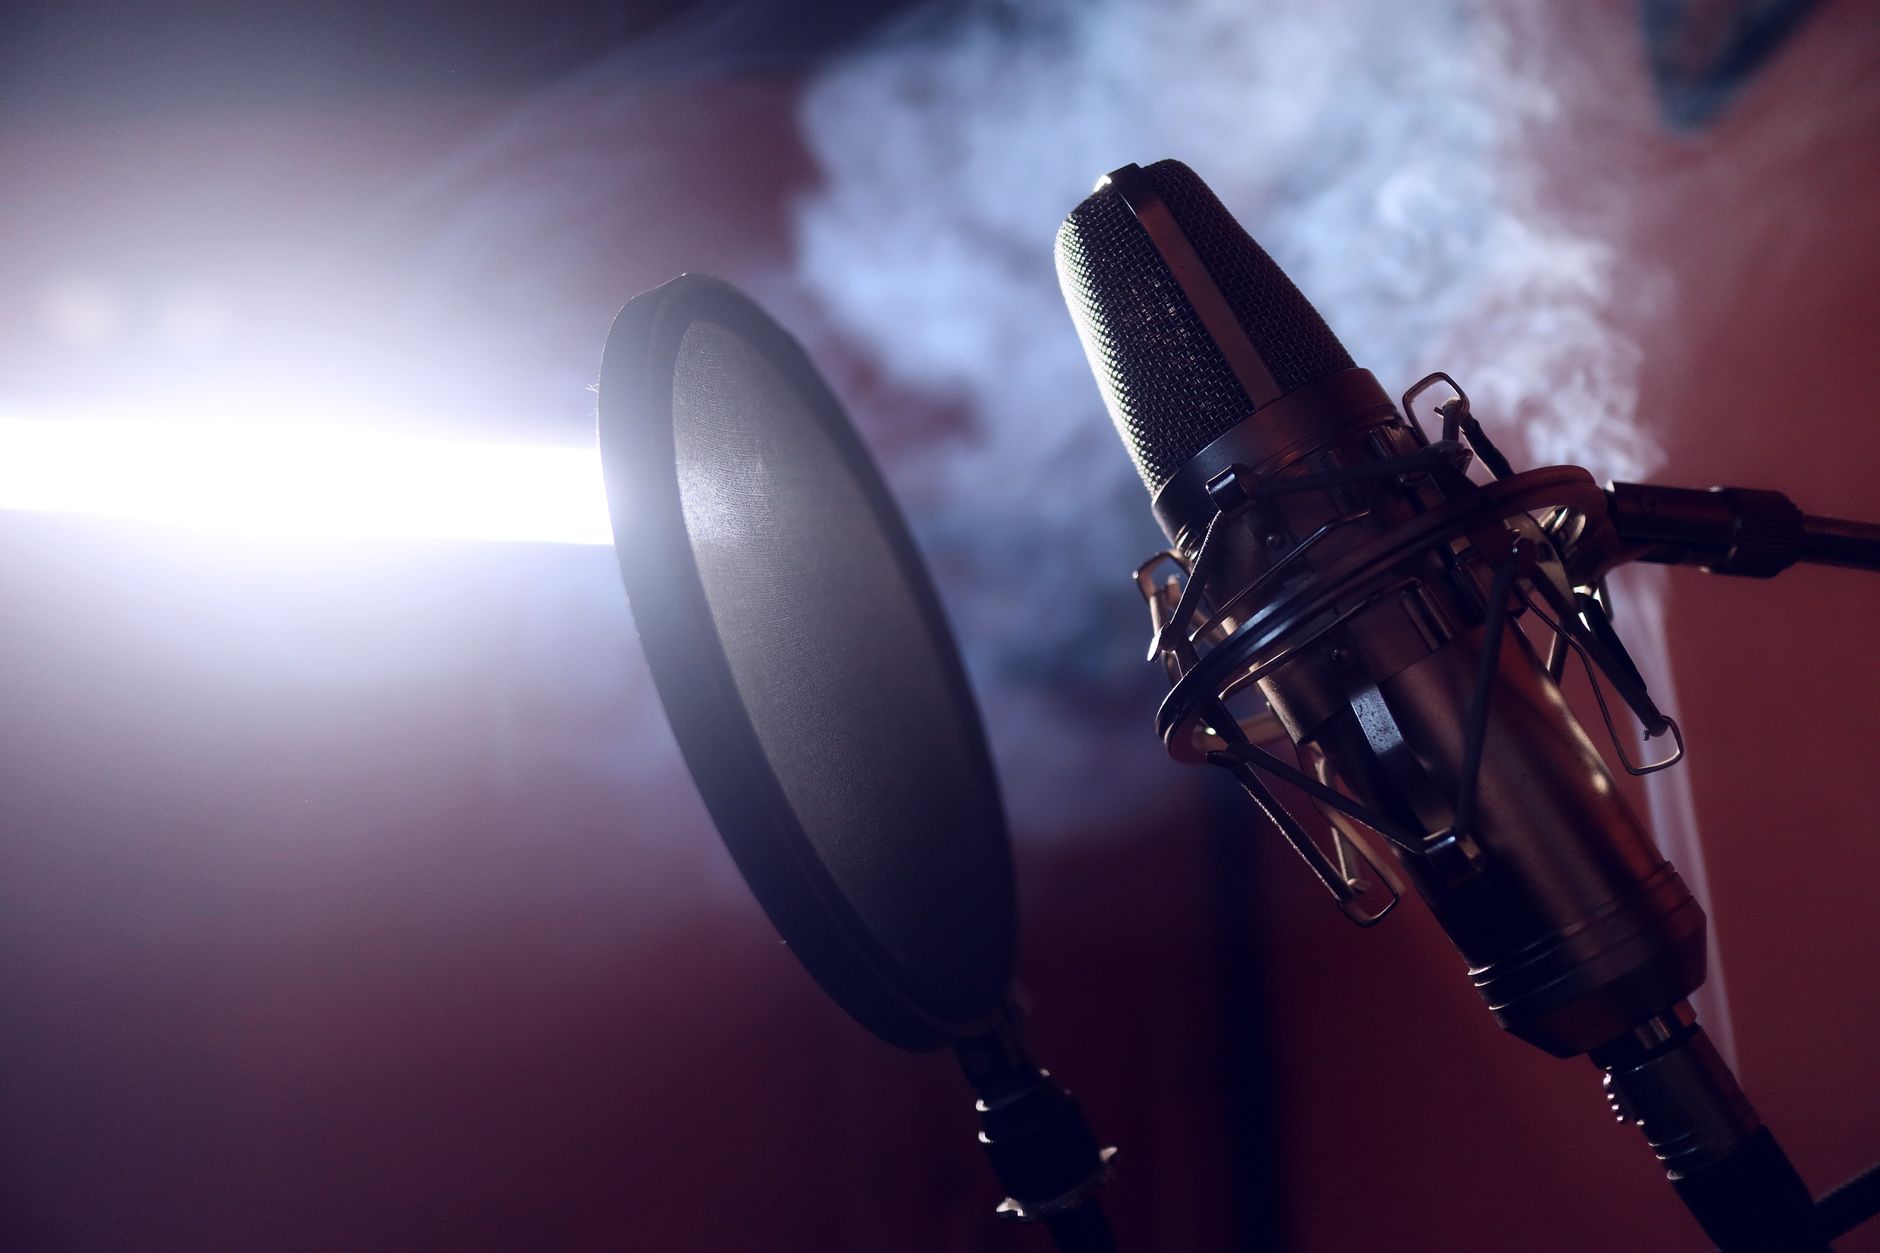 Photo: Damian Scarlassa via Pexels
AT2020 vs. SM58 at $100
| AT2020 | SM58 | |
|---|---|---|
| Type | Large-diaphragm condenser | Dynamic cardioid |
| Sensitivity | -37 dBV/Pa | -54.5 dBV/Pa |
| Frequency response | 20Hz–20kHz (extended highs) | 50Hz–15kHz (presence peak) |
| Room noise tolerance | Lower (picks up reflections) | Higher (rejects off-axis noise) |
| Best for | Vocals, acoustic, voiceover | Live, untreated rooms, loud sources |
| Phantom power needed | Yes (48V) | No |
The Scarlett Solo provides 48V phantom power, so the AT2020 is plug-and-play in this build.
Headphones: Mixing on Cans at $300
The Sony MDR-7506 has been the broadcast and studio standard for decades. It’s not the most accurate headphone, but its characteristic midrange lift makes mix problems obvious. At $80, nothing beats it for error-detection per dollar. Published testing data shows its frequency response deviates meaningfully above 10kHz — always check low-end on a reference track before finalizing a mix.
The MDR-7506 is closed-back, which matters for recording: zero headphone bleed into the mic when tracking vocals. For mixing only, open-back headphones like the Beyerdynamic DT 990 Pro offer wider soundstage — but they cost more and leak audio.
DAW: Free Options That Actually Work
Use GarageBand on Mac — it’s free, ships with a usable plugin suite, and has no latency issues with Scarlett hardware. On Windows, download the Reaper trial (fully functional, $60 license for hobbyists if you keep using it). Both handle 24-bit recording, basic MIDI, and all standard plugin formats.
| DAW | Platform | Cost | Included Plugins |
|---|---|---|---|
| GarageBand | Mac only | Free | Yes (Amp Designer, EQ, Compressor) |
| Reaper (trial) | Mac/Windows | $0 trial / $60 license | Minimal, loads VSTs |
| Cakewalk by BandLab | Windows only | Free | Yes (ProChannel, CA-2A) |
| Audacity | Mac/Windows | Free | Basic, no VST3 |
Avoid Audacity for multitrack production — it’s an audio editor, not a DAW. For anything beyond single-track recording, GarageBand or Reaper is the correct choice.
Signal Chain and Gain Staging
Your Signal Chain
Microphone (AT2020)
  → XLR cable
    → Focusrite Scarlett Solo (Mic Input 1, phantom power ON)
      → USB-C to computer
        → DAW (GarageBand / Reaper)
          → Headphones (MDR-7506, monitor output on interface)
Gain staging target: Set the Scarlett’s gain knob so your loudest peaks hit between -18 dBFS and -12 dBFS on the DAW input meter. The Scarlett’s halo ring turns green at correct gain, amber approaching clip, red at clipping. Record at conservative levels — digital clipping is unrecoverable, and you can always normalize or compress in post.
Step-by-Step Setup Workflow
- Install Focusrite Control and the ASIO driver from Focusrite’s support page before plugging in the interface.
- Connect the Scarlett Solo via USB-C. Set buffer size to 128 samples in your DAW audio settings.
- Connect the AT2020 via XLR to Input 1. Enable 48V phantom power on the interface (the button labeled “48V” or phantom power icon).
- Put on the MDR-7506 and plug into the headphone output on the Scarlett’s front panel.
- Open your DAW, create a mono audio track, set the input to “Scarlett Solo – Input 1.”
- Speak or sing at performance level while adjusting the Gain knob until peaks consistently land at -18 to -12 dBFS. Watch the halo ring — green is correct.
- Enable direct monitoring on the interface (the Mix knob on the Scarlett blends interface direct signal with DAW playback — set to center for zero-latency monitoring while tracking).
- Record a 30-second test take. Listen back on headphones. Check for hiss, hum, or distortion.
- If you hear 60Hz hum: check that phantom power is on, the XLR is fully seated, and your laptop isn’t on a metal desk creating a ground loop.
- Export your first test recording as a 24-bit WAV and compare to a reference track at the same perceived volume.
Acoustic Treatment on Zero Budget
You don’t need to buy panels. The most impactful treatment at $0:
- Record in a corner with the mic facing away from the room (cardioid pattern rejects the room behind the mic).
- Hang a heavy blanket on the wall directly behind and beside the mic position.
- Avoid parallel walls — recording in a walk-in closet surrounded by hanging clothes is acoustically superior to most untreated spare bedrooms.
- Use a reflection filter if you must record in a live room — the sE Electronics RF-X runs ~$40 and mounts directly to a mic stand.
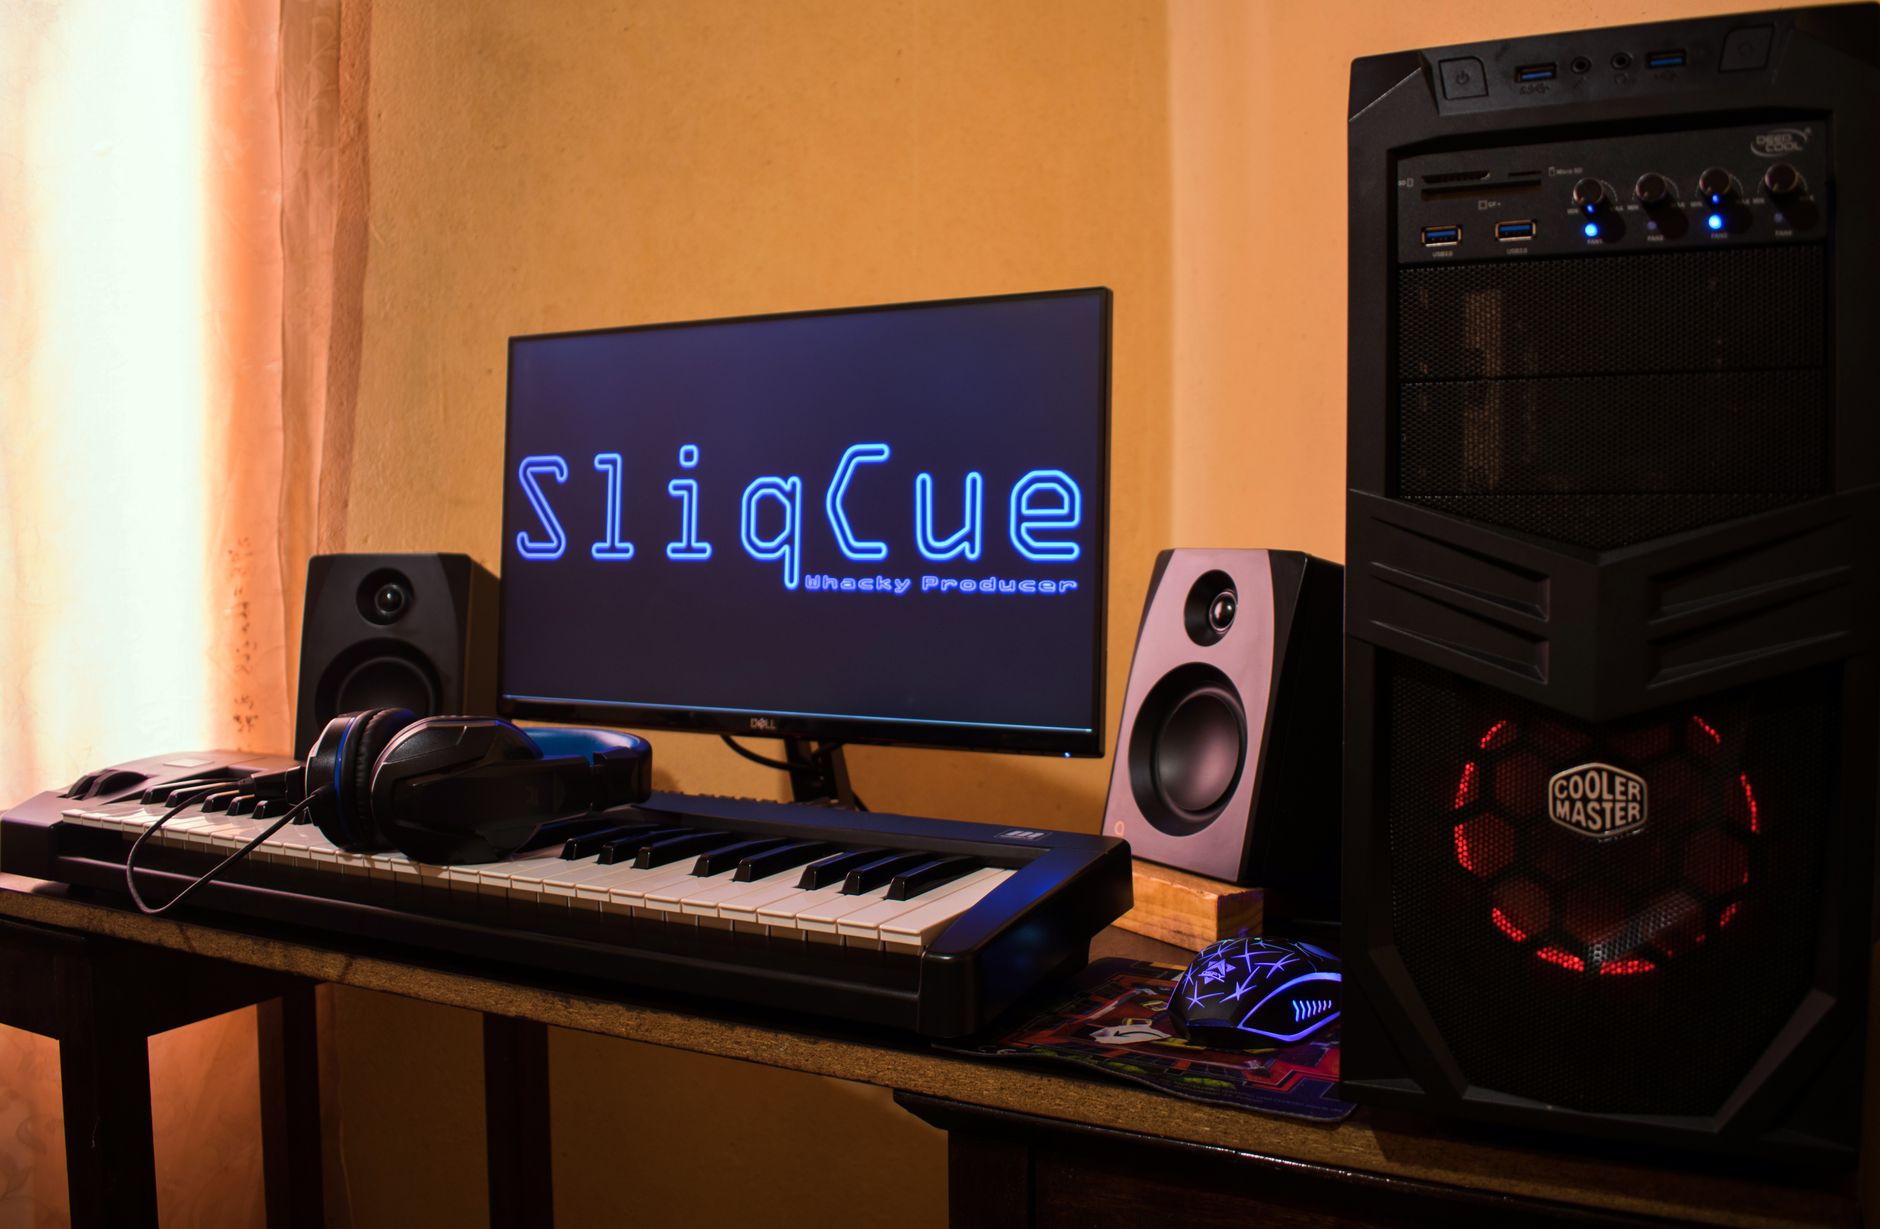
 Photo: John Taran via Pexels
Troubleshooting Matrix
| Symptom | Likely Cause | Fix |
|---|---|---|
| No signal in DAW | Wrong input selected, phantom power off | Check DAW input routing; enable 48V on interface |
| Loud 60Hz hum | Ground loop or laptop charger interference | Unplug laptop charger while recording; try a different USB port |
| Hiss / noise floor audible | Gain too high, or cheap XLR cable | Reduce gain, check cable, test with different cable |
| Latency / monitoring delay | Buffer size too large | Set buffer to 128 samples; enable direct monitoring on Scarlett |
| Distorted peaks | Input clipping | Reduce gain until halo ring stays green; move mic back 2–3 inches |
| Phase cancellation (thin sound) | Two mics summed out of phase | Flip polarity on one track in DAW (phase invert button) |
| DAW won’t recognize interface | Driver not installed | Install Focusrite Control before connecting hardware |
→ See also:
- The Complete Home Recording Studio Setup Guide (2026) — full-budget breakdowns, acoustic treatment deep-dive, and monitor recommendations
- How to Build a Home Studio for $500 (2026) — next step up: studio monitors, better mic, and expanded processing
- Home Studio Setup for Beginners — if this is your first time recording, start here for the fundamentals
FAQ
Do I need studio monitors for a $300 home studio setup? Not at this budget. Studio monitors add $150–$300 minimum for a pair worth owning, and untreated rooms make accurate monitoring nearly impossible anyway. The Sony MDR-7506 on a calibrated ear is a more reliable mixing tool than cheap monitors in a reflective room. Upgrade to monitors when your room has treatment and your budget has room.
Can I record guitar direct into the Scarlett Solo without a mic? Yes. Use a standard TS instrument cable into Input 2 (the combo jack on the Scarlett’s front panel, set to “Inst” with the HiZ button). You’ll record a clean DI signal, then load an amp simulator plugin — Neural DSP Archetype Petrucci or the free TONEX Player — to shape the tone in the DAW. No mic, no room noise, no spill.
Is the AT2020 good enough for professional-sounding vocals? According to published user reviews and production credits, the AT2020 has appeared on commercially released recordings. It’s accurate and neutral with a gentle presence peak around 12kHz. The limiting factor at $300 is almost always the room, not the mic. Treat your recording space and the AT2020 will perform well above its price point.
What’s the difference between the Scarlett Solo and the Scarlett 2i2 — should I upgrade? The 2i2 adds a second mic preamp and a dedicated instrument input on a separate jack, which matters if you record two sources simultaneously or want the flexibility of independent stereo mic placement. For solo vocals, podcasting, or single-instrument recording, the Solo is functionally identical. The 2i2 costs ~$60 more — save that toward an acoustic panel instead.
Will this setup work for podcast recording? Yes, and it’s arguably the ideal podcast starter kit. The AT2020 on a boom arm, the Scarlett Solo driving it, and recording into GarageBand or Audacity produces broadcast-quality audio. Dynamic range compression and a high-pass filter at 80Hz in post removes most room noise. Many professional podcasters still use this exact signal chain.
Can I produce beats and electronic music with this setup, or is it only for recording live instruments? This setup handles both. The Scarlett Solo’s USB connection carries MIDI if you add a cheap MIDI keyboard (the Arturia MiniLab 3 runs ~$50 used and fits under $350 total). GarageBand and Reaper both include software instruments and sample libraries. You won’t have the tactile workflow of a full production setup, but electronic music production is entirely achievable at this budget.
Editorial methodology: Assessments are based on manufacturer specifications, published user reviews, and editorial research. Physical hands-on testing is noted explicitly where it occurred. Rankings reflect our editorial judgment and are not influenced by affiliate commission rates. Full editorial policy · Affiliate disclosure