Contents
How to Build a Home Studio for $2000 (2026)
TL;DR: A $2000 home studio setup gives you professional-grade signal chain capable of release-quality recordings. The sweet spot at this budget is a two-input audio interface, a large-diaphragm condenser mic, studio monitors, and acoustic treatment — the four pillars that separate a serious workspace from a bedroom experiment.
What $2000 Gets You (And What It Doesn’t)
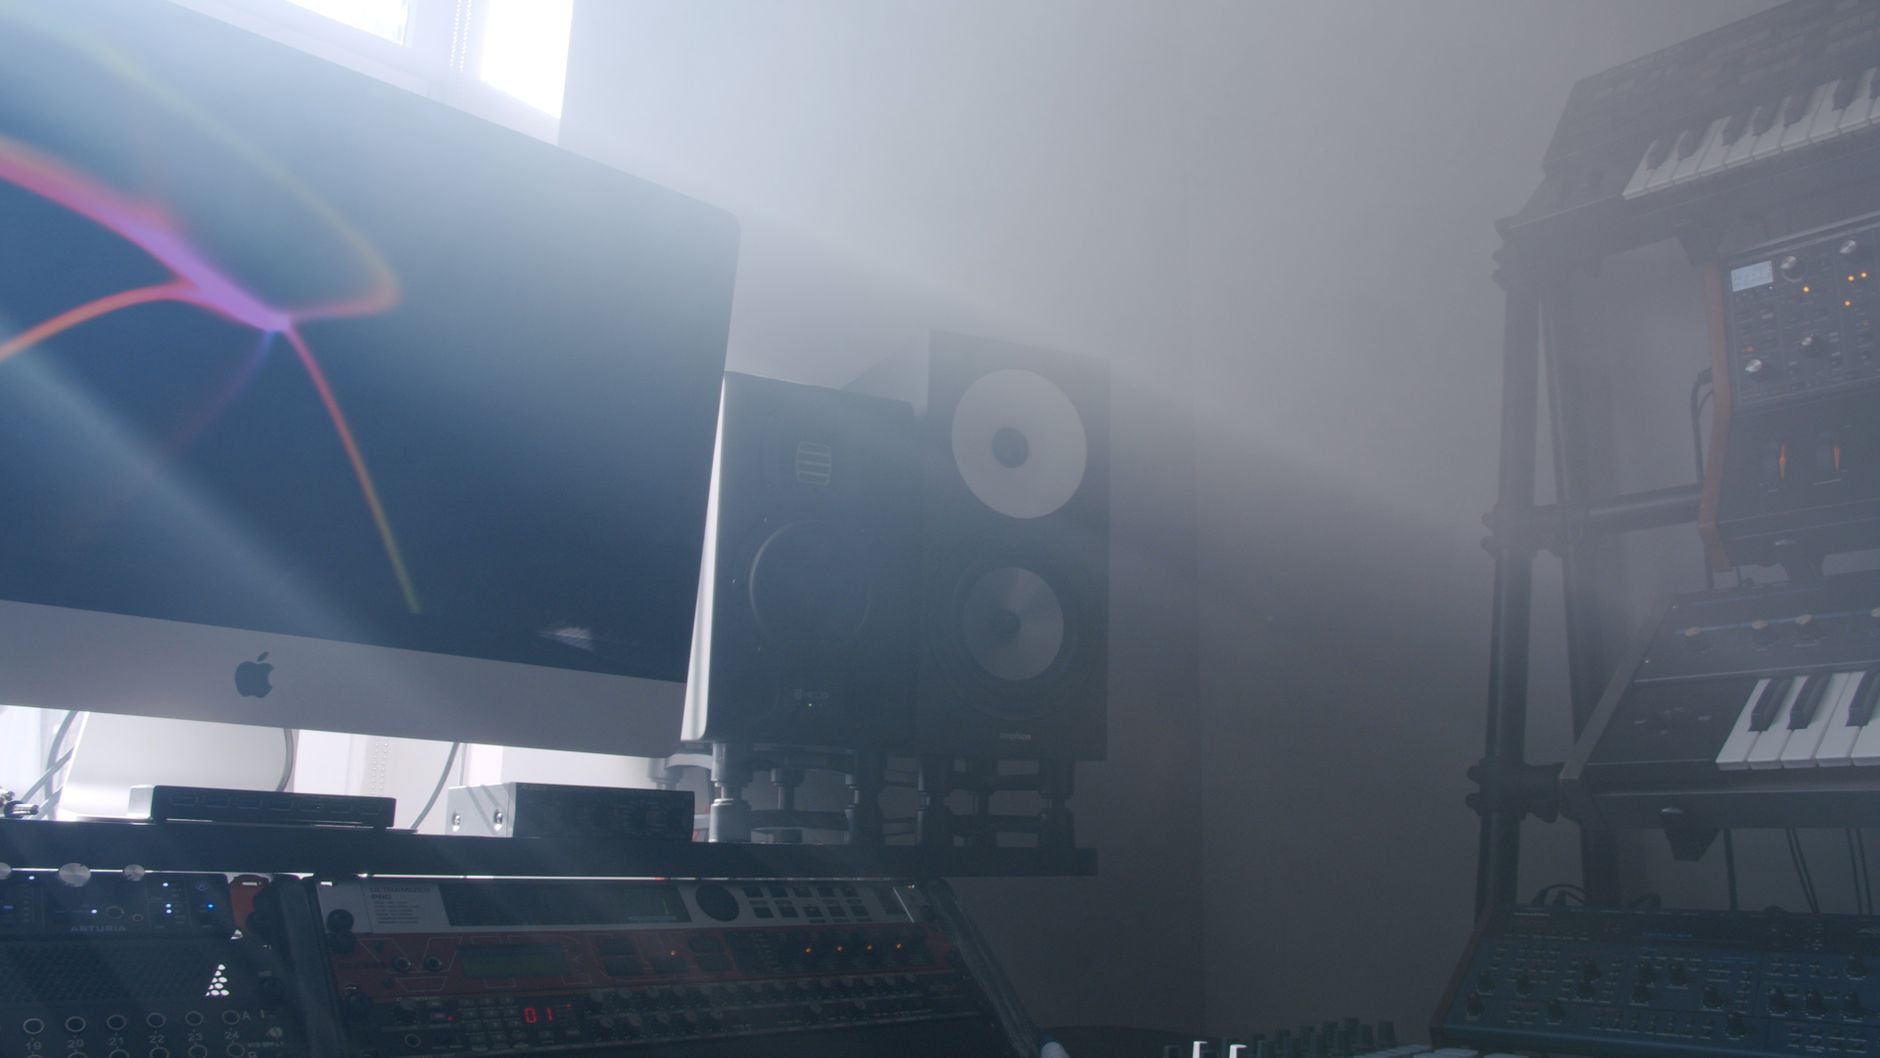
At this budget, you’re buying transparency and headroom — the ability to record a real performance accurately, mix on speakers that don’t lie, and hear your decisions clearly. You’re not buying prestige gear or marginal returns. Every dollar here has audible justification.
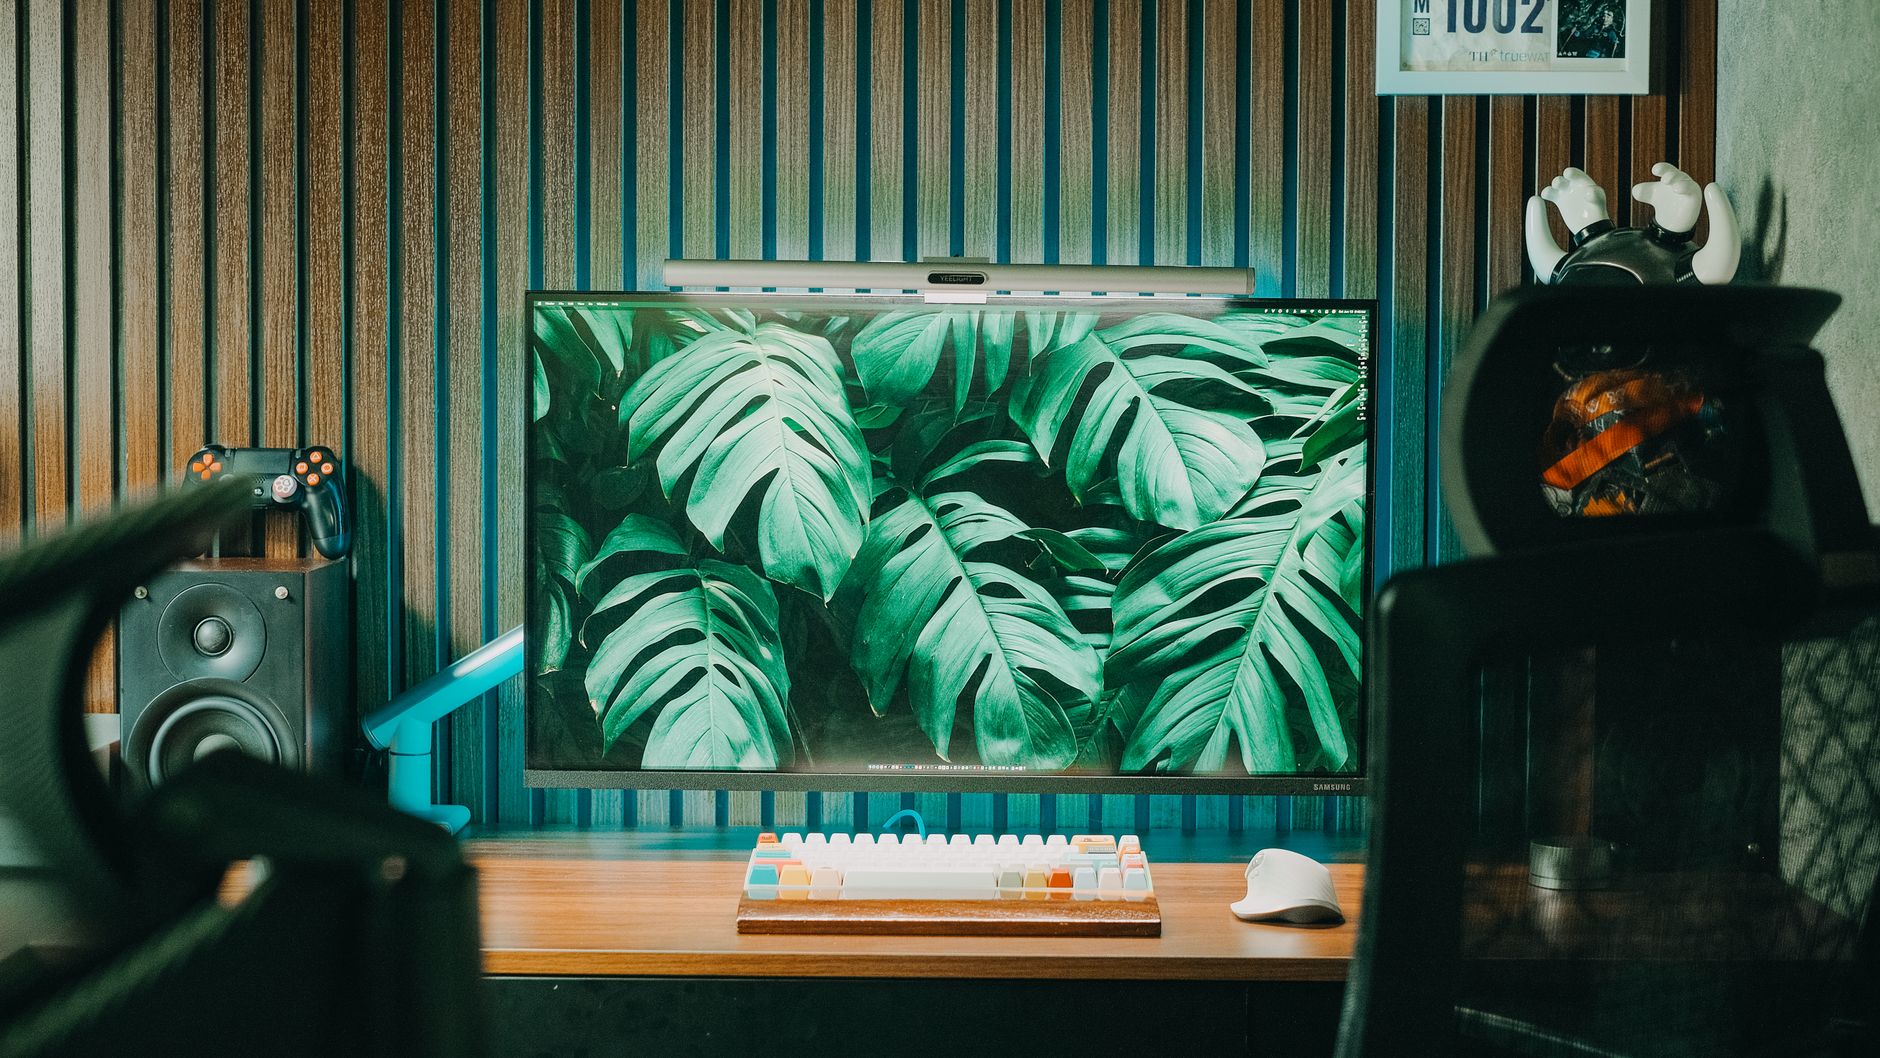 Photo: Pew Nguyen via Pexels
This tier unlocks equipment categories that genuinely change what you hear: monitors that image properly, a mic preamp with enough gain and low noise floor to capture acoustic instruments, and acoustic treatment that makes room acoustics a known quantity rather than a surprise. The $500 or $300 builds require compromise at nearly every stage; at $2000, the compromises become deliberate choices.
What this budget won’t buy: a vocal booth, a second mic channel worth recording drums on, or outboard hardware. You’re still software-first, ITB (in the box), with one high-quality input at a time.
The Core Build: Recommended Gear List
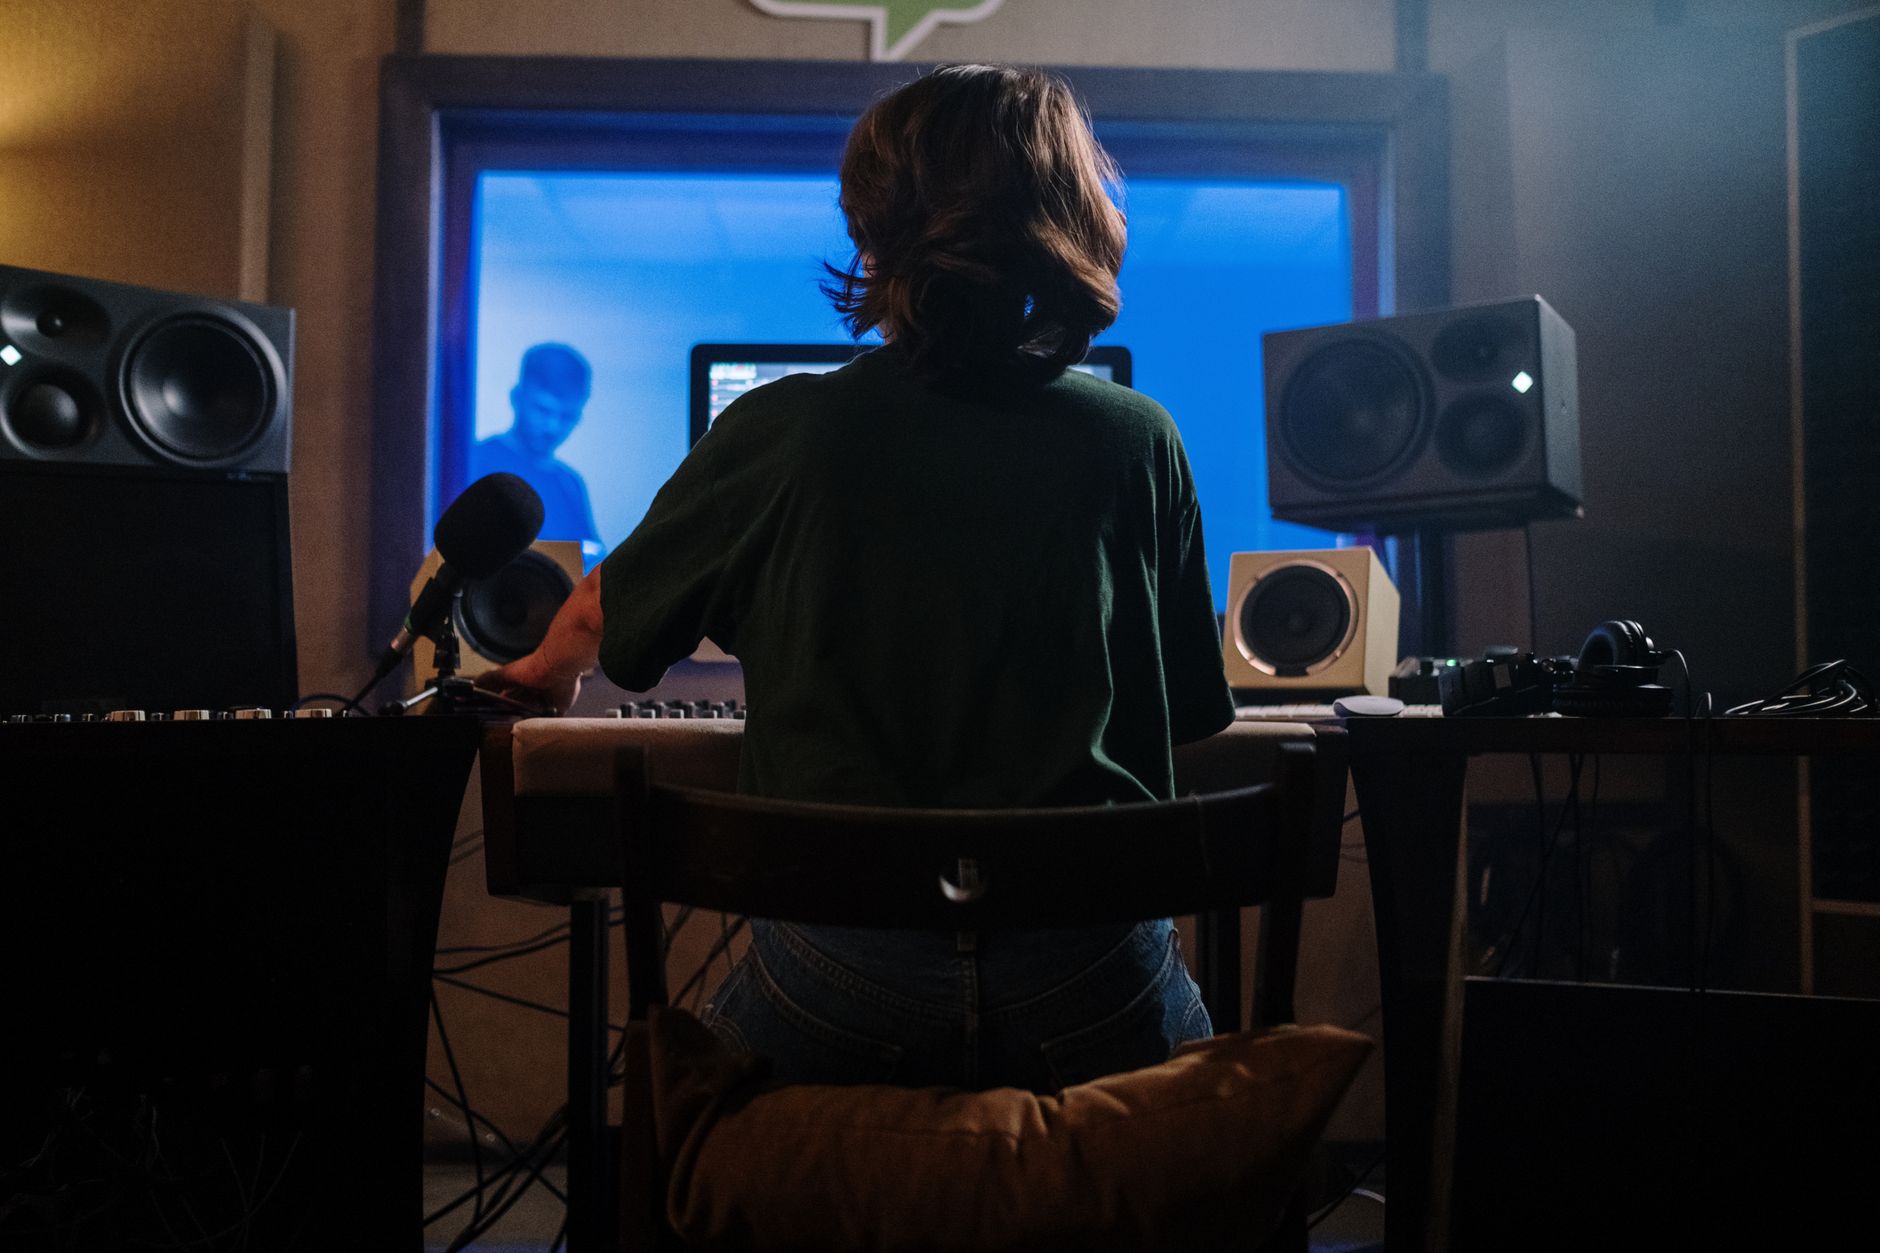
One well-chosen signal chain beats a cabinet of mediocre gear. This build prioritizes interface quality, monitor accuracy, and mic versatility — the three variables most responsible for recordings that translate to other playback systems.
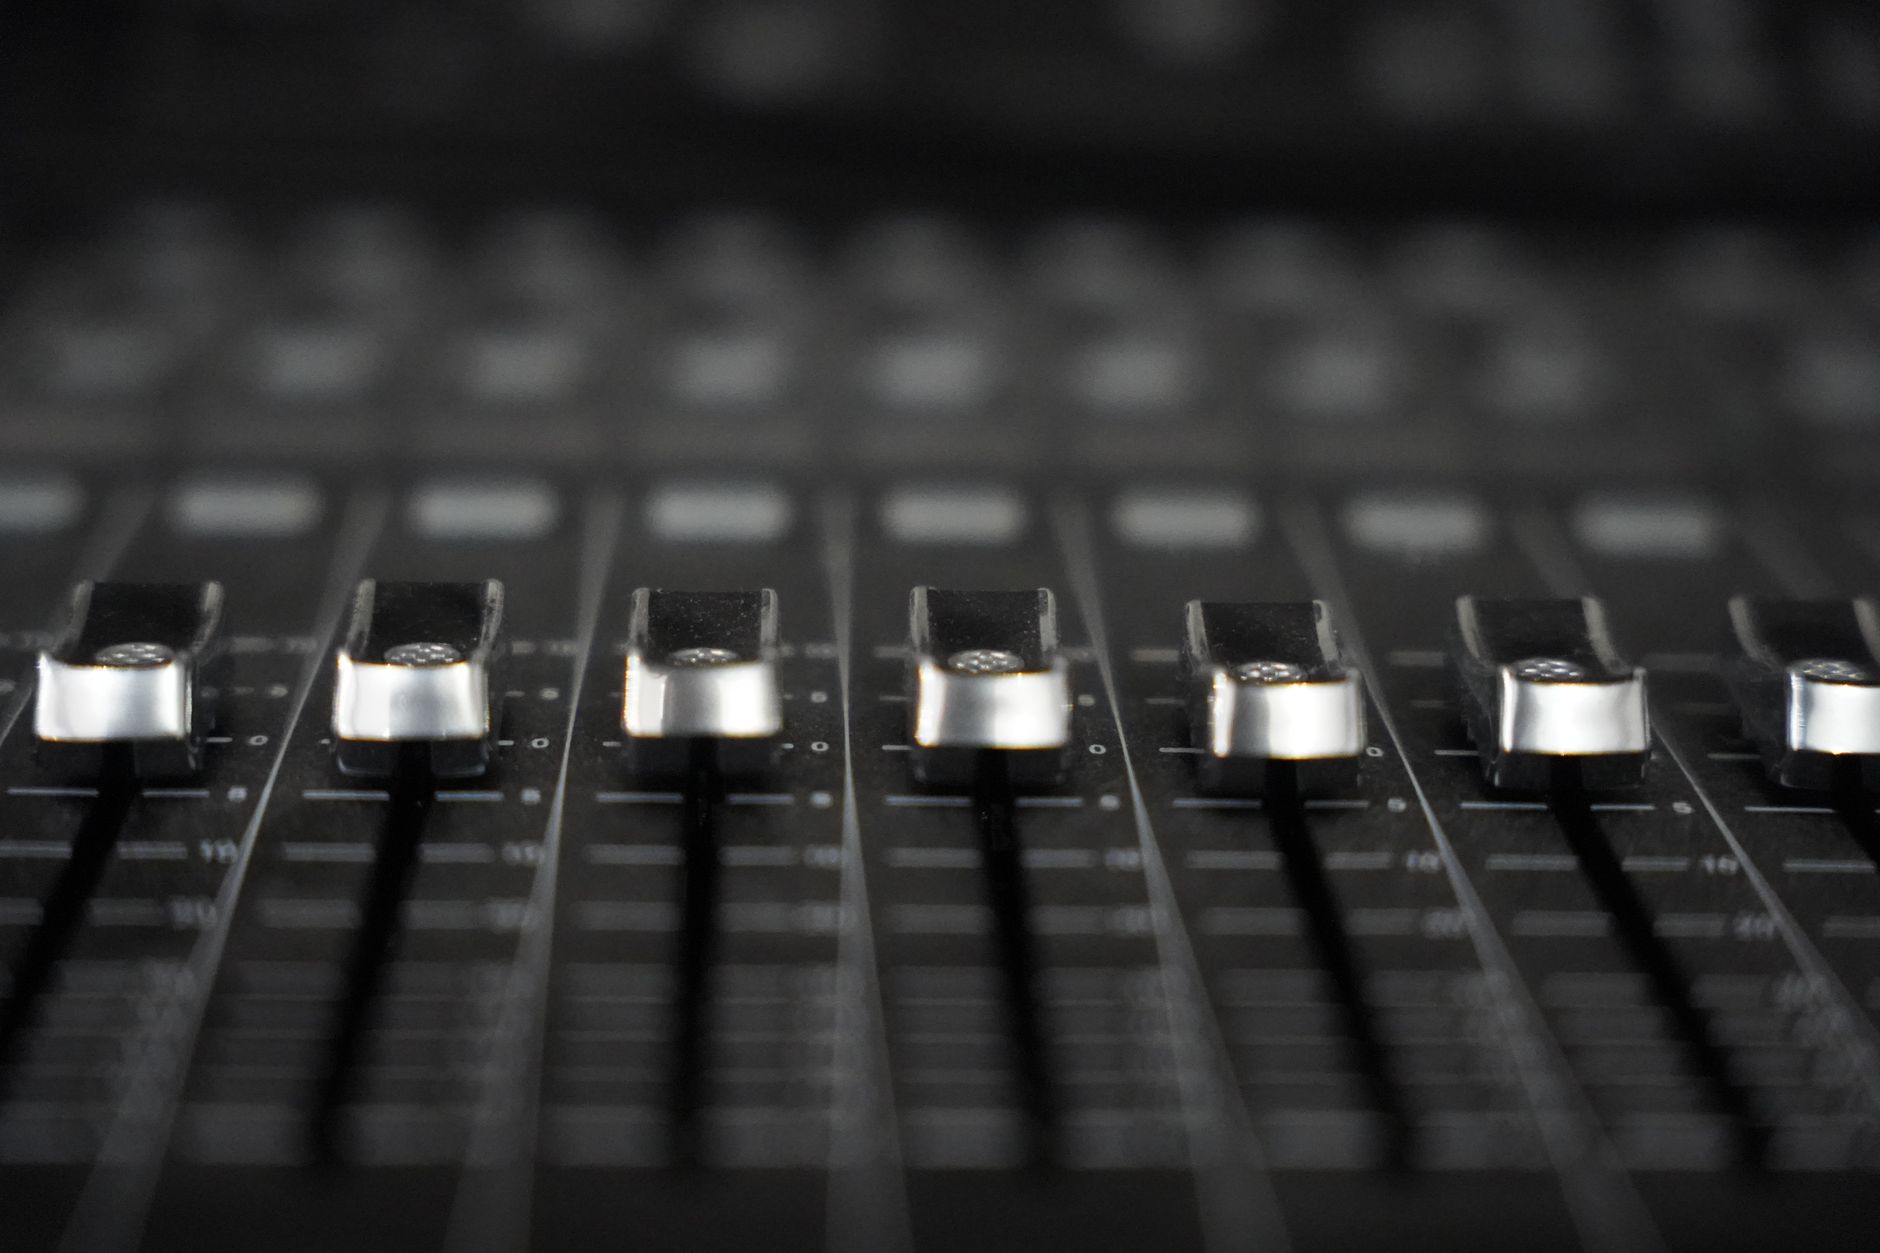 Photo: David Maat via Pexels
Audio Interface — $200–$300
The interface is the most important purchase. Preamp quality, converter resolution, and driver stability affect every recording session. At this budget, the top picks are the Focusrite Scarlett 4i4 (four inputs, solid preamps, battle-tested drivers) and the Universal Audio Volt 276 (two inputs, vintage-mode preamp saturation, excellent for vocals and guitar).
The 4i4 is the better call if you ever record two sources simultaneously — drums with two overheads, dual-mic guitar cab, or a vocal with room mic. The Volt 276 wins on preamp character for pure singer-songwriter or solo instrument work.
| Interface | Inputs | Preamp Character | Street Price |
|---|---|---|---|
| Focusrite Scarlett 4i4 (4th Gen) | 4 in / 4 out | Clean, low noise | ~$220 |
| UA Volt 276 | 2 in / 2 out | Vintage compression option | ~$250 |
| SSL 2+ | 2 in / 4 out | SSL Legacy 4K | ~$230 |
Studio Monitors — $400–$600
Monitors are the second-highest leverage item. The Yamaha HS5 pair is the standard recommendation at this budget for a reason: flat response, accurate imaging, and known behavior across multiple room types. The Adam Audio T5V pair offers a wider sweet spot and ribbon tweeter detail that’s useful for high-frequency mix decisions.
If your room is untreated and on the smaller side (under 10 × 10 ft), consider nearfields under 6 inches — the Yamaha HS5 or KRK Rokit 5 G4 — rather than larger woofers that energize room modes at close range.
| Monitors (pair) | Woofer | Frequency Response | Street Price |
|---|---|---|---|
| Yamaha HS5 (pair) | 5″ | 54 Hz – 30 kHz | ~$400 |
| Adam Audio T5V (pair) | 5″ | 45 Hz – 25 kHz | ~$350 |
| KRK Rokit 5 G4 (pair) | 5″ | 43 Hz – 40 kHz | ~$350 |
Microphone — $200–$350
A large-diaphragm condenser is the right centerpiece for this budget. The Audio-Technica AT2035 covers vocals, acoustic guitar, overhead, and room mic duties with a cardioid pattern and 10 dB pad — versatile enough to be your only mic for years. If vocals are your primary use case, the Rode NT1 5th Gen is harder to beat: USB/XLR hybrid, ultra-low self-noise (4 dB-A per manufacturer specs), and a lifetime warranty.
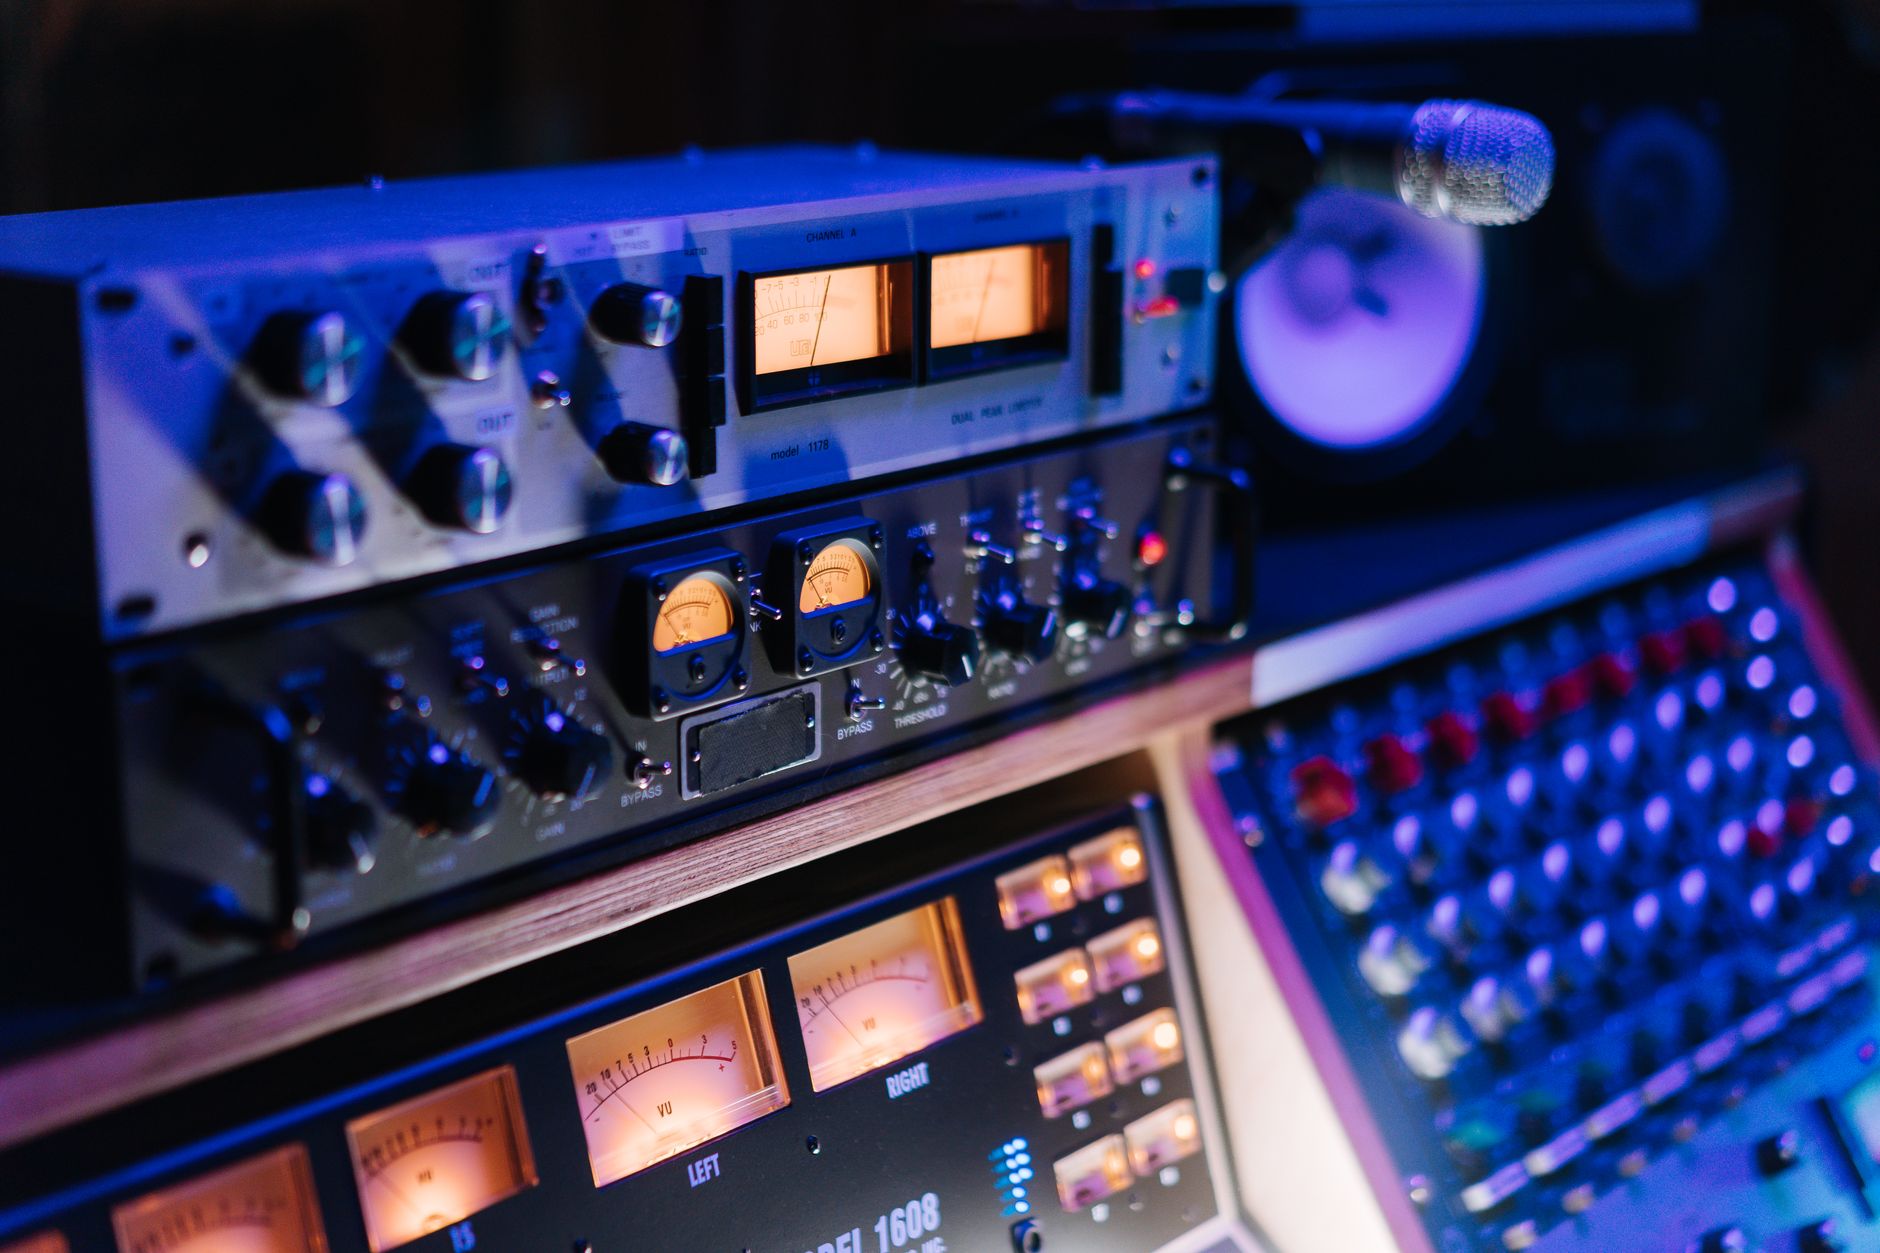
For primarily electric guitar and bass recording with DI and amp capture, the Shure SM7dB — a dynamic with built-in preamp — is the more practical pick.
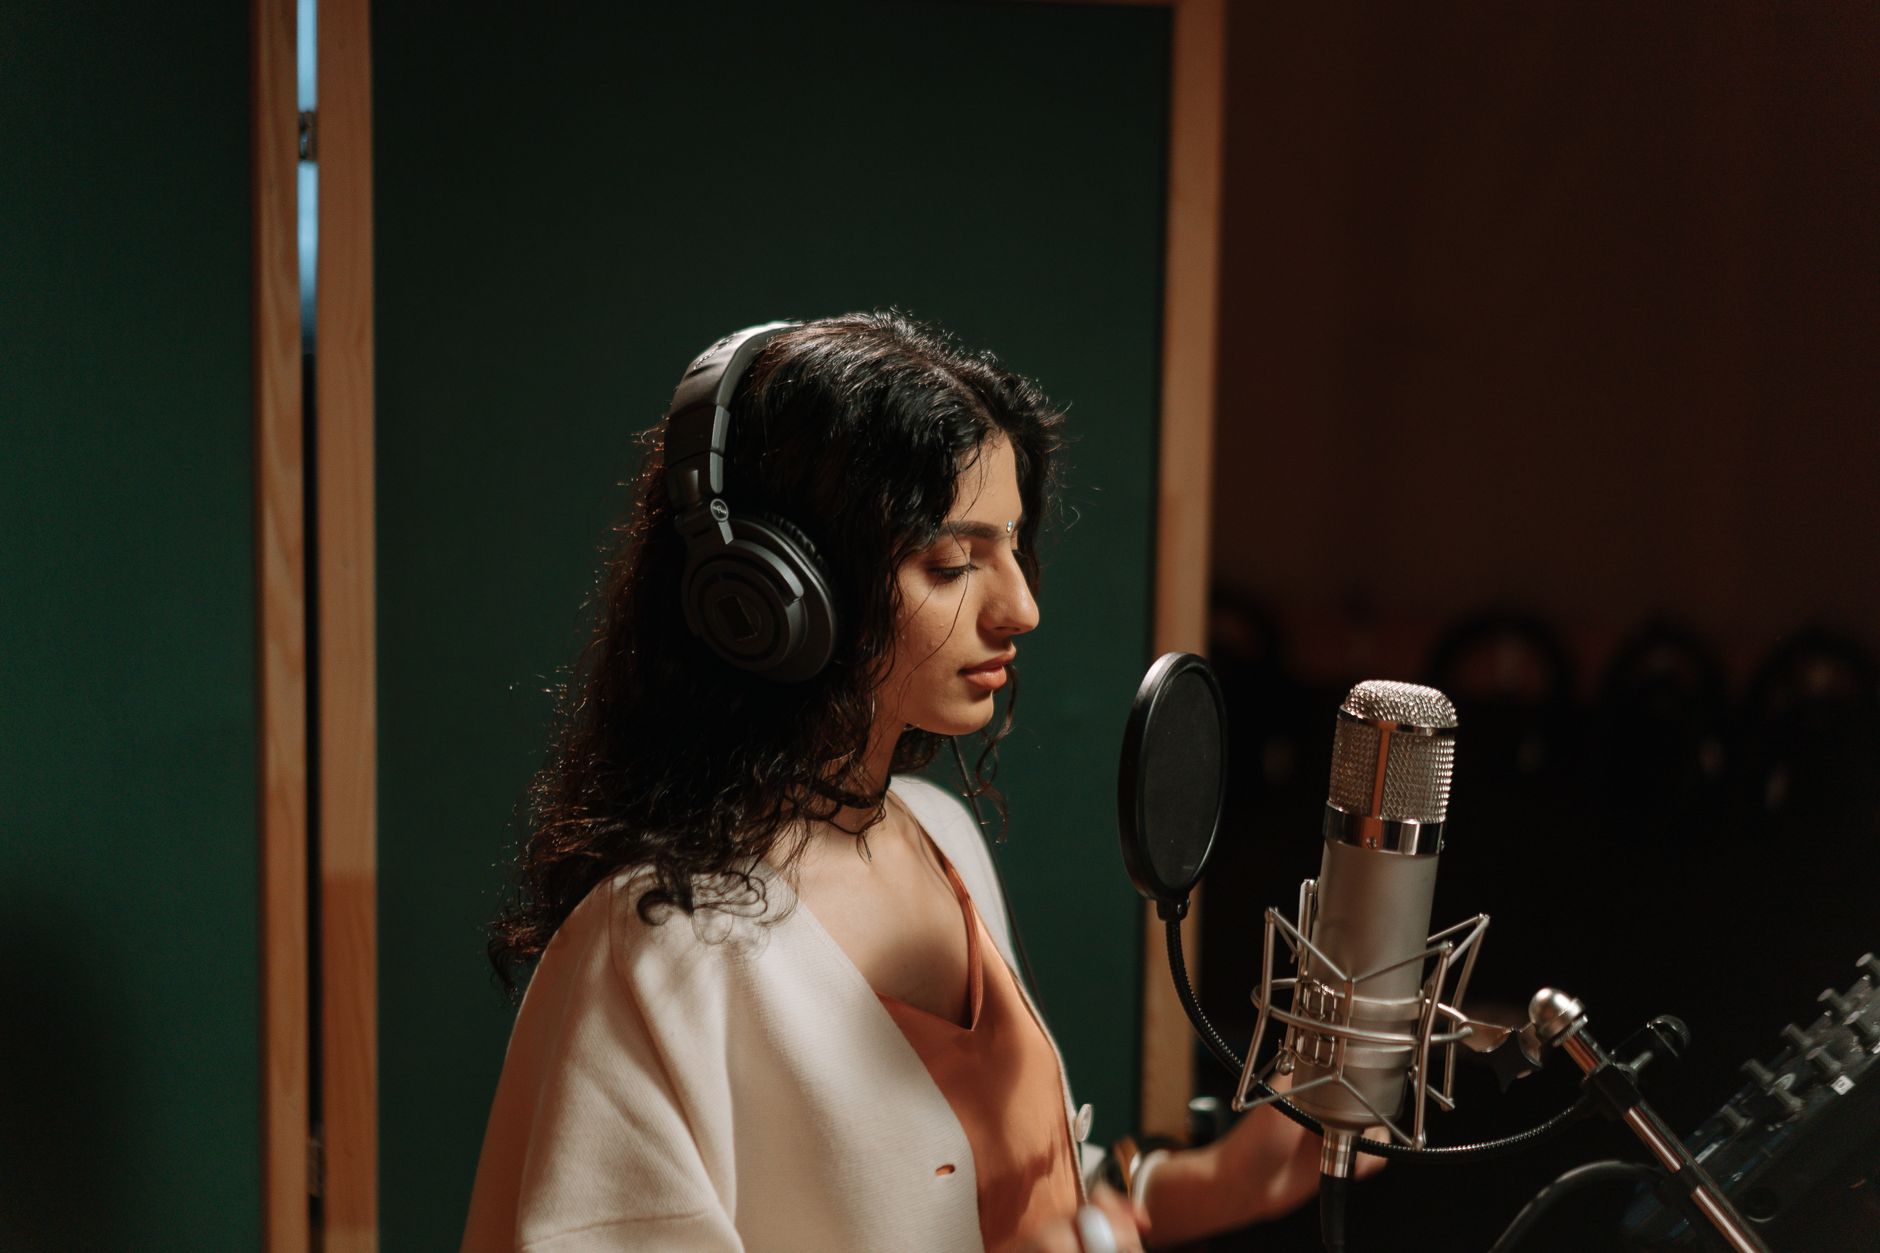 Photo: cottonbro studio via Pexels
Acoustic Treatment — $200–$350
Untreated rooms are the most consistent source of mix decisions that don’t translate. Bass traps in corners and broadband absorption panels at first reflection points produce measurable improvement. The Acoustimac DMD Acoustic Panel set and corner bass trap bundles routinely appear in professional studio designer recommendations. Budget $200–$350 for a 2-panel starter kit plus four corner treatments.
DIY treatment using rigid fiberglass (Owens Corning 703) in simple frames costs roughly $100 for equivalent coverage — covered in the how-to section below.
Headphones — $100–$150
The Audio-Technica ATH-M50x remains the consensus tracking headphone at this price: 38 Ω impedance, closed-back isolation, and predictable frequency response that pairs well with the Focusrite and UA interfaces. Use them for tracking sessions where monitor bleed is a concern, not as your primary mixing reference.
DAW and Plugins — $0–$150
Logic Pro ($199 one-time, Mac only) is the best value DAW at this budget — its included plugin suite rivals many paid options. Reaper ($60 personal license) is the platform-agnostic pick with virtually no ceiling on capability. Both include enough virtual instruments, effects, and routing to produce commercially viable recordings.
Avoid subscription DAWs on a fixed budget. Included stock plugins in either DAW cover 90% of recording and mixing needs.
Complete Budget Breakdown
| Category | Item | Price |
|---|---|---|
| Audio Interface | Focusrite Scarlett 4i4 | $220 |
| Studio Monitors | Yamaha HS5 pair | $400 |
| Microphone | Rode NT1 5th Gen | $280 |
| Acoustic Treatment | Corner + panel kit | $250 |
| Headphones | ATH-M50x | $130 |
| DAW | Logic Pro / Reaper | $60–$199 |
| Cables & stands | XLR, mic stand, monitor isolation | ~$80 |
| Total | ~$1,620–$1,760 |
The $240–$380 remaining is your safety margin — use it for a pop filter, a direct box for instrument recording, or toward a second mic when the need arises.
Signal Chain and Workflow
Signal Chain
Source (vocal/instrument)
  → Microphone (AT2035 or NT1) or DI box
  → Interface preamp (Scarlett 4i4 / Volt 276)
  → USB → DAW (Logic Pro / Reaper)
  → Monitor outputs → Yamaha HS5
Gain staging: Set interface preamp gain so peaks hit –18 dBFS to –12 dBFS on the DAW input meter. This leaves 12–18 dB of headroom for transient peaks and keeps the signal out of digital clip territory without losing resolution in the noise floor.
Recording Workflow — Step by Step
- Room setup first. Place monitors at ear height, equidistant from your mix position, forming an equilateral triangle. Install absorption panels at the first reflection points on the side walls before tracking.
- Connect interface via USB. Install manufacturer drivers (Focusrite Control / UA Connect). Set sample rate to 48 kHz, buffer size to 128 samples for tracking (latency: ~5 ms round-trip on most systems).
- Phantom power check. Enable 48V phantom power on the interface before connecting condenser mic. Confirm green LED.
- Gain check before recording. Sing or play at performance level, not a quiet test. Set gain so the loudest passages peak around –12 dBFS. Record a 10-second test clip and check the waveform isn’t clipping.
- Track in headphones, mix on monitors. Use closed-back headphones during tracking to eliminate bleed. Switch to monitors for mixing once tracking is complete.
- One monitor, one source at a time. Reference your mix on the HS5s, then check on headphones, then check on a phone speaker. If it translates across all three, it’s done.
Troubleshooting Matrix
| Symptom | Likely Cause | Fix |
|---|---|---|
| No signal from condenser | Phantom power off | Enable 48V on interface |
| High latency during tracking | Buffer size too large | Lower to 64–128 samples in interface software |
| 60 Hz hum | Ground loop or unbalanced cable | Use balanced XLR throughout; check USB ground |
| Thin bass in monitors | Room modes / placement | Move monitors away from rear wall; add corner bass traps |
| Signal clipping on loud sources | Gain too high | Engage –10 dB pad on mic; reduce preamp gain |
| Crackling or dropouts | USB bandwidth conflict | Use rear USB port; disconnect other USB audio devices |
DIY Acoustic Treatment
 Photo: Rishabh Kaple via Pexels
Rigid fiberglass (Owens Corning 703, 2-inch) outperforms foam tiles at any price. A simple DIY panel: cut 703 to 24″ × 48″, wrap in breathable fabric (burlap or muslin), mount in a 1×4 wood frame, hang with a French cleat. Materials per panel: ~$20–$25. Four panels plus four corner bass traps (703 stacked to 4-inch density, floor-to-ceiling) address the most damaging reflection and bass buildup problems at a fraction of retail panel pricing.
First reflection points are the highest priority: the side walls directly left and right of the mix position at ear height, and the ceiling between the monitors and the listening position.
→ See also:
- The Complete Home Recording Studio Setup Guide (2026)
- How to Build a Home Studio for $500 (2026)
- How to Build a Home Studio for $300 (2026)
FAQ
Is $2000 enough for a professional home studio setup? For recording and producing music at a professional standard — meaning tracks ready for release — yes. Published testing data and professional consensus place the real quality ceiling at acoustic treatment and monitoring accuracy, both of which are achievable at this budget. The limitation at $2000 isn’t equipment quality; it’s single-source recording (one mic, one preamp channel at a time).
Should I prioritize monitors or acoustic treatment? Acoustic treatment first, monitors second. According to acoustic design principles established by acousticians like Wes Lachot and Bob Katz, a $200 monitor in a treated room will produce more accurate mix decisions than a $1000 monitor in an untreated one. If forced to allocate, spend $300 on treatment before upgrading monitors beyond the entry tier.
Can I record drums with a $2000 home studio setup? A minimal two-mic drum recording (kick and overhead, or two overheads) is possible with the Scarlett 4i4, but published guidance from drum recording engineers recommends at minimum four channels for usable results — one per overhead, one on the kick, one on the snare. The $2000 budget allows this with careful allocation, but leaves less for treatment and monitoring quality.
What DAW should I use at this budget? Logic Pro ($199, Mac) if you’re on Apple hardware — the included instruments and plugins eliminate most software purchases for years. Reaper ($60 personal license) if you’re on Windows or want maximum customization. Both are used on commercial releases; the DAW is the least limiting variable in this signal chain.
Do I need a dedicated computer for a home recording studio? Any Mac or PC from 2019 or later with 16 GB RAM and an SSD will run a modern DAW without audio dropout at reasonable track counts. According to interface manufacturer system requirements (Focusrite, Universal Audio), a quad-core processor at 2.5 GHz or better handles 32+ tracks with plugins without issue. A dedicated machine is ideal for eliminating background process conflicts, but not required.
How important are monitor isolation pads? Manufacturer data from Auralex and IsoAcoustics shows that decoupling monitors from a desk surface reduces low-frequency coloration by removing sympathetic vibration from the surface. At the HS5 price point, $30–$50 isolation pads are among the highest return-on-investment accessories in the budget.
Editorial methodology: Assessments are based on manufacturer specifications, published user reviews, and editorial research. Physical hands-on testing is noted explicitly where it occurred. Rankings reflect our editorial judgment and are not influenced by affiliate commission rates. Full editorial policy · Affiliate disclosure