Contents
How to Build a Home Studio for $200 (2026)
TL;DR: A functional home studio setup for $200 is achievable in 2026 — you need an audio interface, a dynamic microphone, headphones, and a free DAW. This guide covers exactly what to buy, what to skip, and how to connect everything so you’re recording the same day the gear arrives.
What You Actually Get for $200
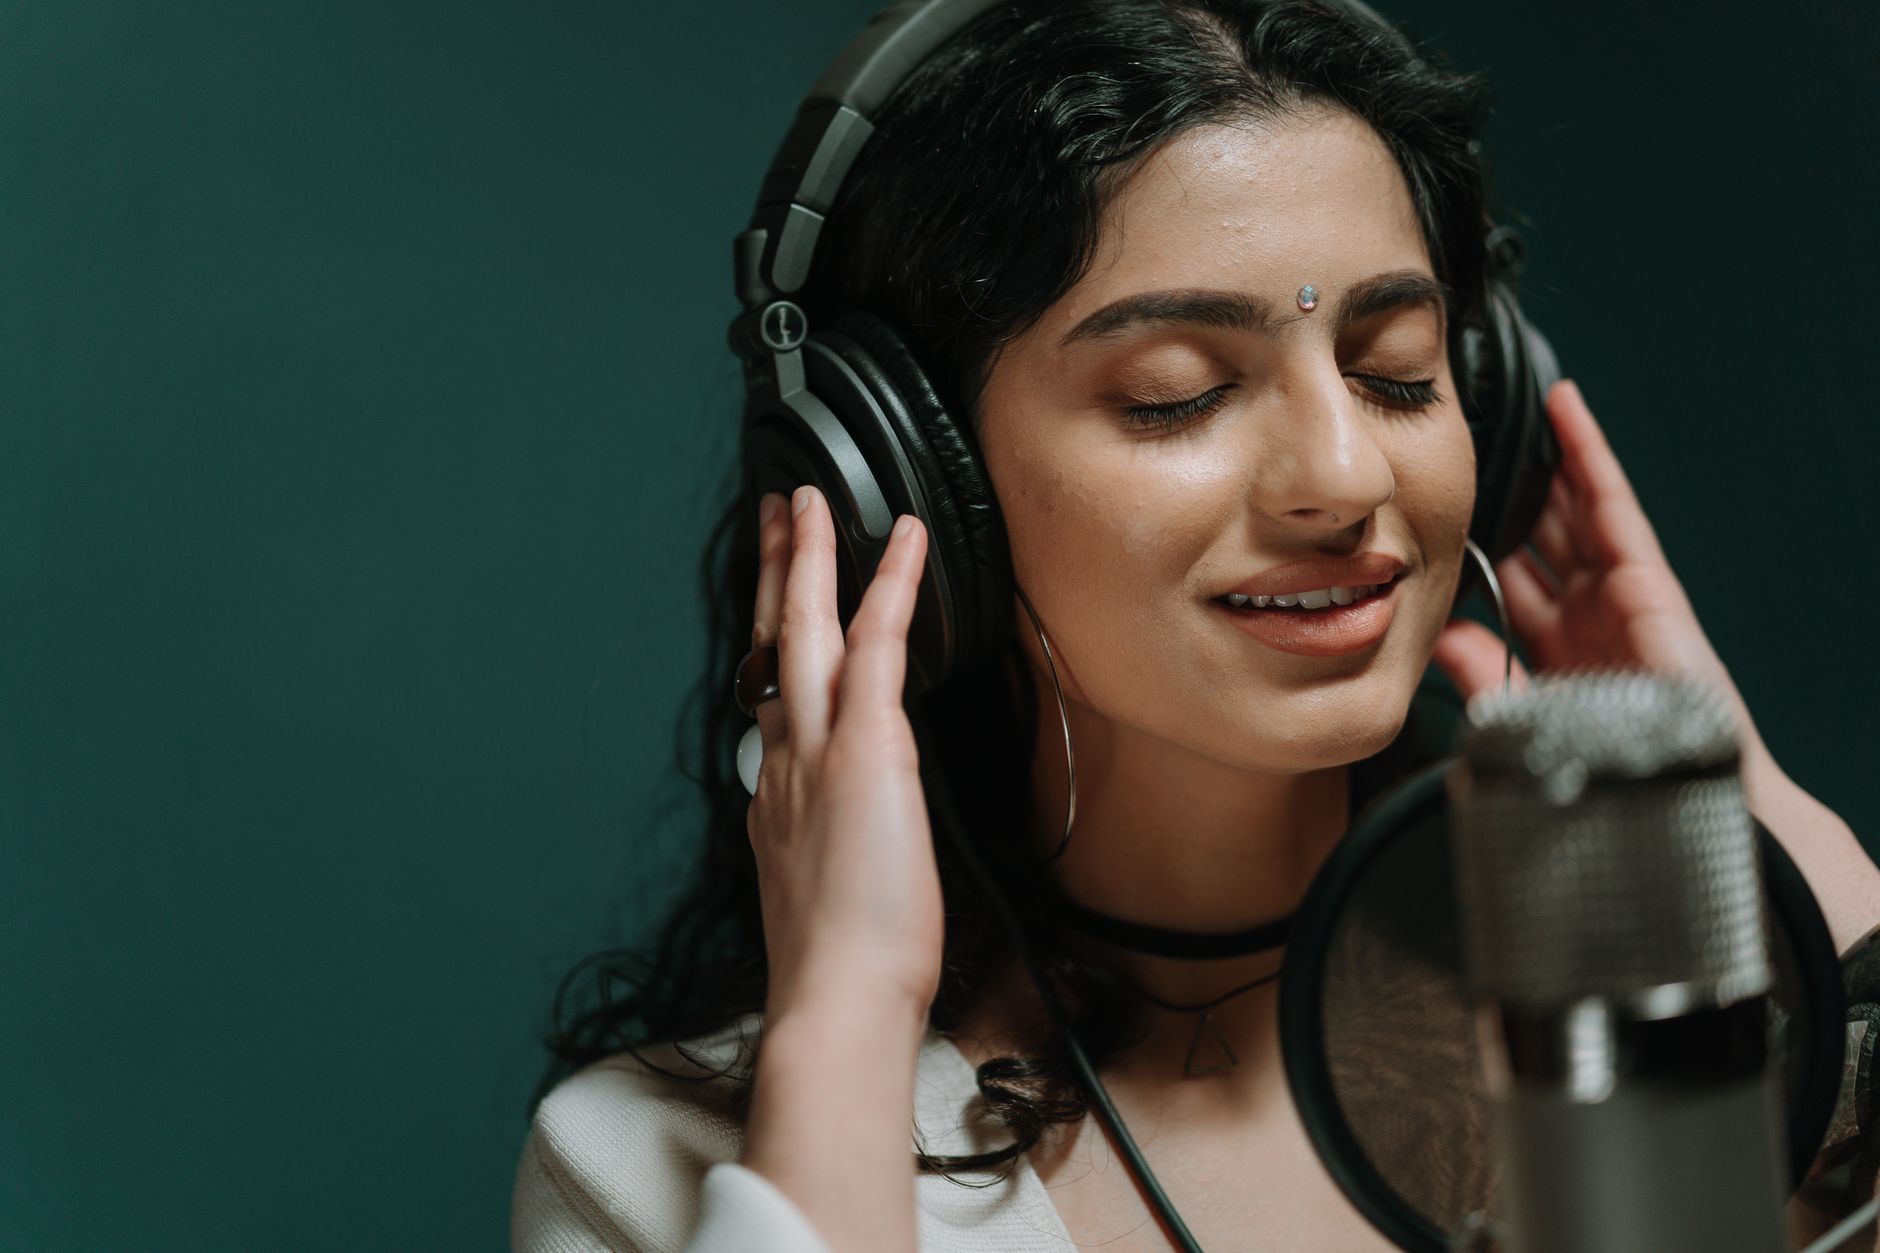
Direct Answer: $200 buys you a complete signal chain — microphone, audio interface, monitoring headphones, and recording software. You won’t get studio-grade transparency, but you’ll get results indistinguishable from home recordings that have landed sync placements and independent releases.
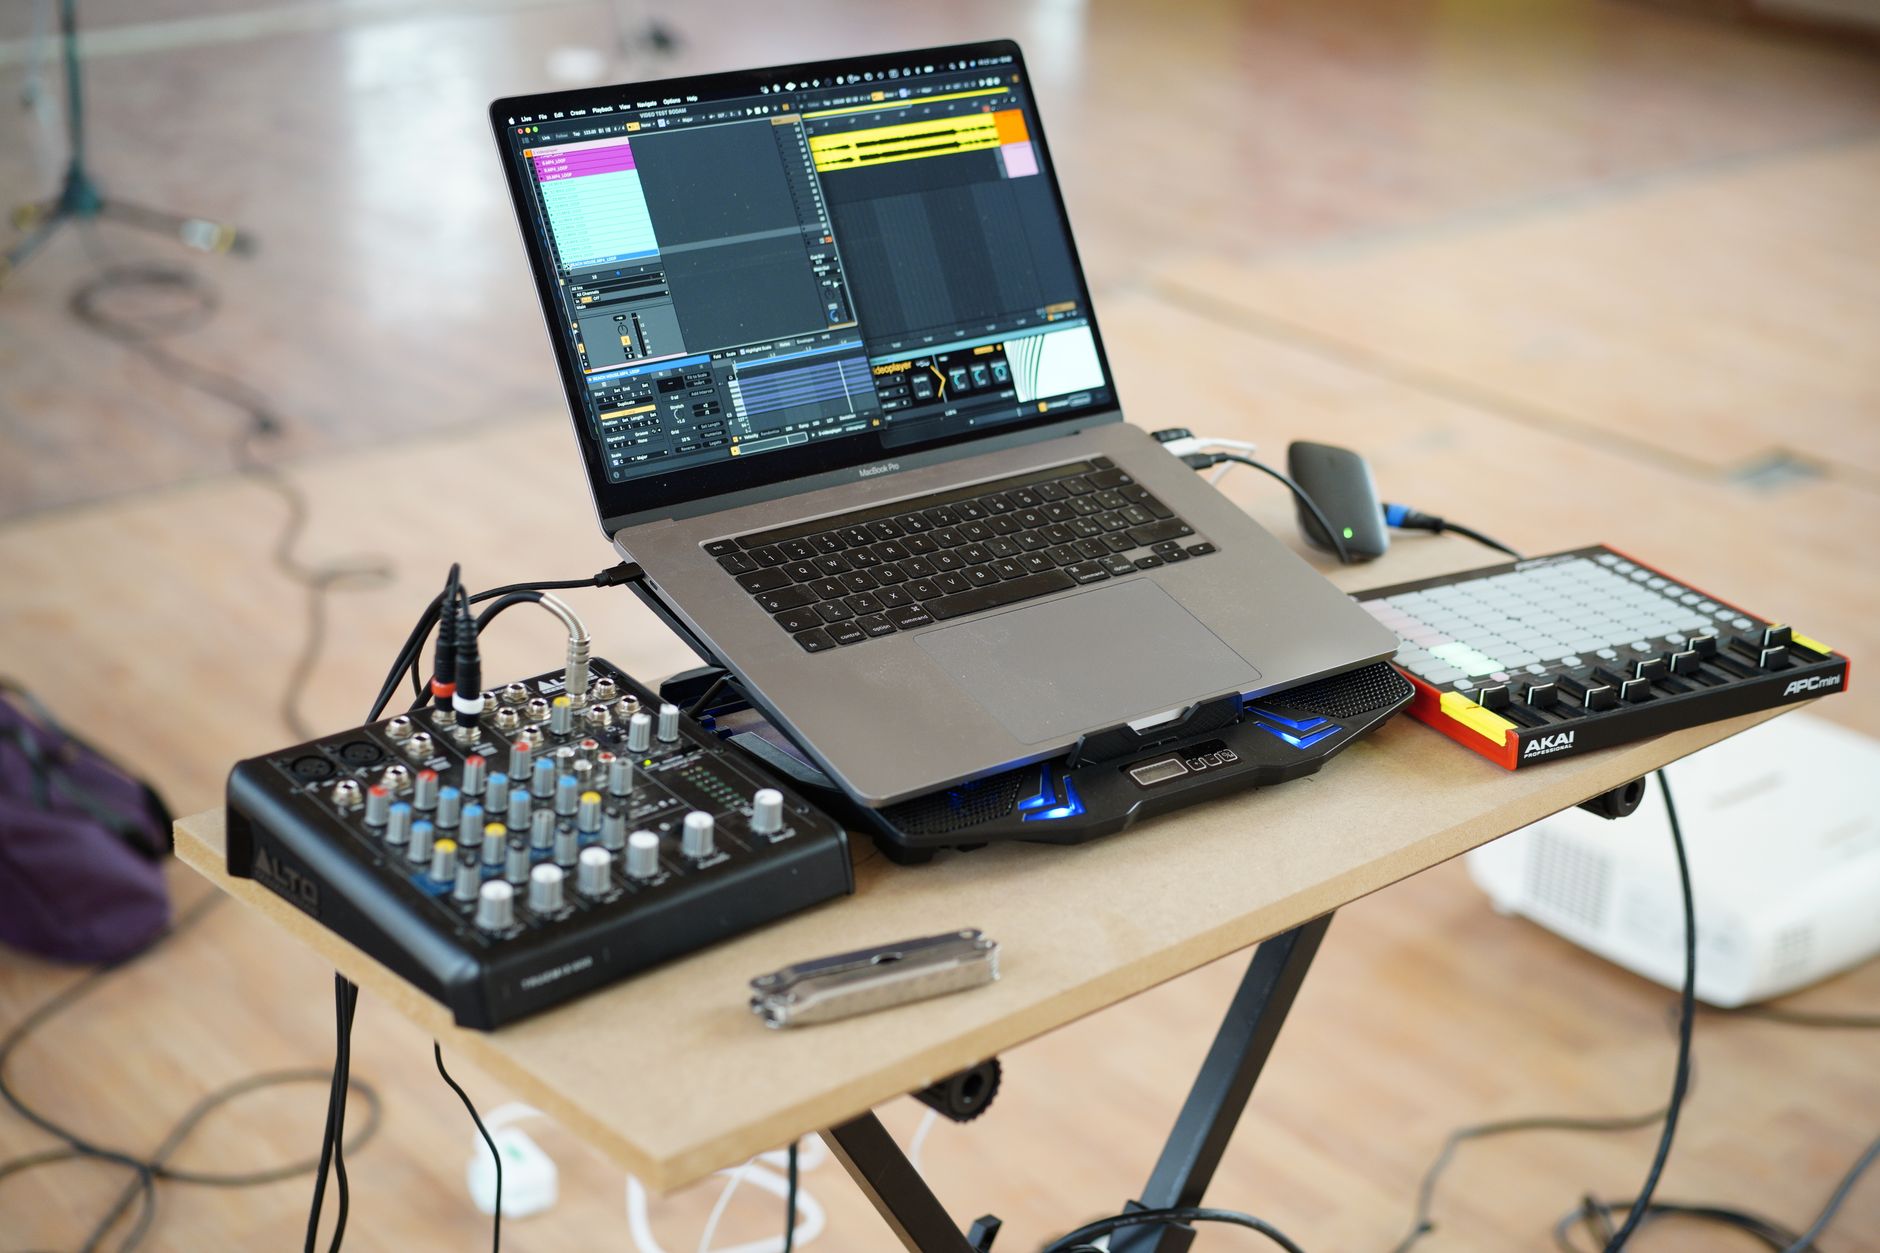 Photo: Giuseppe Di Maria via Pexels
The honest ceiling at this price: noise floor is higher than pro gear, headphone mix isn’t reference-quality, and you’ll outgrow one or two pieces within a year if you record seriously. That’s fine. The skills you build on $200 gear transfer directly to $2,000 gear.
What doesn’t change with budget: gain staging discipline, mic placement, acoustic treatment, arrangement choices. Those are free, and they matter more.
The $200 Home Studio Setup: Gear List
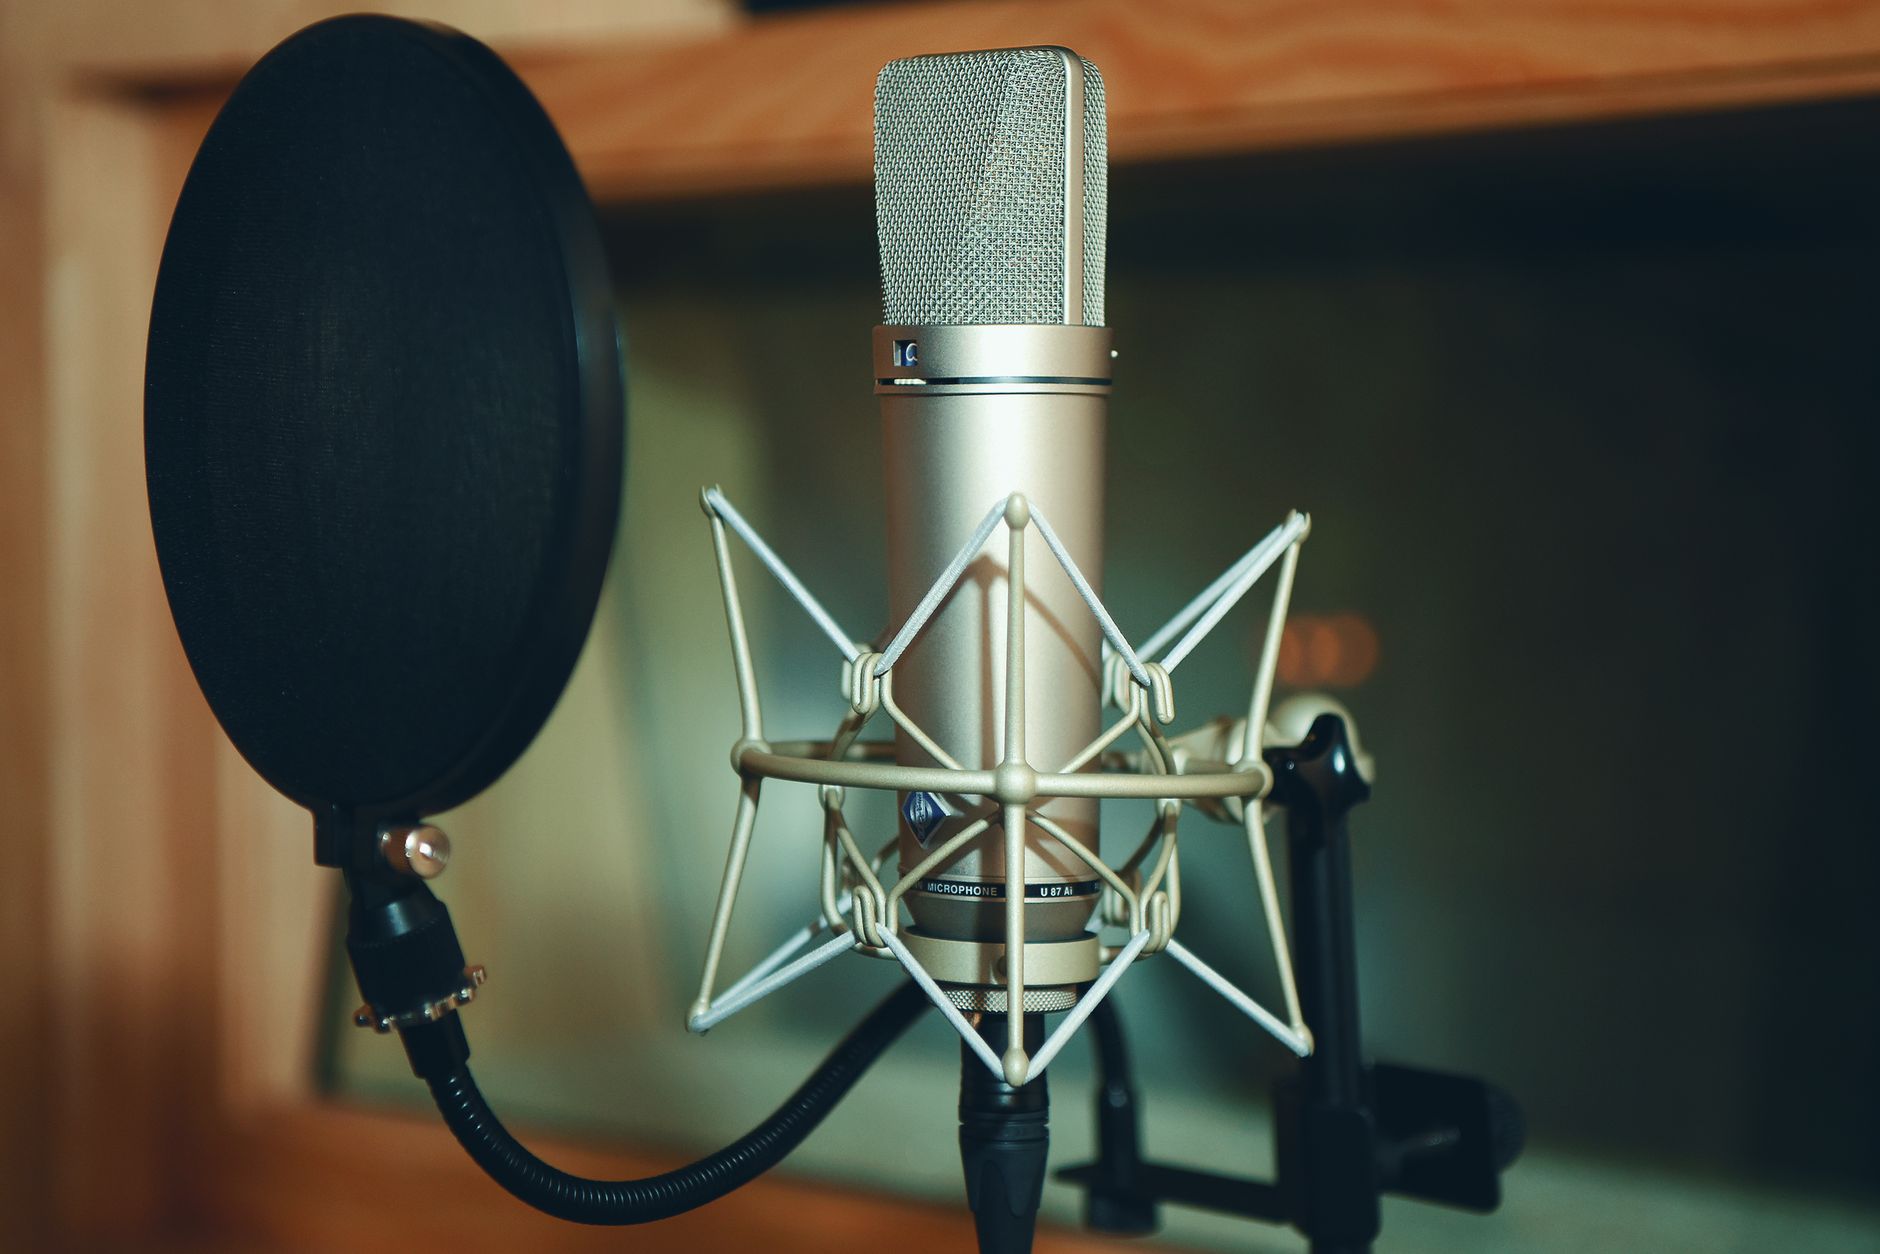
Direct Answer: Four items cover the full signal chain. Buy these, skip everything else for now — cables, stands, and acoustic panels can come from the next $50–100 you save.
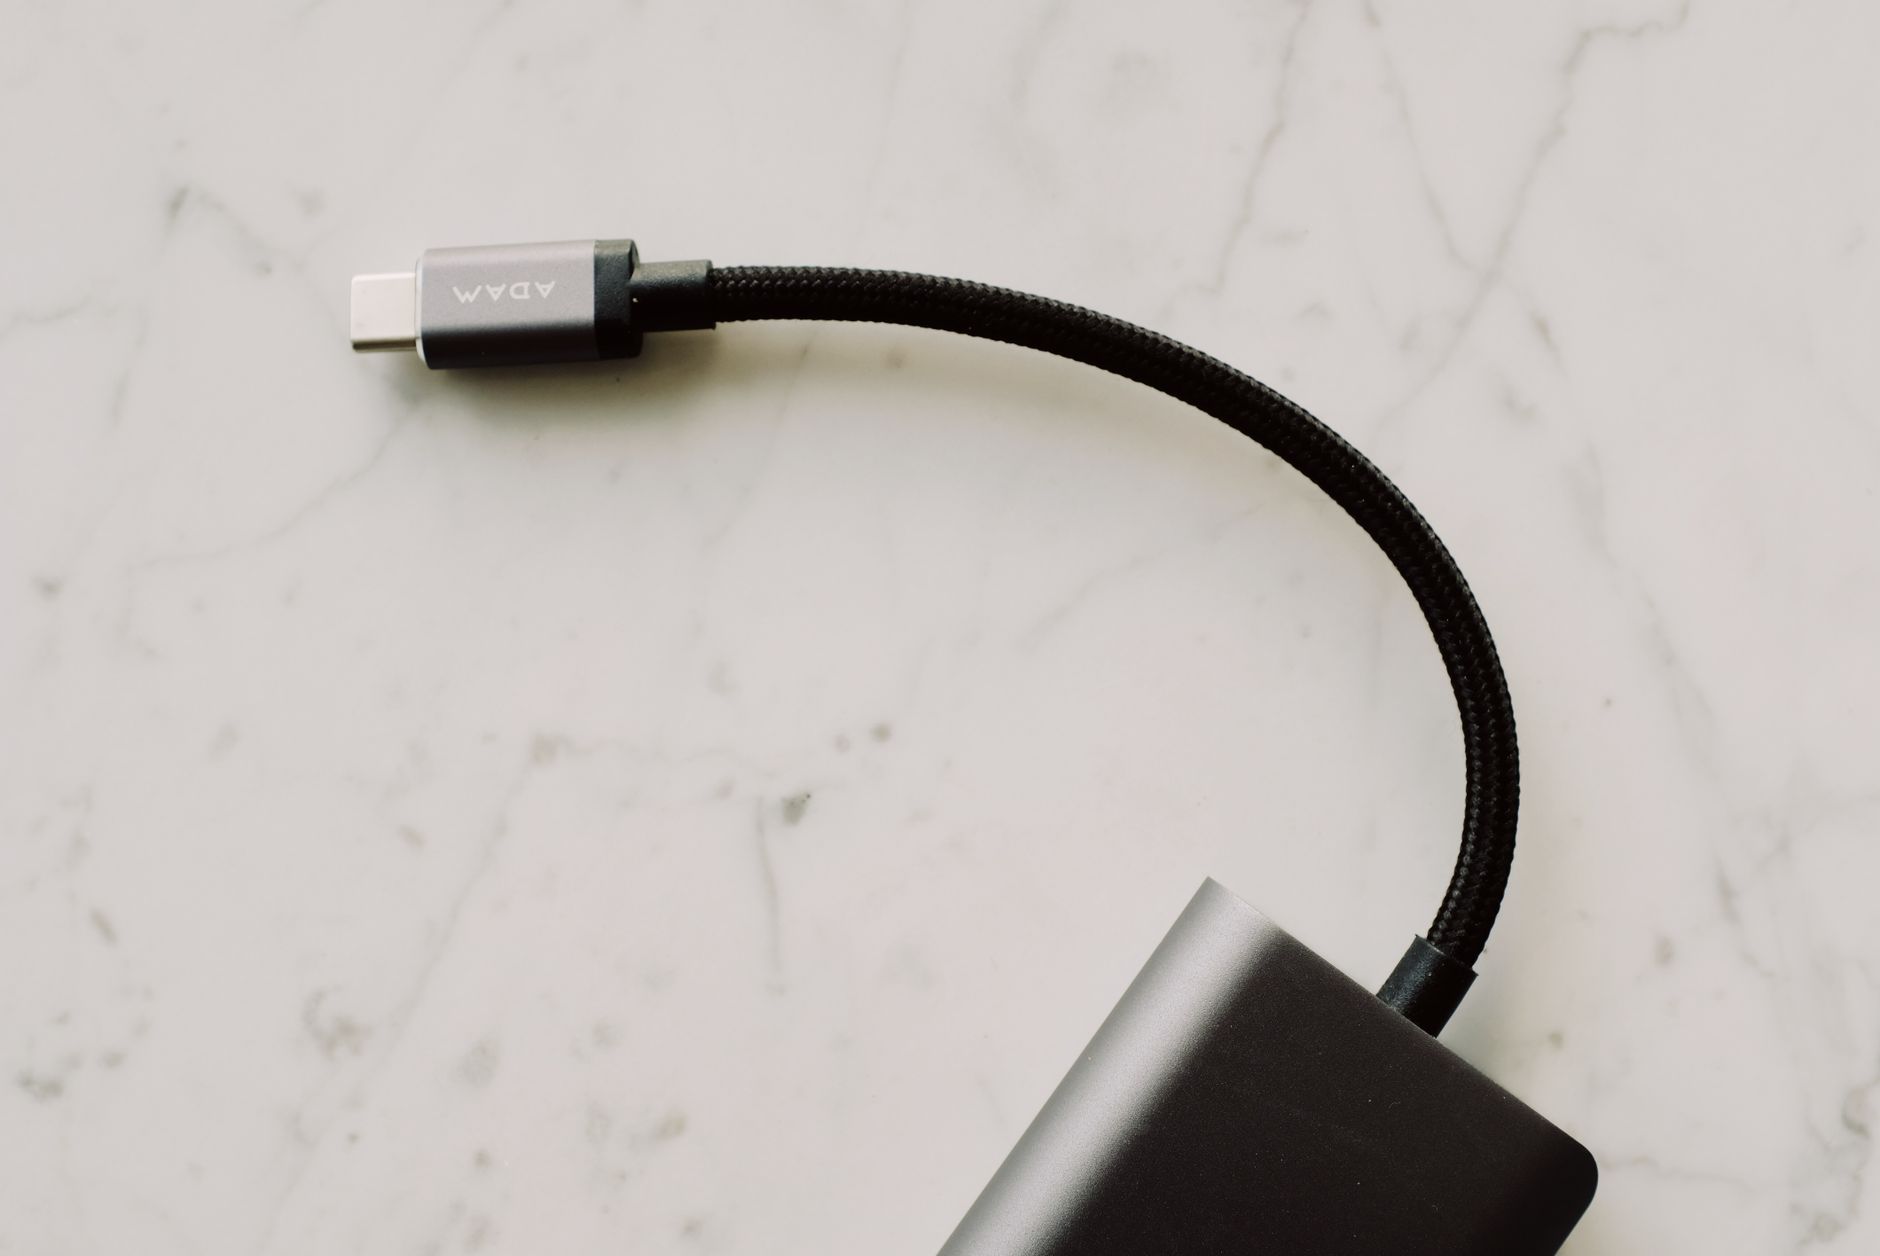 Photo: ready made via Pexels
| Item | Recommended | Budget | Notes |
|---|---|---|---|
| Audio Interface | Focusrite Scarlett Solo (4th Gen) | ~$120 | Best-in-class preamps at this price, plug-and-play on Mac/Windows/iPad |
| Dynamic Microphone | Audio-Technica AT2005USB or Behringer XM8500 | ~$35–$60 | Dynamic avoids room noise problems; XM8500 is under $25 used |
| Headphones | Audio-Technica ATH-M20x | ~$50 | Closed-back, flat enough to mix on, survives years of use |
| DAW | Reaper (free 60-day trial, $60 personal license) | $0–$60 | Or use GarageBand free on Mac; Audacity for pure recording |
| XLR Cable | Any 10-ft braided cable | ~$8–$12 | Included with some mic bundles; don’t overthink it |
Running total with Scarlett Solo + AT2005USB + ATH-M20x + Reaper license: ~$230. Swap the AT2005USB for the Behringer XM8500 (~$20 new) and you land at $200 flat. Use GarageBand on Mac and you’re at $190.
Why These Specific Choices
The Focusrite Scarlett Solo is the default recommendation at this price for one reason: its preamps are clean enough that the noise floor won’t fight your recordings. The 4th Gen added Air mode (high-impedance boost) and direct monitoring — both useful, neither gimmicky.
A dynamic microphone over a condenser makes sense here because untreated rooms — which describes almost every bedroom studio — add reverb and background noise that condenser mics pick up aggressively. The AT2005USB bridges USB and XLR, so it works standalone before you buy the interface and then plugs into the interface later via XLR. That’s unusual versatility for $60.
The ATH-M20x headphones get overlooked because they’re unglamorous. Published testing data from multiple audio engineering communities consistently puts them ahead of similarly-priced competition for flat response. They’re not mixing headphones for professionals, but they’re honest enough to tell you if something is wrong.
How to Connect Everything: Signal Chain
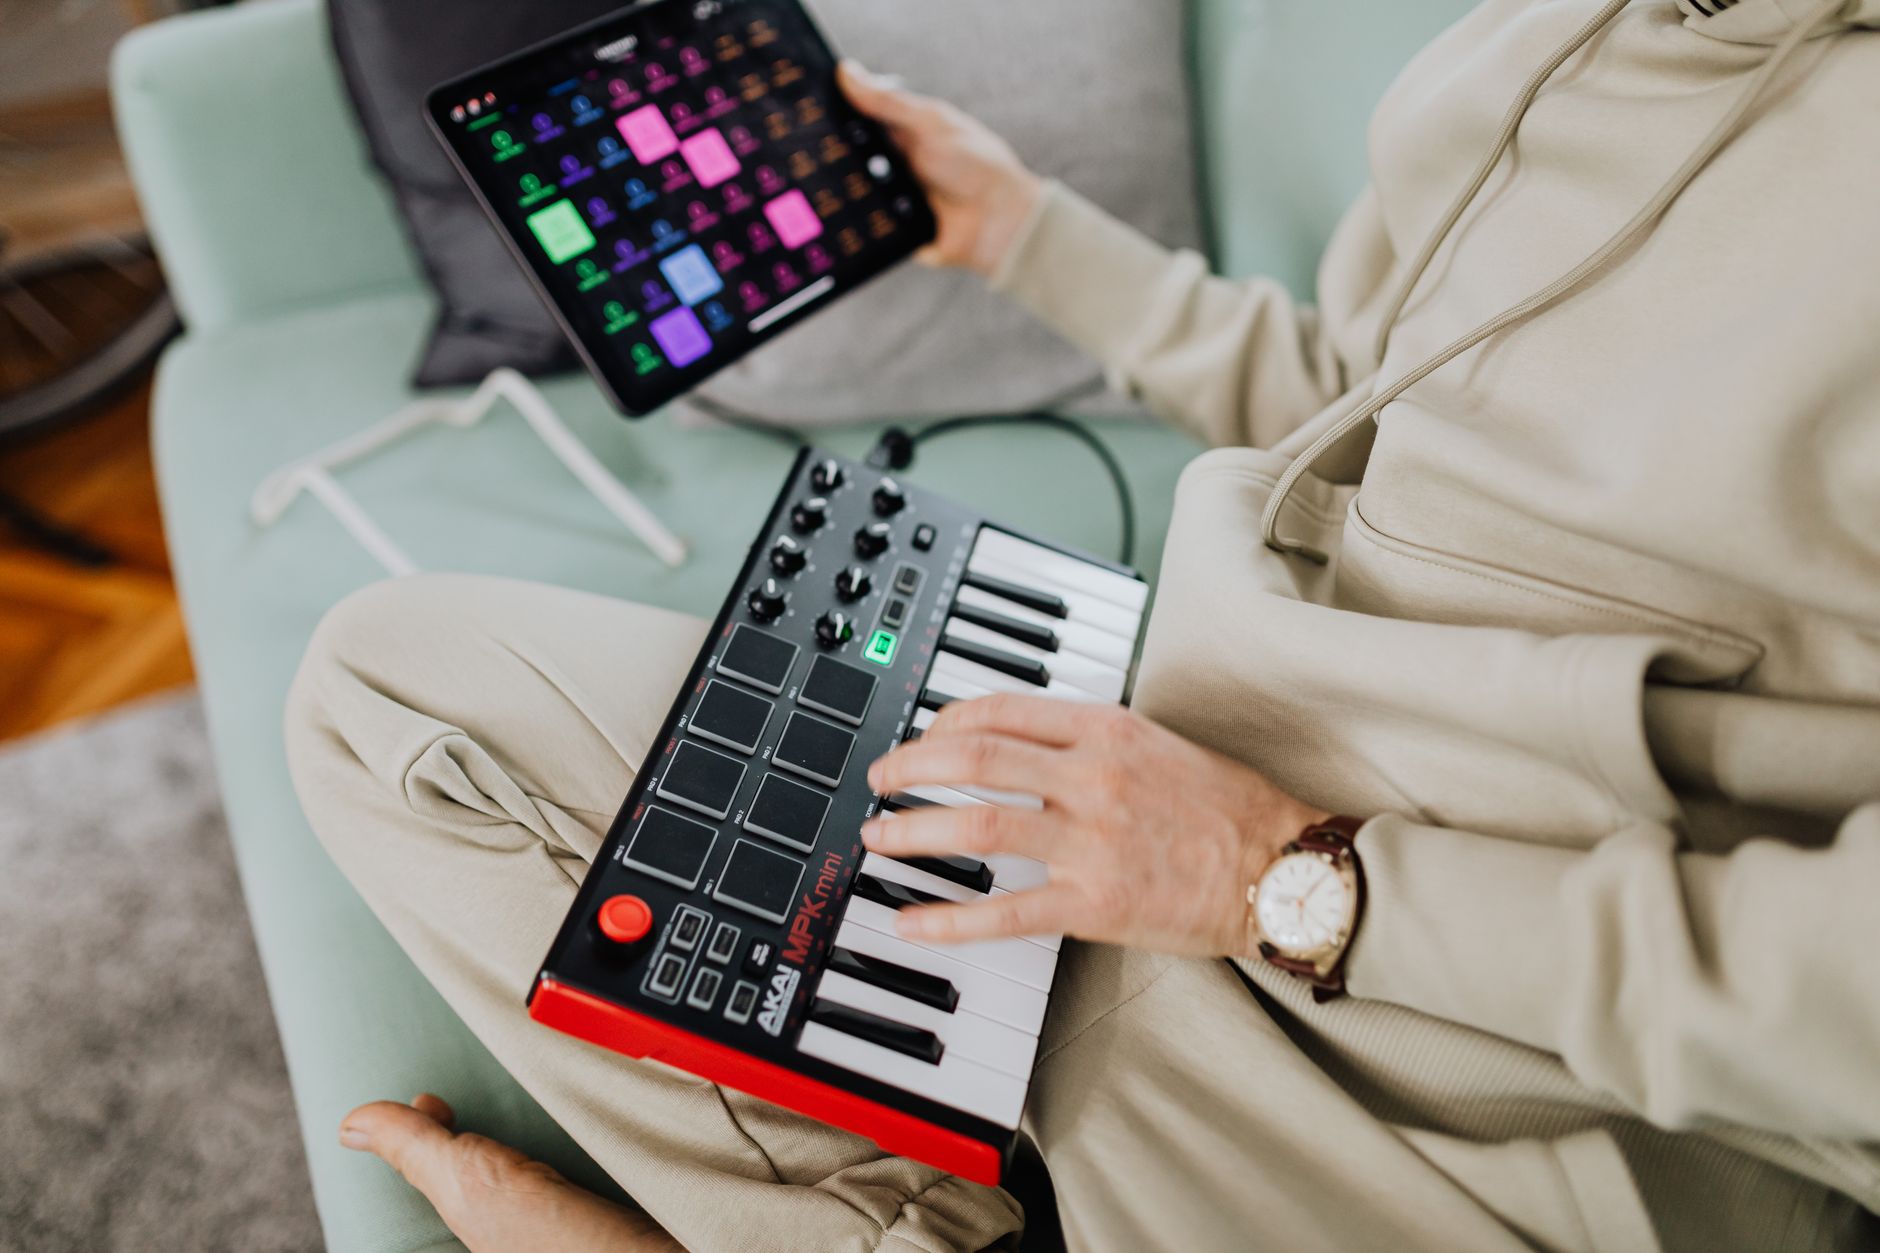
Direct Answer: Microphone → XLR cable → Focusrite Scarlett Solo input → USB-C to laptop → DAW. Set interface gain so your loudest vocal peaks hit -12 to -6 dBFS. That’s the whole chain.
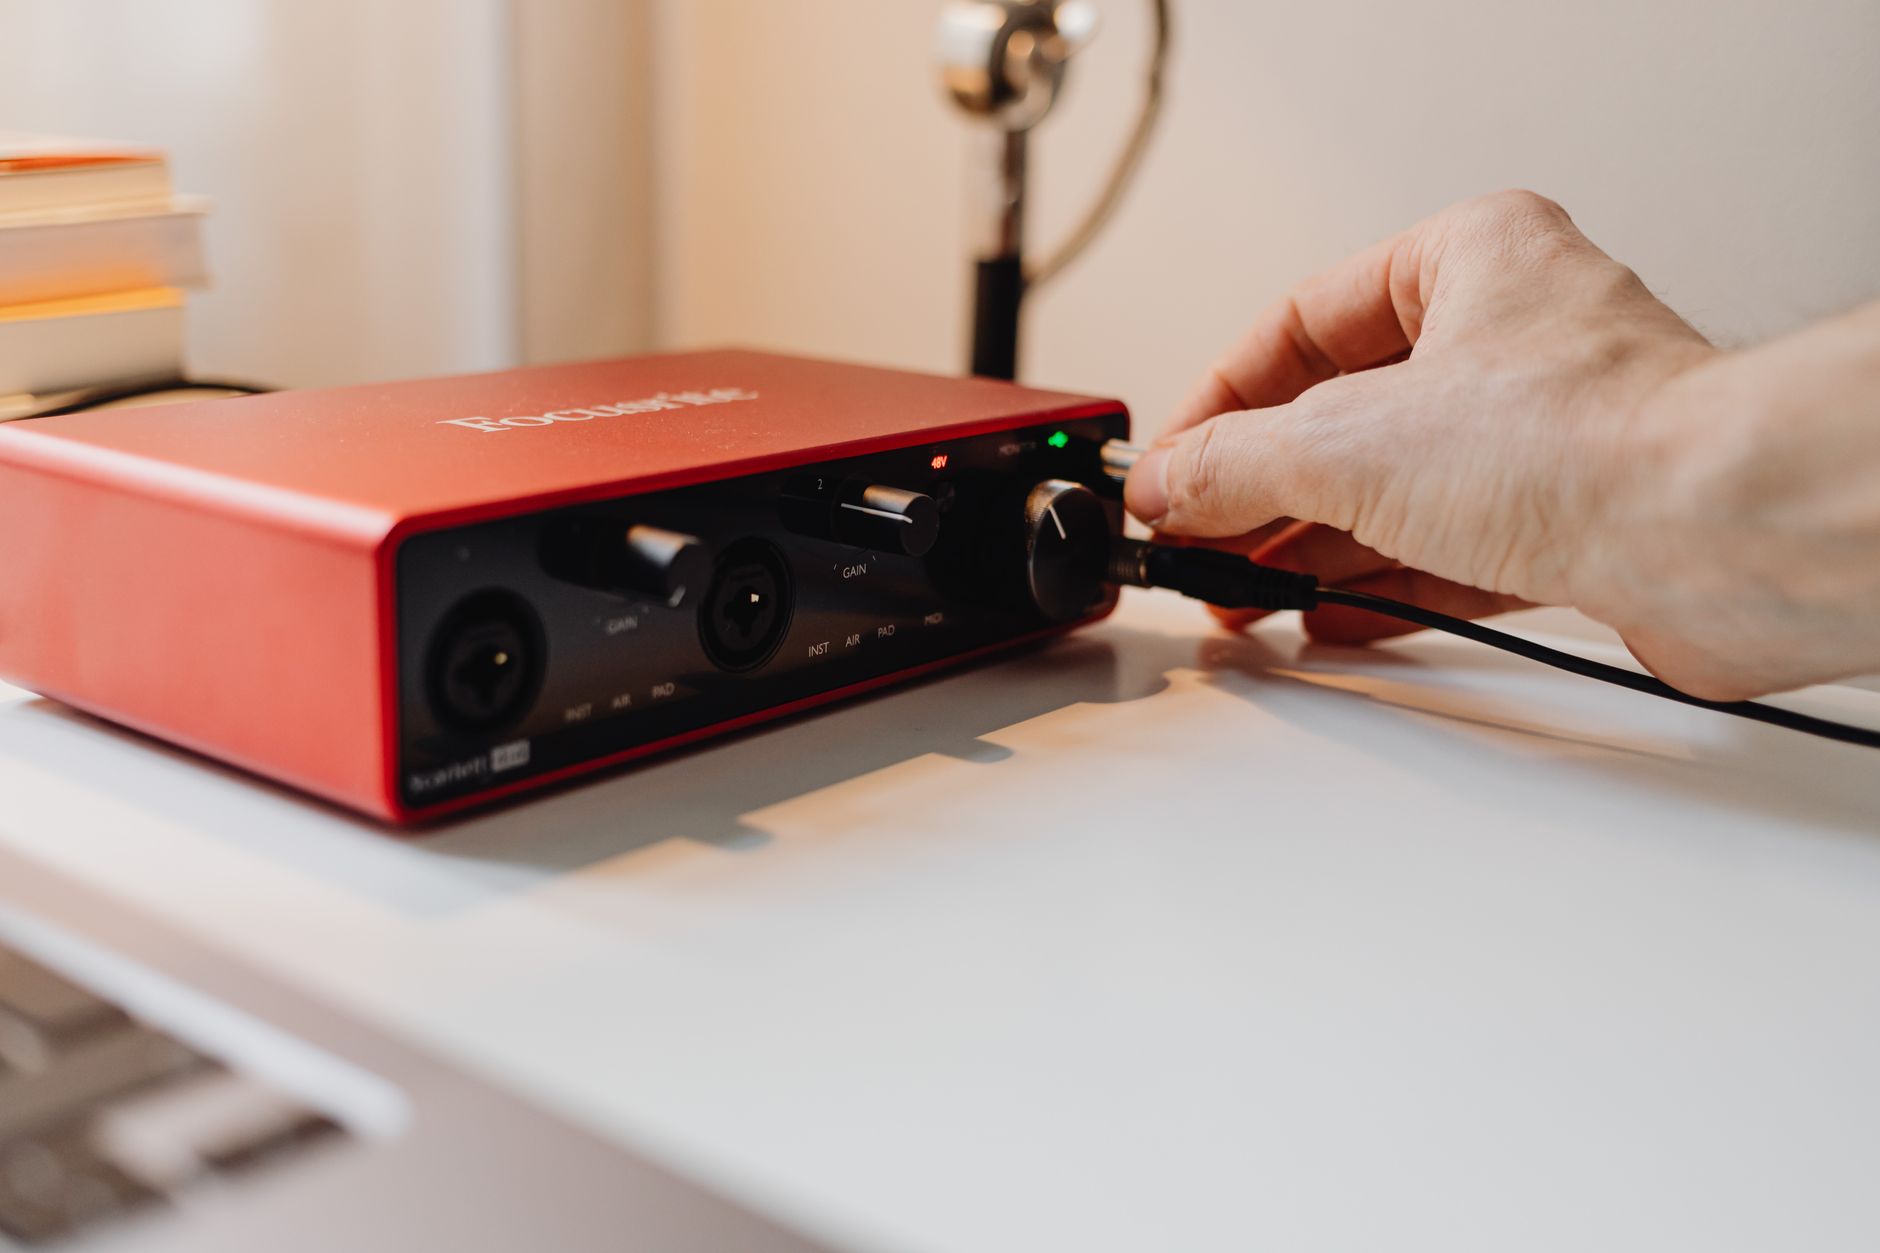 Photo: https://kaboompics.com/ via Pexels
Step-by-Step Setup Workflow
-
Install drivers first. Download Focusrite Control 2 from the Focusrite site before plugging in the interface. On Mac with Apple Silicon this is usually unnecessary, but do it anyway.
-
Connect interface via USB-C. The Scarlett Solo powers over USB — no power brick needed.
-
Set DAW input. In Reaper: Preferences → Audio → Device → select Focusrite USB ASIO (Windows) or Focusrite USB (Mac). Set sample rate to 44.1 kHz, buffer to 256 samples to start.
-
Connect microphone via XLR. Plug into Input 1 on the front panel.
-
Set gain. Speak or sing at your normal recording volume while watching the Gain Halo LED. Aim for green. Red means clipping — back the knob off.
-
Enable Direct Monitoring. Press the Direct Monitor button on the interface so you hear yourself with near-zero latency through headphones while recording. Do not monitor through the DAW at this stage.
-
Create a track in your DAW. Arm it for recording (the red R button in Reaper). Confirm the input meter is moving when you speak.
-
Record a test take. Listen back with headphones unplugged from the interface — plug into the headphone jack on the front panel of the Scarlett Solo, not your laptop.
-
Check gain staging in the DAW. The recorded waveform should be clearly visible but not touching the top and bottom of the track lane. Peaks should sit around -12 dBFS.
-
Save your project template. This setup — one input track, one output, interface selected — is your starting template. Save it now so every future session begins here.
Troubleshooting Matrix
| Symptom | Likely Cause | Fix |
|---|---|---|
| No signal in DAW | Wrong input device selected | Reaper → Preferences → Audio → confirm Focusrite is selected |
| High latency (echo on voice) | Buffer too high, or monitoring through DAW | Lower buffer to 128; switch to Direct Monitoring on interface |
| Loud hum or buzz | Ground loop or USB hub issue | Plug interface directly into laptop USB — skip the hub |
| No sound in headphones | Headphones in wrong jack | Use the interface headphone jack, not the laptop |
| Clipping (distorted recording) | Gain too high | Turn gain knob counterclockwise until Gain Halo stays green |
| Thin, roomy sound | Too far from mic, bad room | Get within 6–8 inches of the mic; point away from reflective walls |
Free DAW Options: What Works at $0
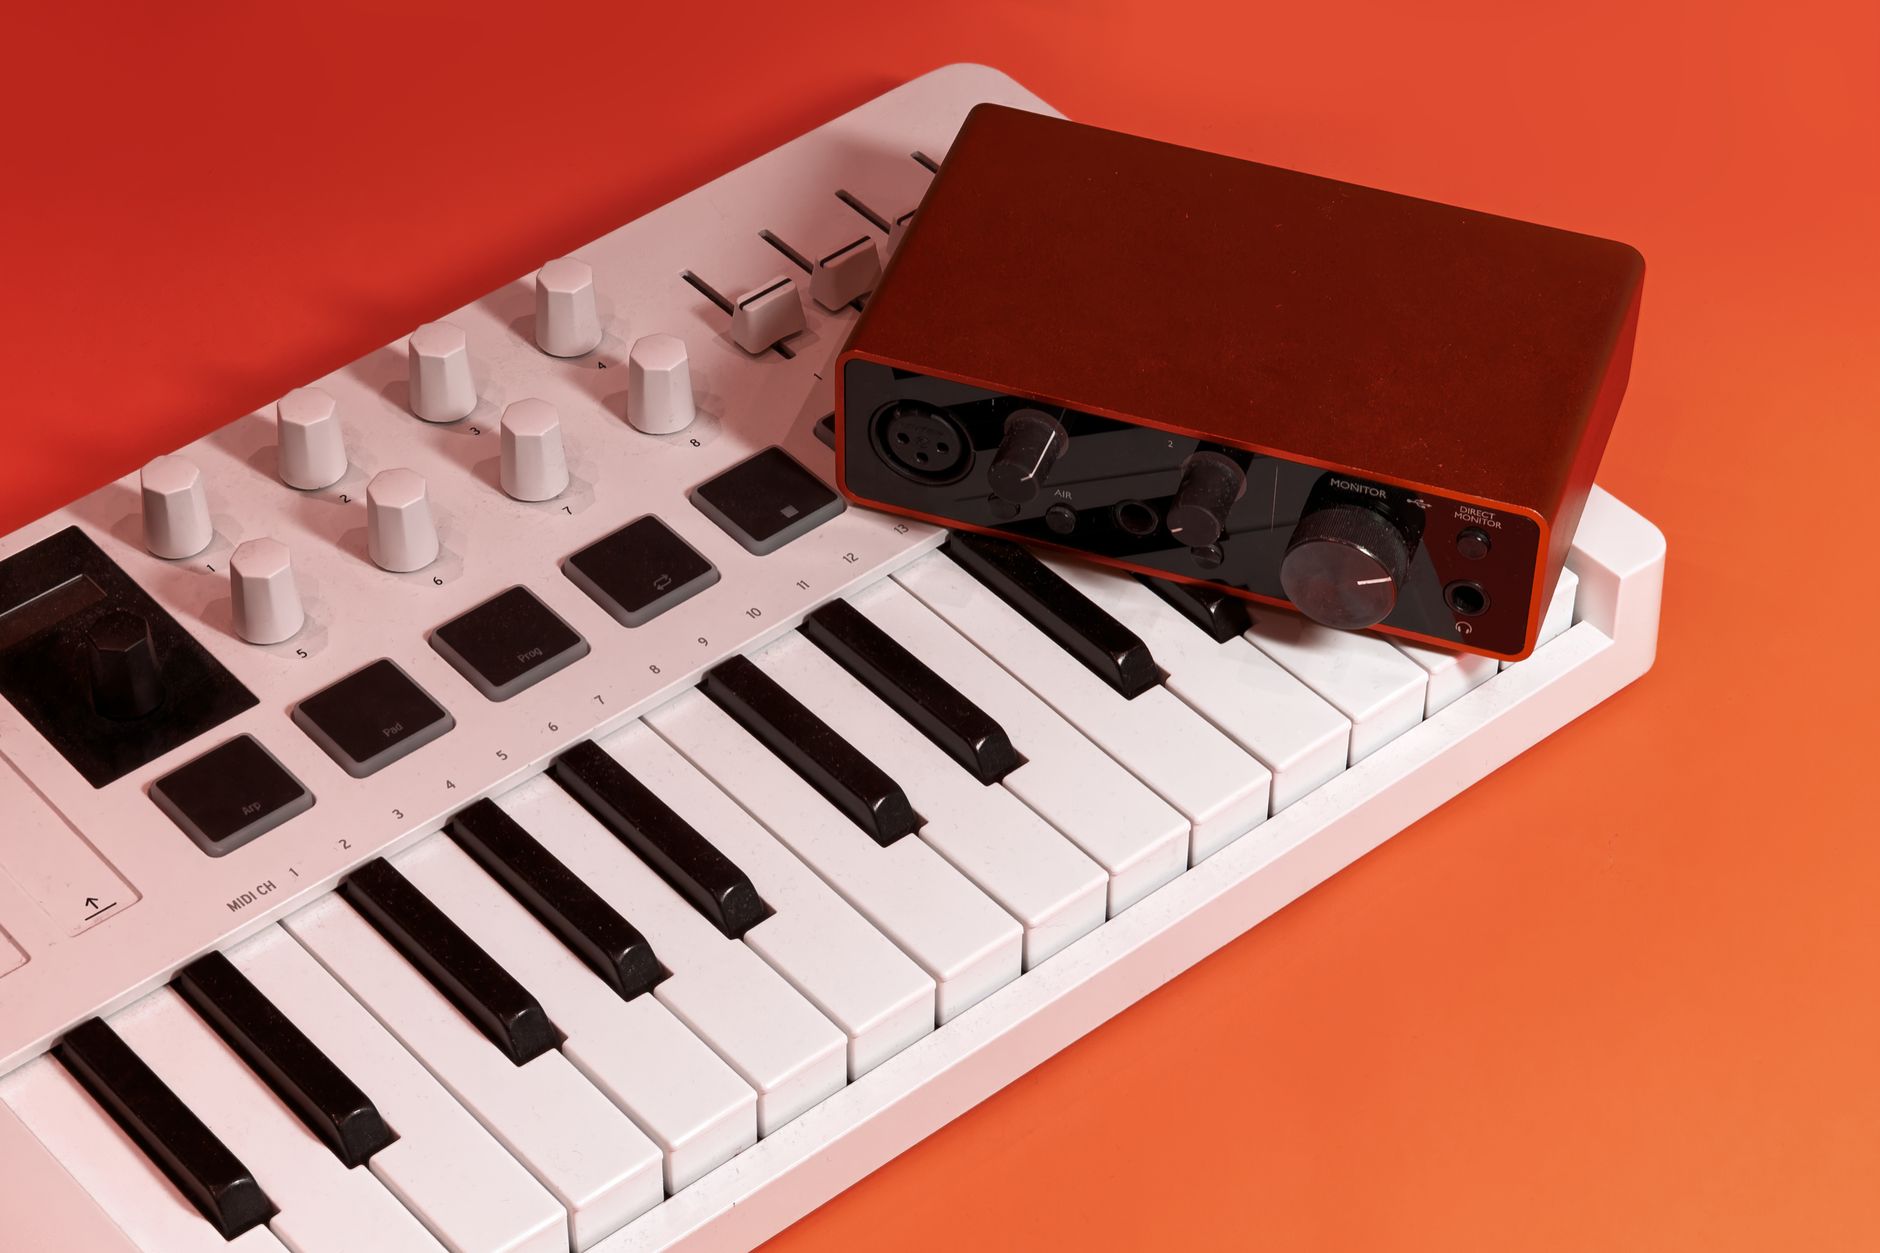
Direct Answer: GarageBand on Mac is the best free DAW at any price — it’s genuinely professional for basic recording. On Windows, Reaper’s free trial has no feature limitations for 60 days, and the $60 personal license is the most honest pricing in software.
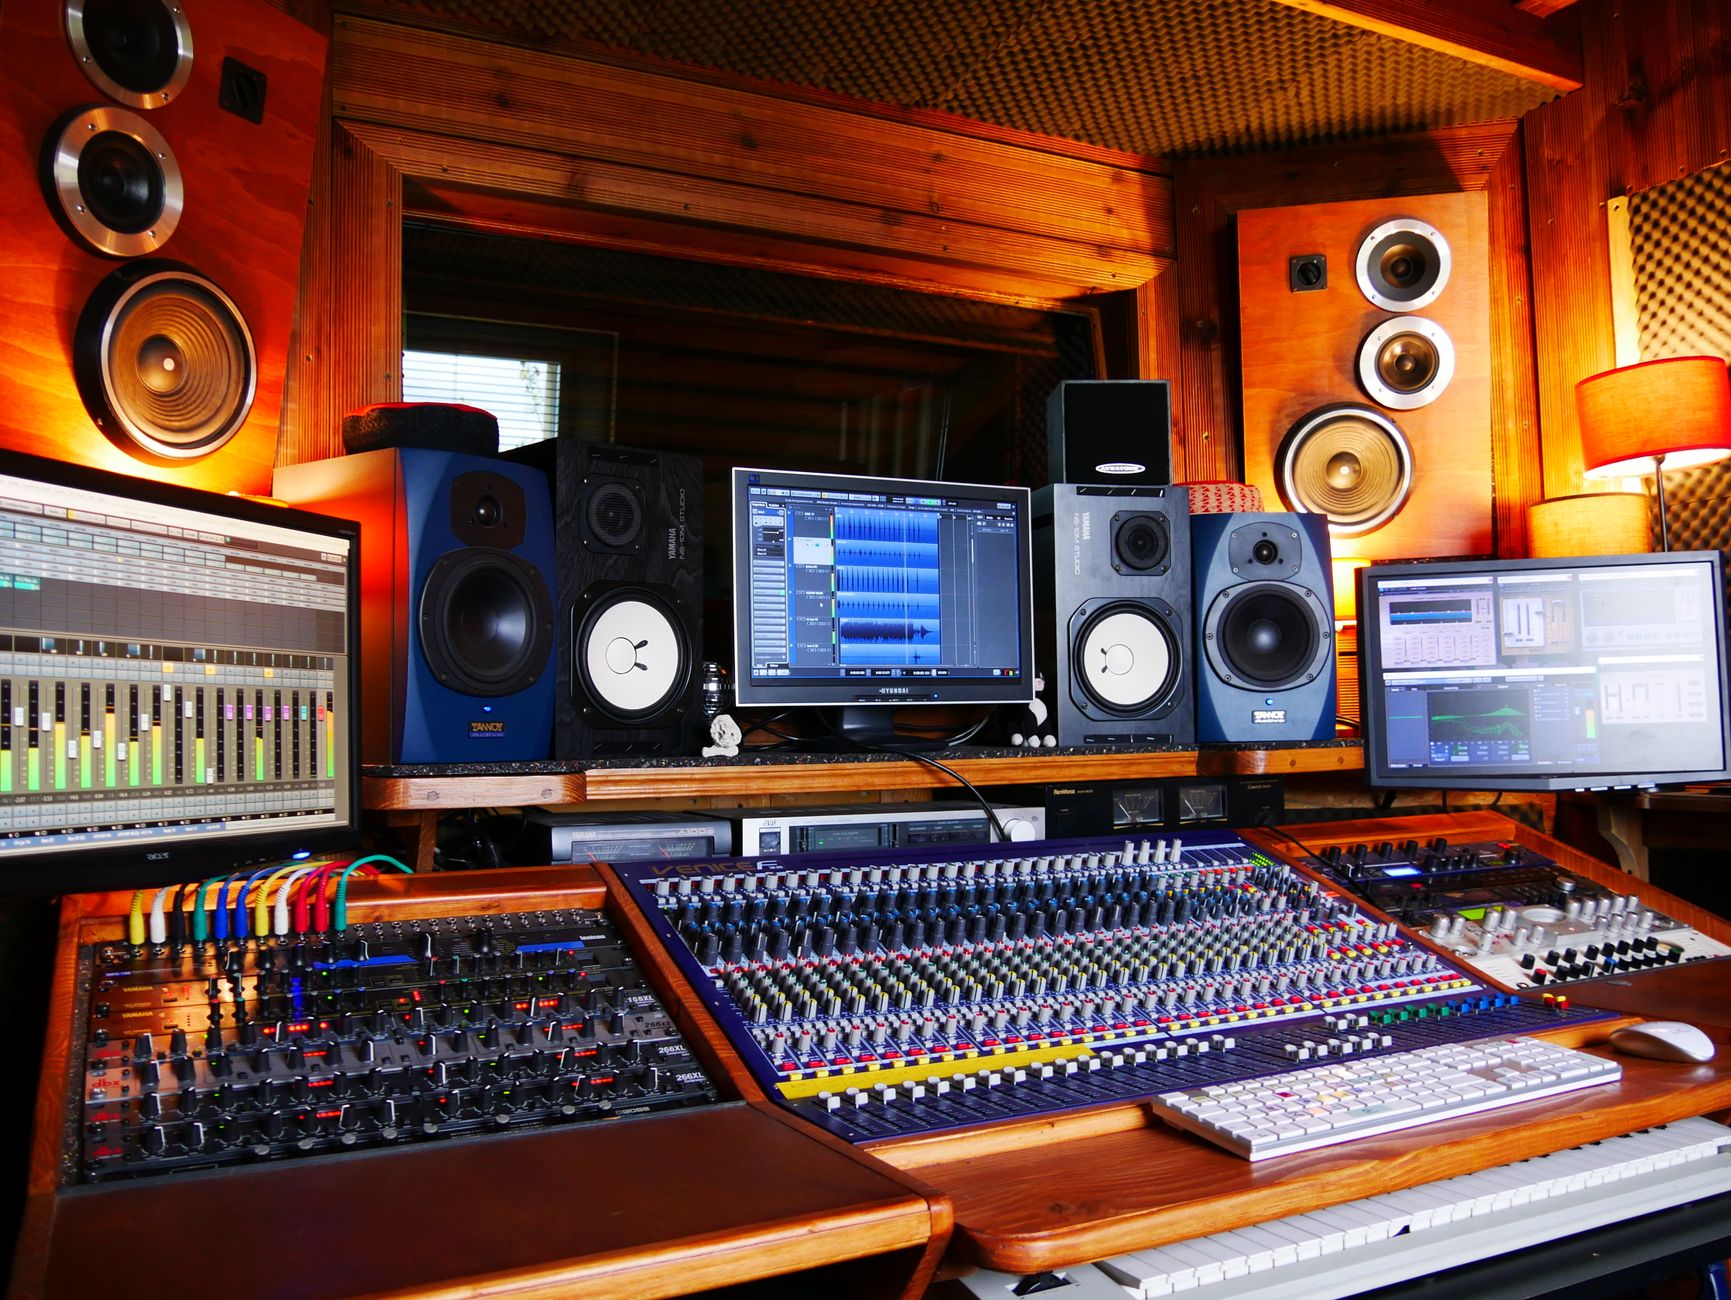 Photo: Tom de Monteiller via Pexels
GarageBand (Mac only): Ships with every Mac. Handles multitrack recording, includes usable stock plugins, and exports WAV and AAC. Ceiling: limited track count in older versions, no VST support (only AU), no MIDI controller mapping depth. For vocals, guitar, and podcast work it covers everything a $200 home studio setup needs.
Reaper (Windows/Mac): $60 personal license after the trial. Every professional feature: unlimited tracks, VST/AU/VST3 support, routing flexibility that rivals Pro Tools. The UI is dense but the documentation is exceptional. According to user reviews across multiple communities, Reaper has the lowest latency performance of any DAW at equivalent buffer settings — relevant if you’re on older hardware.
Audacity (Windows/Mac/Linux): Free and open source. Good for single-track vocal recording and podcast editing. Not suitable for multitrack music production or MIDI. Use it if all you need is record → edit → export.
What to Skip at $200
You don’t need a condenser microphone yet. The room will fight you. An untreated bedroom adds early reflections that a condenser captures faithfully and a dynamic rejects by design.
You don’t need studio monitors at this budget. Monitors require acoustic treatment to be useful. Headphones in an untreated room give you more reliable feedback than speakers whose low end is smeared by room modes.
You don’t need a pop filter if you record with a dynamic mic and position correctly — 6–8 inches, slight angle off-axis. A folded piece of nylon from a cheap pair of stockings over a wire frame is indistinguishable from a $30 pop filter if you need one.
You don’t need acoustic foam panels yet. One moving blanket hung behind you costs $15 and does more for your recordings than $80 of corner bass traps.
Upgrade Path: What to Buy Next
When your recordings sound consistently good and you’ve mastered gain staging, the order of upgrades that produce the most return:
- Room treatment first (~$50–100): One reflection panel behind the mic, one behind your head. Cheapest audible upgrade in recording.
- Condenser microphone (~$80–120): Rode NT1 or Audio-Technica AT2020 once the room is treated.
- Studio monitors (~$150–200/pair): Yamaha HS5 or Adam Audio T5V when you’re ready to mix.
- DAW upgrade: Reaper $60 license covers most needs; Logic Pro $200 one-time if you’re on Mac and want the plugin library.
→ See also:
- The Complete Home Recording Studio Setup Guide (2026)
- How to Build a Home Studio for $300 (2026)
- How to Build a Home Studio for $500 (2026)
FAQ
Can I build a home studio for $200 without an audio interface? Yes, but with trade-offs. The AT2005USB records directly over USB, letting you skip the interface initially. Audio quality is acceptable for demos and podcasts. An interface adds cleaner preamps, direct monitoring, and the ability to record guitar or other instruments alongside vocals — worth the investment as soon as budget allows.
Is $200 enough for recording music professionally? For demos, songwriting, and independent releases distributed to streaming platforms: yes. Published recordings from artists with millions of streams have been tracked on gear at this price point. The limitation isn’t the equipment — it’s the room and technique, both of which are free to improve.
Do I need phantom power for a $200 home studio setup? Not if you use a dynamic microphone, which this guide recommends. The Focusrite Scarlett Solo provides 48V phantom power for condenser mics, but condenser mics in untreated rooms create more problems than they solve at this budget level.
What’s the best free recording software for beginners? GarageBand on Mac is the strongest option — professionally capable, genuinely free, and designed for beginners without hiding advanced features. On Windows, Reaper’s 60-day full-feature trial gives you time to evaluate before committing to the $60 personal license.
Can I record guitar with this home studio setup? Yes. The Focusrite Scarlett Solo has a high-impedance instrument input on the front panel — plug a guitar or bass directly via standard quarter-inch cable. For amp tones, use a free plugin like Neural DSP’s free Fortin NTS or the amp sims bundled with Reaper. A dedicated DI box is worth adding later but isn’t necessary to start.
Will this setup work for podcasting? A dynamic mic, audio interface, and free DAW is the standard setup recommended by podcast engineers at every budget level. The AT2005USB or XM8500 reject room noise better than most condensers costing three times the price, which is exactly what untreated home environments need.
Editorial methodology: Assessments are based on manufacturer specifications, published user reviews, and editorial research. Physical hands-on testing is noted explicitly where it occurred. Rankings reflect our editorial judgment and are not influenced by affiliate commission rates. Full editorial policy · Affiliate disclosure