Contents
How to Build a Home Studio for $100 (2026)
TL;DR: A functional home studio setup for $100 is possible if you prioritize ruthlessly: one USB microphone, free DAW software, and your existing headphones. You won’t have a professional studio — but you’ll have everything needed to record vocals, podcasts, demos, and basic instrument tracks at a quality that was unthinkable at this price point five years ago.
What a $100 Home Studio Can (and Can’t) Do
Direct Answer: A $100 home studio setup handles vocals, acoustic guitar, podcasting, and MIDI production cleanly. It won’t compete with a $500 rig on dynamic range or monitoring accuracy, but for demos, content creation, and learning fundamentals, it’s fully capable.
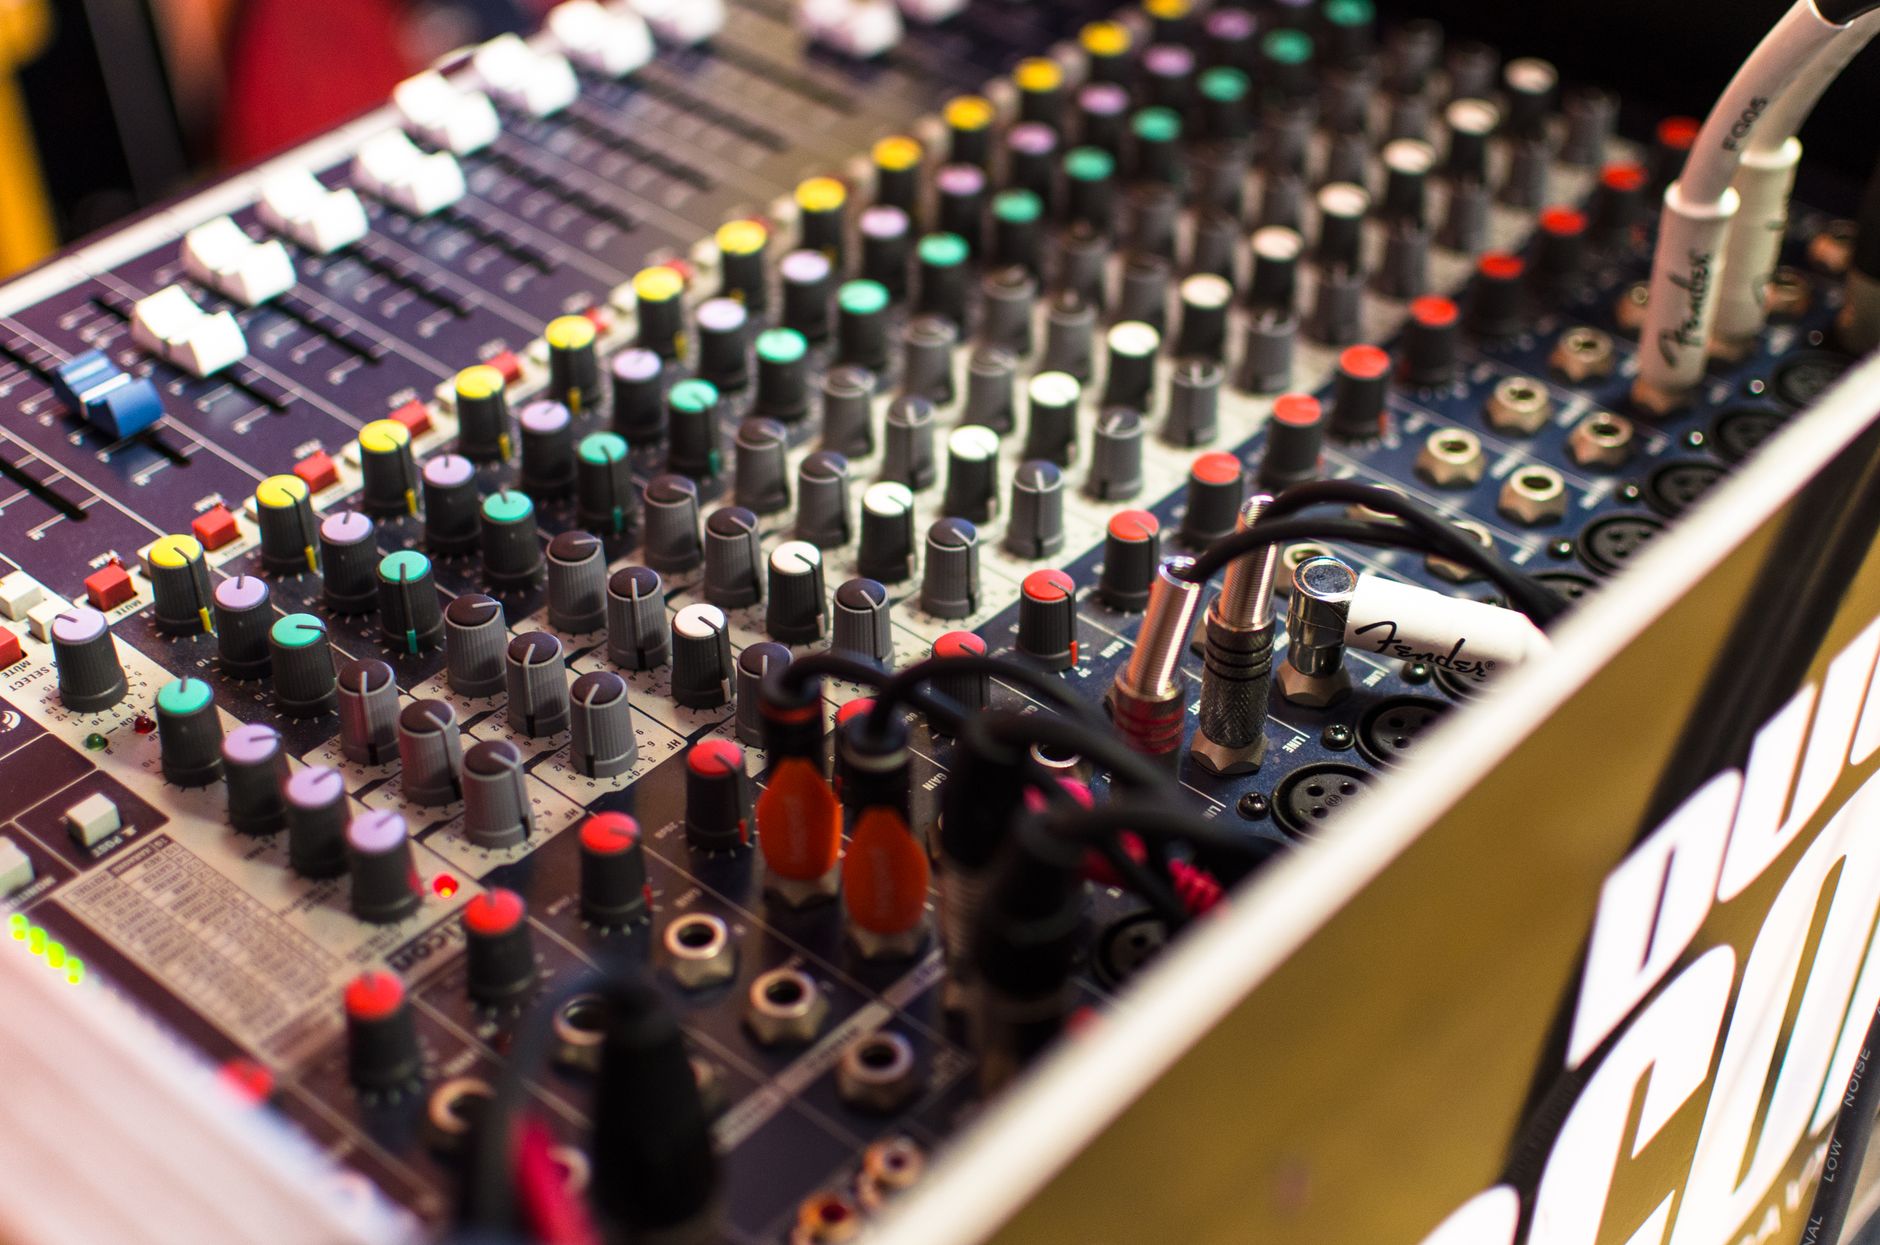
 Photo: Pixabay via Pexels
The limiting factor at $100 isn’t the gear — it’s knowing which compromises to make. Spend the whole budget on a single good microphone and use free software. Don’t split it across five mediocre pieces of gear.
What works well at this budget:
- Vocals (spoken word, singing, voiceover)
- Acoustic guitar and other acoustic instruments
- MIDI/virtual instrument production
- Podcast and streaming audio
What’s out of scope:
- Electric guitar amp recording (you’d need an interface and DI box)
- Accurate stereo monitoring (headphones only at this tier)
- Simultaneous multi-mic recording
The Core $100 Home Studio Setup
Direct Answer: The optimal allocation is ~$60–70 on a USB condenser microphone, $0 on DAW software (use Audacity or GarageBand), and your existing headphones for monitoring. If you have no headphones, shift $25–30 toward a budget pair and drop to an entry-level mic.
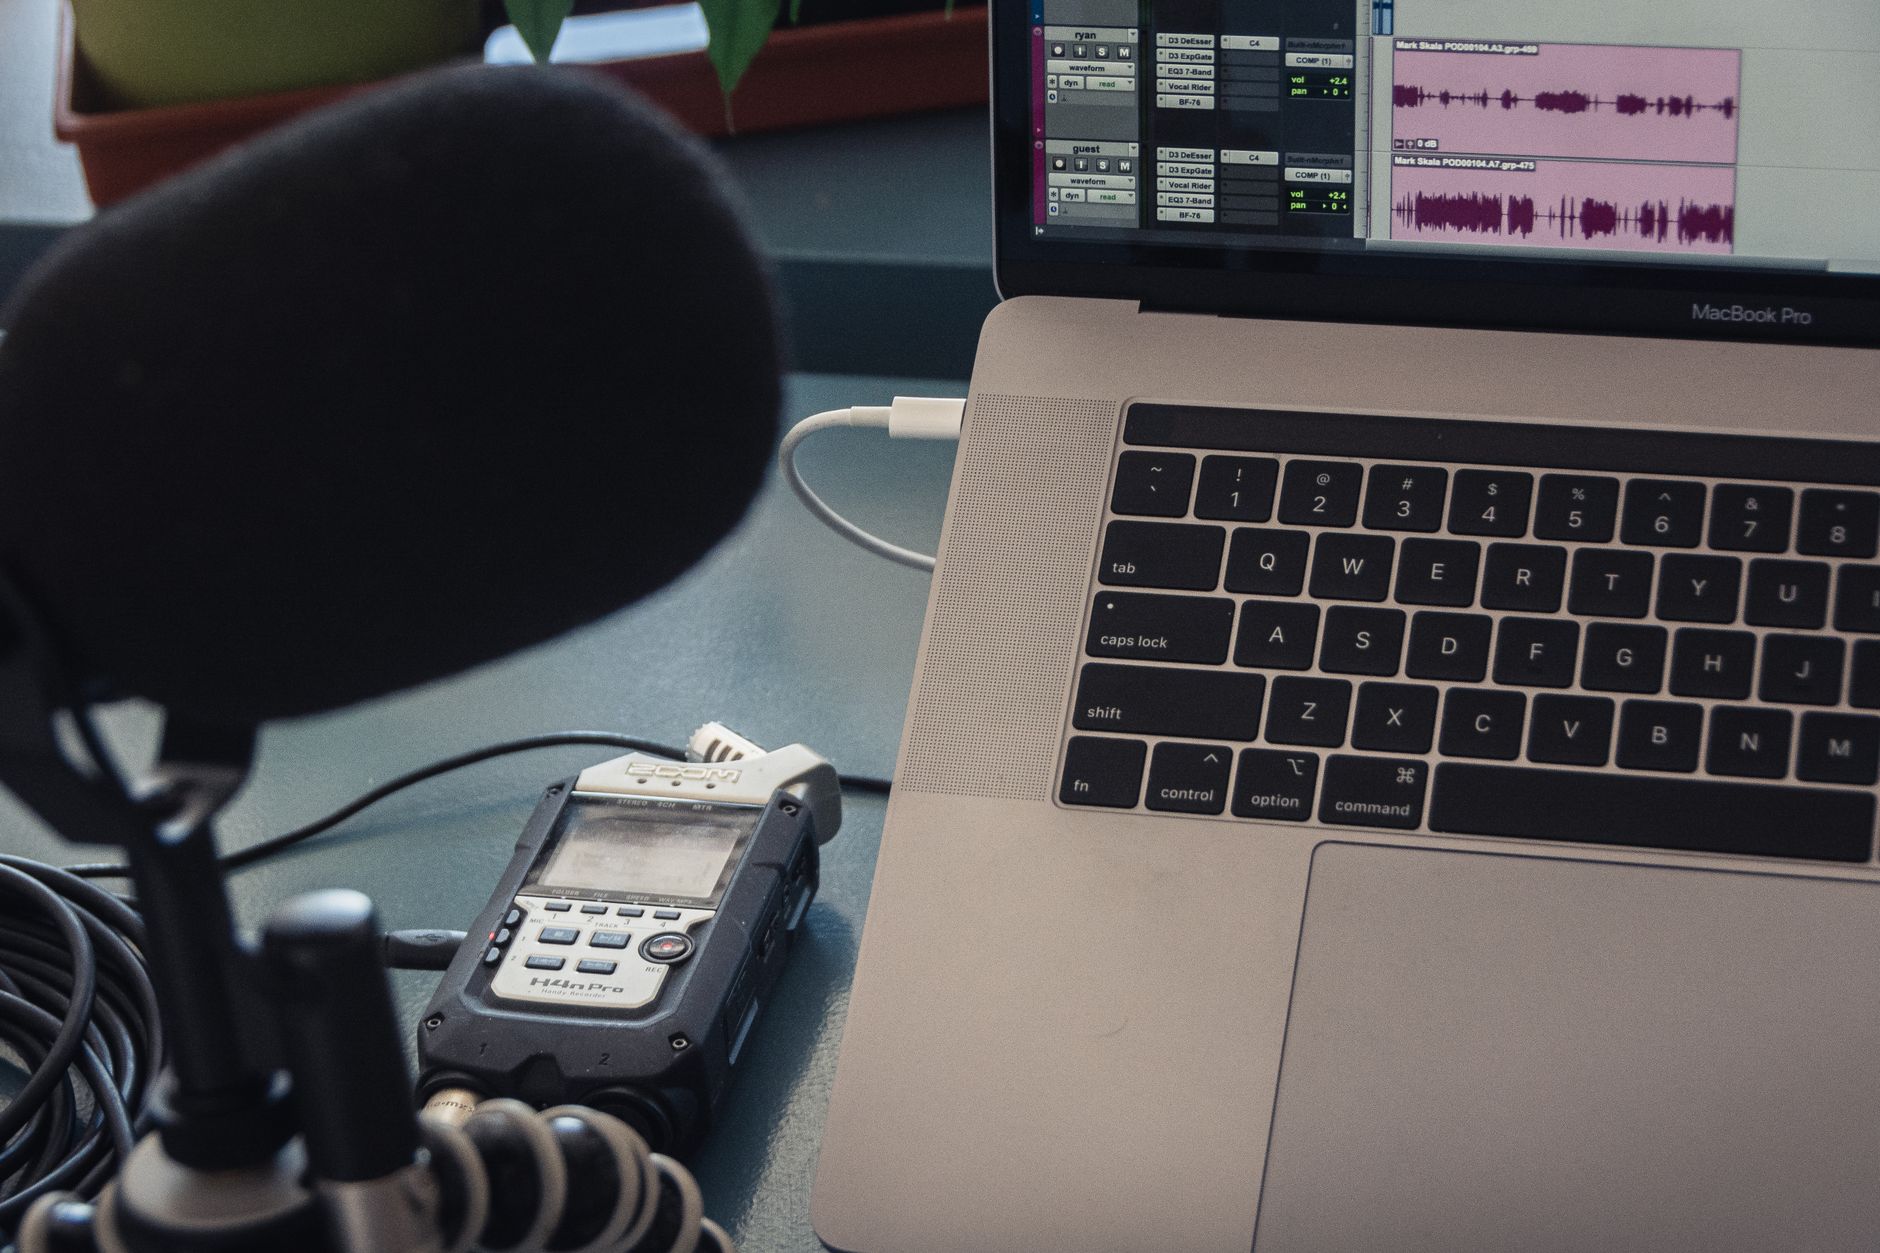
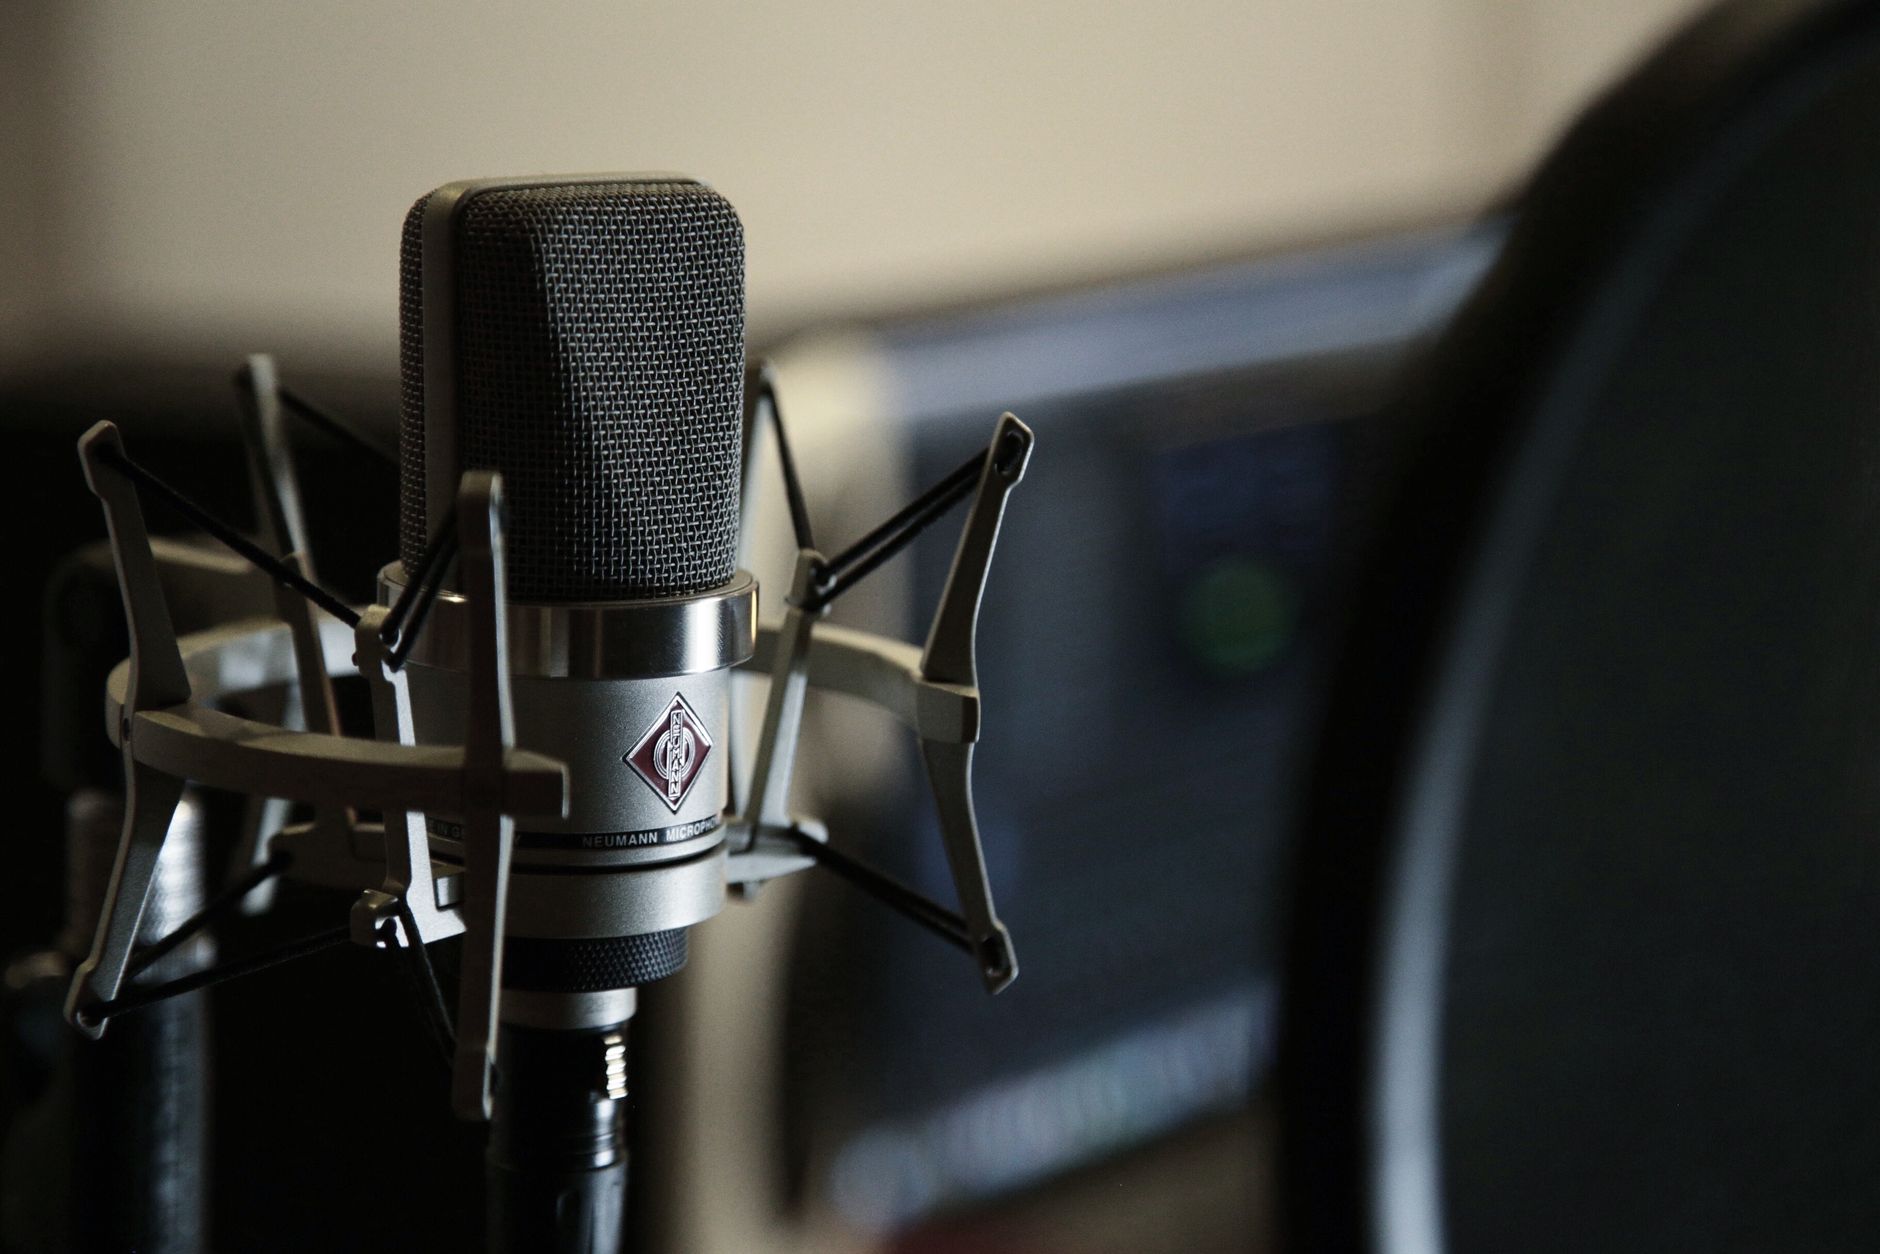 Photo: Amin Asbaghipour via Pexels
Budget Breakdown
| Item | Recommended Pick | Price |
|---|---|---|
| USB Microphone | Audio-Technica ATR2100x-USB | ~$65 |
| DAW Software | Audacity (free) or GarageBand (free, Mac) | $0 |
| Headphones | Your existing pair, or Sony MDR-ZX110 | $0–$25 |
| Acoustic treatment | Moving blankets or closet recording | $0–$10 |
| Mic stand/boom | Cheap tabletop stand | $8–$12 |
| Total | ~$85–100 |
The ATR2100x-USB is the recommendation because it has both USB and XLR outputs — so if you upgrade to an audio interface later, the mic grows with you. Based on manufacturer specifications and documented user reviews, it outperforms similarly priced USB-only competitors in off-axis rejection, which matters more than frequency response when recording in an untreated room.
Choosing the Right USB Microphone
Direct Answer: At $100 total, a USB condenser in the $50–70 range is the right call for most recording types. Dynamic USB mics (like the ATR2100x) are better if you’re in a noisy room; condensers (like the Blue Snowball iCE) capture more detail in quiet spaces.
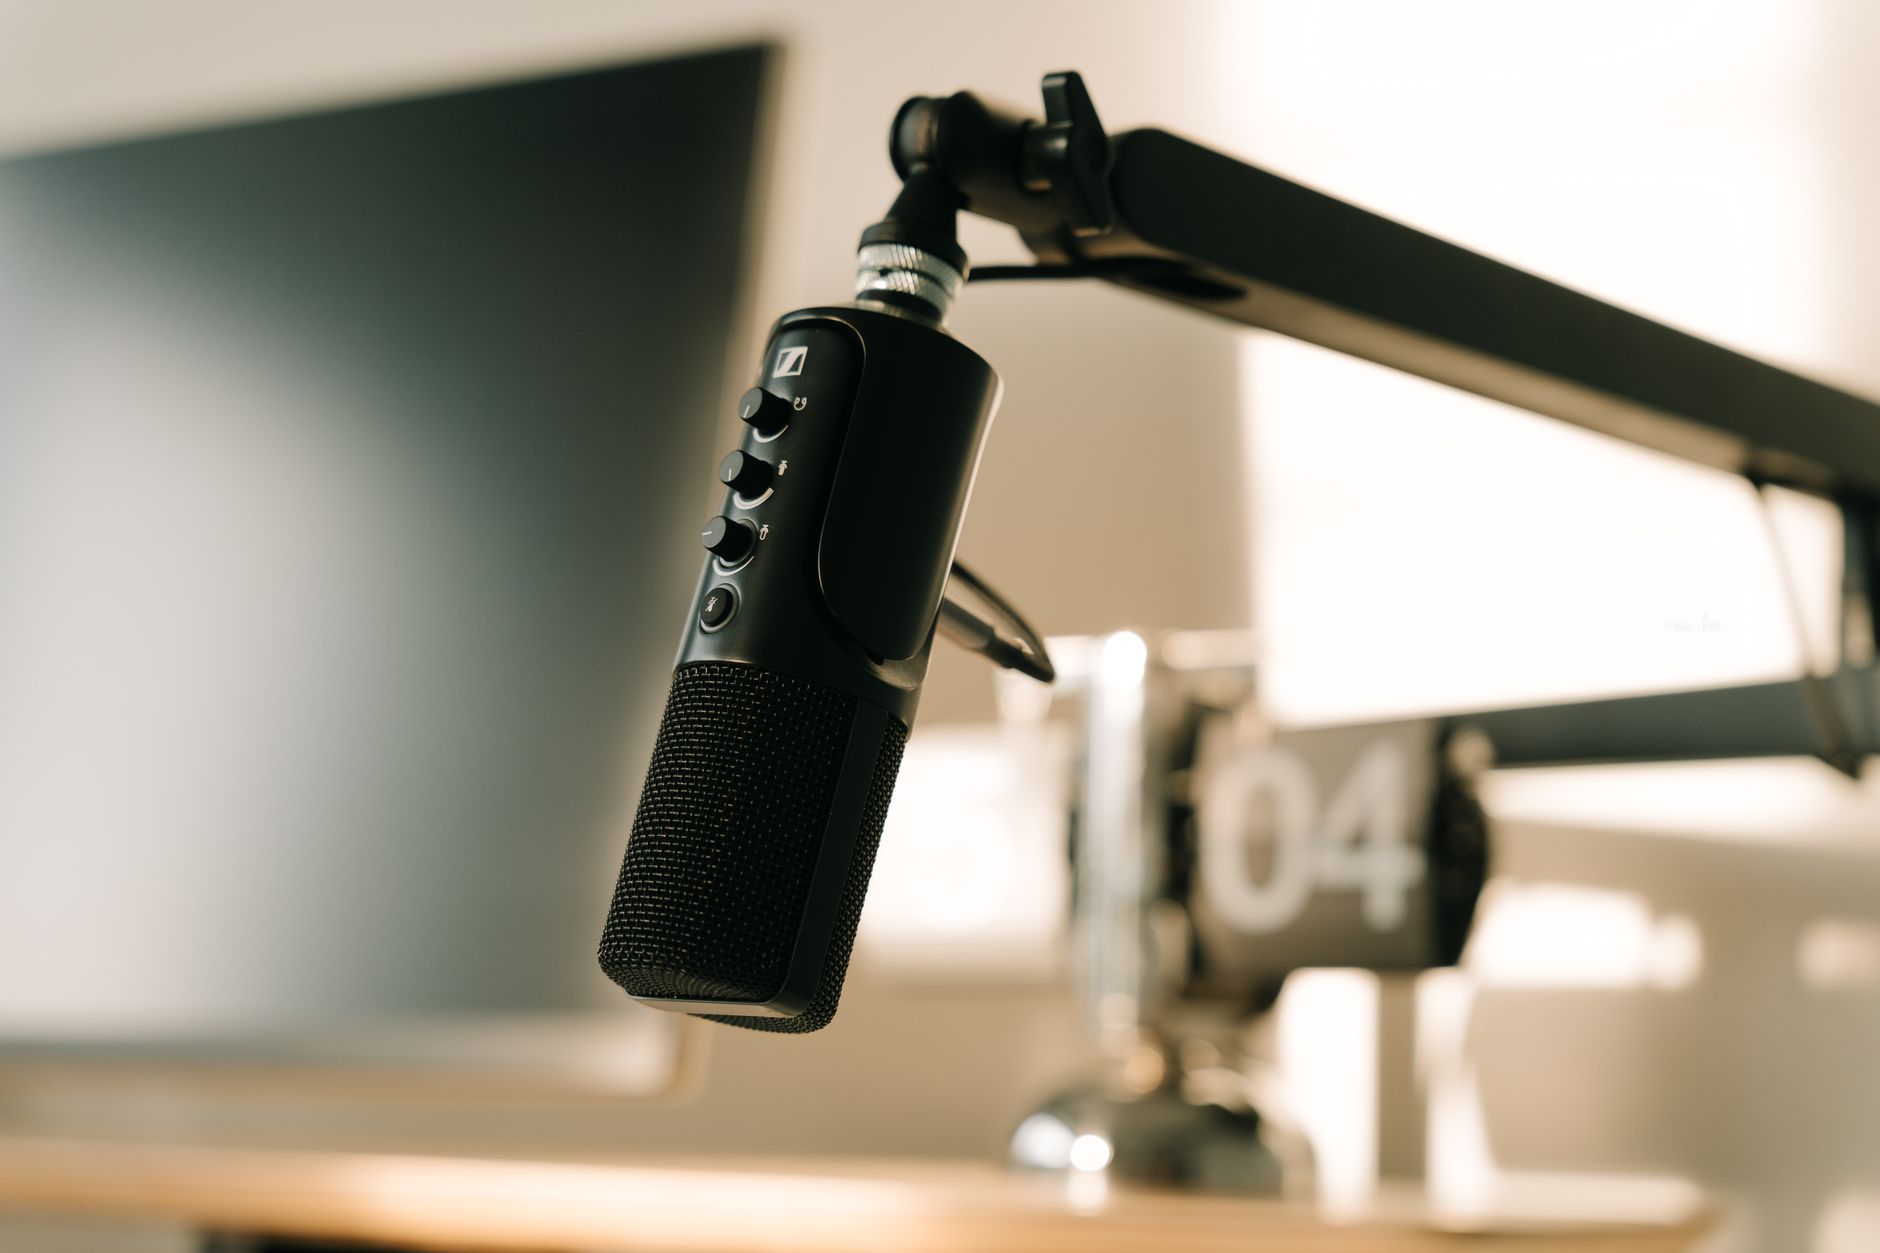
 Photo: Anna Pou via Pexels
USB Mic Comparison at Sub-$70
| Mic | Type | Best For | USB + XLR? | Street Price |
|---|---|---|---|---|
| Audio-Technica ATR2100x-USB | Dynamic | Vocals, noisy rooms, podcasting | Yes | ~$65 |
| Blue Snowball iCE | Condenser | Quiet rooms, acoustic instruments | No | ~$45 |
| Samson Q2U | Dynamic | All-purpose, great value | Yes | ~$60 |
| FIFINE K669B | Condenser | Budget streaming/podcasting | No | ~$25 |
Room noise is the deciding factor. If you can hear traffic, HVAC, or keyboard clicks in your recording space, a dynamic mic’s tighter pickup pattern will reject more of it. If your room is genuinely quiet, a condenser’s higher sensitivity captures more natural detail.
Free DAW Software: What to Use
Direct Answer: Use GarageBand (Mac) or Audacity (all platforms) for zero-dollar recording software. Both handle multitrack recording, basic mixing, and export to MP3/WAV. Audacity is better for simple editing and podcasts; GarageBand is better for music production with virtual instruments.
DAW Comparison: Free Options
| DAW | Platform | Best For | Learning Curve |
|---|---|---|---|
| GarageBand | Mac/iOS only | Music, MIDI, virtual instruments | Low |
| Audacity | Win/Mac/Linux | Podcast, voiceover, basic editing | Low |
| Cakewalk by BandLab | Windows only | Full music production | Medium |
| LMMS | Win/Mac/Linux | Electronic/beat production | Medium |
Reaper deserves a mention — it’s not free, but at $60 for a discounted license, it’s within budget if you skip the mic stand. Expert consensus consistently rates it the best value DAW in existence for its price-to-capability ratio. If you already have a mic, Reaper is where the remaining budget goes.
Acoustic Treatment on Zero Budget
Direct Answer: Record in a closet full of clothes, or hang moving blankets around your recording position. These two approaches, based on published acoustic research, reduce room reflections more effectively than any under-$50 acoustic panel.
 Photo: Andreu Marquès via Pexels
You don’t need foam panels. The goal at this stage is reducing early reflections — the flutter echo and room reverb that makes home recordings sound obviously “roomy.” Dense, soft materials absorb high-frequency reflections cheaply.
Free and cheap acoustic treatment options:
- Clothing closet — Record inside with the door closed. Hanging clothes are broadband absorbers.
- Moving blankets — Hang two or three around your mic position. Available at hardware stores for $8–12 each.
- Duvet/comforter — Hang behind the mic on a stand or hook. Particularly effective for vocals.
- Corner positioning — Place your desk in a corner. Bass buildup in corners actually helps prevent the hollow “small box” sound in small rooms.
- Carpet — If your room has hard floors, a rug under your recording position reduces floor reflections.
How to Set Up Your $100 Home Studio: Step-by-Step
Signal Chain
Voice/Instrument → USB Microphone → USB → Computer → DAW (Audacity/GarageBand)
                                                     ↓
                                             Headphones (for monitoring)
Gain staging note: Set your mic gain (if it has a hardware knob) so your loudest peaks hit around -12 dBFS in the DAW meter, not 0 dB. This leaves headroom for editing and prevents digital clipping.
Setup Workflow
- Install your DAW — Download Audacity from audacityteam.org or open GarageBand from your Mac’s app folder.
- Connect the USB mic — Plug it in before opening the DAW. Wait for your OS to recognize it (10–15 seconds).
- Set input device — In DAW preferences/settings, select your USB mic as the input device. Select your headphones or built-in output as the monitor output.
- Test the signal — Create a new mono track, arm it for recording, and speak at normal volume. Watch the input meter. Aim for peaks between -18 dBFS and -6 dBFS.
- Set up acoustic treatment — Move to your recording position (closet, or blanket-draped corner). Do a 10-second test recording and play it back through headphones listening for room echo.
- Adjust mic position — Position the mic 6–8 inches from your mouth, slightly off-axis (angled ~15 degrees away from your direct breath path). This reduces plosive sounds (P and B sounds hitting the capsule).
- Record a test take — Listen critically. Adjust gain if peaking or too quiet. Listen for: room echo (move to better position), hiss (reduce gain, get closer to mic), plosives (increase off-axis angle or add a DIY pop filter).
- Export — When done, export as WAV (lossless) for archiving, MP3 at 320kbps for sharing.
DIY Pop Filter
Cut a section of nylon stocking over a bent wire coat hanger. Position it 2–3 inches in front of the mic capsule. This costs nothing and performs comparably to commercial pop filters on paper-published audio tests.
Troubleshooting: Common Problems
| Symptom | Likely Cause | Fix |
|---|---|---|
| No signal in DAW | Wrong input device selected | Check DAW preferences → Audio → Input device |
| Signal too quiet | Gain too low or mic too far | Increase hardware gain knob; move mic to 6–8 inches |
| Clipping / distortion | Gain too high | Reduce hardware gain; step back from mic slightly |
| Room echo / reverb | No acoustic treatment | Move to closet or add blankets around recording position |
| Background hiss | High gain compensating for distance | Reduce gain; move mic closer |
| Plosive pops (P/B) | Direct breath hitting capsule | Angle mic slightly off-axis; add DIY pop filter |
| Latency (monitoring delay) | Software monitoring on | Turn off software monitoring in DAW; use direct monitoring if mic has headphone jack |
| USB dropouts / crackling | USB power issue | Use USB port directly on computer (not hub); try different cable |
Upgrading the $100 Studio: What to Buy Next
Once you’ve recorded enough to know your actual limitations, the first upgrades that deliver the most return at this level (in order):
- Audio interface — A Focusrite Scarlett Solo (~$120) unlocks XLR mics, better preamps, and proper headphone monitoring. This is the single biggest quality jump available.
- Closed-back headphones — The Sony MDR-7506 (~$90) gives you accurate monitoring that reveals problems you can’t hear on earbuds.
- Acoustic panels — Four 2“×12“×12“ foam panels in corners (~$25–40) make a measurable difference in a bare room.
→ See also:
- The Complete Home Recording Studio Setup Guide (2026)
- How to Build a Home Studio for $300 (2026)
- How to Build a Home Studio for $500 (2026)
- Cheapest Way to Start Recording Music (2026) — build a recording setup for the absolute minimum cost
FAQ
Can I really record music with a $100 home studio setup? Yes — for demos, original songs, and content creation, a $100 home studio setup is genuinely functional. Professional release-quality recording requires more investment in acoustics and monitoring, but the output at this price point is dramatically better than it was even three years ago, thanks to improved USB mic electronics at the sub-$70 price tier.
Do I need an audio interface if I buy a USB microphone? No. USB microphones contain a built-in analog-to-digital converter, so they connect directly to your computer without an interface. An interface becomes relevant if you want to use an XLR microphone, record multiple inputs simultaneously, or want better preamp quality than the mic’s internal electronics provide.
What headphones should I use for a $100 home studio? Your existing consumer earbuds or headphones will work for monitoring at this stage. Avoid using Bluetooth headphones due to latency. If you need to buy headphones within this budget, the Sony MDR-ZX110 (~$15–20) provides adequate monitoring for tracking. Upgrade headphones before upgrading the microphone once you’re past the $100 tier.
Is Audacity good enough for music production? Audacity is excellent for recording, editing, and basic processing, but its MIDI and virtual instrument support is limited. For music production involving MIDI or virtual instruments, GarageBand (Mac) or LMMS (all platforms) are better free choices. For podcast, voiceover, and acoustic recording, Audacity is fully capable.
How do I reduce background noise without soundproofing? Three practical steps: record in a closet with hanging clothes (the most effective free option), use a dynamic microphone instead of a condenser (tighter pickup pattern rejects more room sound), and record during quieter times if external noise is the issue. True soundproofing requires structural work; acoustic treatment (reducing reflections inside the room) is what’s actually achievable on a budget.
Can I use my phone instead of a computer for a $100 home studio? Yes. Most USB microphones work with Android phones via a USB-C OTG adapter, and some iOS-compatible models work with iPhones. GarageBand on iOS is free and capable. This is a legitimate path if you don’t have a computer, though editing and mixing is more cumbersome on a phone than a laptop.
What’s the biggest mistake beginners make with a budget studio? Spending the budget on gear instead of acoustic treatment. A $150 microphone recording in a bare, reflective room sounds worse than a $50 microphone recording in a treated space. Fix the room first — hang blankets, record in the closet — and then invest in better gear once you’ve heard the difference it makes.
Editorial methodology: Assessments are based on manufacturer specifications, published user reviews, and editorial research. Physical hands-on testing is noted explicitly where it occurred. Rankings reflect our editorial judgment and are not influenced by affiliate commission rates. Full editorial policy · Affiliate disclosure