Contents
Home Recording Studio Equipment Checklist (2026)
TL;DR: A complete home studio equipment list starts with four non-negotiables — audio interface, microphone, headphones, and DAW software. Everything else is additive. Budget $300–$500 to cover the essentials; $1,000–$2,000 gets you a professional-grade rig. This checklist walks every category in priority order.
The Essential Home Studio Equipment List
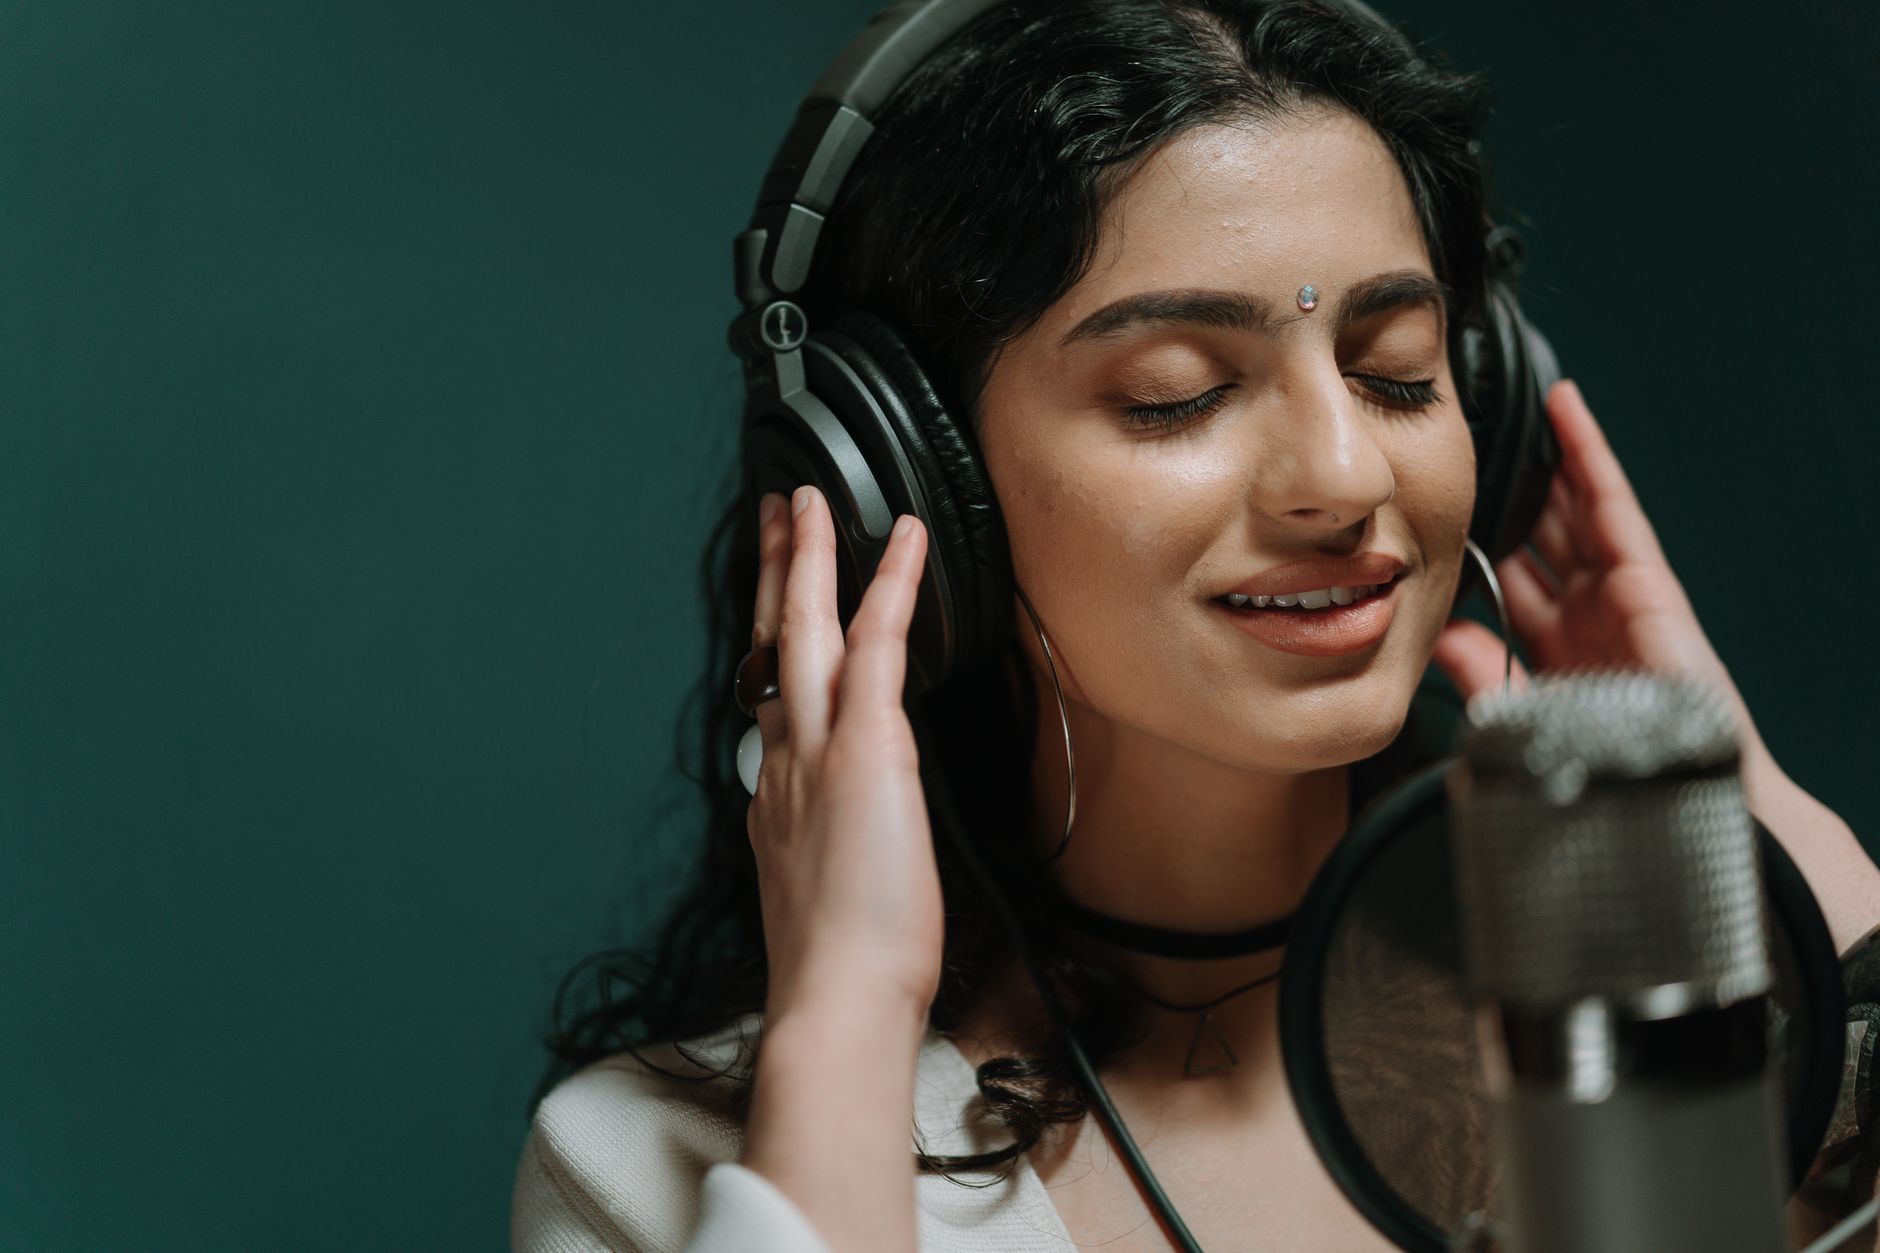
Every functional home studio runs on the same four-piece core: audio interface, microphone, monitoring headphones, and a DAW. Get these right first. Peripherals, acoustic treatment, and MIDI controllers matter — but not until the signal chain works.
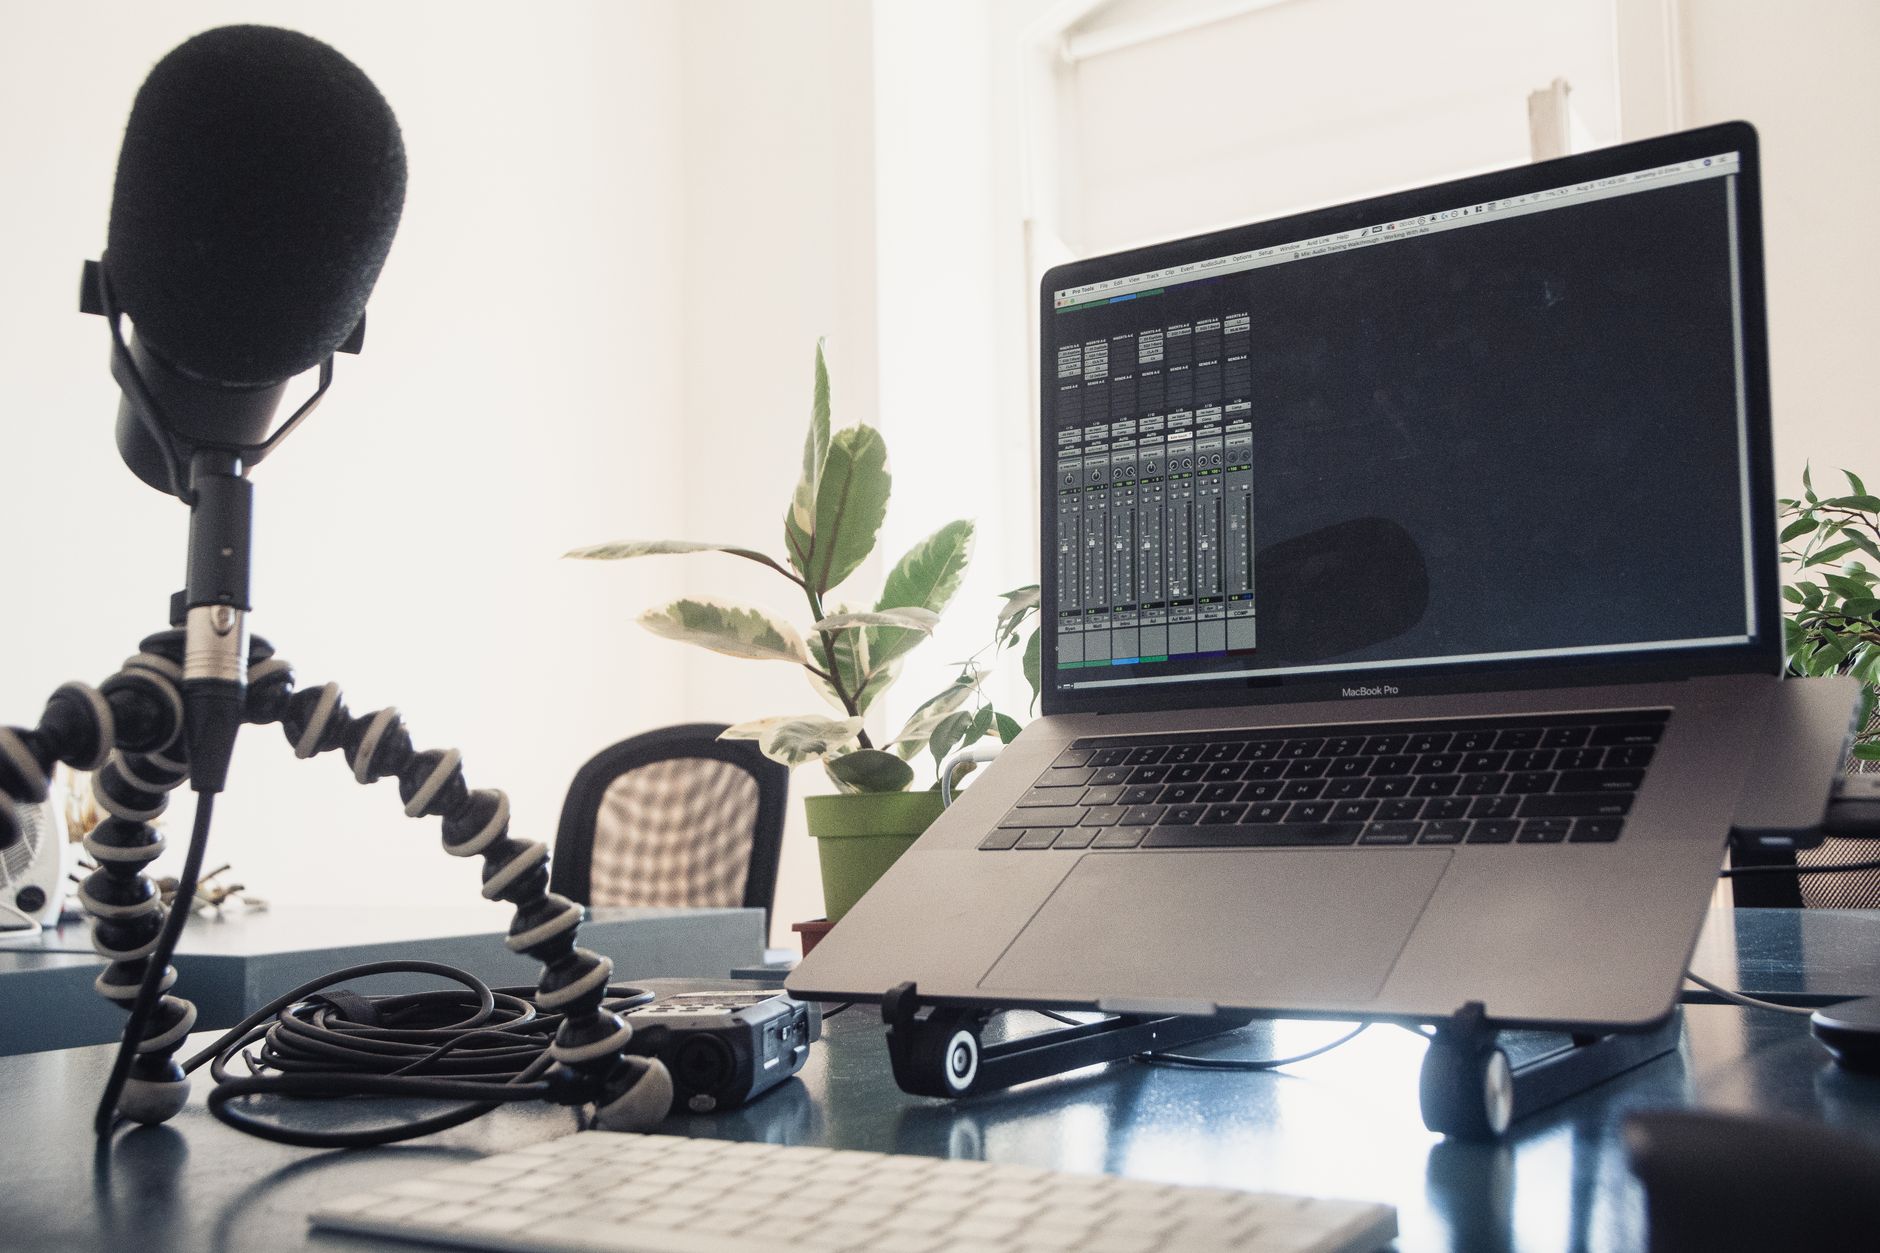 Photo: Jeremy Enns via Pexels
| Category | Entry-Level Pick | Mid-Range Pick | Budget |
|---|---|---|---|
| Audio Interface | Focusrite Scarlett Solo | Universal Audio Volt 276 | $100–$250 |
| Condenser Mic | Audio-Technica AT2020 | Rode NT1 5th Gen | $100–$250 |
| Headphones | Sony MDR-7506 | Beyerdynamic DT 770 Pro | $80–$200 |
| DAW | GarageBand (free) / Reaper | Ableton Live Standard | $0–$450 |
| Studio Monitors | Yamaha HS5 (pair) | Adam Audio T5V (pair) | $400–$600 |
| Acoustic Treatment | Foam panels + corner bass traps | Dedicated panel kit | $100–$400 |
| XLR Cable (x2) | Amazon Basics / Mogami | Mogami Gold | $15–$40 |
| Mic Stand | On-Stage MS7701B | K&M 210/9 | $25–$70 |
| Pop Filter | Nady MPF-6 | Stedman Proscreen XL | $10–$30 |
1. Audio Interface
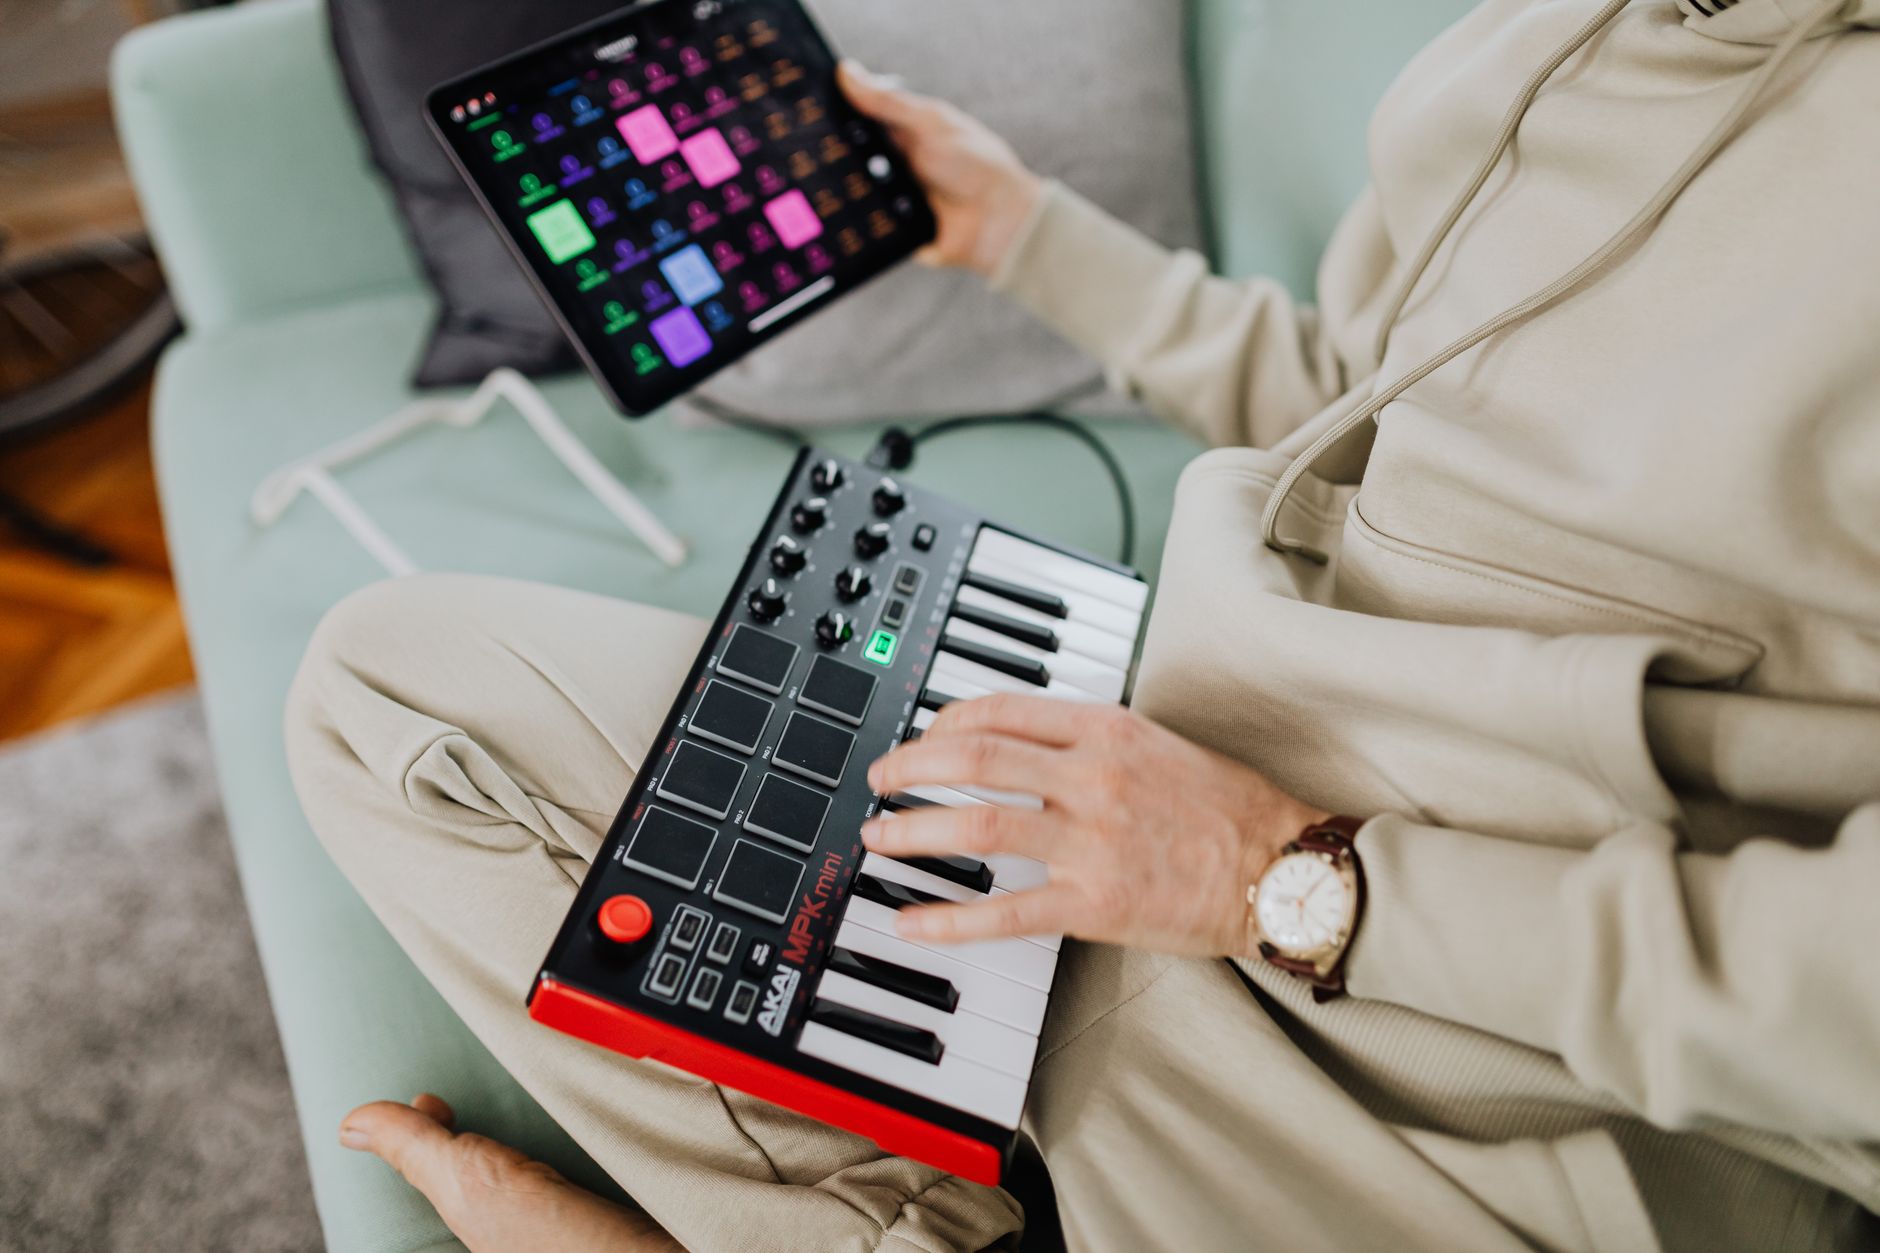
The audio interface is the most important hardware purchase on your home studio equipment list. It converts analog signals (mic, guitar, keys) to digital, determines your noise floor, and controls headphone/monitor output. A bad interface creates problems that no plugin can fix downstream.
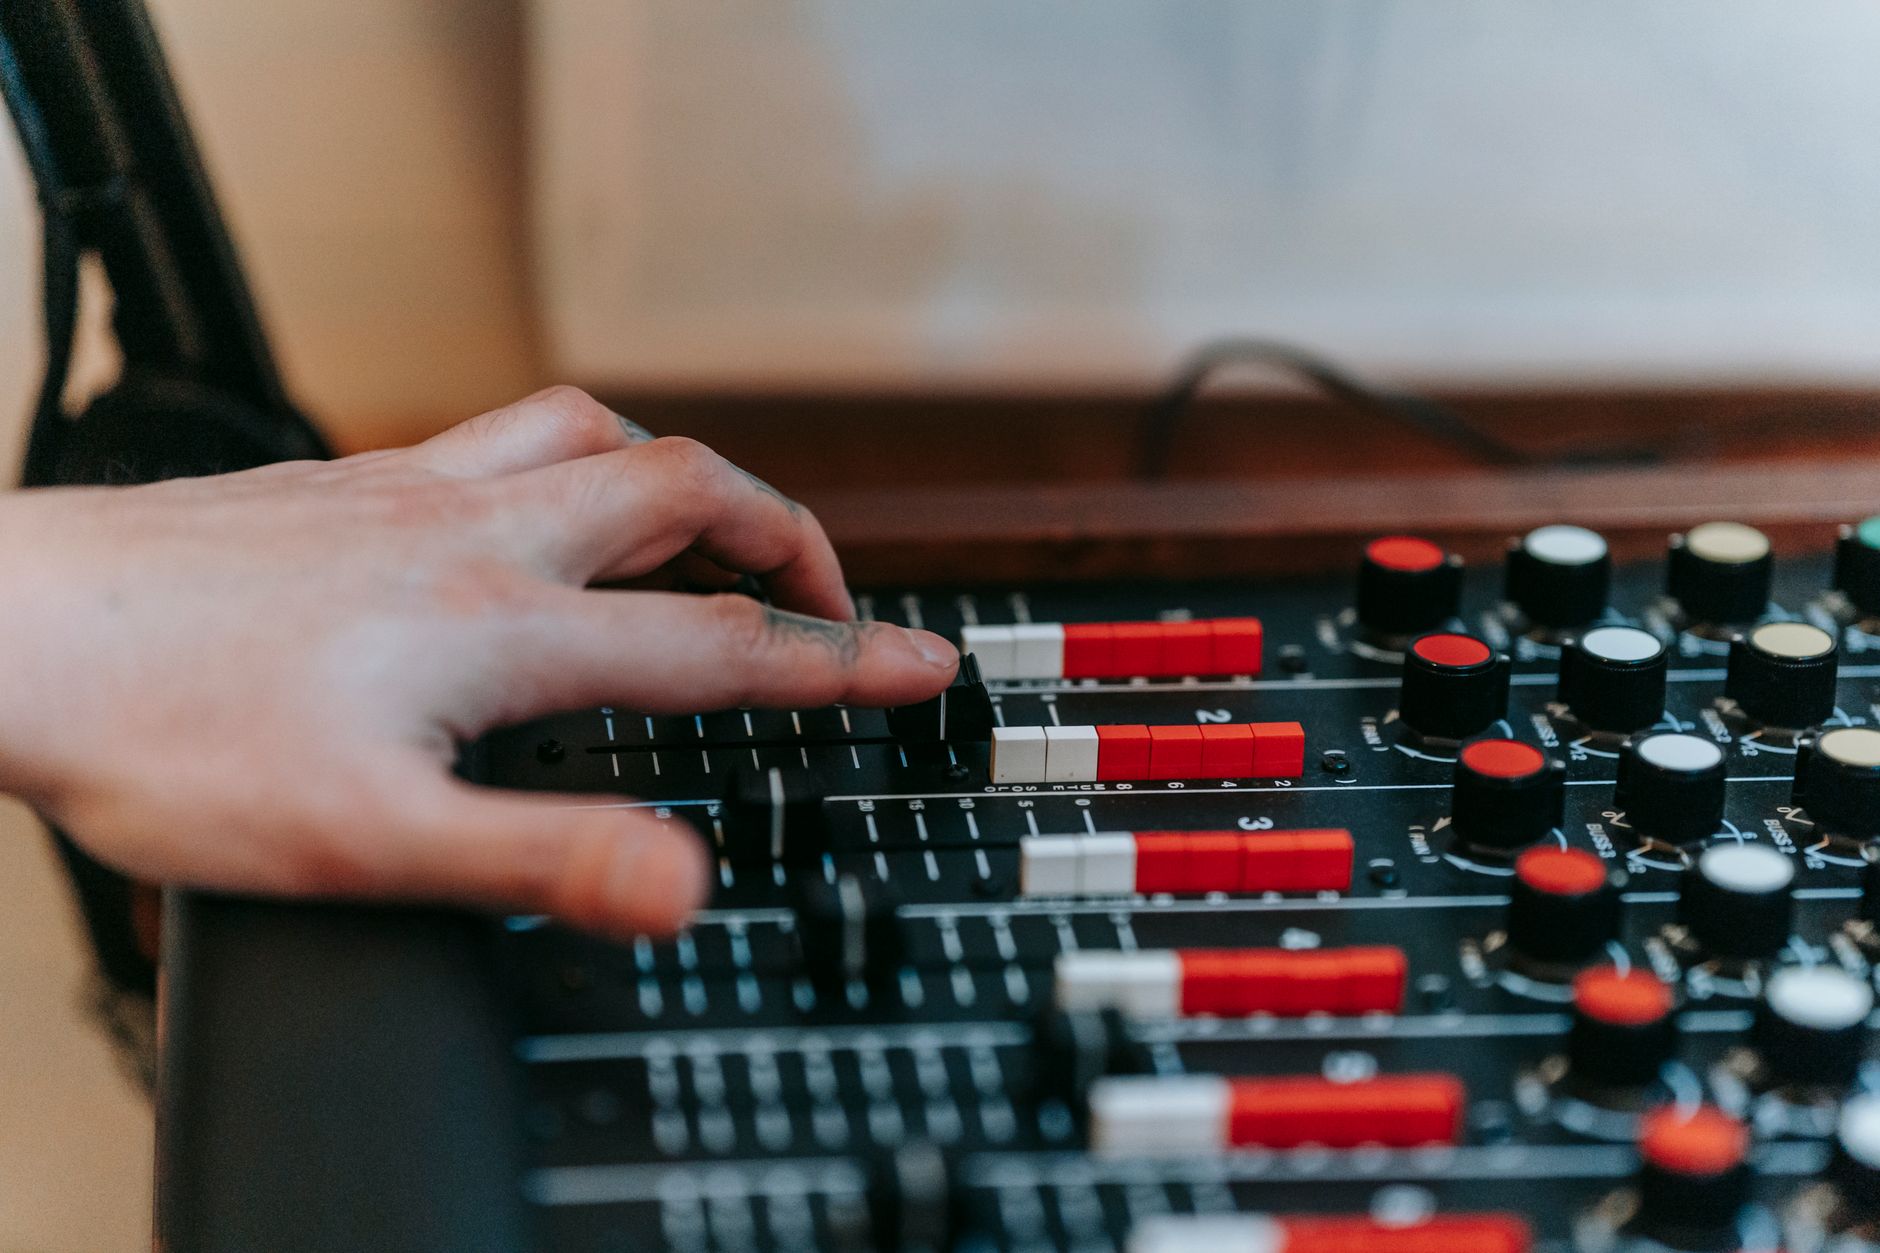 Photo: Anna Pou via Pexels
Which Interface Do You Actually Need?
Match inputs to your workflow:
- 1 input — solo vocalist, podcaster, or acoustic guitarist recording one track at a time → Focusrite Scarlett Solo or UA Volt 1
- 2 inputs — vocalist + guitar simultaneously, stereo recording, or small home studio → Focusrite Scarlett 2i2 (the best-selling interface at any price point, per published sales data)
- 4+ inputs — drum recording, full band demos, or a MIDI keyboard with a live vocalist → Focusrite Scarlett 4i4 or PreSonus AudioBox 96
Gain-staging note: Set interface preamp gain so your loudest input peaks around -18 dBFS in the DAW. This leaves headroom for mixing and keeps you out of digital clipping.
2. Microphone
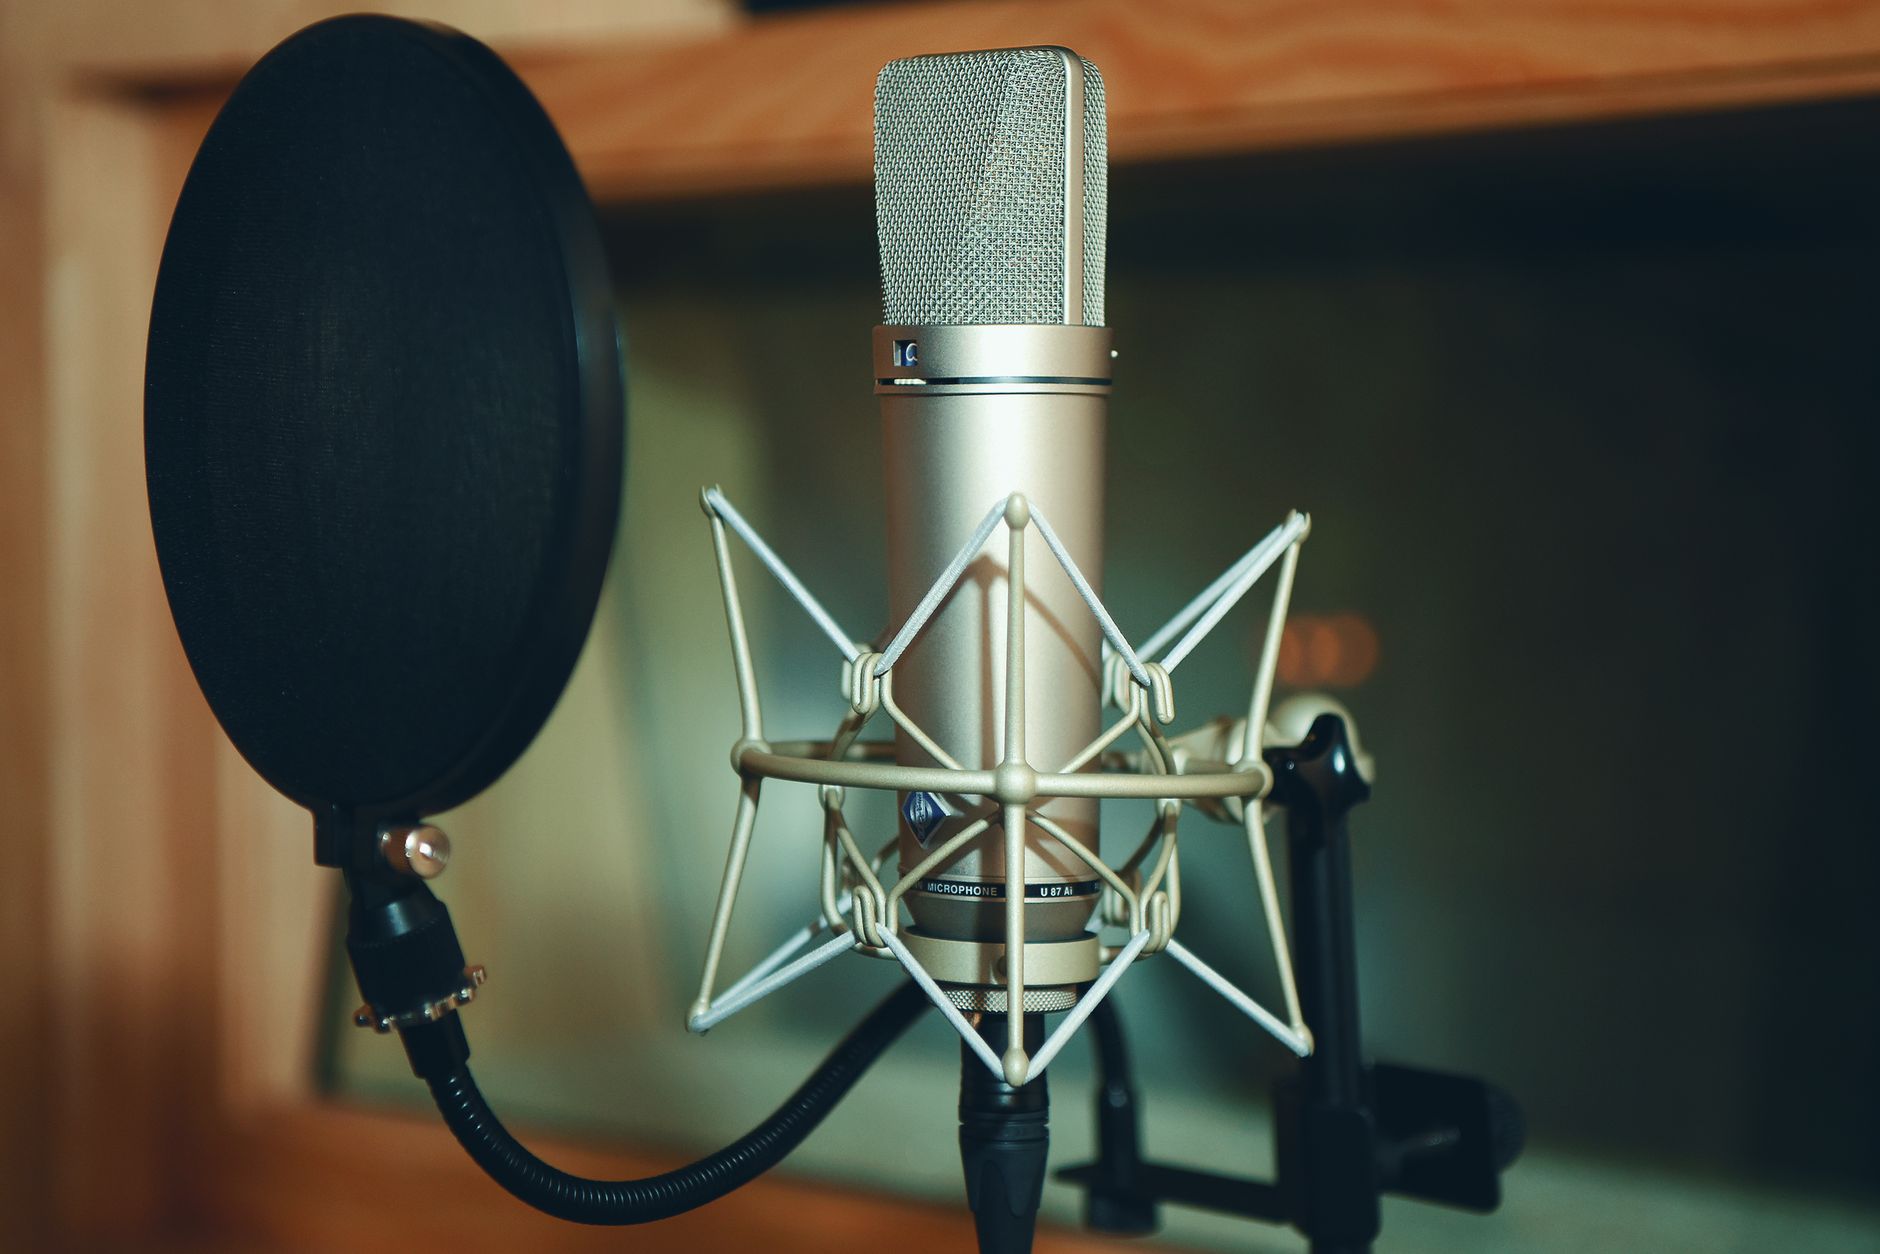
For vocals and acoustic instruments, a large-diaphragm condenser microphone covers 90% of home recording use cases. Dynamic microphones handle loud sources (electric guitar cabs, loud vocalists) and reject room noise better — useful if your space isn’t treated.
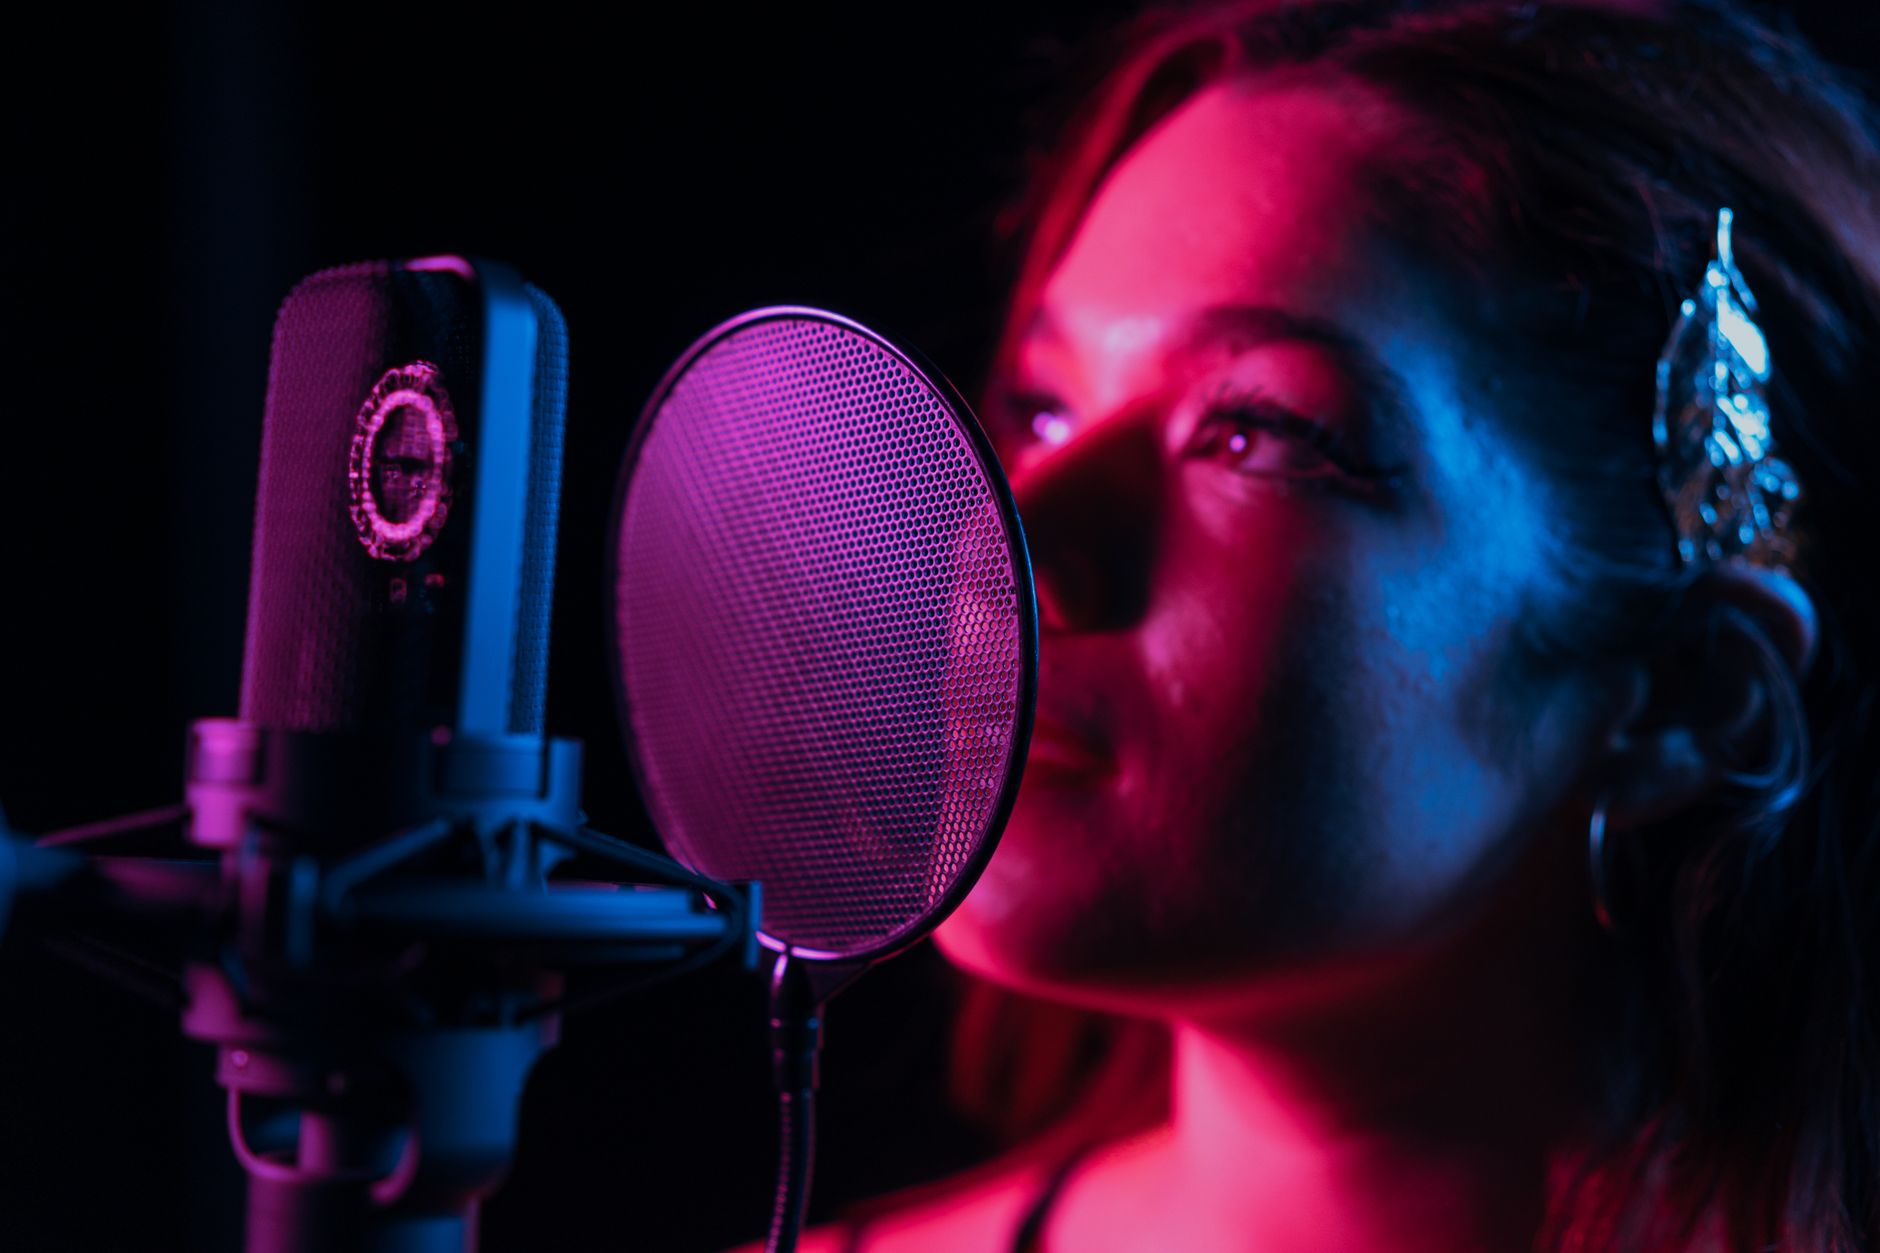 Photo: Los Muertos Crew via Pexels
Condenser vs. Dynamic: Quick Decision Matrix
| Situation | Recommended Type |
|---|---|
| Lead vocals, treated room | Large-diaphragm condenser |
| Vocals, untreated room | Dynamic (Shure SM7dB ) |
| Acoustic guitar, room mics | Condenser (pair for stereo) |
| Electric guitar cabinet | Dynamic (Shure SM57 ) |
| Podcasting / voiceover | Dynamic or large-diaphragm condenser |
| Field recording | Small-diaphragm condenser |
Phantom power: Condenser microphones require 48V phantom power — confirm your interface supplies it before buying. Every interface listed above does.
Recommended Microphones by Budget
- Under $100: Audio-Technica AT2020 — consistently recommended in engineer forums for its low self-noise and flat response
- $150–$300: Rode NT1 5th Gen — 32-bit preamp and USB/XLR dual connectivity; documented self-noise of 4 dBA
- $350–$500: Neumann TLM 102 — professional broadcast standard, low noise floor
3. Monitoring: Headphones and Studio Monitors
Closed-back headphones are the first monitoring purchase; studio monitors are the second. Closed-backs isolate bleed during recording and work in untreated rooms. Monitors reveal the stereo field and low-end more accurately — but only in a properly treated room.
Headphones
- Closed-back (tracking/mixing): Sony MDR-7506 — industry standard in broadcast and post-production, flat enough for reference mixing
- Semi-open (mixing): Beyerdynamic DT 770 Pro — wider soundstage, 80Ω version pairs well with interface headphone outputs
- Open-back (critical mixing): Sennheiser HD 600 — superior imaging; not for recording (bleed into mic)
Studio Monitors
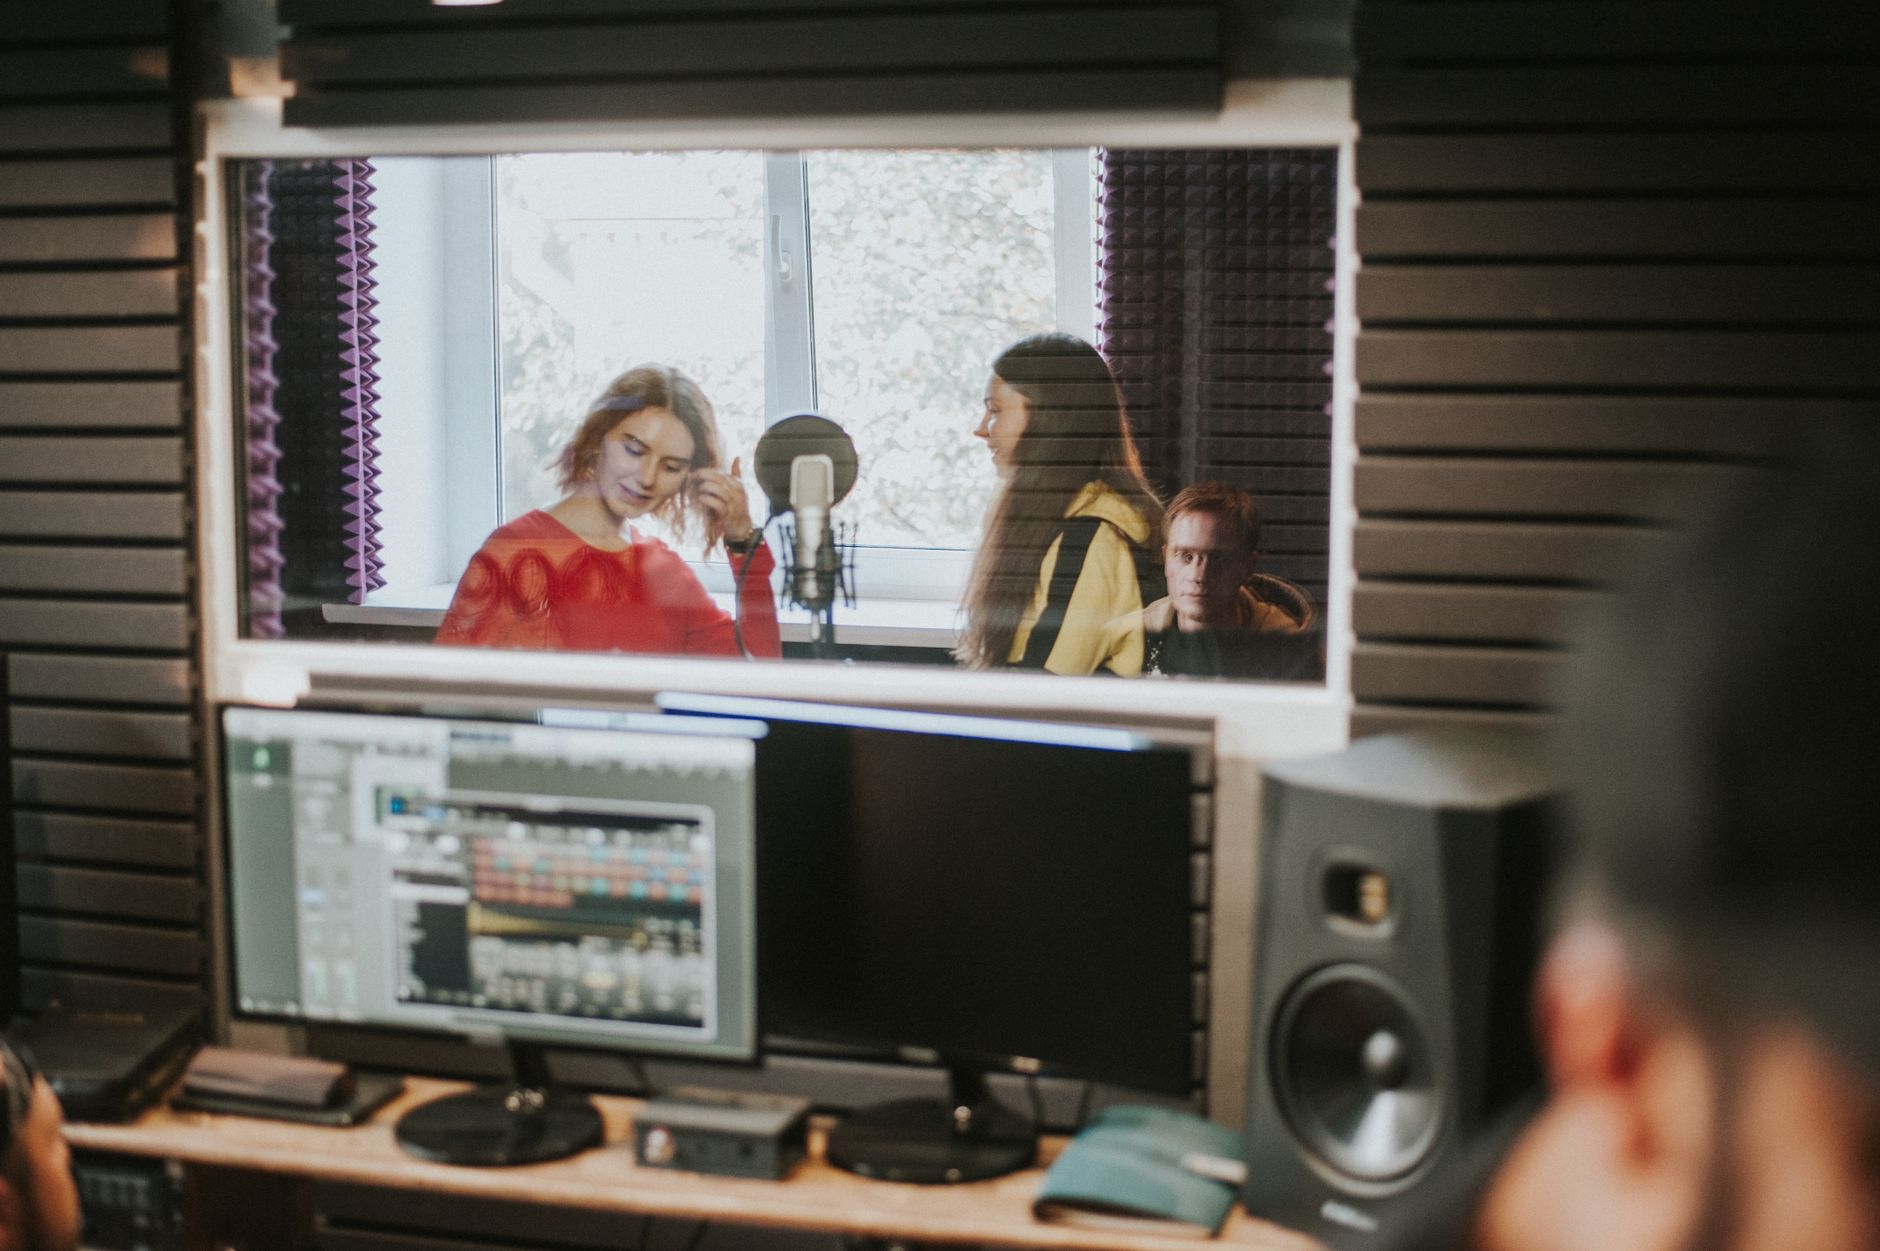 Photo: John Taran via Pexels
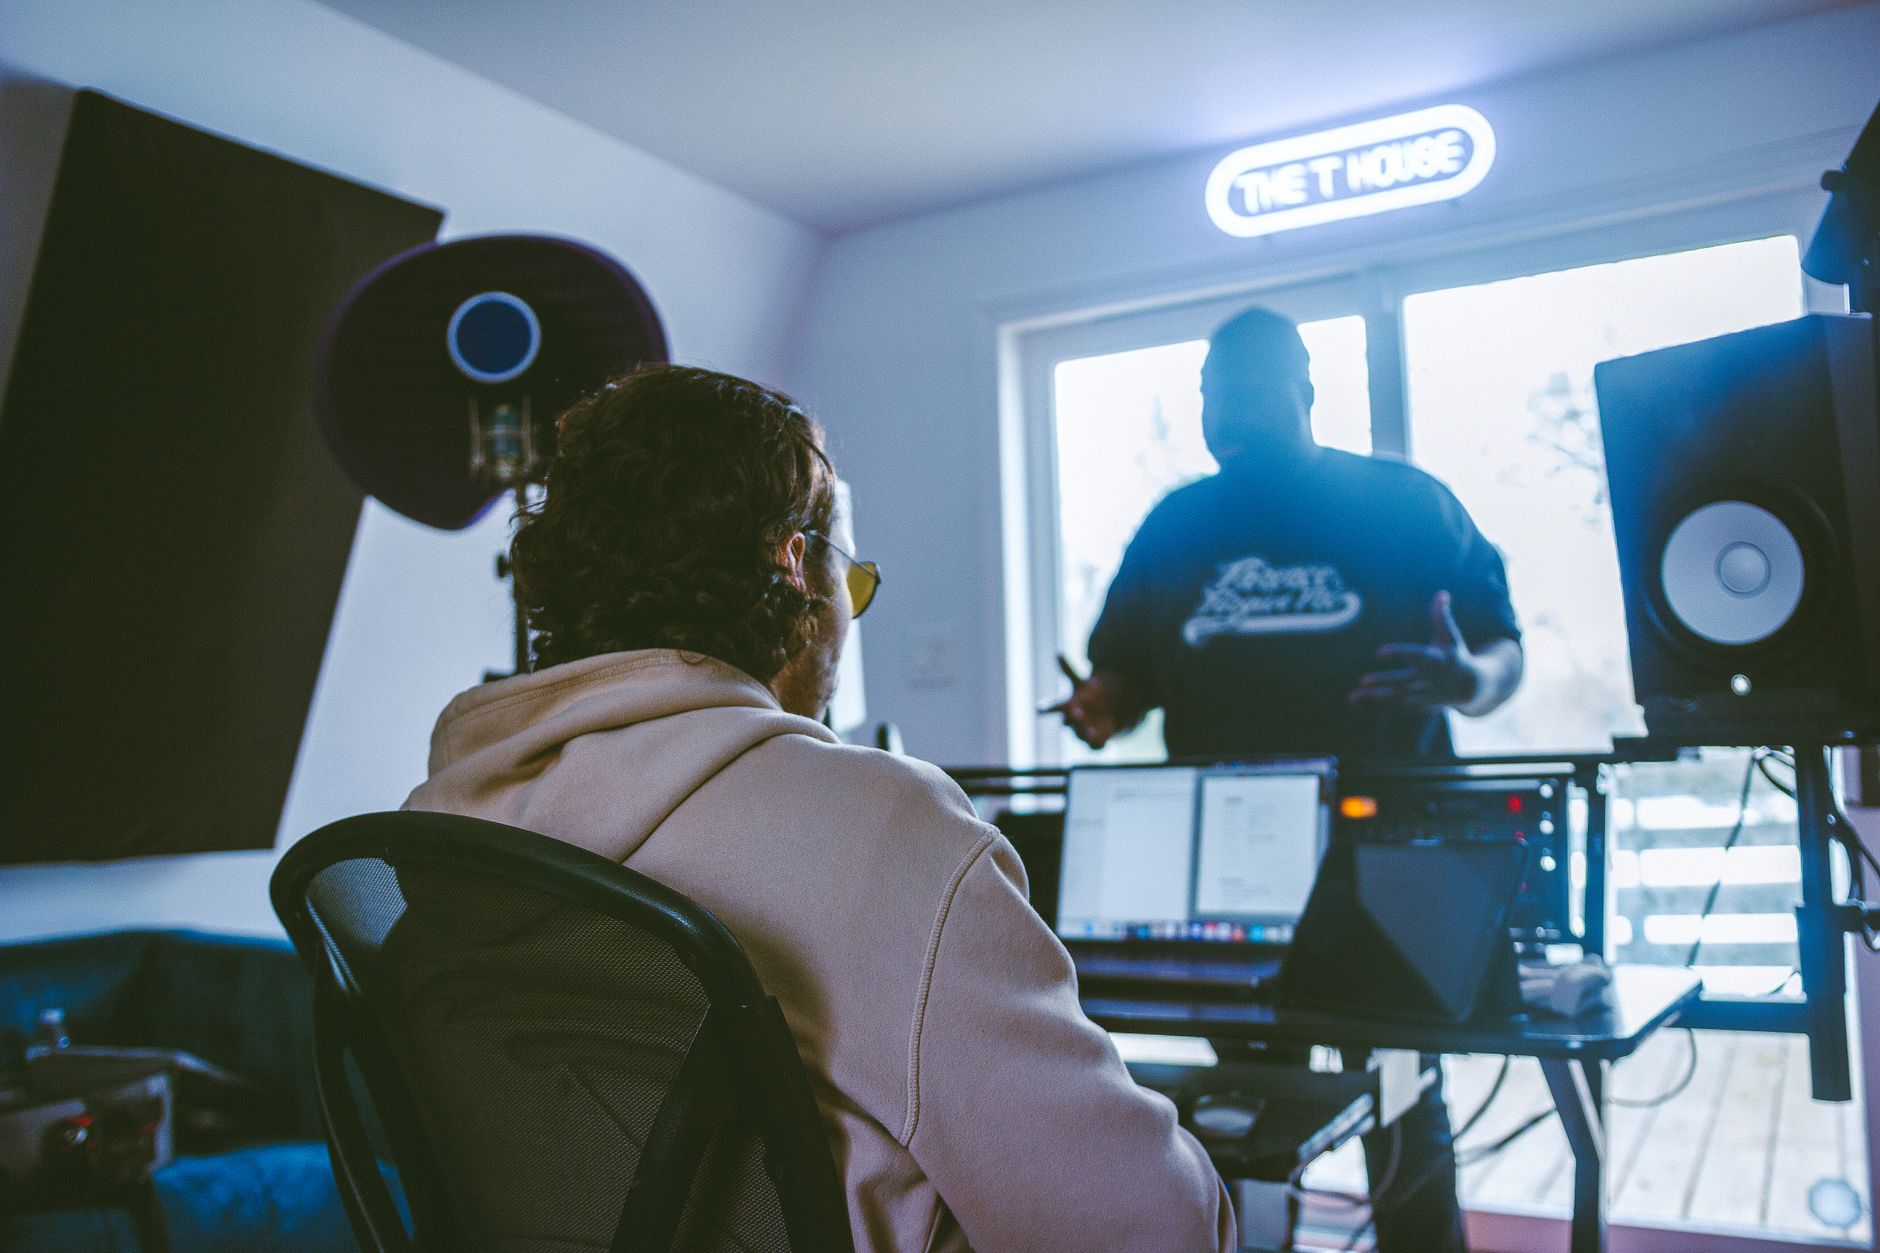
Studio monitors reward acoustic treatment investment. Without basic room treatment, you will make mix decisions based on room resonances, not the audio.
- Budget pair ($300–$500): Yamaha HS5 — flat response, trusted across budget and professional studios alike
- Mid-range ($500–$800): Adam Audio T5V or Focal Alpha 50 Evo
- Placement: Position monitors at ear height, equidistant from each other and your listening position, forming an equilateral triangle. Angle them 30° inward. Keep them away from walls (at least 12–18 inches) to reduce bass buildup.
4. DAW (Digital Audio Workstation)
The DAW is your recording and production environment. All DAWs record audio; they differ in workflow, included instruments, and MIDI editing depth. Pick the one that matches your genre and primary use case — switching DAWs mid-project costs more time than any feature is worth.
| DAW | Best For | Price |
|---|---|---|
| GarageBand | Mac beginners, demo work | Free |
| Reaper | Budget-conscious, highly configurable | $60 (discounted license) |
| Ableton Live | Electronic, loop-based, live performance | $449 (Standard) |
| Logic Pro | Mac users, full-featured production | $199.99 |
| Pro Tools | Film/TV post, commercial studios | $99/yr |
| FL Studio | Beat-making, electronic production | $199 (Producer) |
Note: GarageBand projects are directly upgradeable to Logic Pro, making it a zero-cost starting point for Mac users.
5. Cables, Stands, and Accessories
Cables and stands are not glamorous, but a failed XLR cable will kill a session. Buy quality once. Budget $50–$100 total for two XLR cables, a mic stand, and a pop filter.
- XLR cables (x2): Mogami 2549 or Evidence Audio cables — published testing from audio engineers consistently shows Mogami among the lowest-noise options at accessible prices
- Mic stand: On-Stage MS7701B boom arm stand handles most vocal and instrument positions
- Pop filter: Nady MPF-6 for budget; Stedman Proscreen XL for durability and longevity
- Shock mount: Check mic manufacturer recommendations — many condenser mics ship with one; the Rode NT1 5th Gen includes it
6. Acoustic Treatment
Acoustic treatment is not optional if you are mixing on monitors. Parallel walls create standing waves; hard surfaces cause reflections. A basic treatment package — absorptive panels at first reflection points and corner bass traps — reduces room coloration enough to make monitor mixing reliable.
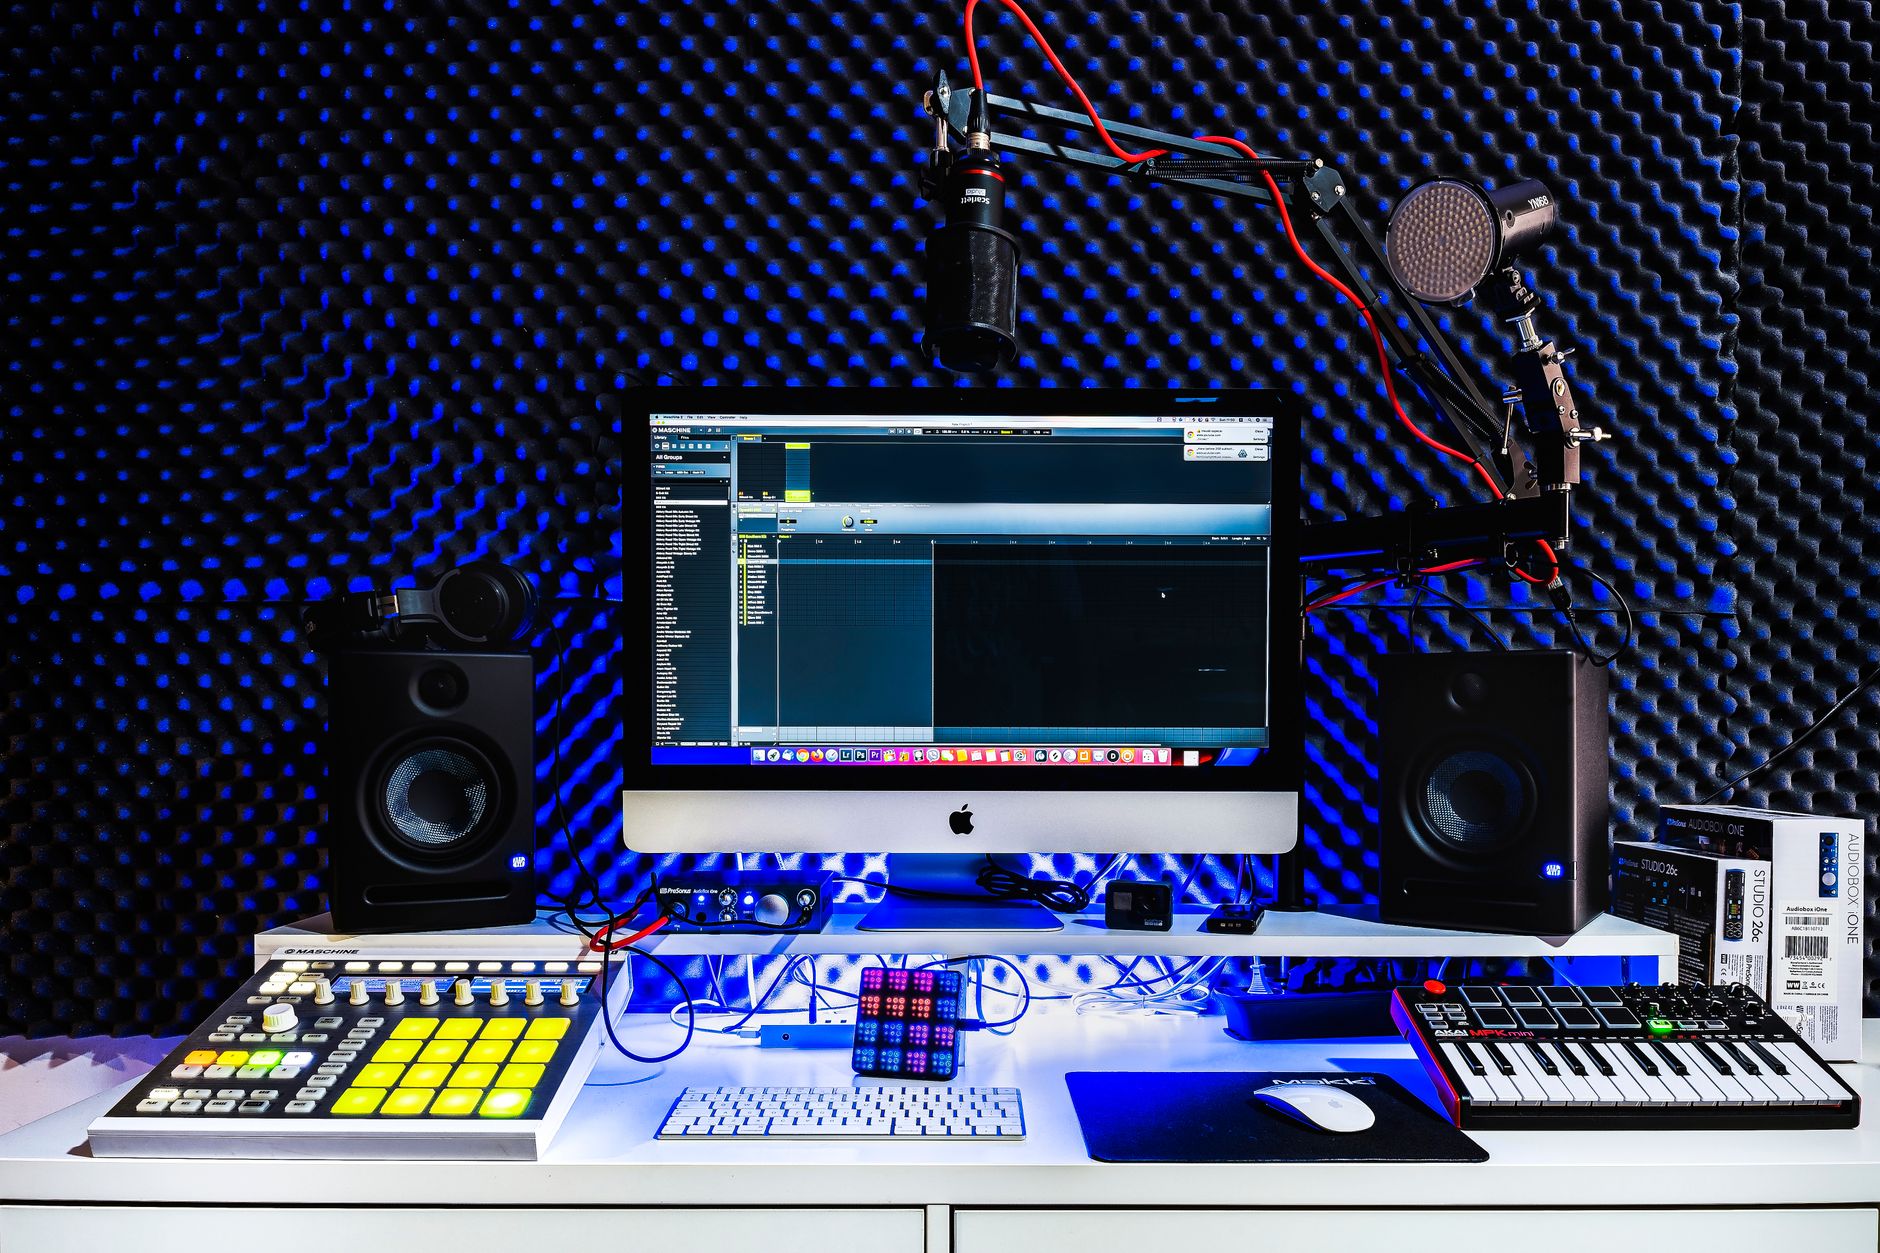 Photo: Rosen Genov via Pexels
Minimum Viable Treatment
- 4–6 acoustic panels (2“ thick rockwool or open-cell foam) at first reflection points on side walls and ceiling
- 2 corner bass traps (floor-to-ceiling in rear corners) — bass frequencies require mass; thin foam panels do not trap bass
- Diffusion on the rear wall behind the mix position (optional but useful)
Budget tier: GIK Acoustics panel kits start around $200–$300 for a starter room treatment pack and are frequently cited in home-studio communities for value relative to purpose-built alternatives.
Complete Home Studio Signal Chain
Recording a vocal track — source to file:
Vocalist → Pop Filter → Condenser Mic (XLR) → Audio Interface (Preamp, 48V on)
  → USB/Thunderbolt → DAW (input gain set, monitoring via headphones)
  → Record-armed track → Audio file on drive
Gain-staging workflow:
- Set interface preamp gain: vocalist sings loudest phrase; meter peaks at -18 to -12 dBFS in the DAW
- Confirm no clipping at the interface (clip light never triggers)
- DAW track fader at unity (0 dB) during tracking
- Monitor through closed-back headphones; disable speaker monitoring to prevent bleed
Step-by-Step First Recording Session
- Connect audio interface to computer via USB; install drivers if required (Windows usually needs them; Mac typically does not)
- Open DAW; set audio device to the interface (Preferences → Audio → Device)
- Set buffer size to 128 samples for low-latency tracking; increase to 512 or 1024 for mixing
- Plug microphone into XLR input on interface; enable 48V phantom power if using a condenser
- Create new audio track in DAW; set input to Interface Channel 1
- Arm track for recording; sing/play at performance volume and set preamp gain
- Disable input monitoring through software if you hear latency; use direct monitoring on the interface instead
- Record, stop, playback to confirm signal is clean
Troubleshooting Matrix
| Symptom | Likely Cause | Fix |
|---|---|---|
| No signal in DAW | Wrong input selected or phantom power off | Confirm DAW input routing; enable 48V for condensers |
| High latency monitoring | Buffer size too high | Drop buffer to 64–128 samples; use direct monitoring |
| Hum / 60Hz buzz | Ground loop | Try different USB port; isolate interface from other USB devices |
| Mic sounds thin/distant | Proximity effect — mic too far | Move mic 6–12 inches from source; angle slightly off-axis |
| Clipping on peaks | Preamp gain too high | Reduce gain 3–6 dB; singer should back off on loud phrases |
| Phase cancellation on dual-mic setup | Mics out of phase | Flip polarity on one track in DAW; apply 3:1 rule for positioning |
→ See also:
- The Complete Home Recording Studio Setup Guide (2026)
- How to Build a Home Studio for $500 (2026)
- How to Build a Home Studio for $300 (2026)
FAQ
What is the minimum equipment needed to start a home studio? An audio interface, a microphone, headphones, and a DAW cover the functional minimum. You can record professional-quality demos with a $200 interface, a $100 condenser, and GarageBand (free on Mac). Add acoustic treatment and monitors when you are mixing tracks for others or commercial release.
Do I need studio monitors if I already have good headphones? Headphones are sufficient for tracking and rough mixing. Monitors become important for final mix decisions — low-end translation across playback systems is difficult to judge accurately on headphones alone. Start with headphones; add monitors when you have some room treatment in place.
How much should I spend on a home studio setup? A functional tracking setup costs $300–$500. A home studio capable of producing release-quality recordings (interface, condenser mic, monitors, treatment, cables, stand) lands in the $1,000–$2,000 range. Beyond that, returns diminish quickly — room acoustics and mic placement technique matter more than gear price above this threshold.
Can I use a USB microphone instead of an audio interface? USB microphones plug directly into a computer without an interface. They are suitable for podcasting, streaming, and voice recordings. The tradeoff: no expansion path (you cannot add instruments or a second mic), no analog gain control, and no direct monitoring. For music production, an XLR microphone and interface is the better long-term investment.
What DAW should a beginner use? Mac users: start with GarageBand — it is free, capable, and projects port directly to Logic Pro. Windows users: Reaper at $60 covers everything a beginner needs with no feature restrictions. Both let you learn DAW fundamentals before committing to a more expensive platform.
Is acoustic treatment really necessary? For recording vocals and instruments, basic treatment reduces room reflections that would otherwise be printed permanently into the audio. For mixing on monitors, untreated rooms produce unreliable low-end — bass frequencies build up in corners and at specific frequencies determined by room dimensions. Foam panels at first reflection points ($100–$200) produce a measurable and audible improvement in a typical bedroom studio.
Editorial methodology: Assessments are based on manufacturer specifications, published user reviews, and editorial research. Physical hands-on testing is noted explicitly where it occurred. Rankings reflect our editorial judgment and are not influenced by affiliate commission rates. Full editorial policy · Affiliate disclosure