Contents
Home Studio Setup for Beginners: Build Your First Recording Space
TL;DR: A functional home recording studio setup for beginners needs five things: an audio interface, a condenser microphone, studio headphones or monitors, basic acoustic treatment, and a DAW. You can be recording pro-quality demos for under $500 — the gear list is shorter than most people think.
What Do You Actually Need to Start Recording at Home?
The core home recording studio setup for beginners is: audio interface + microphone + headphones + DAW + a treated space. That’s it. Everything else is an upgrade you add later. Most beginners overbuy on gear and underspend on acoustics — which is backwards.
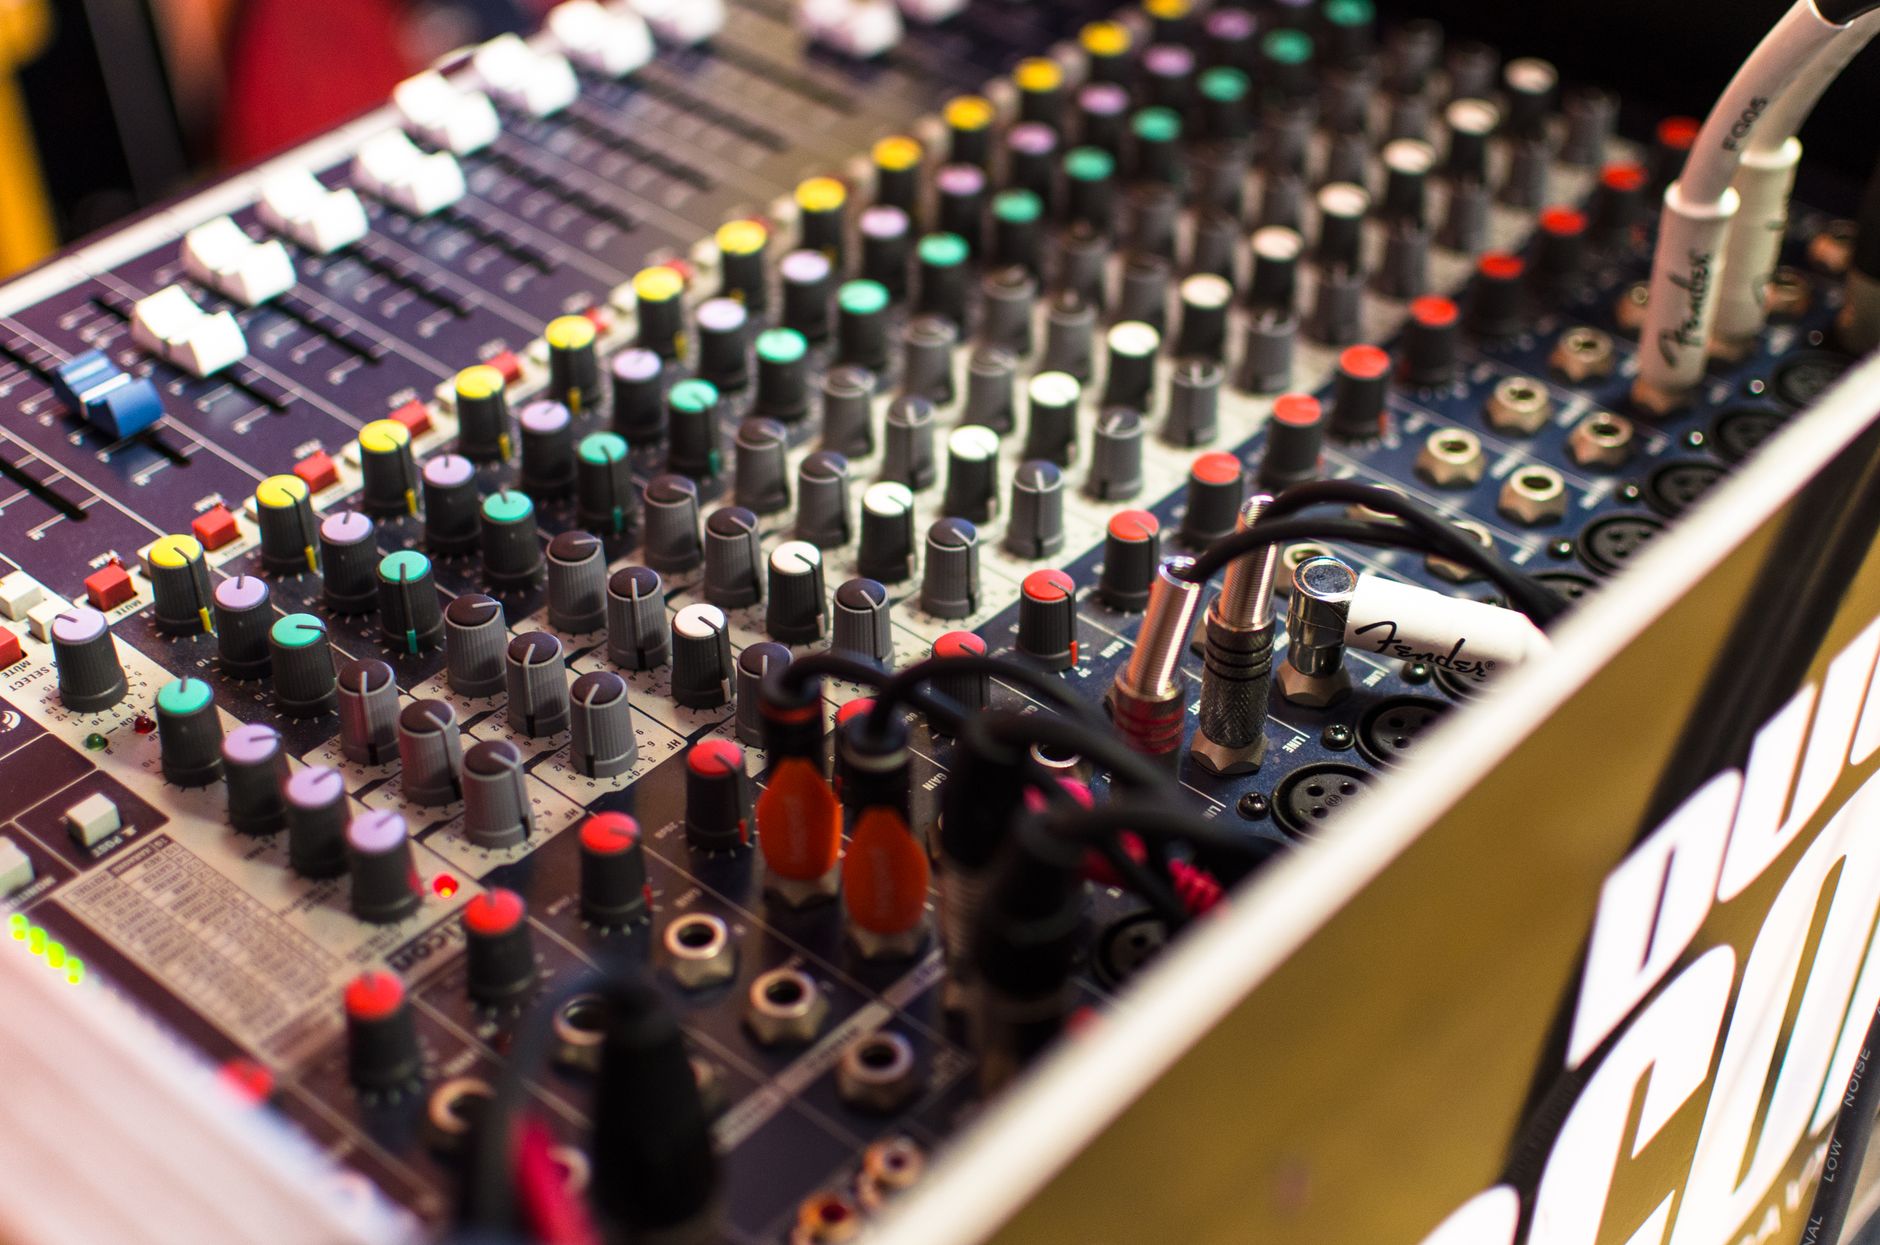
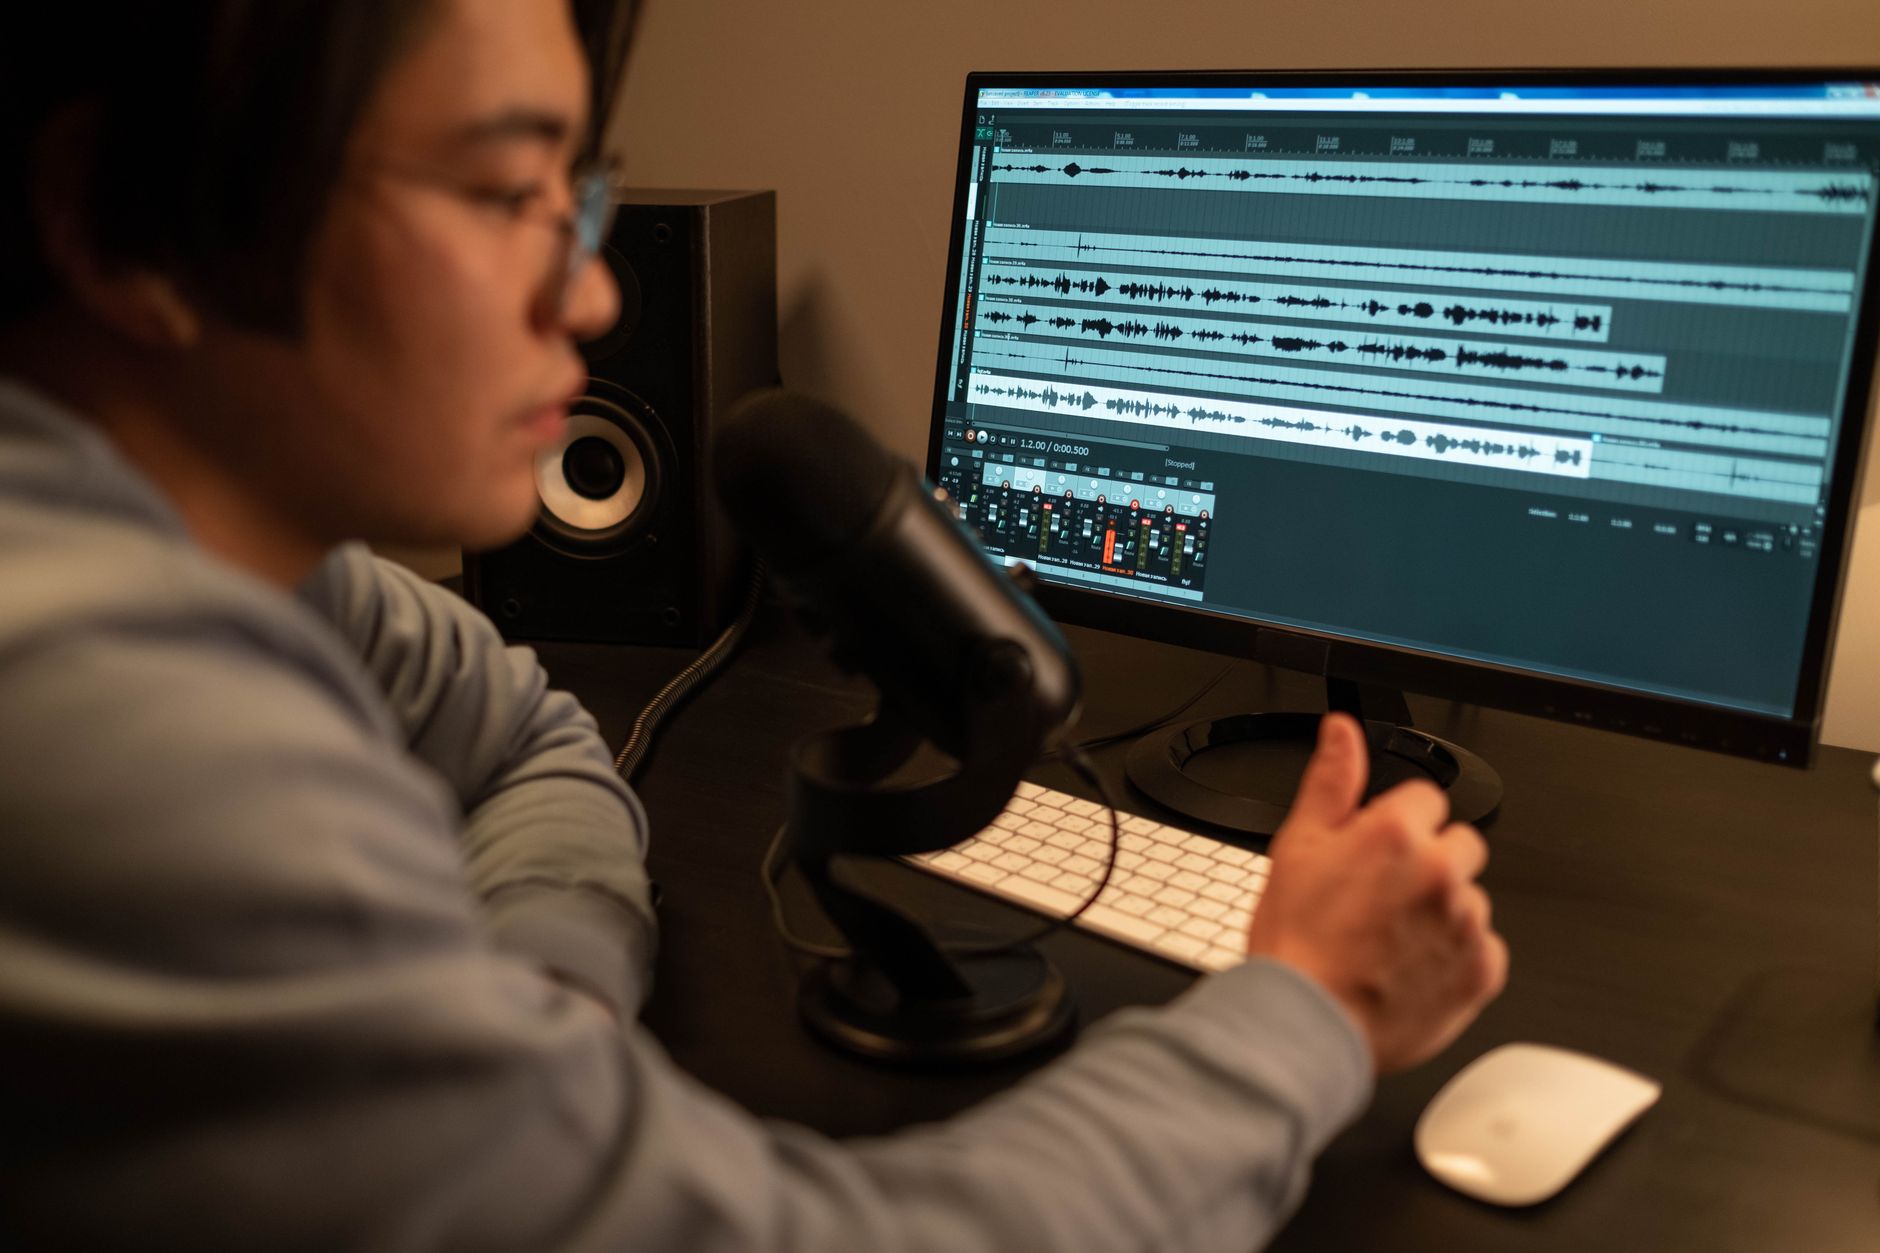 Photo: cottonbro studio via Pexels
The signal path is simple: your sound source (voice, guitar, keyboard) → audio interface → DAW on your computer → headphones or monitors. Each link in that chain has a budget-friendly entry point that will genuinely serve you until you outgrow it.
Here’s what to buy, in priority order:
| Component | Budget Pick | Mid-Range Pick | Why It Matters |
|---|---|---|---|
| Audio Interface | Focusrite Scarlett Solo | Focusrite Scarlett 2i2 | Converts analog signal to digital; determines recording quality ceiling |
| Microphone | Audio-Technica AT2020 | Rode NT1 | Captures the actual sound |
| Headphones | Sony MDR-7506 | Beyerdynamic DT 770 Pro | Mixing reference; closed-back for tracking |
| DAW | GarageBand (free) / Reaper ($60) | Ableton Live Standard | Where you record, arrange, and mix |
| Acoustic Treatment | Foam corner panels | Rockwool broadband absorbers | Controls room reflections |
Choosing Your First Audio Interface
Get the Focusrite Scarlett Solo if you’re recording one source at a time (voice, acoustic guitar, one mic). Get the Scarlett 2i2 if you ever need two simultaneous inputs. Both include a software bundle that covers your DAW and plugin needs for months.
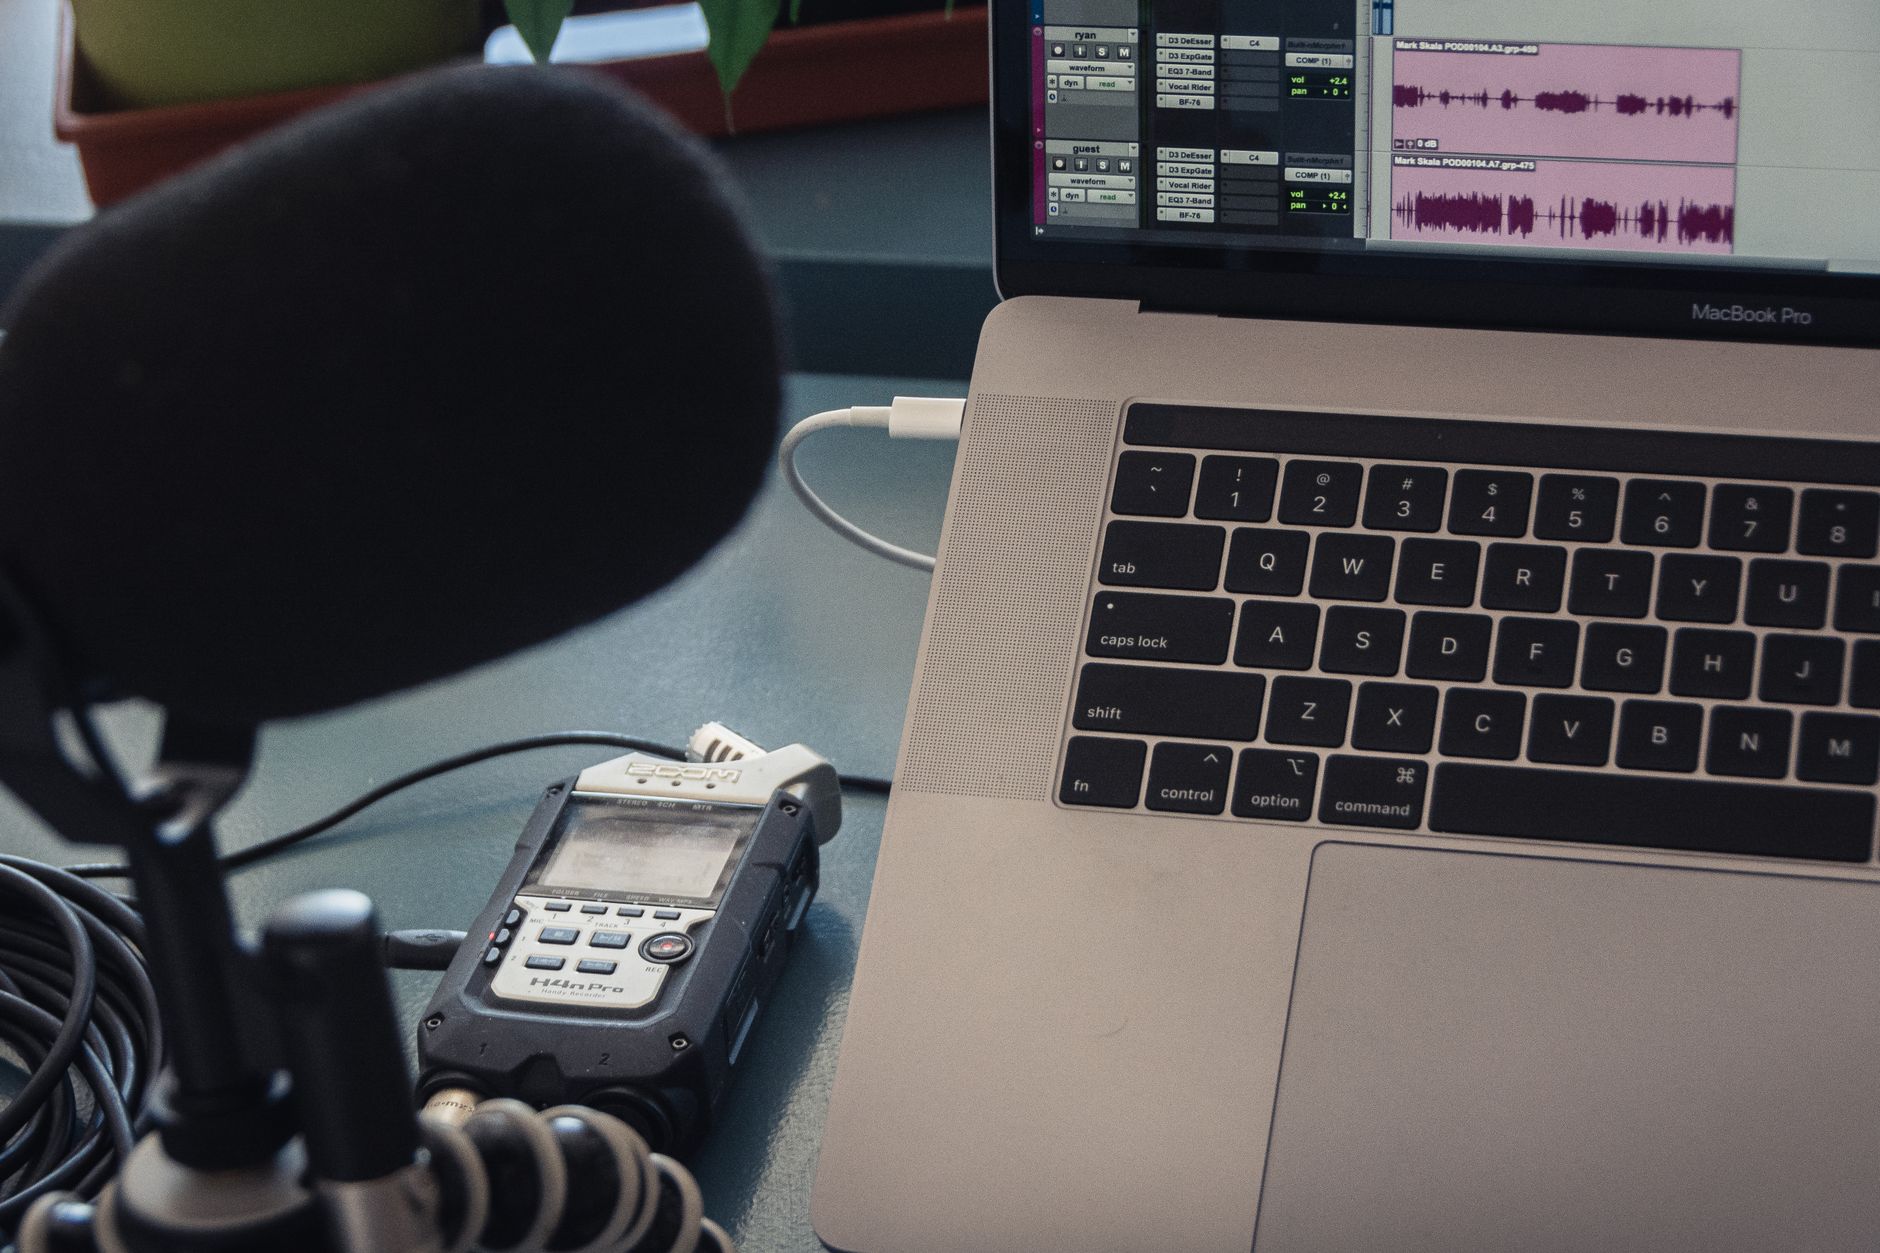
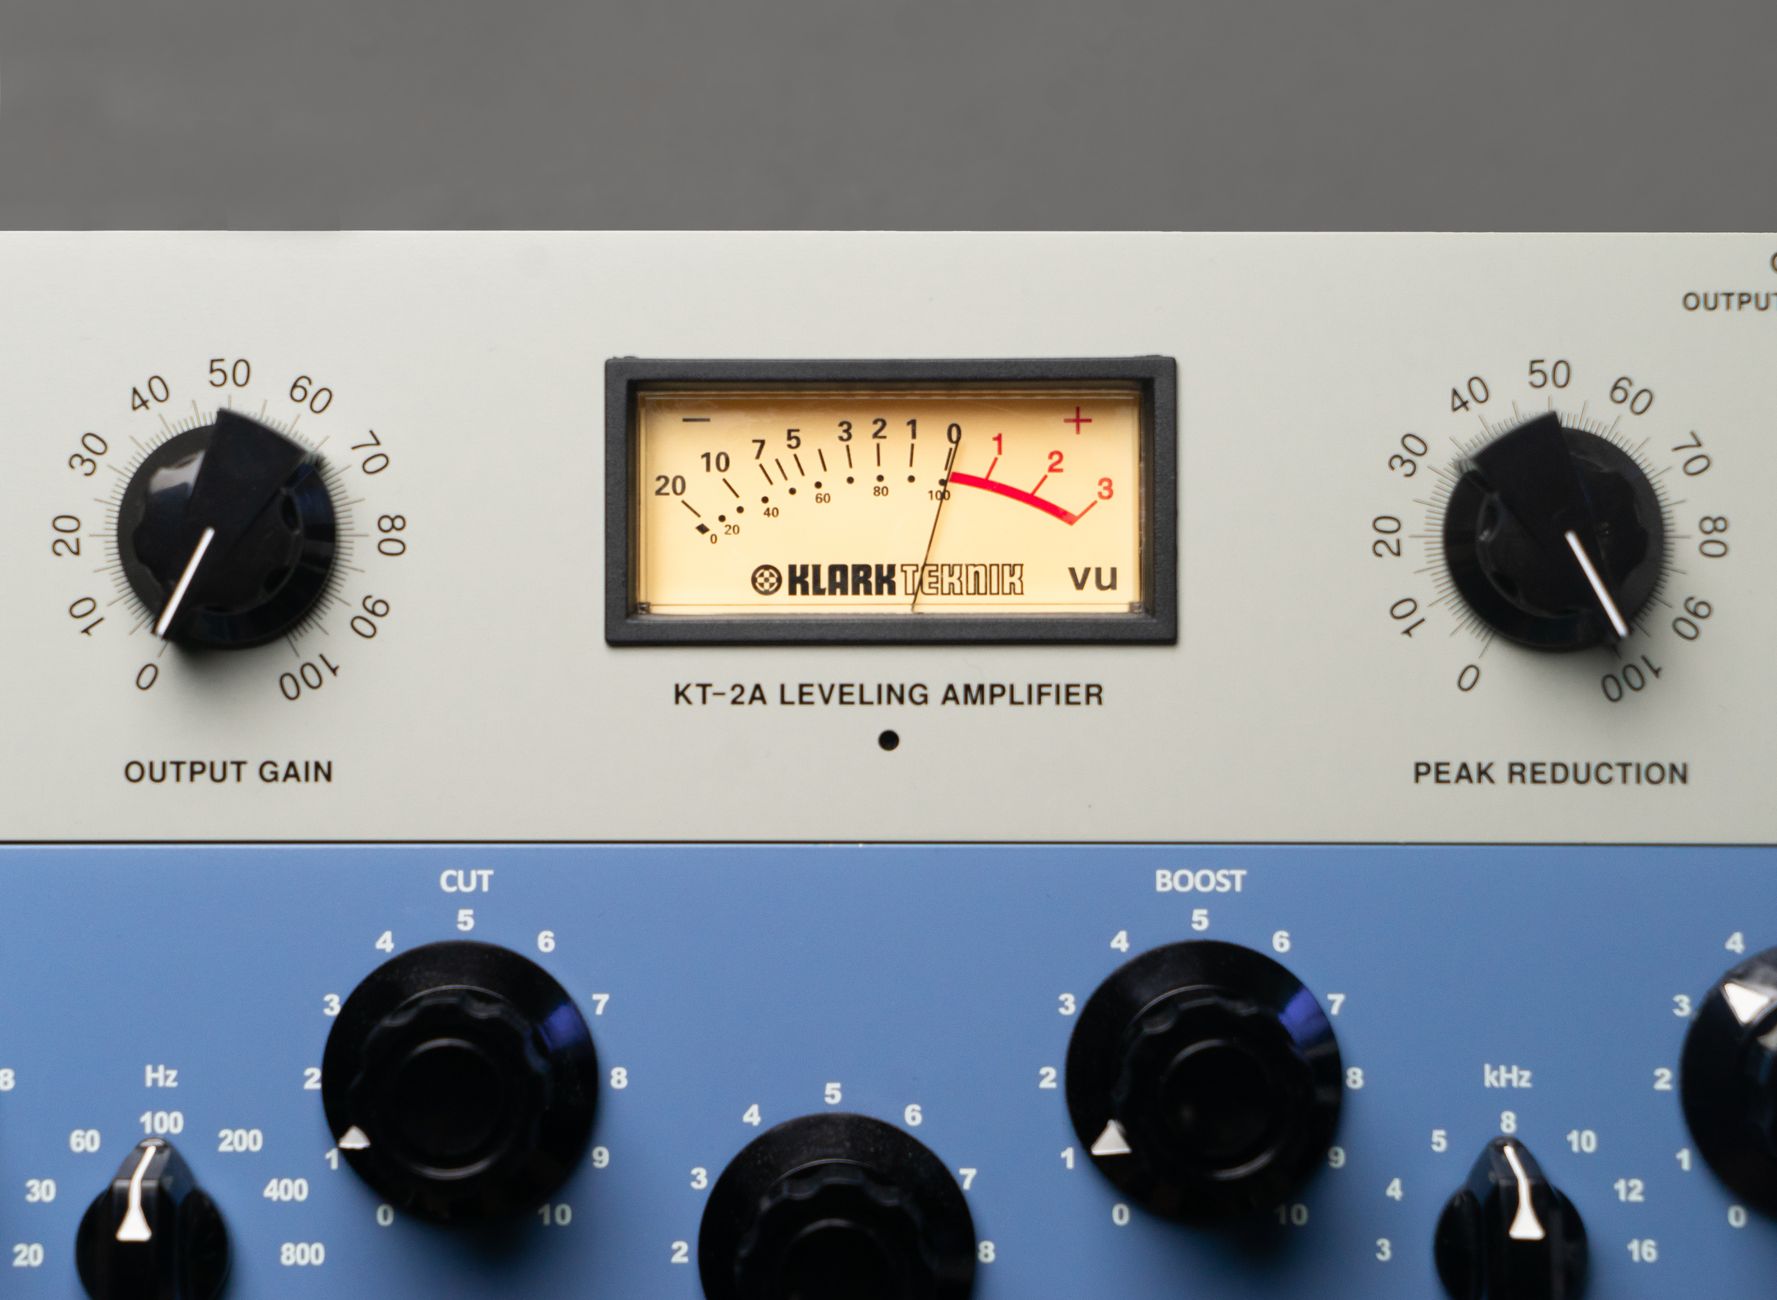 Photo: Alena Sharkova via Pexels
The interface’s preamp quality determines how much usable gain you can apply before noise becomes a problem. According to published benchmark data, the Scarlett 3rd and 4th generation units hit a dynamic range of ~111 dB — sufficient for any condenser or dynamic mic in a home environment.
What the specs actually mean for beginners:
- Sample rate: 44.1 kHz is CD quality and fine for everything except high-res delivery. 48 kHz covers video post-production.
- Bit depth: Record at 24-bit. The extra headroom prevents clipping disasters.
- Latency: Direct monitoring (listening to yourself through the interface, not the DAW) eliminates latency entirely during tracking — enable it.
One port you’ll use immediately but nobody mentions: the headphone output on the interface matters more than the one on your laptop. Dedicated headphone amps on interfaces like the Scarlett deliver more accurate impedance matching for studio headphones.
Picking the Right Microphone for Home Recording
For most beginners, a large-diaphragm condenser is the right call — the Audio-Technica AT2020 at ~$99 captures vocals, acoustic instruments, and room sound well. If your room has acoustic problems (live, reflective), a dynamic mic like the Shure SM7B is more forgiving because its rejection pattern handles room noise better.
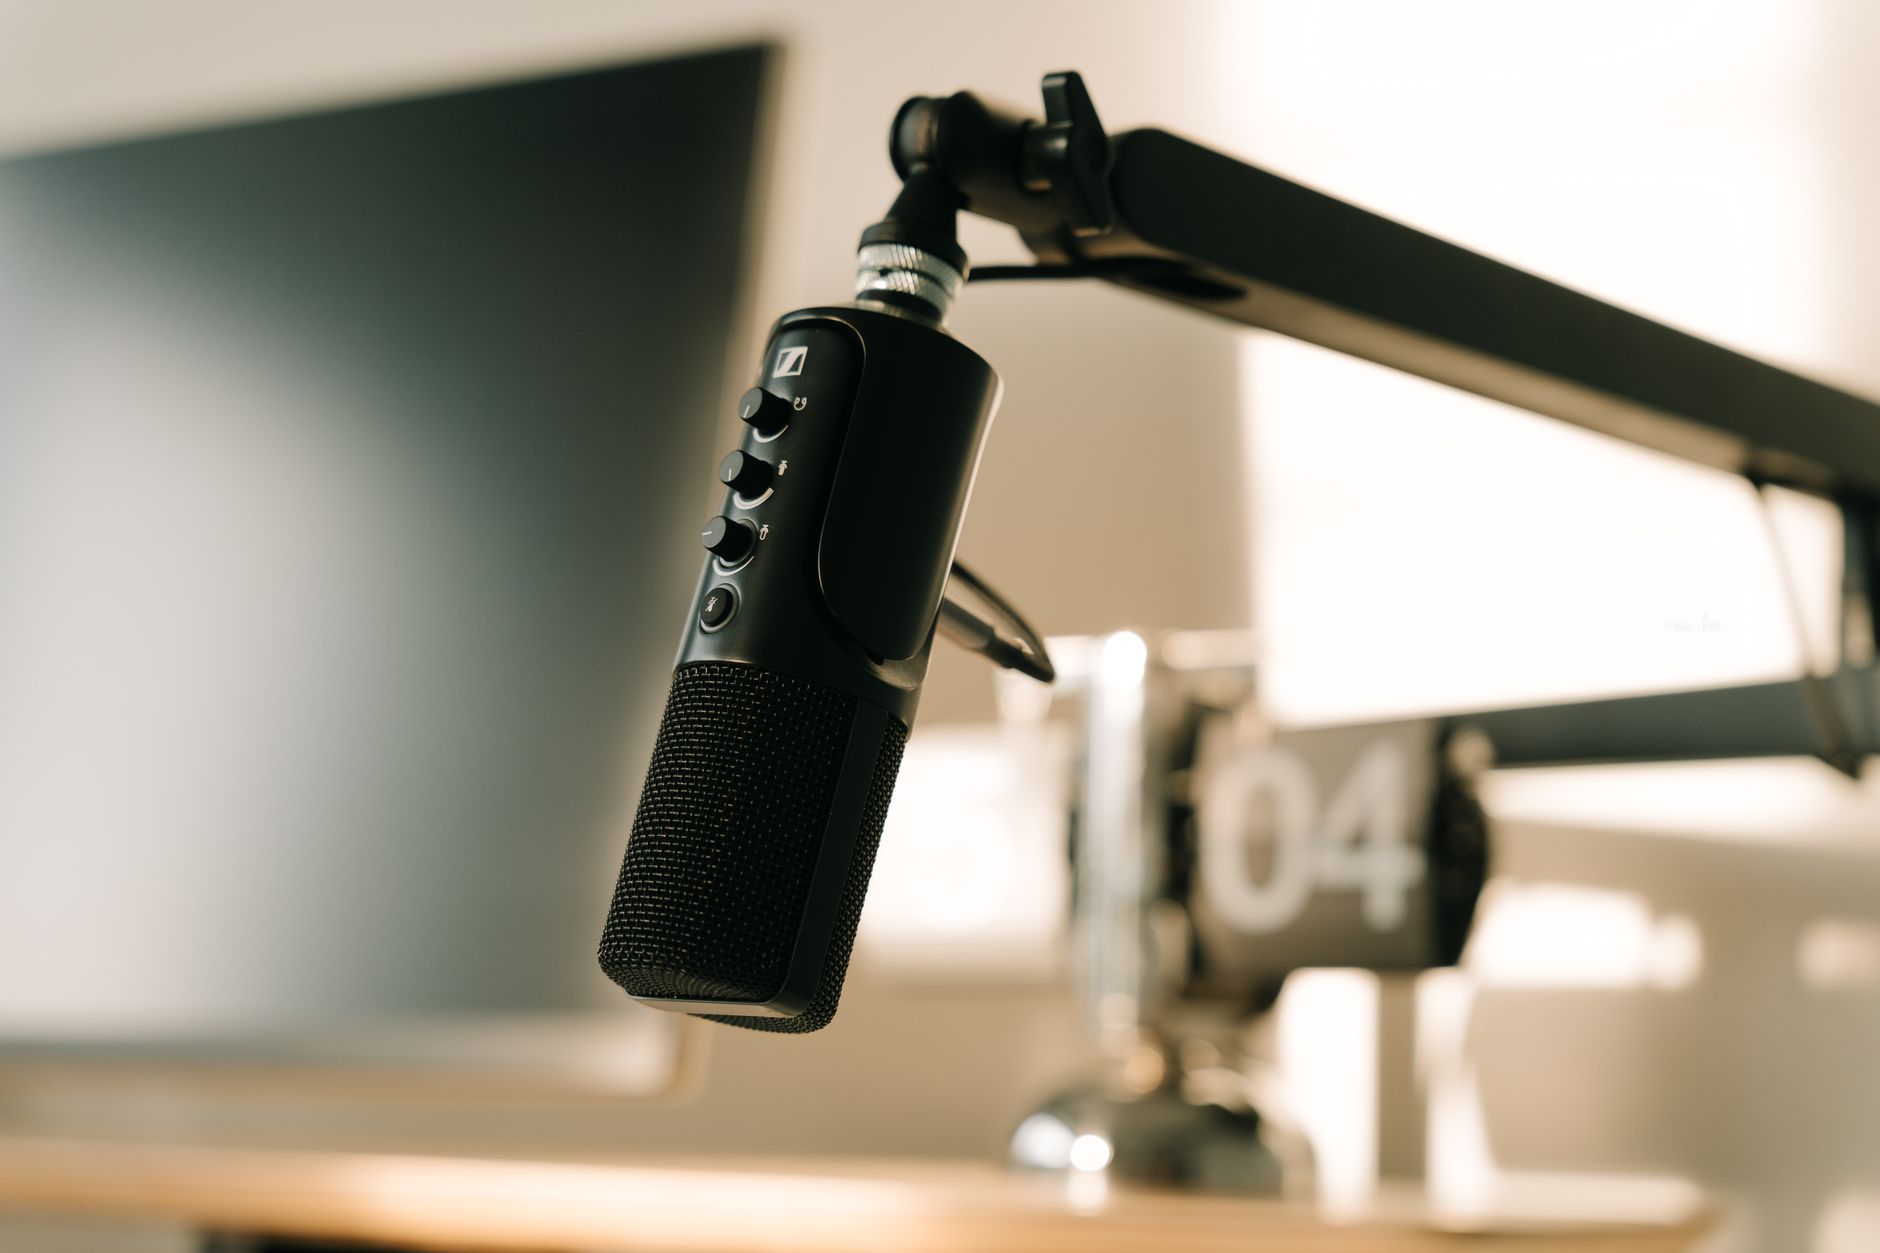
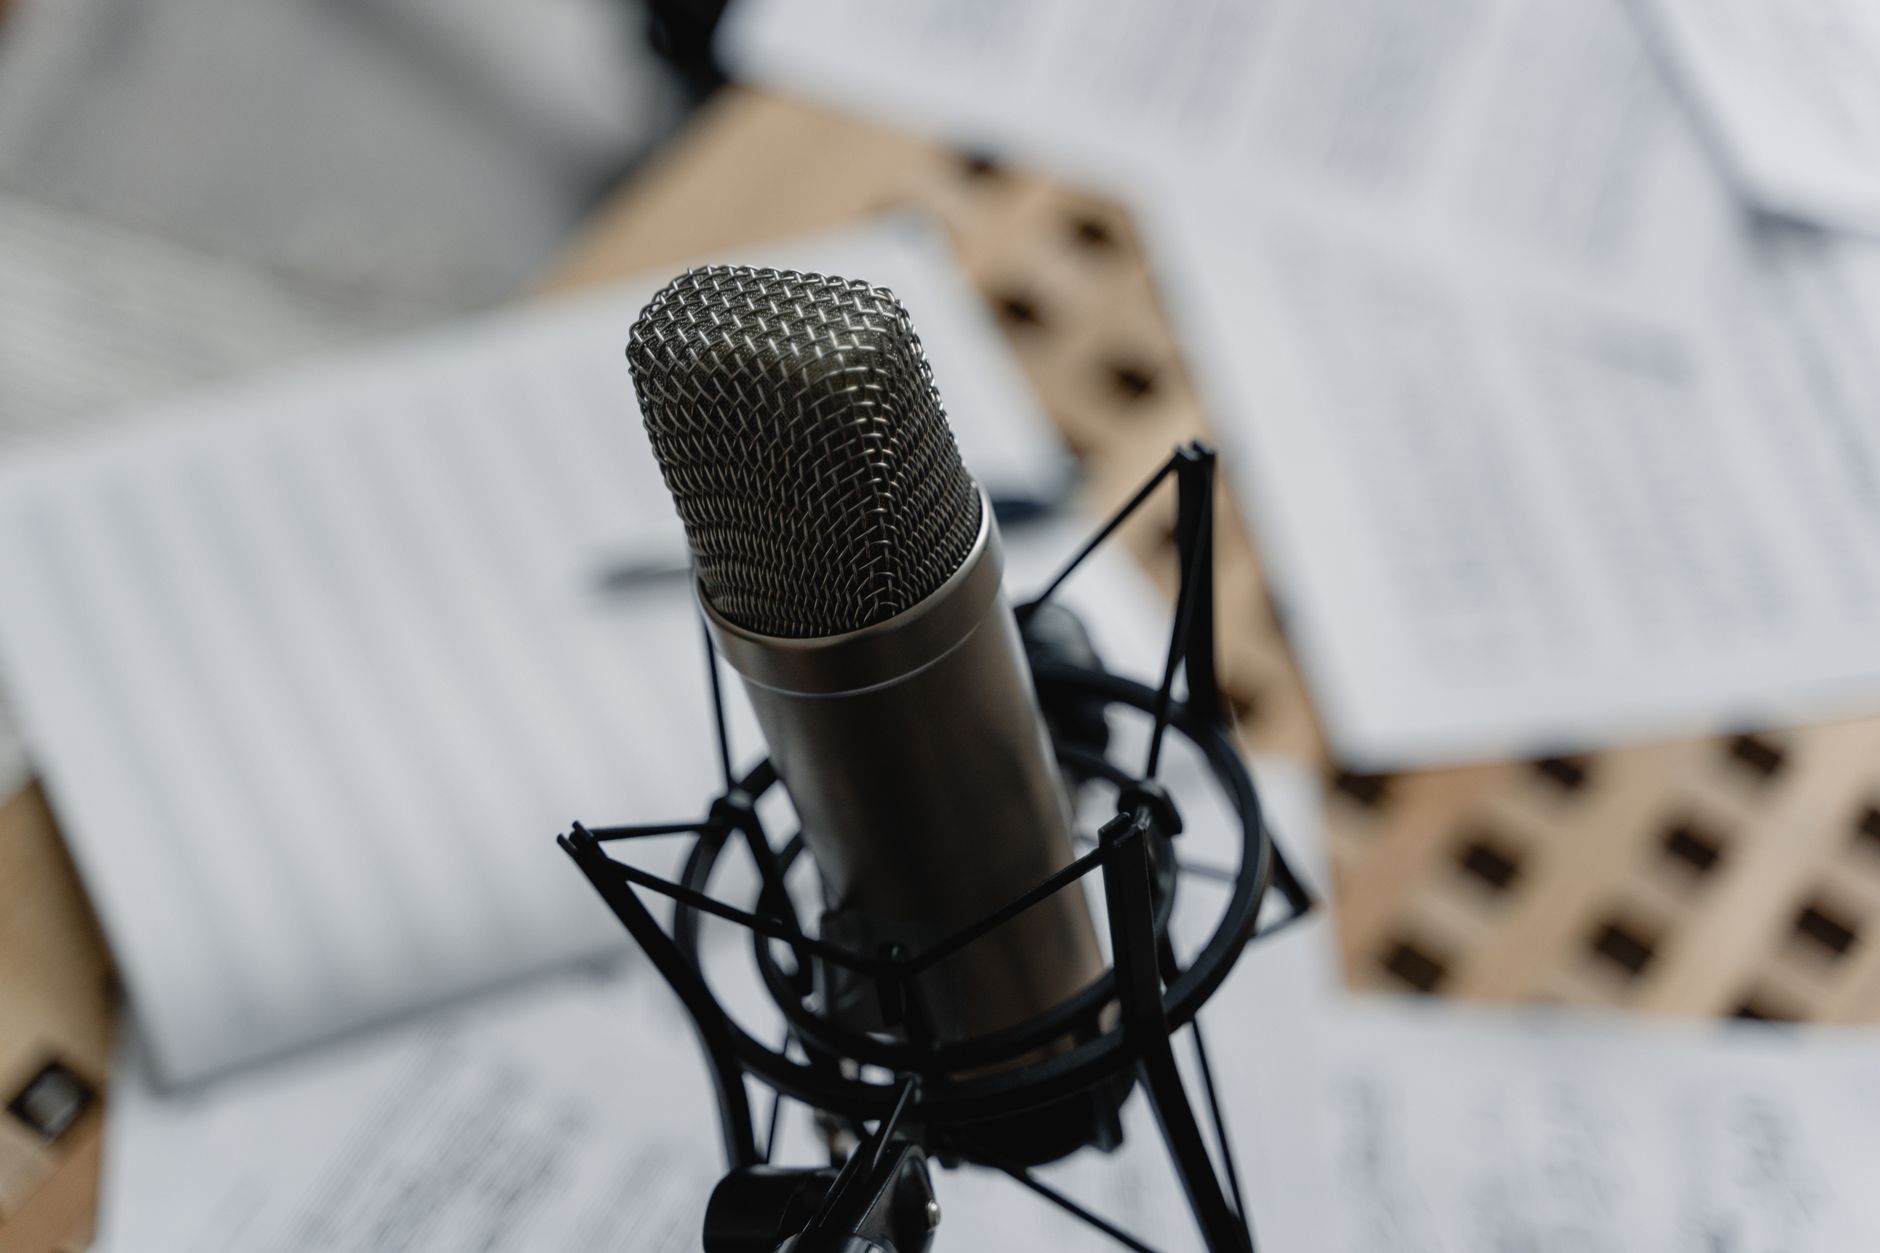 Photo: Tima Miroshnichenko via Pexels
Condenser vs. Dynamic for home recording:
| Condenser | Dynamic | |
|---|---|---|
| Sensitivity | High — picks up detail and room noise | Lower — rejects off-axis sound |
| Power required | Needs 48V phantom power (from interface) | Passive, no phantom needed |
| Best for | Treated rooms, quiet environments | Untreated rooms, loud sources |
| Typical cost | $99–$300 for entry-level | $99–$400 |
Polar pattern matters. Cardioid pattern microphones — the standard for beginners — reject sound from behind the mic. Position the rear of the mic toward your room’s most reflective surface (usually a window or hard wall). Record with the mic 6–8 inches from your mouth, slightly off-axis, with a pop filter in place.
DAW Selection: Where You Actually Work
GarageBand is free on Mac and genuinely capable — professionals have released commercial records on it. Reaper at $60 is the best value DAW at any price: full-featured, low latency, and it runs on nearly anything. Start with one of these before spending $400 on Ableton.
DAW choice matters less than people think at the beginner stage — the workflow differences become meaningful only after you’ve learned signal routing, automation, and mixing fundamentals. Pick one and stay in it for a year.
Key DAW features to verify before you commit:
- VST/AU plugin support (affects your plugin library options)
- ASIO driver support on Windows (critical for low-latency performance)
- Included instrument and effect library (saves money on plugins)
- Export formats (WAV, MP3, AIFF at minimum)
Acoustic Treatment: The Most Skipped Step
Untreated rooms produce recordings that sound amateur regardless of gear quality. You don’t need a professional booth — you need to kill flutter echo and reduce early reflections. Two to four broadband absorbers behind your listening position and in the two front corners of your room will transform your recording and mixing environment.
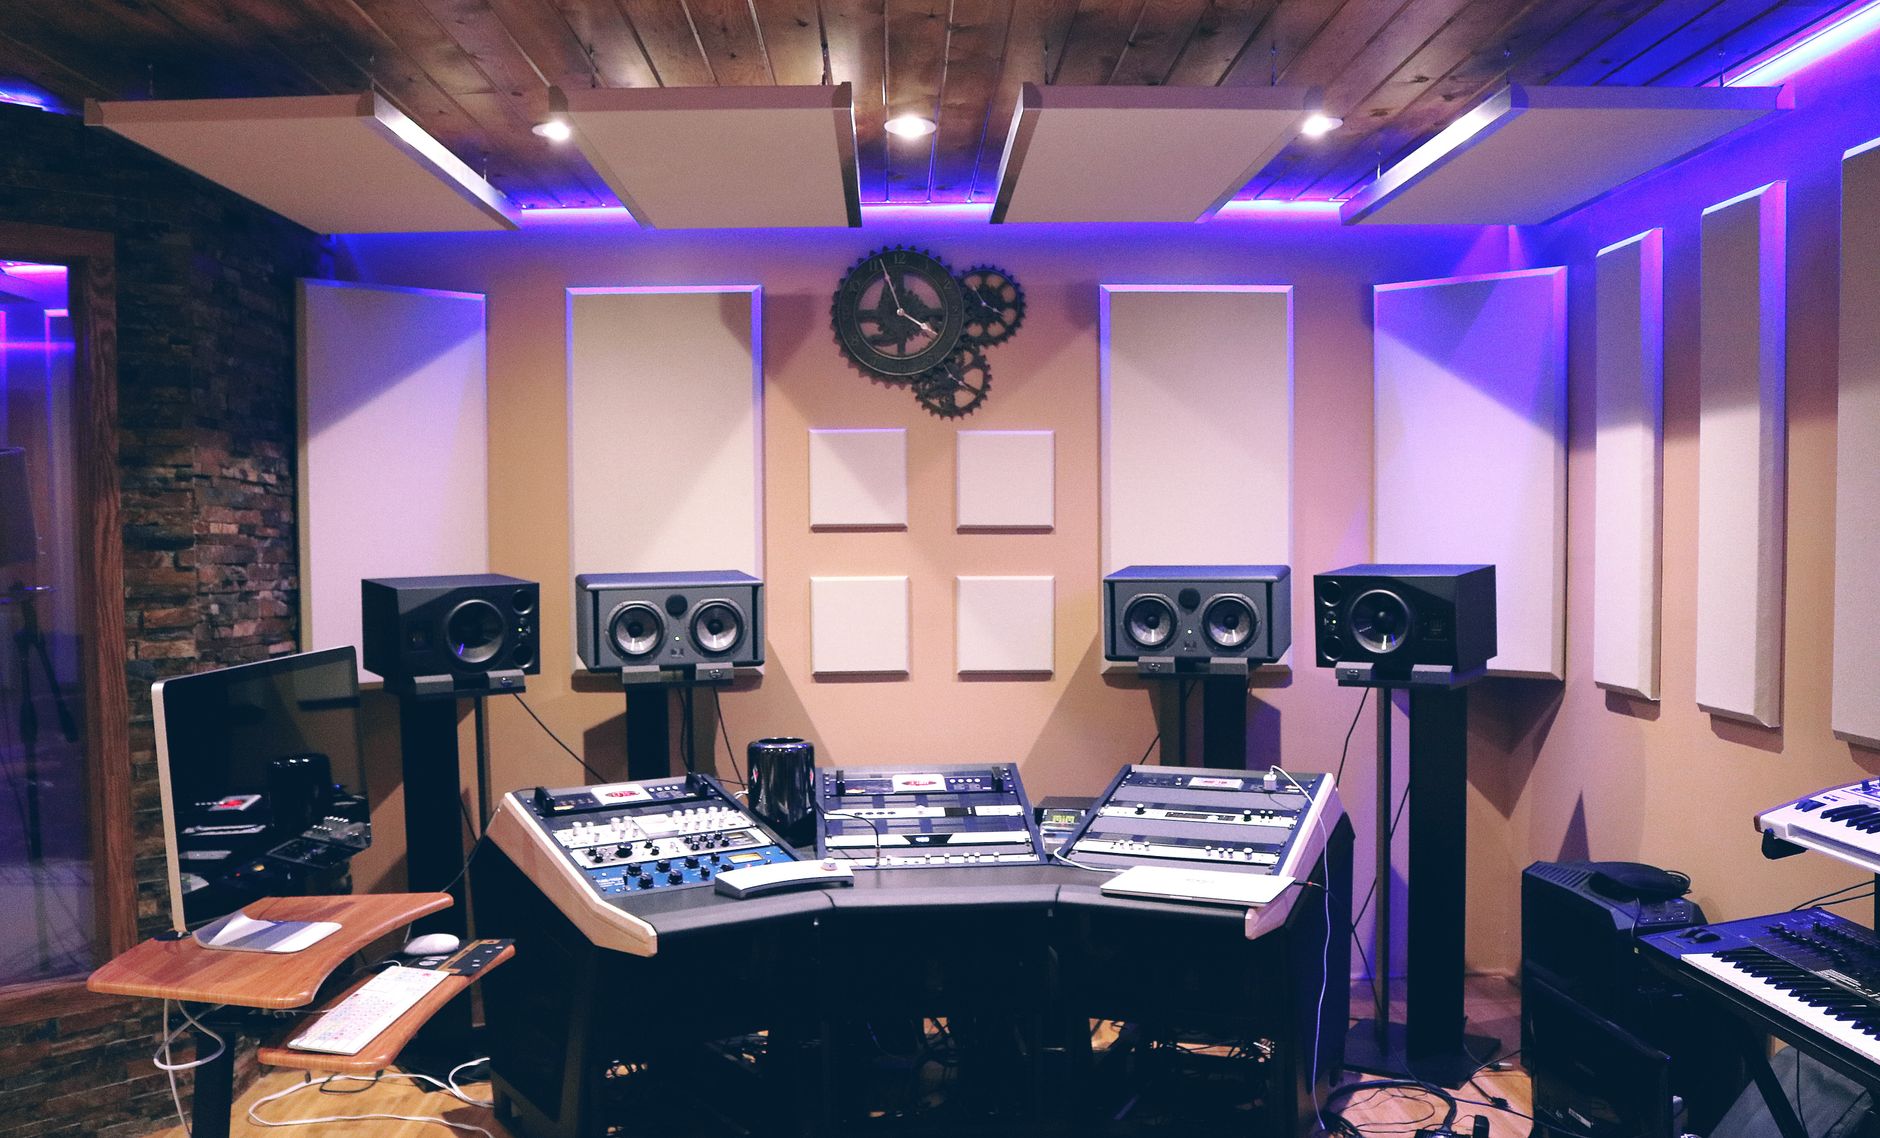
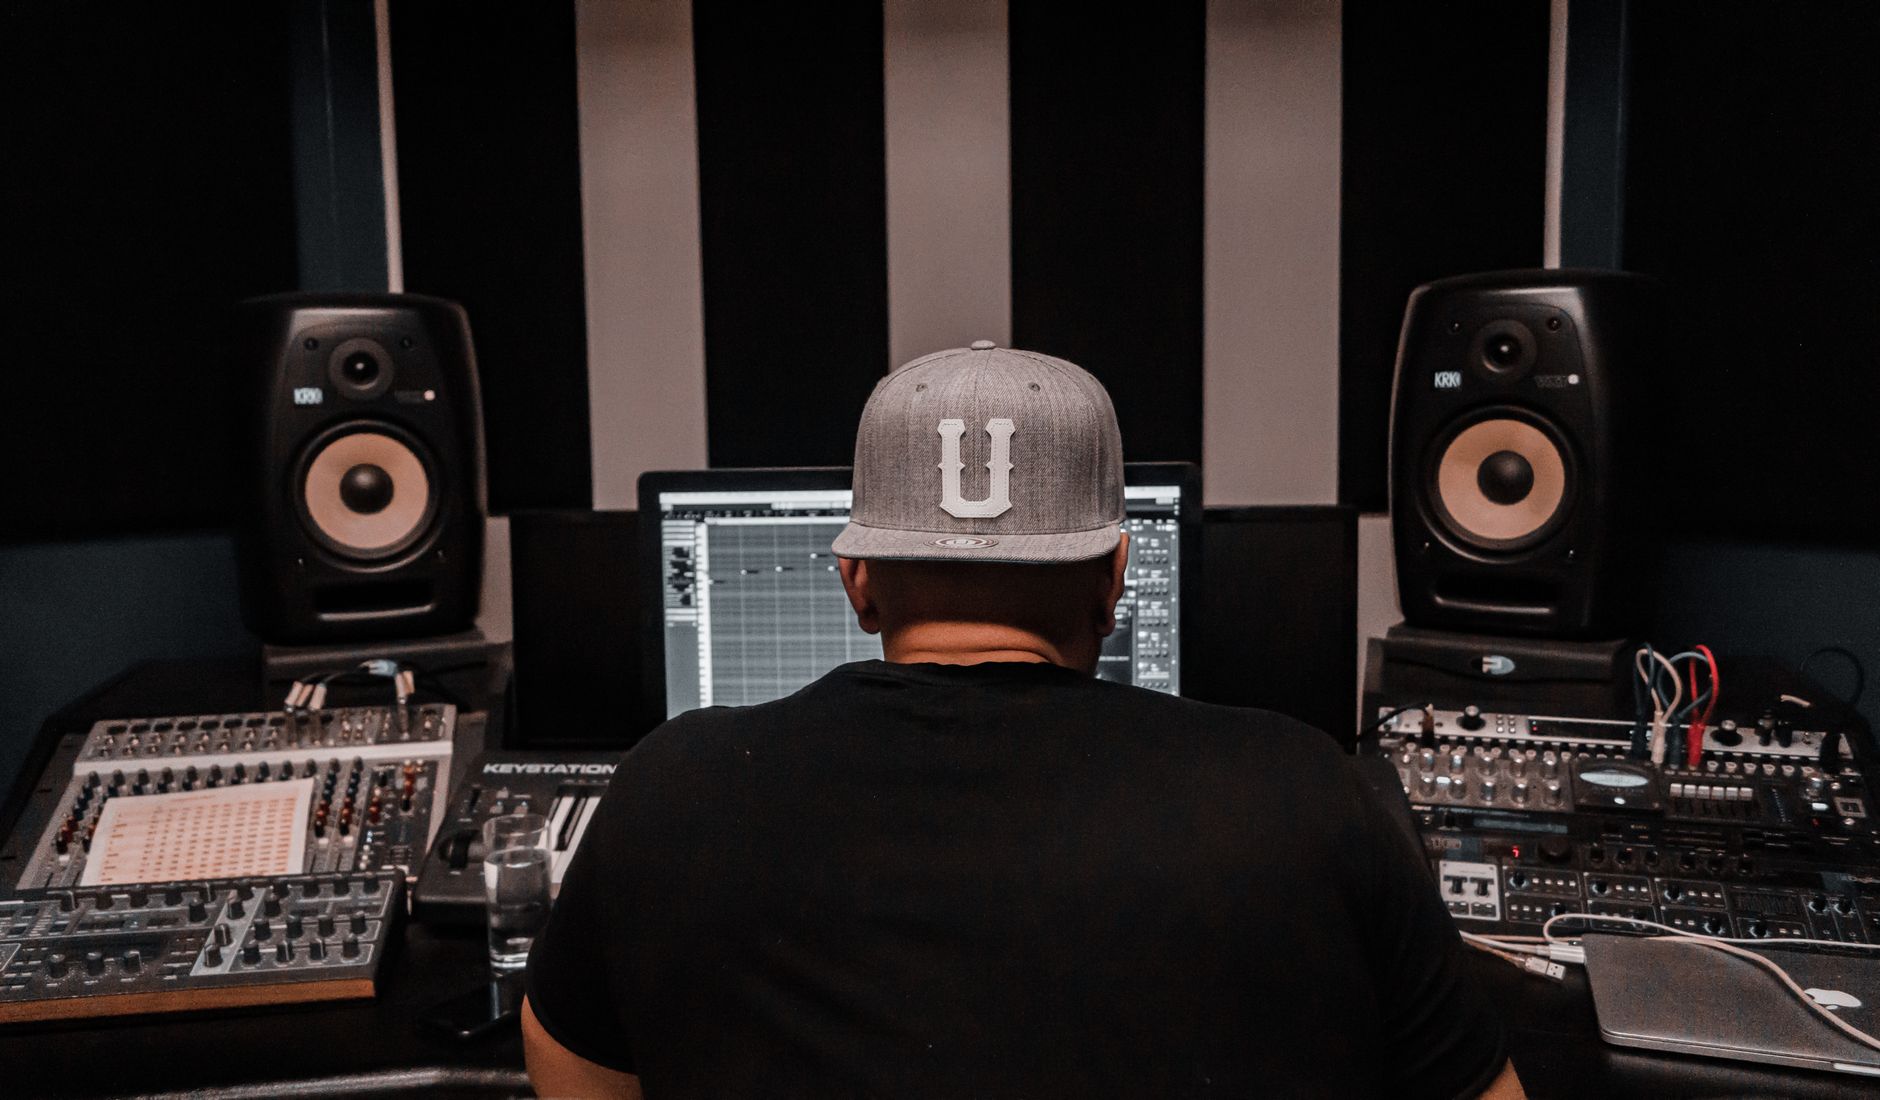 Photo: Jean Cont via Pexels
The most common beginner mistake: buying thin foam tiles (1–2 inch wedge foam). These only absorb high frequencies, leaving the muddy low-mids that cause mix translation problems completely untouched. Rockwool/mineral wool panels (4-inch thick, high-density) treat a much wider frequency range and cost roughly the same when built as DIY frames.
Budget acoustic treatment priorities:
- Behind the mix position (primary reflection point) — broadband absorption, 2×4 ft minimum
- Side walls at first reflection points — reduces comb filtering and stereo smearing
- Front corners — bass trap territory; low-frequency buildup muddies your monitoring
- Ceiling (if possible) — reflection cloud above the mix position is a significant upgrade
A moving blanket over a bookshelf or hanging behind your recording spot isn’t a permanent solution, but it genuinely helps for tracking vocals and acoustic instruments while you build a proper setup.
Full Signal Chain and Recording Workflow
Signal Chain
Sound Source
    ↓
Microphone (AT2020 / SM7B)  ←— position 6–8", cardioid pattern
    ↓
Audio Interface (Scarlett Solo/2i2)  ←— gain set to peak at -12 to -6 dBFS
    ↓
DAW (GarageBand / Reaper)  ←— 24-bit / 44.1 kHz session
    ↓
Headphones (MDR-7506) / Monitors  ←— direct monitor while tracking, DAW playback for mixing
Gain staging note: Set your interface gain so the loudest moments peak around -12 dBFS on the track meter — never in the red. Digital clipping is unrecoverable. You can always add gain in the mix; you cannot remove distortion from a clipped recording.
Step-by-Step First Recording Workflow
- Create a new session in your DAW at 24-bit / 44.1 kHz
- Enable phantom power on your interface if using a condenser mic
- Enable direct monitoring on the interface (zero-latency headphone feed)
- Create a new audio track — set input to your interface channel (Input 1 for mono sources)
- Arm the track for recording — confirm the signal meter is responding to your voice
- Set gain on the interface — speak/sing at performance volume, adjust so peaks hit -12 to -6 dBFS
- Record a test take — play it back through headphones before committing to a full session
- Add a high-pass filter to the track (around 80–100 Hz for vocals) — removes low-end rumble
- Apply light compression (a 4:1 ratio, -3 dB gain reduction) to control dynamics during tracking
- Export your final take as a 24-bit WAV before any lossy conversion
Troubleshooting Matrix
| Symptom | Likely Cause | Fix |
|---|---|---|
| No signal on track meter | Phantom power off / wrong input selected / cable fault | Enable 48V phantom; check input routing; swap cable |
| High latency during playback | Buffer size too large | Reduce buffer to 128–256 samples in DAW audio settings |
| Buzzing / 60 Hz hum | Ground loop or USB power interference | Use a different USB port; try a DI box; ground the interface |
| Thin, harsh vocal sound | Room reflections / mic too far back / no pop filter | Move mic closer, add absorption behind vocalist, add pop filter |
| Clipping / distorted recording | Gain too hot | Reduce interface gain; move mic back 2 inches |
| Phase cancellation (hollow sound) | Two mics out of phase | Flip polarity on one track in the DAW |
→ See also:
- The Complete Home Recording Studio Setup Guide (2026) — full deep-dive covering advanced treatment, monitor calibration, and room correction
- How to Build a Home Studio for $500 (2026) — specific gear lists and sourcing strategy for a $500 budget
- How to Build a Home Studio for $300 (2026) — minimum viable studio, everything under $300
- Cheapest Way to Start Recording Music (2026) — absolute minimum path from zero to first recording
FAQ
Do I need a powerful computer for home recording? Not at the start. A machine with 8 GB RAM and a quad-core processor from the last five years handles basic tracking and mixing in GarageBand or Reaper without issue. CPU demand scales with plugin count and track count — a minimal beginner session rarely taxes even an older laptop.
Can I use headphones instead of studio monitors? Yes, and for a home recording studio setup for beginners with acoustic treatment problems, headphones are often the better starting point. Closed-back headphones like the Sony MDR-7506 are industry standards for tracking. For mixing, open-back headphones (Sennheiser HD 600 series) give a more accurate stereo image than closed-back, though they leak sound.
What’s the minimum setup to record vocals professionally? Focusrite Scarlett Solo + AT2020 + a treated corner + pop filter + Reaper. That chain, set up correctly in an acoustically managed space, produces recordings indistinguishable from far more expensive rigs. The room and the performance matter more than the gear once you clear a basic quality threshold.
How do I reduce background noise in my recordings? Close windows and doors, turn off HVAC during takes, and record in a room with soft furnishings (carpet, curtains, bookshelves full of books all absorb noise). A dynamic mic like the SM7B with its tight cardioid pattern rejects significantly more ambient room noise than a condenser. Record late at night if street noise is an issue.
Do I need plugins and samples to start producing music? No. GarageBand ships with a library of instruments and loops that professional producers still use. Reaper includes a capable built-in compressor, EQ, and reverb. Resist plugin acquisition syndrome in the first six months — learn what comes in the box first. Extra plugins cannot compensate for weak fundamentals in gain staging, EQ, and arrangement.
Is a dedicated recording space necessary, or can I record anywhere in my home? Any room works for tracking if you manage reflections at the recording position. A bedroom corner with a portable reflection filter behind the mic is a legitimate professional solution used for remote vocal sessions. Avoid bathrooms (too live) and kitchens (background noise). The best room is a carpeted bedroom with a wardrobe full of clothes — free diffusion and absorption.
Editorial methodology: Assessments are based on manufacturer specifications, published user reviews, and editorial research. Physical hands-on testing is noted explicitly where it occurred. Rankings reflect our editorial judgment and are not influenced by affiliate commission rates. Full editorial policy · Affiliate disclosure