Contents
Apartment Home Studio Setup: Sound Great Without Losing Your Deposit
TL;DR: A solid apartment home studio setup is absolutely achievable — you need an audio interface, a pair of headphones or near-field monitors, a cardioid condenser or dynamic mic, and acoustic treatment that won’t damage your walls. Budget $300–$800 and you can track, mix, and produce professional-quality audio without disturbing neighbors or violating your lease.
What Makes an Apartment Studio Different From a House Studio
The core constraints are acoustic, not technical. Apartments share walls, floors, and ceilings — sound travels both ways. Your gear list is nearly identical to any home studio; what changes is how you treat the room, manage low-frequency buildup, and choose monitoring tools that keep noise contained.
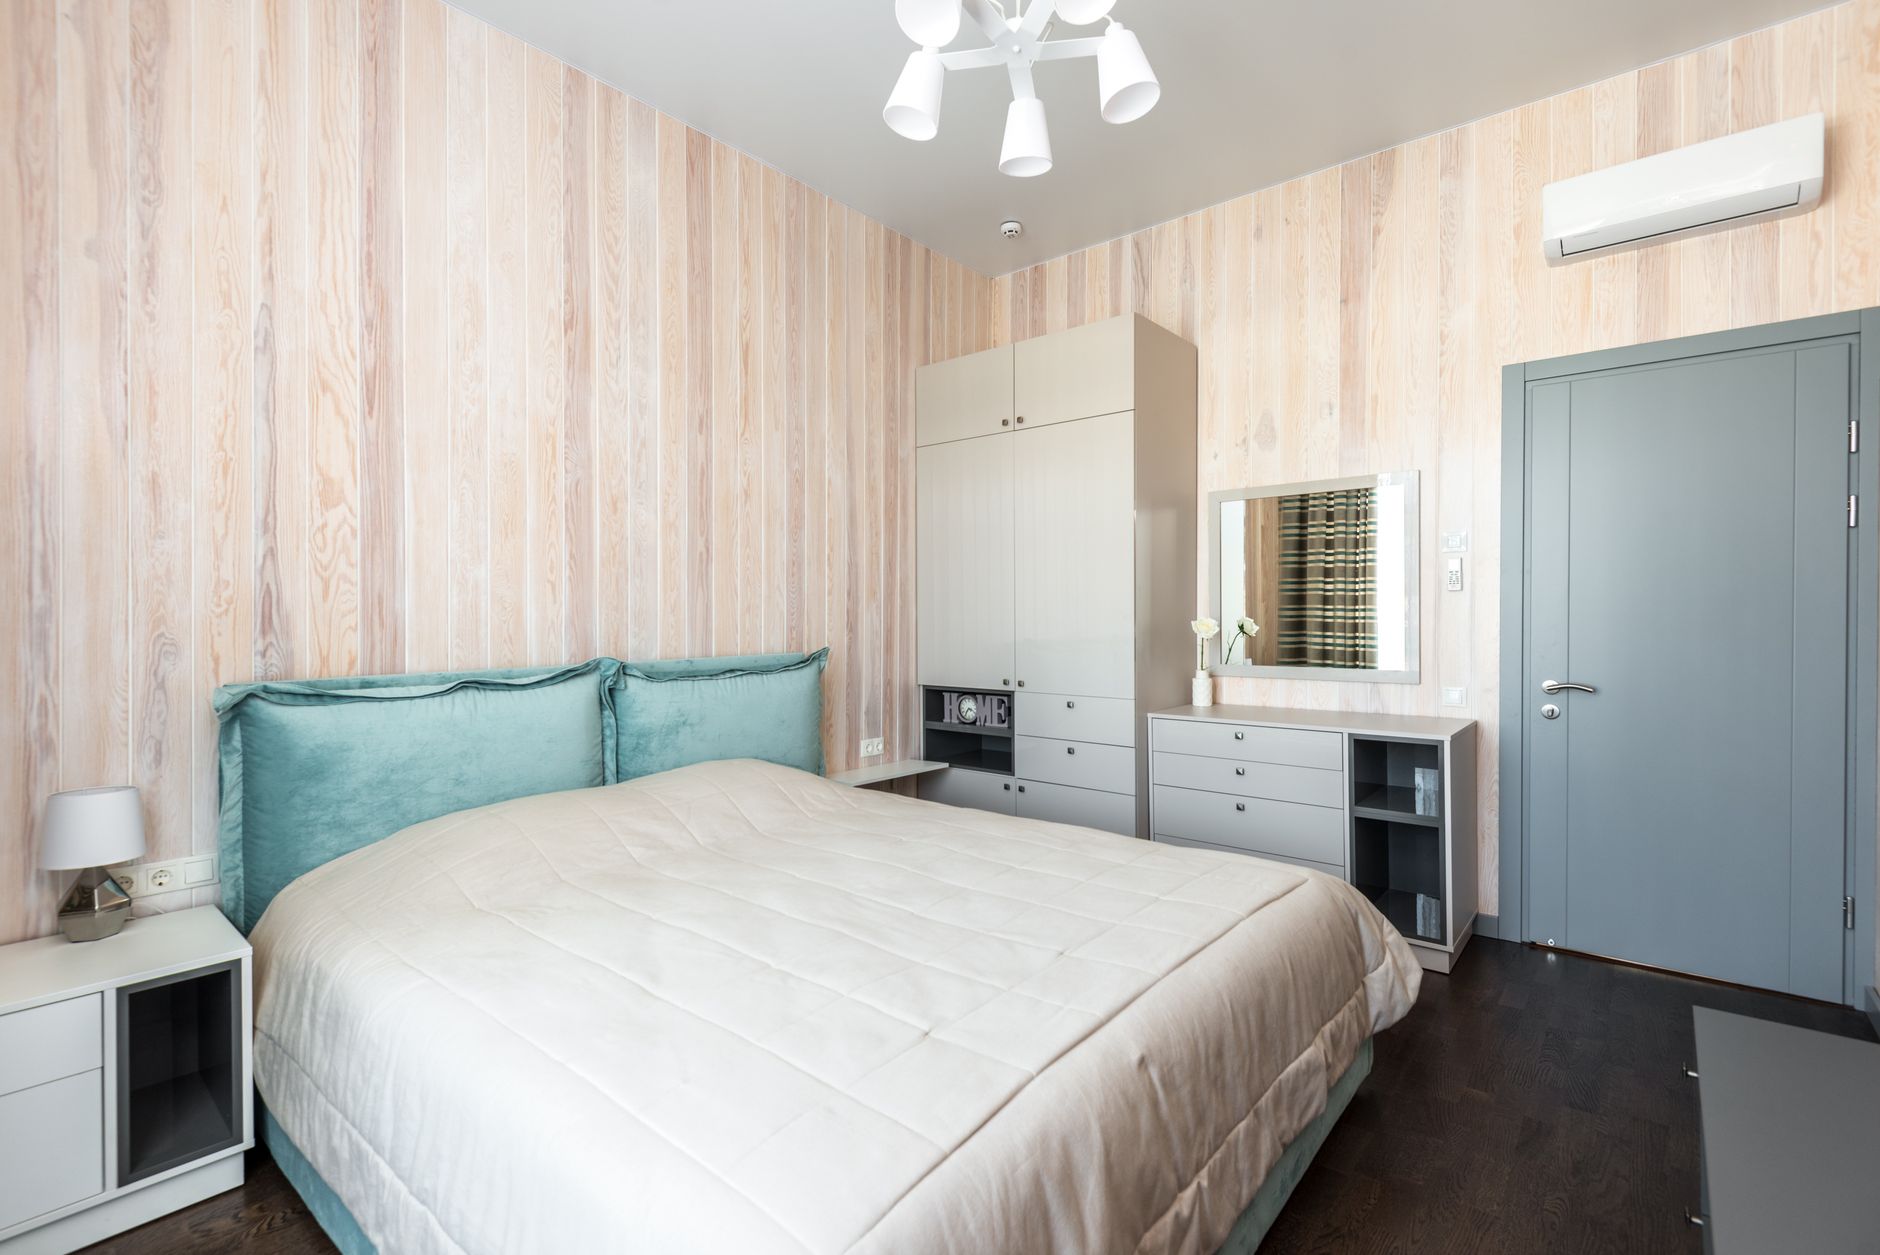 Photo: Max Vakhtbovych via Pexels
Apartment studios have two distinct problems: sound going out (bothering neighbors, lease violations) and sound coming in (HVAC rumble, hallway noise, street traffic bleeding into your recordings). Most beginner guides focus only on one. You need to address both.
The good news: modern recording tools — especially high-quality headphones and small-diaphragm condensers — are designed for exactly this environment.
Choosing the Right Room in Your Apartment
Pick the room with the most soft surfaces, the furthest from shared walls, and the lowest ceiling height. Bedrooms beat living rooms almost every time: closets absorb sound, carpet and furniture break up reflections, and a closed door isolates you from HVAC returns.
Avoid rooms with:
- Parallel hard walls and a hard floor (flutter echo destroys recordings)
- Large windows facing a busy street (vibration transfer, poor isolation)
- Thin shared walls adjacent to a bedroom in the unit next to you
A corner of a bedroom — bed along one wall, desk in the opposite corner — is the classic apartment studio configuration, and it works because the bed functions as a giant broadband absorber.
Reading Your Room’s Acoustic Signature
Clap once in the center of the room and listen. A sharp metallic ring that decays quickly means parallel reflective surfaces. A dull thud means you have enough absorption. Most apartments land somewhere between the two.
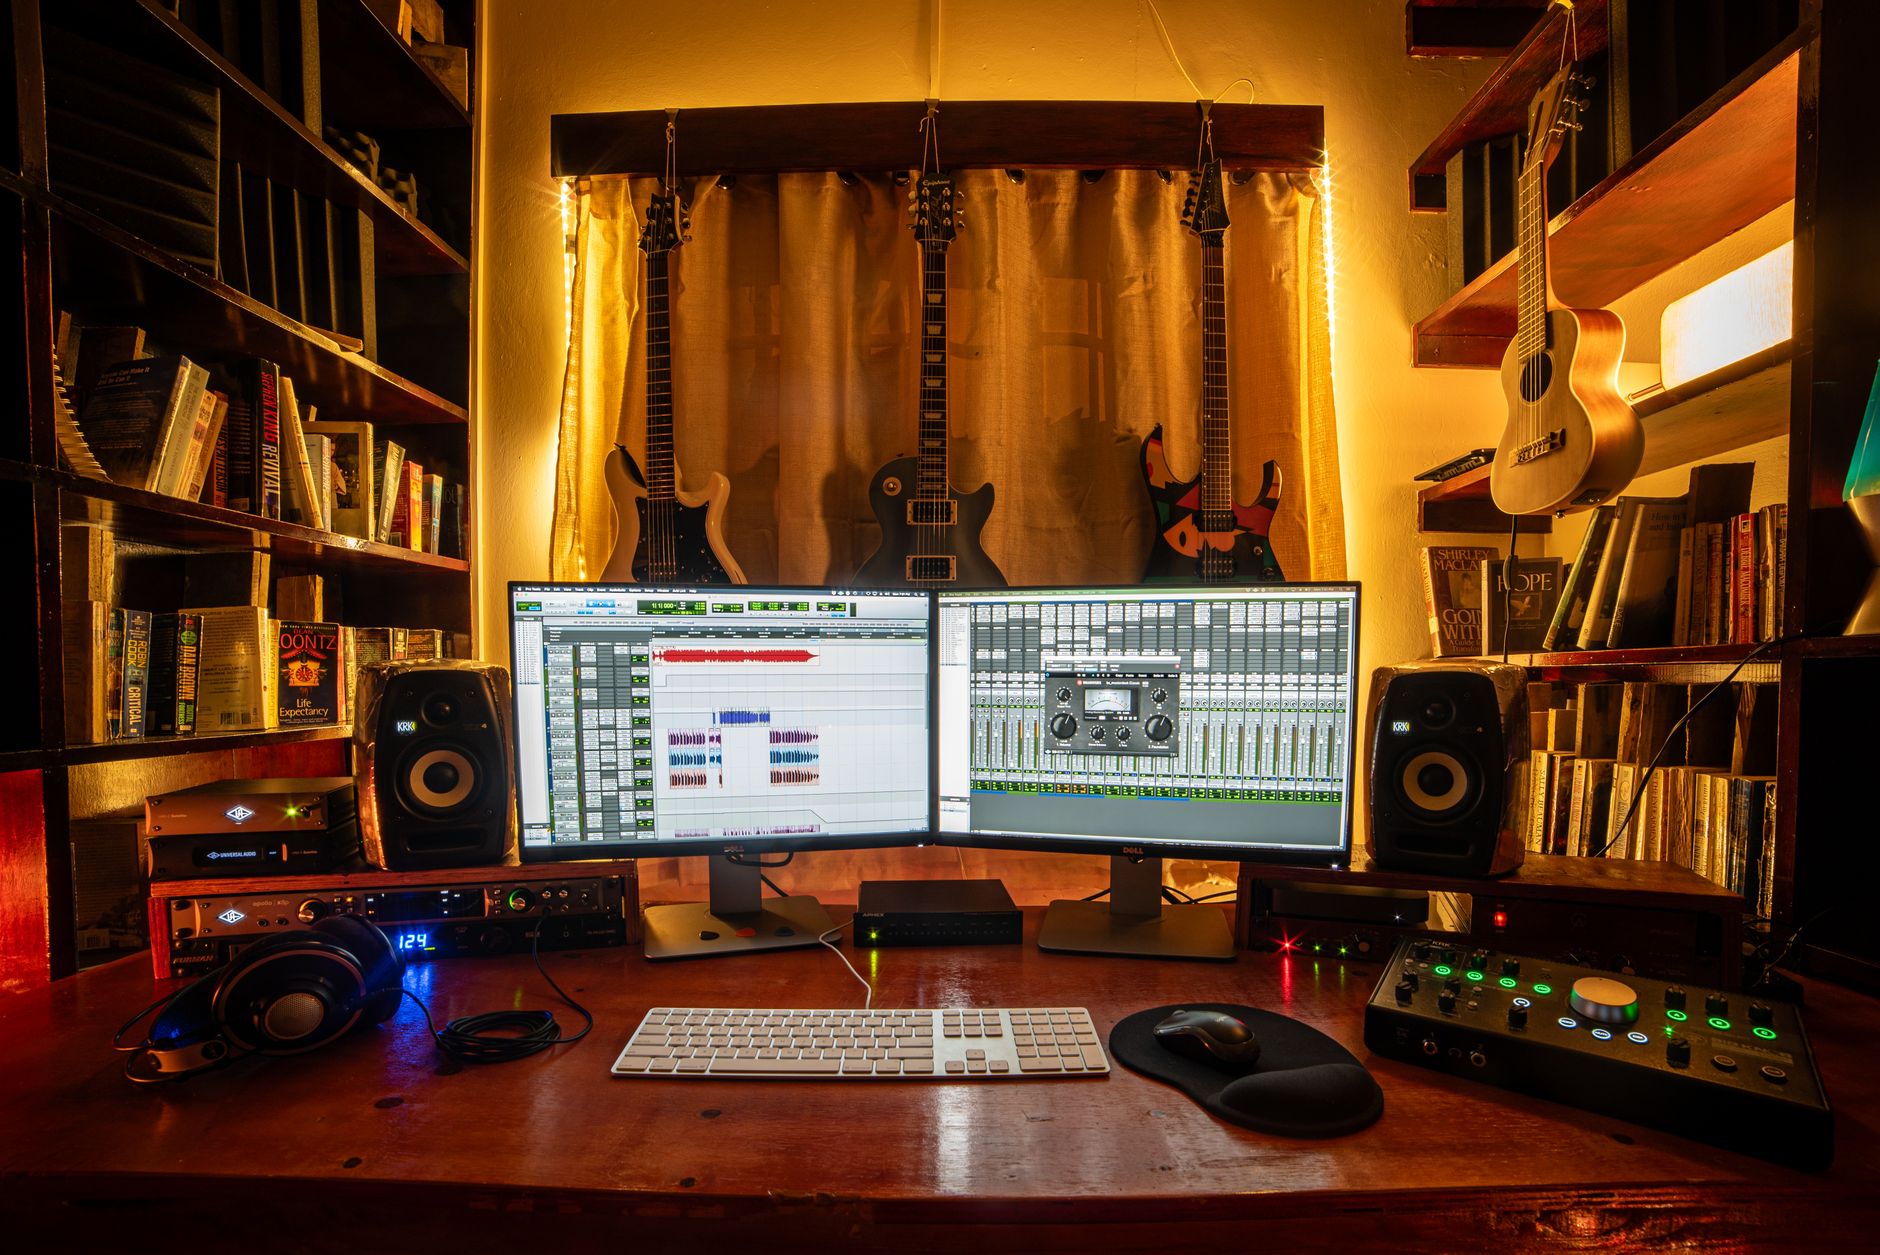 Photo: Dominik Gryzbon via Pexels
Low-frequency buildup is the harder problem. Bass frequencies (below 200 Hz) have long wavelengths that pass through acoustic foam like it isn’t there. They pile up in room corners. Without bass traps, your mixes will have bloated low-end that translates poorly on other speakers. You can’t fully solve this in an apartment without major construction — but you can manage it.
Essential Gear for Your Apartment Home Studio Setup
You need five categories of equipment: an audio interface, a microphone, monitoring tools, cables, and acoustic treatment. Everything else is optional. For apartments specifically, headphones are often a better primary monitoring choice than studio monitors — they eliminate the neighbor problem entirely during critical listening.
Audio Interface
The audio interface converts your microphone and instrument signals to digital. For a one- or two-person apartment setup, a two-channel USB interface is all you need.
| Interface | Inputs | Preamp Quality | Price Range |
|---|---|---|---|
| Focusrite Scarlett Solo (4th Gen) | 1 mic, 1 instrument | Good | ~$120 |
| Focusrite Scarlett 2i2 (4th Gen) | 2 mic/instrument | Good | ~$160 |
| Universal Audio Volt 2 | 2 mic/instrument | Excellent | ~$200 |
| MOTU M2 | 2 mic/instrument | Excellent | ~$200 |
The Scarlett 2i2 remains the most recommended entry-level interface based on user reviews and community consensus. The MOTU M2 and UA Volt 2 step up preamp quality noticeably if your budget allows.
Microphone
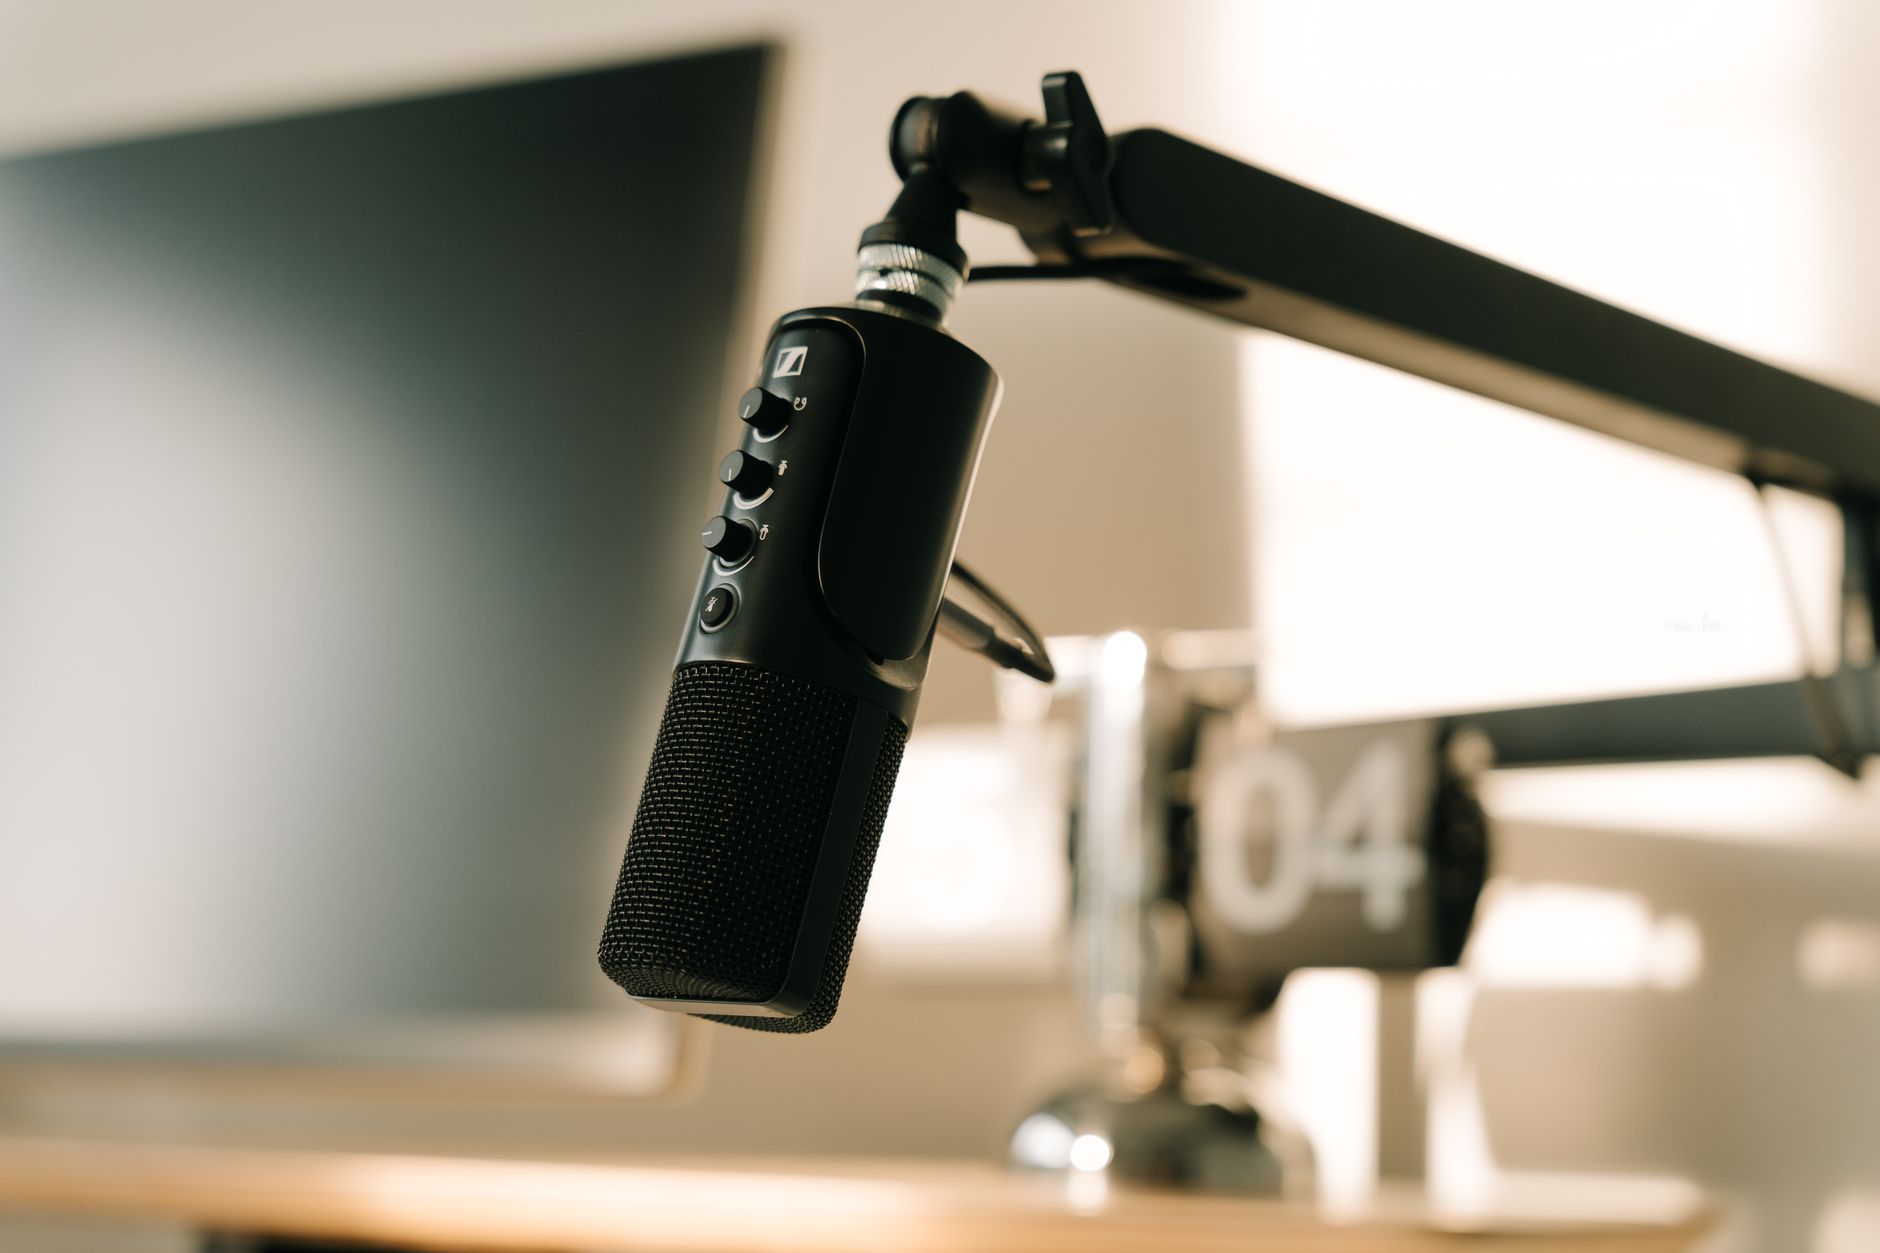
For apartments, a cardioid dynamic microphone is more practical than a large-diaphragm condenser for most applications. Dynamics are less sensitive — they reject room noise, HVAC rumble, and ambient leakage far better than condensers.
- Shure SM7dB — the standard dynamic for home vocals and podcasting; high gain requirements now addressed with the built-in preamp
- Rode NT1 5th Gen — large-diaphragm condenser with extremely low self-noise; works well in treated apartments
- Shure SM58 — workhorse live vocal mic that doubles well for apartment recording due to its rejection pattern
 Photo: Alpha En via Pexels
Monitoring: Headphones vs. Studio Monitors
This is the apartment-specific fork in the road.
| Option | Pros | Cons |
|---|---|---|
| Closed-back headphones | Zero bleed, neighbor-safe, no room acoustics | Ear fatigue, stereo image is less natural |
| Open-back headphones | More natural soundstage, less fatigue | Significant bleed — unsuitable for tracking |
| Near-field monitors | Natural mixing position, less fatigue | Neighbor noise risk, require acoustic treatment |
For most apartment setups, the recommended workflow is: closed-back headphones for tracking, studio monitors (at low volume, treated room) for mixing and referencing.
The Sony MDR-7506 and Beyerdynamic DT 770 Pro are the user-reviewed standards for closed-back tracking headphones. For open-back mixing, the Sennheiser HD 600 is widely considered the benchmark at its price point.
If you use studio monitors, the Yamaha HS5 and Adam Audio T5V are consistently recommended near-field options for small rooms.
Acoustic Treatment Without Damaging Your Walls
Acoustic treatment in an apartment means portable, renter-safe solutions. Command strips and freestanding panels keep your deposit intact. Target your primary reflection points first — the two side walls equidistant from your mix position, and the wall directly behind your monitors.
 Photo: Anna Pou via Pexels
Renter-Safe Treatment Options
Acoustic panels on Command strips: 2-inch rockwool or fiberglass panels in fabric frames. Manufacturers including GIK Acoustics offer panels that mount with heavy-duty Command picture-hanging strips. Published guidance from GIK confirms strips rated for 16 lbs hold standard 2×4 ft panels reliably on painted drywall.
Freestanding bass traps: Corner-mounted floor-to-ceiling panels that stand independently. These address the low-frequency buildup problem without any wall contact.
Moving blankets and heavy curtains: Not a professional substitute, but heavy woven blankets draped over a clothing rack near your recording position add meaningful broadband absorption. Useful on a tight budget.
The bed trick: Position your desk so you record with your back to the corner formed by two walls, with the bed’s headboard behind you. The mattress, pillows, and comforter absorb mid and high frequencies effectively.
Minimum Viable Treatment Layout
For a 10×12 ft bedroom with carpet:
- Two 2×4 ft panels on side walls at ear height (first reflection points)
- One 2×4 ft panel on the wall directly behind your monitors
- Two corner bass traps floor-to-ceiling in the front corners
- Existing bed and closet doing work behind you
This covers the critical reflection paths without touching every surface.
Signal Chain and Recording Workflow
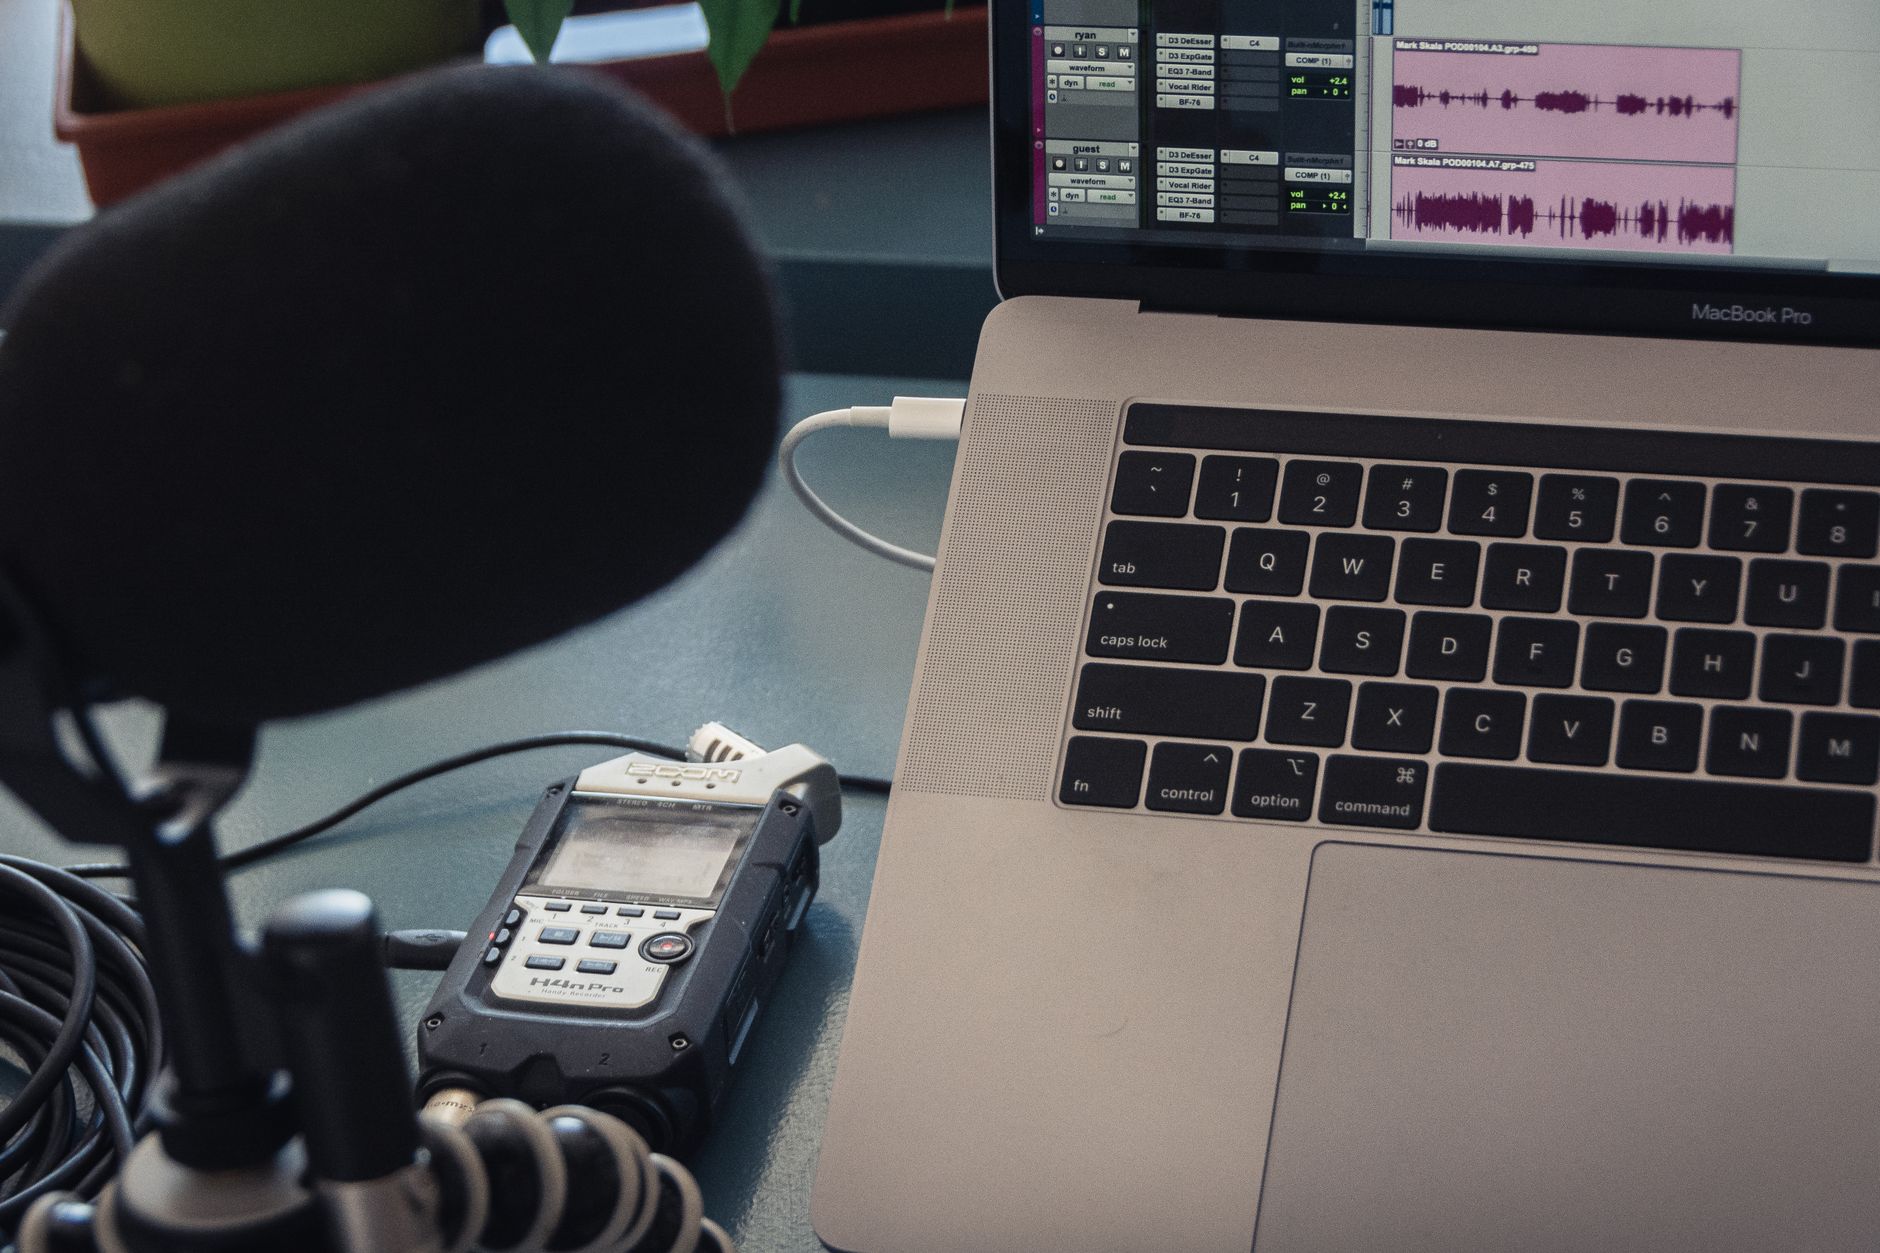
Connect microphone → audio interface → DAW. Set interface gain so your loudest peaks hit −18 dBFS on the input meter, never redlining. Monitor through headphones while tracking to prevent bleed.
Signal Chain Block
Microphone (cardioid, facing away from shared walls)
  ↓ XLR cable
Audio Interface (48V phantom if condenser)
  ↓ USB
DAW (buffer size 256–512 samples for tracking; 1024+ for mixing)
  ↓
Headphone output → closed-back headphones (tracking)
Monitor output → near-field monitors (mixing, low volume)
Gain staging notes:
- Interface gain: peak at −18 to −12 dBFS, leave headroom
- Never use the interface’s “Air” or harmonic exciter modes for reference tracking — clean signal first
- If using a dynamic mic with a standard preamp, check that your interface has enough clean gain before reaching for a cloudlifter; the SM7dB’s built-in preamp solves this directly
Step-by-Step Apartment Studio Recording Workflow
- Choose recording time. Mid-morning and mid-afternoon have lowest street/building noise in most urban apartments. Avoid recording when HVAC cycles are active if possible.
- Close all windows and interior doors. Switch HVAC to fan-off if your system allows.
- Set your gain. Perform a loud take, watch the interface meter, set gain so peaks hit around −18 dBFS.
- Position the microphone. Dynamic: 2–4 inches from source, slight off-axis angle to reduce plosives. Condenser: 6–12 inches with pop filter.
- Record a room tone reference. 30 seconds of silence for noise reduction profiling in post.
- Track in headphones. Use your closed-back cans to hear your cue mix — never use monitor speakers during live tracking in an apartment.
- Listen back on monitors at low volume. Once no live signal is open, check playback on near-fields for tonal reference.
- Export and reference on earbuds. Checking your mix on earbuds and phone speakers catches low-end excess that sounds normal on near-fields in a small room.
Troubleshooting Matrix
| Symptom | Likely Cause | Fix |
|---|---|---|
| Hum or 60Hz buzz | Ground loop, USB power issue | Use a different USB port; add a ground lift; try a different outlet |
| Excessive room reverb in recording | Untreated parallel walls | Add panels at reflection points; record in a closet temporarily |
| HVAC noise bleeding in | Intake near recording space | Record between HVAC cycles; apply noise reduction in post |
| Latency feels unplayable | Buffer size too high | Drop DAW buffer to 128–256 samples for tracking sessions |
| Thin, boxy vocal sound | Early reflections dominating | Move mic further from reflective surfaces; add absorption behind source |
| Boomy low end in playback | Room mode buildup | Add corner bass traps; high-pass filter at 80–100 Hz on non-bass sources |
| No signal | Phantom power off for condenser | Enable 48V phantom on interface; check XLR cable seating |
→ See also:
- The Complete Home Recording Studio Setup Guide (2026)
- How to Build a Home Studio for $500 (2026)
- How to Build a Home Studio for $300 (2026)
FAQ
Can I record vocals in an apartment without disturbing neighbors? Yes — position your microphone away from shared walls, use a dynamic microphone rather than a large-diaphragm condenser (dynamics reject ambient noise better), and record during lower-noise hours. A moving blanket reflection filter behind the mic and closed-back headphones for monitoring keeps leakage to a minimum.
Do I need acoustic foam or will it ruin my walls? Acoustic foam mounted with Command strips is renter-safe on standard painted drywall; the strips peel off cleanly at move-out. Foam alone won’t treat your room effectively — it addresses high-mid frequencies but does nothing below 500 Hz. Pair it with corner bass traps for usable low-end.
What’s the minimum gear I actually need to start recording in an apartment? An audio interface, one microphone, an XLR cable, closed-back headphones, and a free DAW (GarageBand on Mac, Cakewalk on Windows, or Reaper’s unlocked trial). That’s a complete recording chain for under $300 with budget gear selections.
Should I use studio monitors or headphones for mixing in an apartment? Both if possible — each reveals different problems. Headphones let you mix at any hour without disturbing anyone, but exaggerate stereo width and can mislead you on low-end balance. Near-field monitors played at low volume (75–80 dB SPL) in a lightly treated room give a more accurate stereo image. Expert consensus suggests checking your mix on at least two different playback systems before finalizing.
How do I stop street noise from getting into my recordings? Heavy curtains or moving blankets over windows reduce vibration transfer. Recording away from windows, using a directional cardioid mic pointed away from the noise source, and recording in quieter time windows eliminates most ambient intrusion. Persistent low-frequency rumble (traffic, subway) is best handled with a high-pass filter at 80–100 Hz in your DAW rather than trying to acoustically block it.
Is a vocal booth worth it in an apartment? A purpose-built isolation booth is rarely practical — they’re expensive, large, and create acoustically dead recordings that still require reverb in post. A recording corner with two or three treated walls, a rug, and a reflective surface behind the microphone gives a more natural and flexible result. Closets work surprisingly well as impromptu booths if the clothing provides sufficient absorption.
Editorial methodology: Assessments are based on manufacturer specifications, published user reviews, and editorial research. Physical hands-on testing is noted explicitly where it occurred. Rankings reflect our editorial judgment and are not influenced by affiliate commission rates. Full editorial policy · Affiliate disclosure