Contents
Microphone Placement for Recording Vocals
TL;DR: For mic placement for vocals, position a cardioid condenser 6–12 inches from your mouth, slightly above ear level, angled down toward your lips, with a pop filter 2–4 inches in front of the capsule. That single setup handles 90% of home recording situations cleanly.
How Far Should a Microphone Be from Your Mouth?
The sweet spot for most condenser microphones is 6–12 inches (15–30 cm). Closer than 6 inches exaggerates low-end through proximity effect and risks distortion on loud passages; farther than 12 inches picks up too much room noise. Start at 8 inches and adjust by ear.
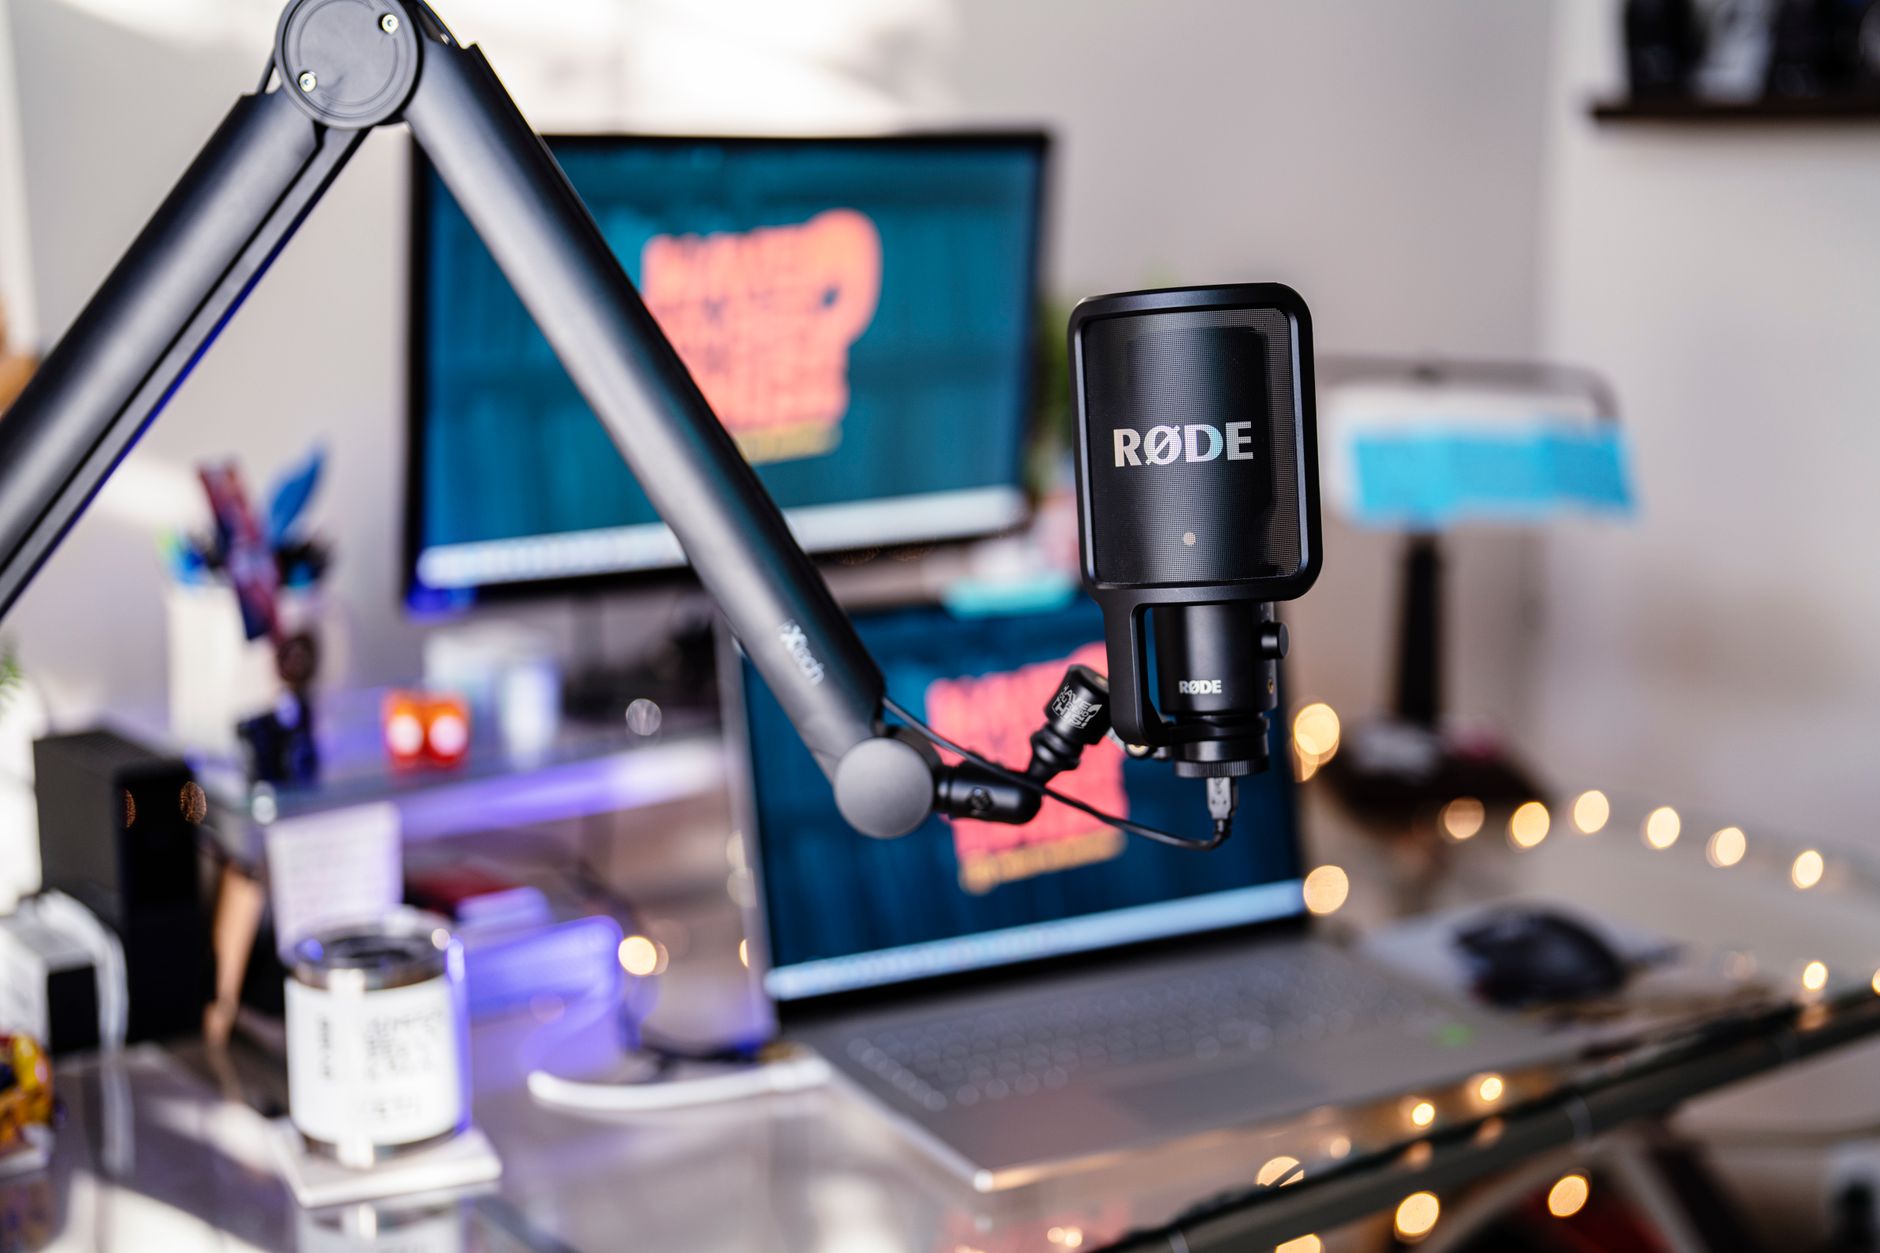 Photo: Jason Morrison via Pexels
Distance controls three things simultaneously: proximity effect (bass buildup), room sound, and dynamic range. A large-diaphragm condenser at 6 inches gives you a present, full-bodied tone. Pull back to 12 inches and the sound opens up — useful for vocalists with a naturally chesty tone or anyone recording a room that sounds decent.
Dynamic microphones like the Shure SM7B are less distance-sensitive and tolerate singers who move around. With a dynamic, 4–8 inches is workable without significant tonal shift. Ribbon mics sit between the two — keep them at 8–12 inches and handle them gently, especially with figure-8 patterns where room reflections come from the rear.
Proximity Effect: Use It or Tame It
Proximity effect is the bass boost that increases as you move closer to a directional mic. At 3 inches you can add 10–15 dB of low-end weight. That’s either a character tool or a problem depending on the voice.
 Photo: Rene Terp via Pexels
Thin, bright voices often benefit from riding 4–6 inches to add body. Full, boomy baritones should back off to 10–12 inches or apply a high-pass filter post-recording. Most modern audio interfaces include a high-pass switch — roll off at 80–100 Hz if proximity effect is muddying the track.
Mic Height and Angle: Where to Point It
Aim the capsule at the bridge of the nose or slightly above, angled 10–15 degrees downward toward the lips. This keeps sibilance (harsh “S” sounds) slightly off-axis, reduces breath noise hitting the capsule directly, and captures the fullest part of the vocal tone.
 Photo: AI25.Studio AI GENERATIVE via Pexels
Dead-on axis — capsule pointed straight into the mouth — maximizes clarity and presence, but also maximizes plosives and sibilance. Most vocals sound better with a small off-axis angle. Tilting down from above softens sibilance compared to tilting up from below.
Side-address microphones (most large-diaphragm condensers) should face you, not point at you like a pencil — the capsule is on the side of the body, not the top. This trips up beginners constantly. Look for the logo or the manufacturer badge; that side faces the source on most side-address mics.
End-Address vs. Side-Address
| Mic Type | Capsule Location | Typical Examples |
|---|---|---|
| Side-address | On the side of the body | Audio-Technica AT2020 , Rode NT1, Neumann TLM 103 |
| End-address | At the top (pencil-style) | Shure SM58, SM7B, AKG P170 |
| Ribbon (figure-8) | Side-address | Royer R-121, sE Electronics VR2 |
Treat any end-address mic like a pencil — point it at your mouth. Treat side-address mics like a face — stand in front of them.
Pop Filter Placement
Position a pop filter 2–4 inches in front of the microphone capsule. This physical gap lets displaced air from plosives dissipate before reaching the capsule. The vocalist then stands 4–8 inches behind the pop filter, giving a total singer-to-capsule distance of 6–12 inches.
A pop filter isn’t a substitute for good mic technique, but it handles the physics that technique can’t fully solve. Hard “P” and “B” sounds produce a burst of air that creates a low-frequency thump on any pressure-sensitive microphone. The filter deflects that air without significantly coloring the sound.
Foam windscreens (the sock that slides onto the capsule) work in a pinch but cut some high-frequency air and are harder to clean. A dual-layer nylon or metal mesh pop filter is better for studio use.
Room Treatment and Mic Placement Work Together
Bad room acoustics can’t be fixed with mic placement alone, but placement can minimize the problem. The closer the mic, the less room you capture. If your room is untreated, work at 6–8 inches rather than 12, and record in a corner or closet to reduce early reflections.
 Photo: Filip Szyller via Pexels
Early reflections — sound bouncing off hard walls back to the mic within 20–30 milliseconds — create a comb-filtering effect that makes vocals sound hollow and difficult to mix. Getting the vocalist close to the mic raises the direct-to-reflected ratio, which is free room treatment.
Practical setups that work:
- Stand between two bookshelves loaded with books
- Record facing into a corner with a duvet hung behind you
- Set up inside a walk-in wardrobe (clothes act as broadband absorbers)
- Use a portable reflection filter like the sE Electronics Reflexion Filter behind the mic
None of these match a properly treated room, but all of them beat a bare bedroom at 12 inches from the mic.
Reflection Filter: Does It Actually Help?
Published acoustic measurement data shows that portable reflection filters reduce high-frequency reflections hitting the rear of the capsule, but have limited effect below 500 Hz. For vocals, that high-frequency reduction matters — it tightens up the sound and removes the “bedroom” quality. Just don’t expect it to fix a bass-heavy room.
Mic Placement by Vocal Style
Different genres and techniques call for different setups.
| Style | Distance | Angle | Notes |
|---|---|---|---|
| Pop/R&B lead | 8–10 in | Slightly above, angled down | Proximity adds warmth; pop filter essential |
| Rap/spoken word | 4–6 in | Direct or slight tilt | Proximity effect adds presence; watch plosives |
| Folk/acoustic | 10–12 in | Nose height, direct | Captures natural room bloom |
| Belting/high dynamics | 10–14 in | Direct | Back off to prevent distortion on loud peaks |
| Whisper/intimate | 4–6 in | Direct | Keep pop filter in place; gain up slightly |
| Choir/group | 18–24 in | Above, angled down | Wider capture; less proximity effect |
Gain Staging Before You Record
Mic placement affects gain staging. Moving closer increases level; moving back decreases it. Set your preamp gain with the vocalist performing at full intensity — the loudest moment of the song. Aim for peaks around -12 to -6 dBFS in your DAW. That headroom prevents digital clipping and leaves room for the limiter or compressor in the chain.
If peaks are hitting -3 dBFS or higher during a normal performance, back the singer off 2–3 inches rather than pulling gain on the preamp. Preamp gain at lower settings introduces less noise; distance is cleaner than padding at low gain settings.
→ See also
- Best Microphones for Home Recording (2026) — full guide to choosing the right mic before you place it
- Best Budget Condenser Microphone (2026) — top picks under $100 that respond well to proper placement technique
- Audio-Technica AT2020 Review (2026) — one of the most placement-forgiving condensers at this price point
FAQ
How far should I be from my mic when recording vocals? 6–12 inches covers most situations. Start at 8 inches and adjust — move in for more warmth and presence, back off if the room sounds good or the vocalist is loud. Distance is one of the cheapest tone tools you have.
Should the mic be above or below my mouth? Above is the standard position — capsule at nose or eyebrow height, angled slightly downward. This puts sibilance and breath noise slightly off-axis, which reduces harshness in the recording without losing clarity.
Does mic placement for vocals differ between condensers and dynamics? Yes. Condensers are more sensitive and capture room sound more readily, so 6–10 inches is typical. Dynamics handle close positioning (3–6 inches) well because they reject more room noise, and many engineers use that proximity effect intentionally to get a thick, present sound.
Why do my vocals sound boomy when I record close to the mic? That’s proximity effect — the bass boost inherent to directional (cardioid, hypercardioid) microphones when a source is within about 12 inches. Back off to 10–12 inches, or apply a high-pass filter rolling off below 80–100 Hz. Most DAW EQ plugins and many preamps have a dedicated high-pass switch for this.
Does a pop filter change mic placement for vocals? Yes, by 2–4 inches. Place the pop filter 2–4 inches from the capsule, then position the vocalist behind it. The total singer-to-capsule distance is what matters for tone — account for the filter when you’re measuring. Some vocalists skip the filter and angle slightly off-axis instead, but for plosive-prone singers, the physical filter is more reliable.
Can I use mic placement to fix a bad-sounding room? Partially. Getting closer to the mic raises the ratio of direct vocal sound to reflected room sound, which reduces the “wet” or hollow quality of an untreated space. Expert consensus suggests that working at 6–8 inches in a bare room produces cleaner results than 12 inches, all else being equal. For serious results, combine close placement with soft furnishings or a portable reflection filter behind the mic.
Editorial methodology: Assessments are based on manufacturer specifications, published user reviews, and editorial research. Physical hands-on testing is noted explicitly where it occurred. Rankings reflect our editorial judgment and are not influenced by affiliate commission rates. Full editorial policy · Affiliate disclosure