Contents
How to Treat a Bedroom Studio: The Complete Setup Guide
TL;DR: To treat a bedroom studio, install broadband absorption panels on the first reflection points (side walls, ceiling), corner bass traps, and a small amount of diffusion on the rear wall. These three elements control the three main acoustic problems — flutter echo, comb filtering, and bass buildup — that make bedroom recordings sound amateur.
Why Bedroom Acoustics Make or Break Your Mixes
Untreated rooms lie. The frequency response at your mix position can vary by ±15 dB or more between 60–300 Hz, which means every EQ and low-end decision you make is based on false information. Treatment isn’t about making a room “sound better” — it’s about making it tell the truth.
 Photo: Một Chút Mơ Tiệm ảnh via Pexels
Most bedroom studios have three compounding problems:
- Flutter echo — rapid, metallic repeats between parallel walls (clap your hands; if you hear a “zing,” you have it)
- Room modes / standing waves — specific bass frequencies that build up in corners, making your kick and bass sound wildly different a foot from where you’re sitting
- Early reflections — sound bouncing off walls and ceiling before it reaches your ears, blurring stereo imaging and causing comb filtering
Soundproofing and acoustic treatment are different problems. This guide covers treatment — controlling what happens inside the room. If you need to stop sound from leaving, see How to Soundproof a Room for Recording.
Step 1 — Find Your First Reflection Points
Sit at your mix position. Have someone slide a mirror along each side wall and the ceiling. Every spot where you can see a monitor in the mirror is a first reflection point. These are your highest-priority treatment locations — cover them before anything else.
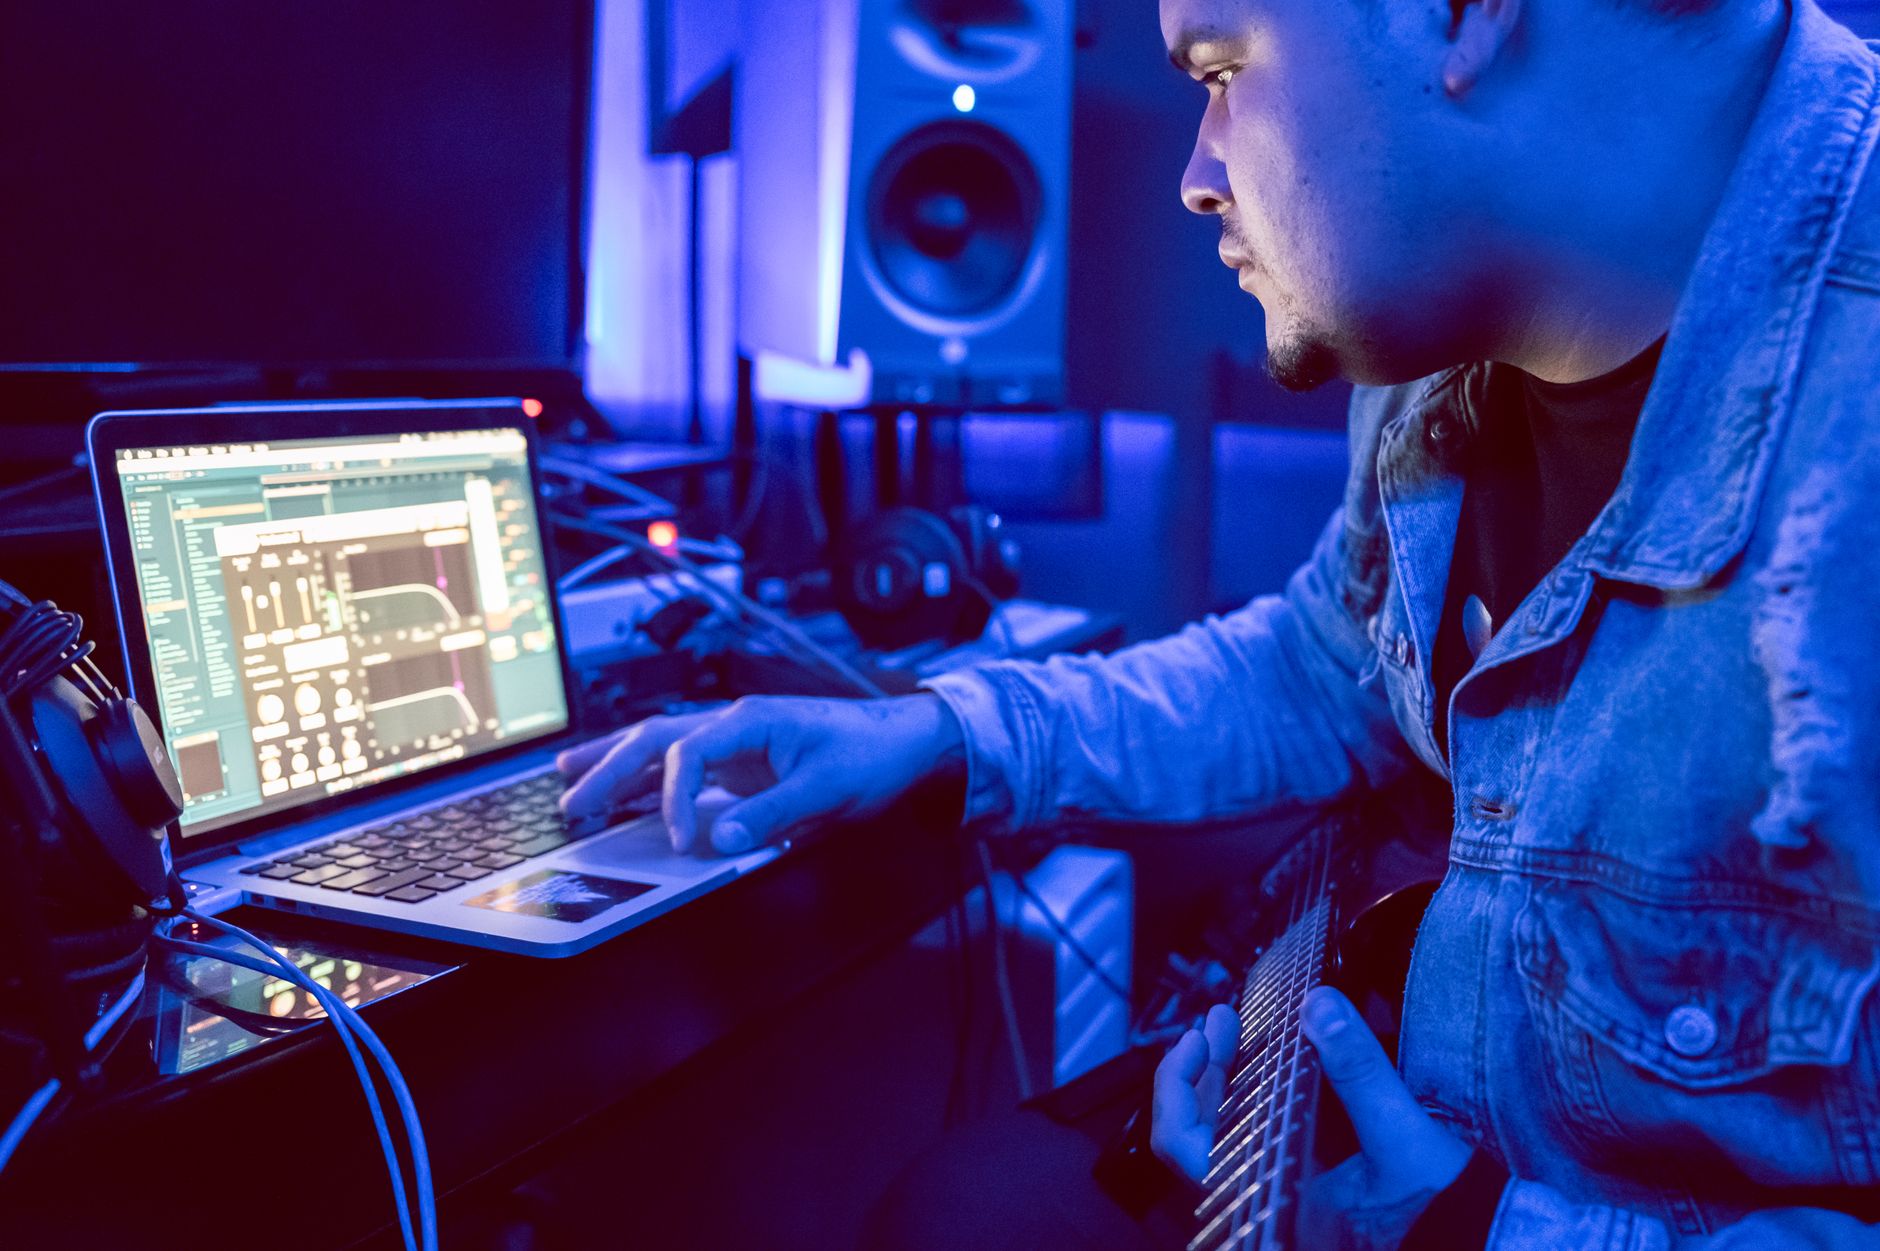
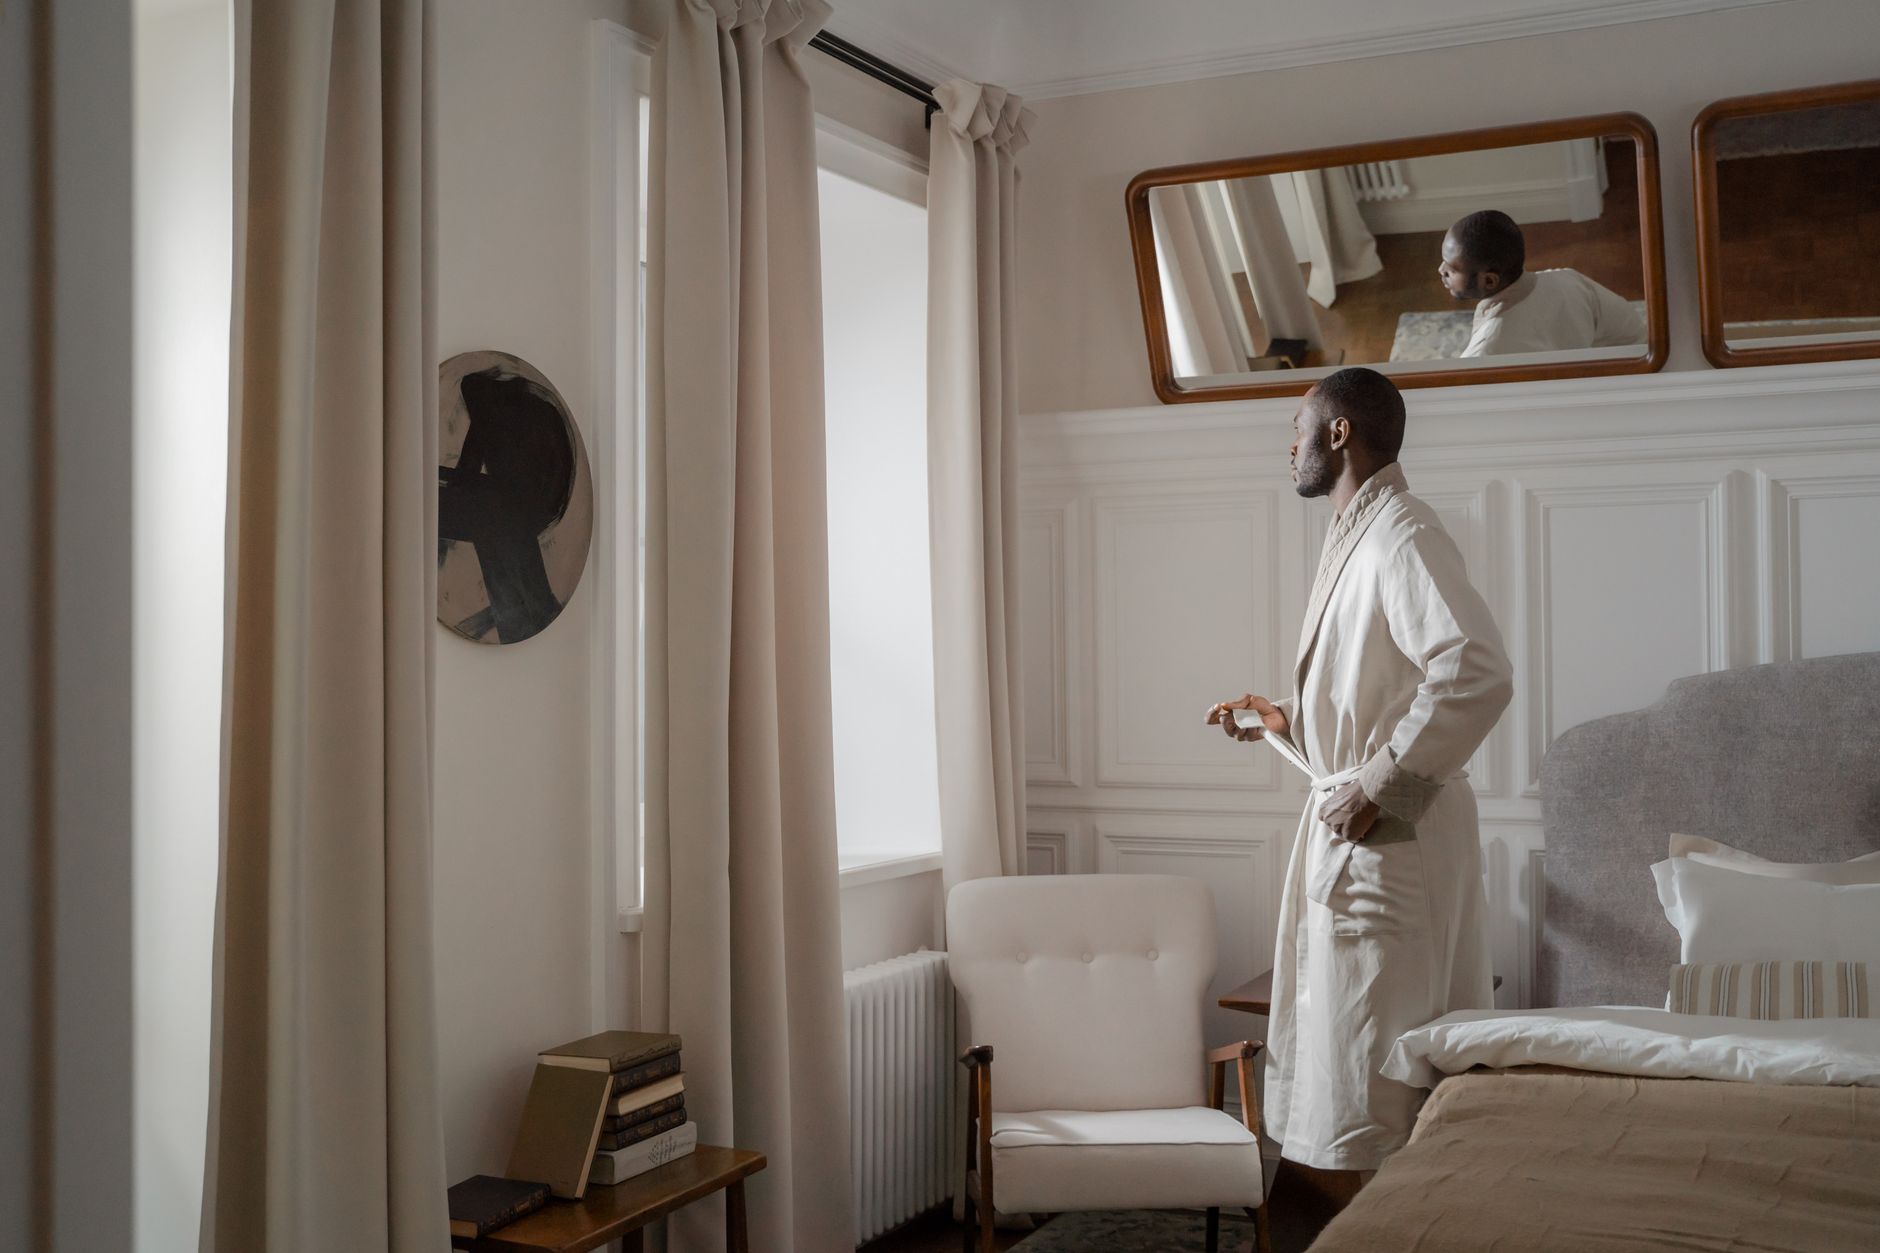 Photo: Ron Lach via Pexels
First reflections arrive 5–30 ms after the direct sound, early enough that your brain partially fuses them with the source. The result is smeared transients, collapsed stereo width, and unreliable imaging.
Mark each reflection point with a piece of tape. You’ll need at minimum:
- Two side-wall panels (one per side, roughly ear height)
- One ceiling panel (often skipped and often the worst offender)
Panel size matters. A 24×48“ panel in 2“ thick rigid fiberglass or rockwool — such as Rockwool RW3 or OC703 — absorbs effectively down to about 500 Hz. At 4“ thick, absorption extends to roughly 250 Hz, which covers the upper midrange bloom that muddles vocals.
Step 2 — Build or Buy Broadband Absorption Panels
A 2“ panel of rigid fiberglass or rockwool at a first reflection point is the single highest-ROI acoustic treatment you can make. Pre-made panels like the GIK Acoustics 242 Panel are calibrated and ready to hang; DIY equivalents cost roughly 40% less using the same core material.
 Photo: Nothing Ahead via Pexels
Pre-made vs. DIY — Quick Comparison
| Option | Cost per 2×4 panel | Time | Absorption (NRC) |
|---|---|---|---|
| GIK 242 Panel | ~$55–65 | 0 hrs | 0.95 NRC |
| DIY OC703 (2“) | ~$25–35 | 1–2 hrs | 0.90–0.95 NRC |
| DIY Rockwool RW3 (2“) | ~$20–30 | 1–2 hrs | 0.85–0.95 NRC |
| Foam wedge tiles | ~$15–20 | 0 hrs | 0.30–0.50 NRC |
Foam wedge tiles absorb only high frequencies. They make a room sound dead and dull while leaving bass and lower midrange completely untreated — a common beginner mistake. Rigid fiberglass or rockwool panels absorb across a much wider band.
DIY panel construction (one 2×4 panel):
- Cut 2×4 lumber to frame: two 48“ lengths, two 24“ lengths, pocket-screw or butt-join the corners
- Staple landscape fabric to the back face as a dust barrier
- Cut one sheet of 2“ OC703 or Rockwool RW3 to 24×48“ and friction-fit inside the frame
- Wrap with acoustically transparent fabric (guilford of maine, or stretched muslin — avoid polyester blends with tight weave)
- Staple fabric tight to the back, fold corners like wrapping a present, secure with a few extra staples
Leave a 1–2“ air gap between the panel back and the wall. The air gap extends low-frequency absorption — effectively doubling the acoustic thickness.
Step 3 — Treat the Corners with Bass Traps
Bass frequencies build up in corners because that’s where pressure is highest — two walls, or three surfaces meeting, multiply the accumulation. A floor-to-ceiling bass trap in each rear corner (and ideally the front two) addresses the standing wave problems that make bedroom low-end decisions unreliable.
Room modes are the physics problem no surface-mounted foam panel touches. The three primary axial modes in a typical 10×12 bedroom land between 47–94 Hz — right inside kick, bass guitar, and low synth territory.
Bass traps don’t eliminate modes; they damp them faster, reducing the decay time so the peaks and nulls at your mix position are less extreme.
Options:
| Type | Low-freq absorption | Cost | DIY-friendly |
|---|---|---|---|
| Corner-mounted 4“ rockwool (floor-to-ceiling) | Good (100–300 Hz) | Low | Yes |
| Superchunk corner fill (stacked triangles) | Better (80–250 Hz) | Medium | Yes |
| GIK Acoustics Monster Bass Trap | Best (down to ~40 Hz) | $120–180/panel | No |
| Membrane / Helmholtz resonator | Tuned narrow band | High | Difficult |
For most bedrooms, DIY superchunk traps made from stacked 4“ rockwool triangles in each rear corner, running floor to ceiling, give the most absorption per dollar. Fill both rear corners first; add front corners if budget allows.
Step 4 — Add Diffusion to the Rear Wall
Once absorption is in place at reflection points and corners, hard diffusion on the rear wall behind you breaks up remaining reflections without deadening the room further. This preserves a sense of space and keeps recordings from sounding over-damped.
 Photo: The Ghazi via Pexels
A QRD (quadratic residue diffuser) scatters sound in multiple directions rather than absorbing it. The result is a more natural, less “boxy” listening environment.
Diffusion is a lower priority than absorption. If budget is tight, skip this step — an over-absorbed room is better than an under-absorbed one. The priority order is always: first reflections → bass corners → rear diffusion.
Pre-made diffusers worth considering: the GIK Acoustics Gobo Panel can be positioned to function as both absorber and partial diffuser on the rear wall.
Rough guideline for a 10–12’ wide bedroom: one 2×4 diffuser panel centered on the rear wall, flanked by absorption on either side.
Recording Position: The Mirror Image Rule
Position your monitors so you and the monitors form an equilateral triangle — typically 3–4 feet between tweeters and 3–4 feet from tweeters to your ears. Pull monitors at least 18–24 inches from the front wall to reduce low-frequency boundary reinforcement.
 Photo: cottonbro studio via Pexels
Other placement rules that matter acoustically:
- Don’t sit with your back against the rear wall. Move your mix position roughly 38% of the room’s length from the front wall (the “38% rule”) to avoid the worst low-mid pressure buildup.
- Keep monitors off the desk surface if possible — a stand decouples them from desk resonance. If desk placement is necessary, use monitor isolation pads like the Auralex MoPADs .
- Symmetry is not optional. Asymmetric placement introduces asymmetric reflections and destroys stereo imaging. If the room forces you to sit off-center, treat the nearer side wall more heavily.
Signal Chain Reference
A treated room improves all recording stages, but the gain structure that makes recordings translate still needs to be right:
Source (instrument / voice)
  → Microphone or DI box
  → Audio interface preamp (target: -18 dBFS average, peaks under -6 dBFS)
  → DAW input channel (no processing on the way in)
  → Monitoring through treated room at ~75–85 dB SPL
Gain staging at the interface matters because an undertreated room often leads engineers to push gain harder, trying to compensate for a thin or distant sound. Treatment lets you capture the actual source sound accurately, which means less corrective EQ downstream.
Complete Bedroom Treatment Workflow
- Clap test — stand in the center of the room and clap sharply. Listen for flutter echo (a “zing” or ringing after the clap). Note severity.
- Mirror scan — identify all first reflection points on side walls and ceiling. Mark with tape.
- Prioritize and budget — list: front-wall panels, side-wall panels, ceiling cloud, corner bass traps, rear diffusion
- Build or order panels — minimum 4 absorption panels (2 side, 1 ceiling cloud, 1 rear wall) before adding anything else
- Install bass traps — floor-to-ceiling in rear corners before front, using corner or superchunk mounting
- Hang absorption panels at marked first reflection points, leaving 1–2“ air gap
- Re-clap test — flutter should be significantly reduced. If not, add more panels to parallel wall pairs
- Set monitor placement using the equilateral triangle rule; use a tape measure, not approximations
- Play a reference track you know well and compare low-end response. Trust consistent translation across speakers (car, phone, headphones) over what sounds “good” in the room
- Iterate — most rooms need a second pass on bass traps after the first round of listening
Troubleshooting Matrix
| Symptom | Likely Cause | Fix |
|---|---|---|
| Mixes sound dull on other speakers | Over-absorption, no diffusion | Add diffusion to rear wall; reduce panel coverage |
| Bass sounds different every foot you move | Untreated room modes | Add floor-to-ceiling corner bass traps |
| Vocals sound “boxy” or nasal in recordings | Early reflection buildup in upper mids | Add ceiling cloud panel; increase panel thickness to 4“ |
| Harsh, metallic high-frequency ringing | Flutter echo between parallel walls | Add absorption to at least one face of each parallel pair |
| Stereo imaging is narrow or vague | Asymmetric treatment or monitor placement | Verify equilateral triangle; treat both side walls symmetrically |
| Low-end mud that EQ can’t fix | Boundary bass buildup | Move monitors 18“+ from front wall; add front corner traps |
→ See also:
- Home Studio Acoustic Treatment Guide (2026)
- How to Acoustically Treat a Room for Recording
- How to Soundproof a Room for Recording
FAQ
How many acoustic panels does a bedroom studio need? Most 10×12 bedrooms need a minimum of 6–8 panels: two side-wall panels at first reflection points, one ceiling cloud, two rear-corner bass traps (floor-to-ceiling), and at least one rear-wall treatment. Larger rooms or rooms with more parallel hard surfaces need proportionally more. Start with the first reflection points and corners — those alone make the biggest difference.
Can I treat a bedroom studio on a budget under $200? Yes. Two sheets of 2“ OC703 rigid fiberglass (~$50 total) yield four 24×48“ panels. Add lumber for frames and fabric for wrapping and you’re under $120 for four broadband panels. The remaining $80 covers two DIY superchunk bass trap corners using stacked rockwool triangles. This minimal setup covers the highest-priority treatment positions in a small room.
Does acoustic treatment help with recording or just mixing? Both. When recording vocals or acoustic instruments in a treated room, you capture less room sound — which means cleaner recordings that sit better in a mix and require less corrective processing. For mixing, treatment means your monitoring decisions translate more reliably to other playback systems. Engineers who mix in untreated rooms consistently fight low-end problems that stem from the room, not the music.
Is acoustic foam good enough for a bedroom studio? Standard acoustic foam — wedge or pyramid tiles — absorbs only in the upper midrange and high frequencies (roughly 1 kHz and above). It does nothing for the bass buildup and room modes that cause the most serious monitoring problems. Foam-treated rooms often sound dull and thin while still having severe low-end accuracy issues. Rigid fiberglass or rockwool panels treat a wider frequency range and perform significantly better per dollar.
What’s the difference between acoustic treatment and soundproofing? Acoustic treatment controls what happens inside the room — reflections, decay time, frequency balance at the listening position. Soundproofing (also called sound isolation) controls sound transfer between spaces — stopping noise from entering or leaving. They use different materials and techniques. Hanging absorption panels does not meaningfully reduce sound transmission to adjacent rooms, and adding mass to walls does not improve the acoustics inside the room.
Do I need a measurement microphone to treat my bedroom studio? Not to start. The clap test, mirror technique, and systematic panel placement at reflection points will get you 80% of the way without any measurement tools. A calibrated measurement microphone — such as the Dayton Audio iMM-6 — and free software like REW (Room EQ Wizard) lets you measure actual frequency response and decay times, which helps optimize panel placement and identify remaining problem frequencies. It’s a useful second step once initial treatment is in place.
Editorial methodology: Assessments are based on manufacturer specifications, published user reviews, and editorial research. Physical hands-on testing is noted explicitly where it occurred. Rankings reflect our editorial judgment and are not influenced by affiliate commission rates. Full editorial policy · Affiliate disclosure