Contents
How to Reduce Latency in Your Home Studio
TL;DR: To reduce latency in your home studio, lower your buffer size in your DAW (start at 128 samples for recording, 512+ for mixing), use a low-latency audio interface with dedicated drivers, and enable direct monitoring. Most recordable latency issues come down to three things: buffer size, driver quality, and CPU load.
What Actually Causes Recording Latency
Latency is the round-trip time between audio entering your interface and playing back through your headphones or monitors. The main culprits are large buffer sizes, generic OS audio drivers, and a CPU struggling under plugin load. Fix those three in order and you’ll eliminate most latency problems.
 Photo: Little Visuals via Pexels
Your audio interface converts analog signal to digital, hands it to your CPU, which processes it through your DAW, then hands it back to the interface for conversion back to analog. Every step adds time. The buffer is a chunk of samples your CPU processes in one pass — bigger buffers mean more stability but more delay. Smaller buffers mean less delay but more CPU strain.
Round-trip latency under 10ms is generally undetectable while playing. Above 23ms, most musicians notice it. Above 30ms, it becomes a real problem — your playing feels disconnected from what you hear.
Set Your Buffer Size Correctly
Drop to 64 or 128 samples when recording live instruments or vocals. Bump back up to 512 or 1024 when mixing with heavy plugin chains. That single setting change covers 80% of latency complaints.
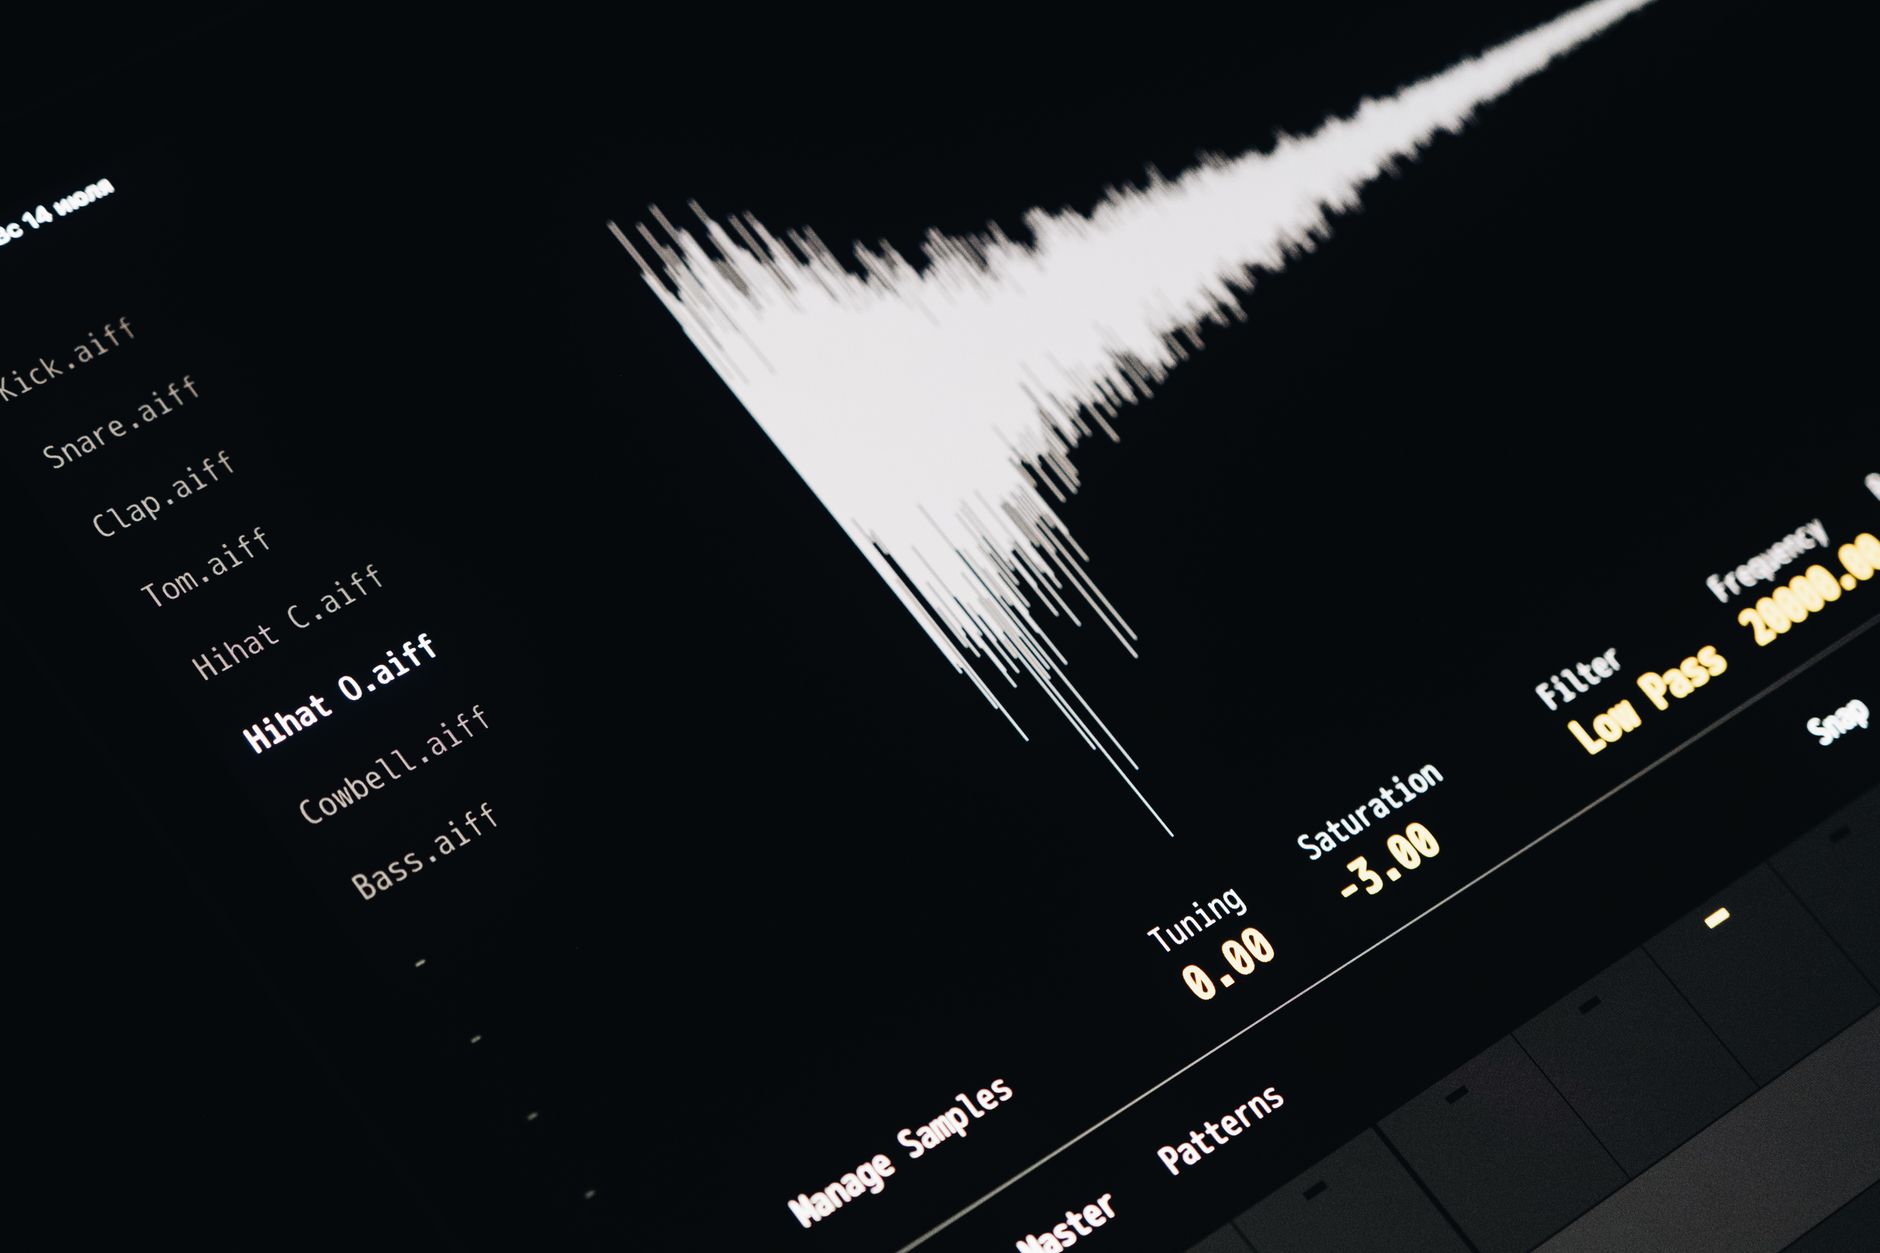 Photo: Egor Komarov via Pexels
Most DAWs display round-trip latency in milliseconds next to the buffer setting — watch that number, not the sample count. At 44.1kHz:
| Buffer Size | Approx. Latency | Use Case |
|---|---|---|
| 32 samples | ~1.5ms | Ultra-low, CPU-demanding |
| 64 samples | ~3ms | Live tracking, minimal plugins |
| 128 samples | ~6ms | Standard tracking |
| 256 samples | ~12ms | Light mixing or slower CPUs |
| 512 samples | ~23ms | Mixing, no live input |
| 1024 samples | ~46ms | Heavy plugin load, mixing only |
Switch buffer size at the start of each session based on what you’re doing — it takes five seconds and saves endless frustration.
Use the Right Audio Driver
On Windows, ASIO is non-negotiable. Generic Windows audio drivers add 50–150ms of latency regardless of buffer settings. Mac Core Audio is built-in and performs well. If you’re on Windows without an interface that ships ASIO drivers, install ASIO4ALL as a stopgap.
 Photo: cottonbro studio via Pexels
ASIO (Audio Stream Input/Output) bypasses Windows’s native audio stack and talks directly to your hardware. The latency difference between WDM/DirectSound and ASIO is enormous — often the difference between 6ms and 80ms at identical buffer sizes.
Mac users running Core Audio typically don’t have driver issues. Linux users should look at JACK or PipeWire with a low-latency kernel.
Driver checklist:
- Windows: ASIO driver from your interface manufacturer (not ASIO4ALL if you have a real interface)
- Mac: Core Audio (built-in), no action needed
- All platforms: keep interface firmware and drivers updated
Choose an Interface Built for Low Latency
Budget interfaces using class-compliant USB audio often perform adequately, but interfaces with dedicated DSP chips and first-party ASIO drivers consistently achieve lower round-trip latency — typically 2–6ms versus 10–20ms on class-compliant hardware at the same buffer size.
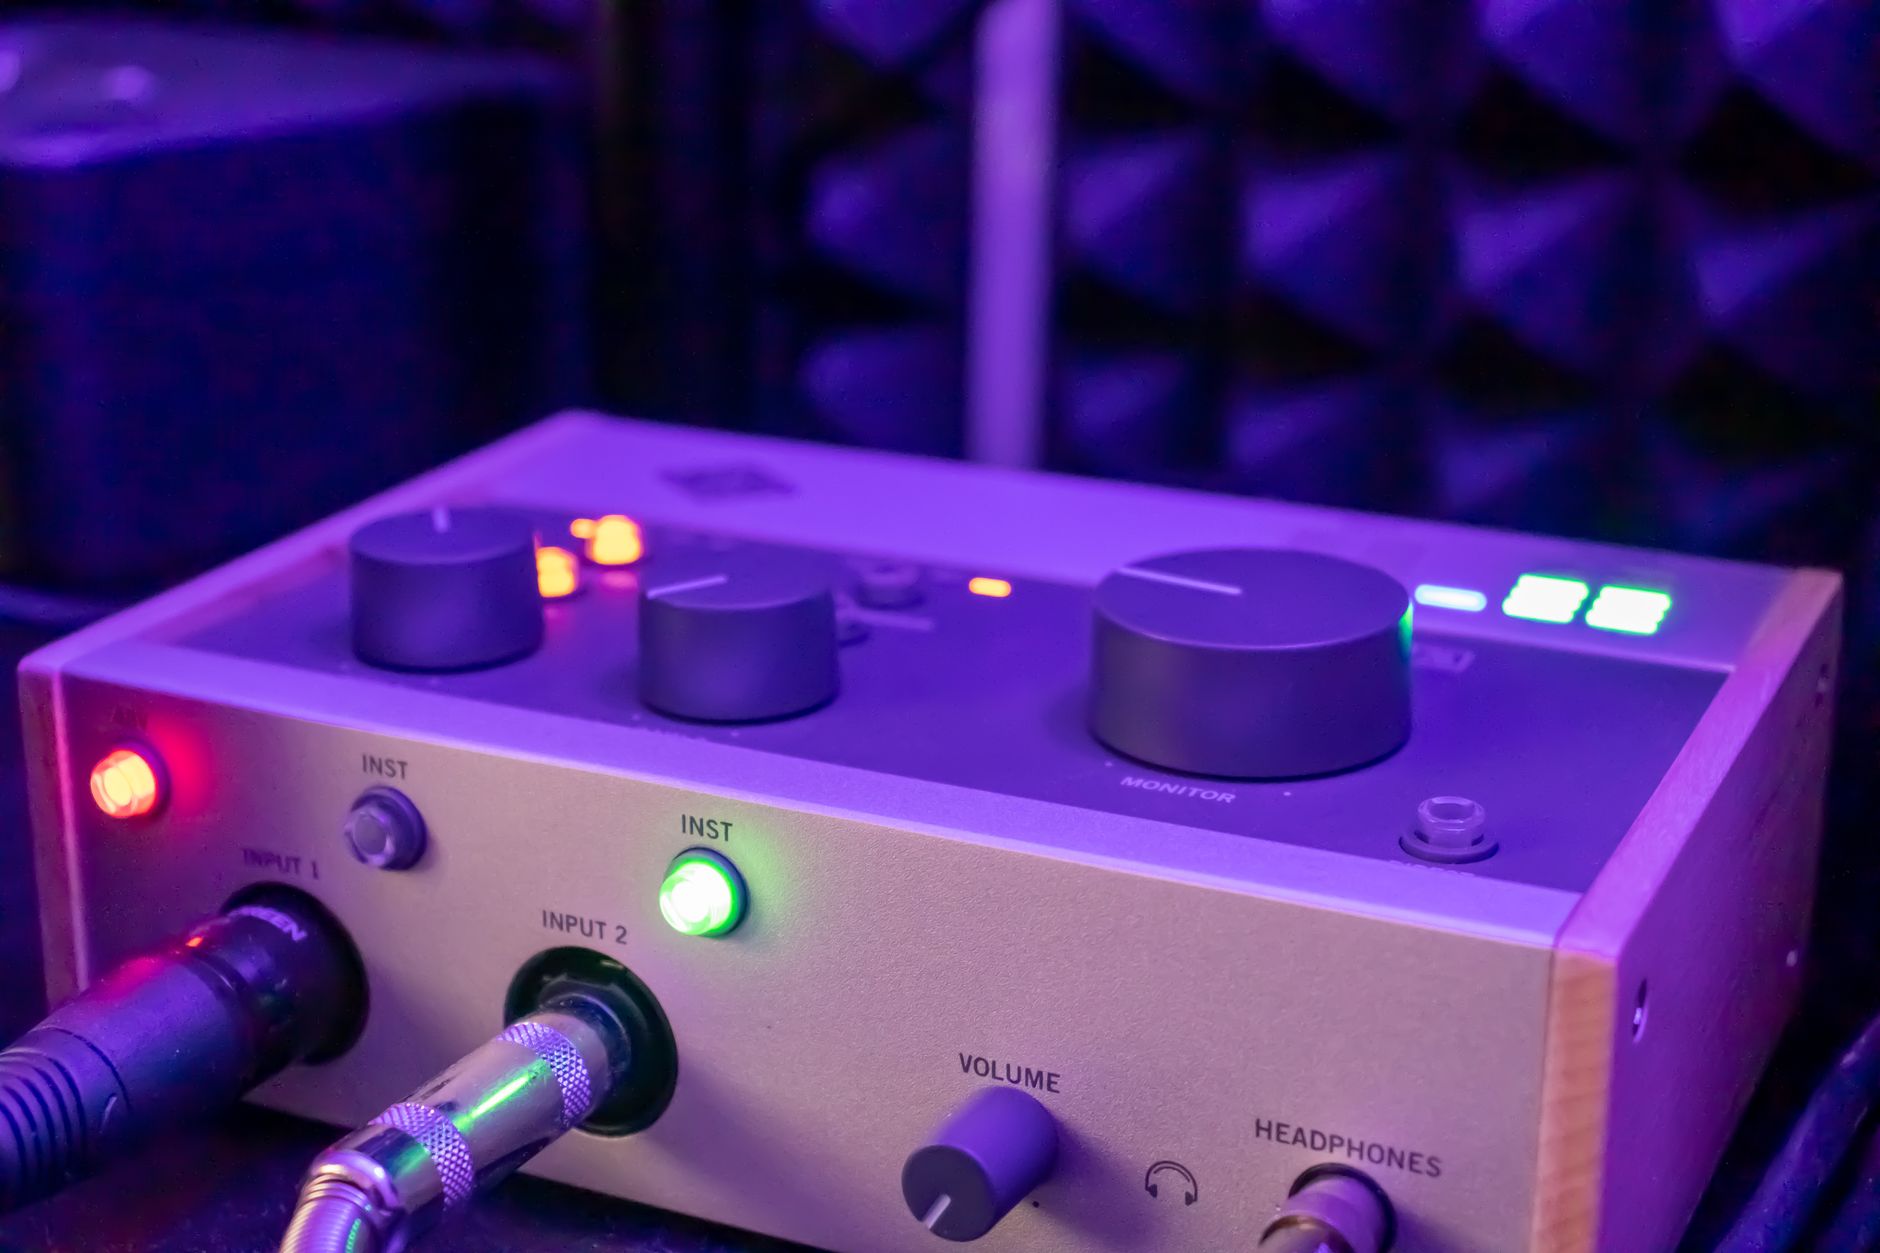 Photo: Nino Keller via Pexels
The interface itself matters. Published round-trip latency specs from manufacturers tell part of the story, but real-world performance depends on:
- Driver quality — proprietary ASIO drivers outperform generic drivers
- DSP onboard — some interfaces handle monitoring and effects entirely in hardware, bypassing the CPU loop
- USB vs Thunderbolt — Thunderbolt interfaces generally achieve lower latency, though the gap has narrowed with modern USB audio implementations
Recommended Interfaces by Budget
| Product | Price | Interface | RTL (typical) | Best For |
|---|---|---|---|---|
| Focusrite Scarlett Solo (4th Gen) | ~$120 | USB-C | ~6ms | Beginners, solo tracking |
| Focusrite Scarlett 2i2 (4th Gen) | ~$180 | USB-C | ~6ms | Most home studios |
| Universal Audio Volt 276 | ~$200 | USB-C | ~4ms | Vintage preamp character |
| SSL 2+ | ~$230 | USB-C | ~4ms | Professional preamps on a budget |
| RME Babyface Pro FS | ~$800 | USB | ~1.5ms | Lowest latency available, pro use |
For most home studios, any current-gen Focusrite Scarlett hits the sweet spot of price and performance. If ultra-low latency is your primary concern and budget allows, RME hardware consistently leads on round-trip latency benchmarks — the Babyface Pro FS achieves sub-2ms RTL according to manufacturer specifications.
Enable Direct Monitoring
Direct monitoring routes your input signal directly through the interface’s hardware — completely bypassing the computer. You hear yourself with zero perceptible latency while the DAW still records. Enable it when tracking, disable it when you need to hear processed signal through plugins.
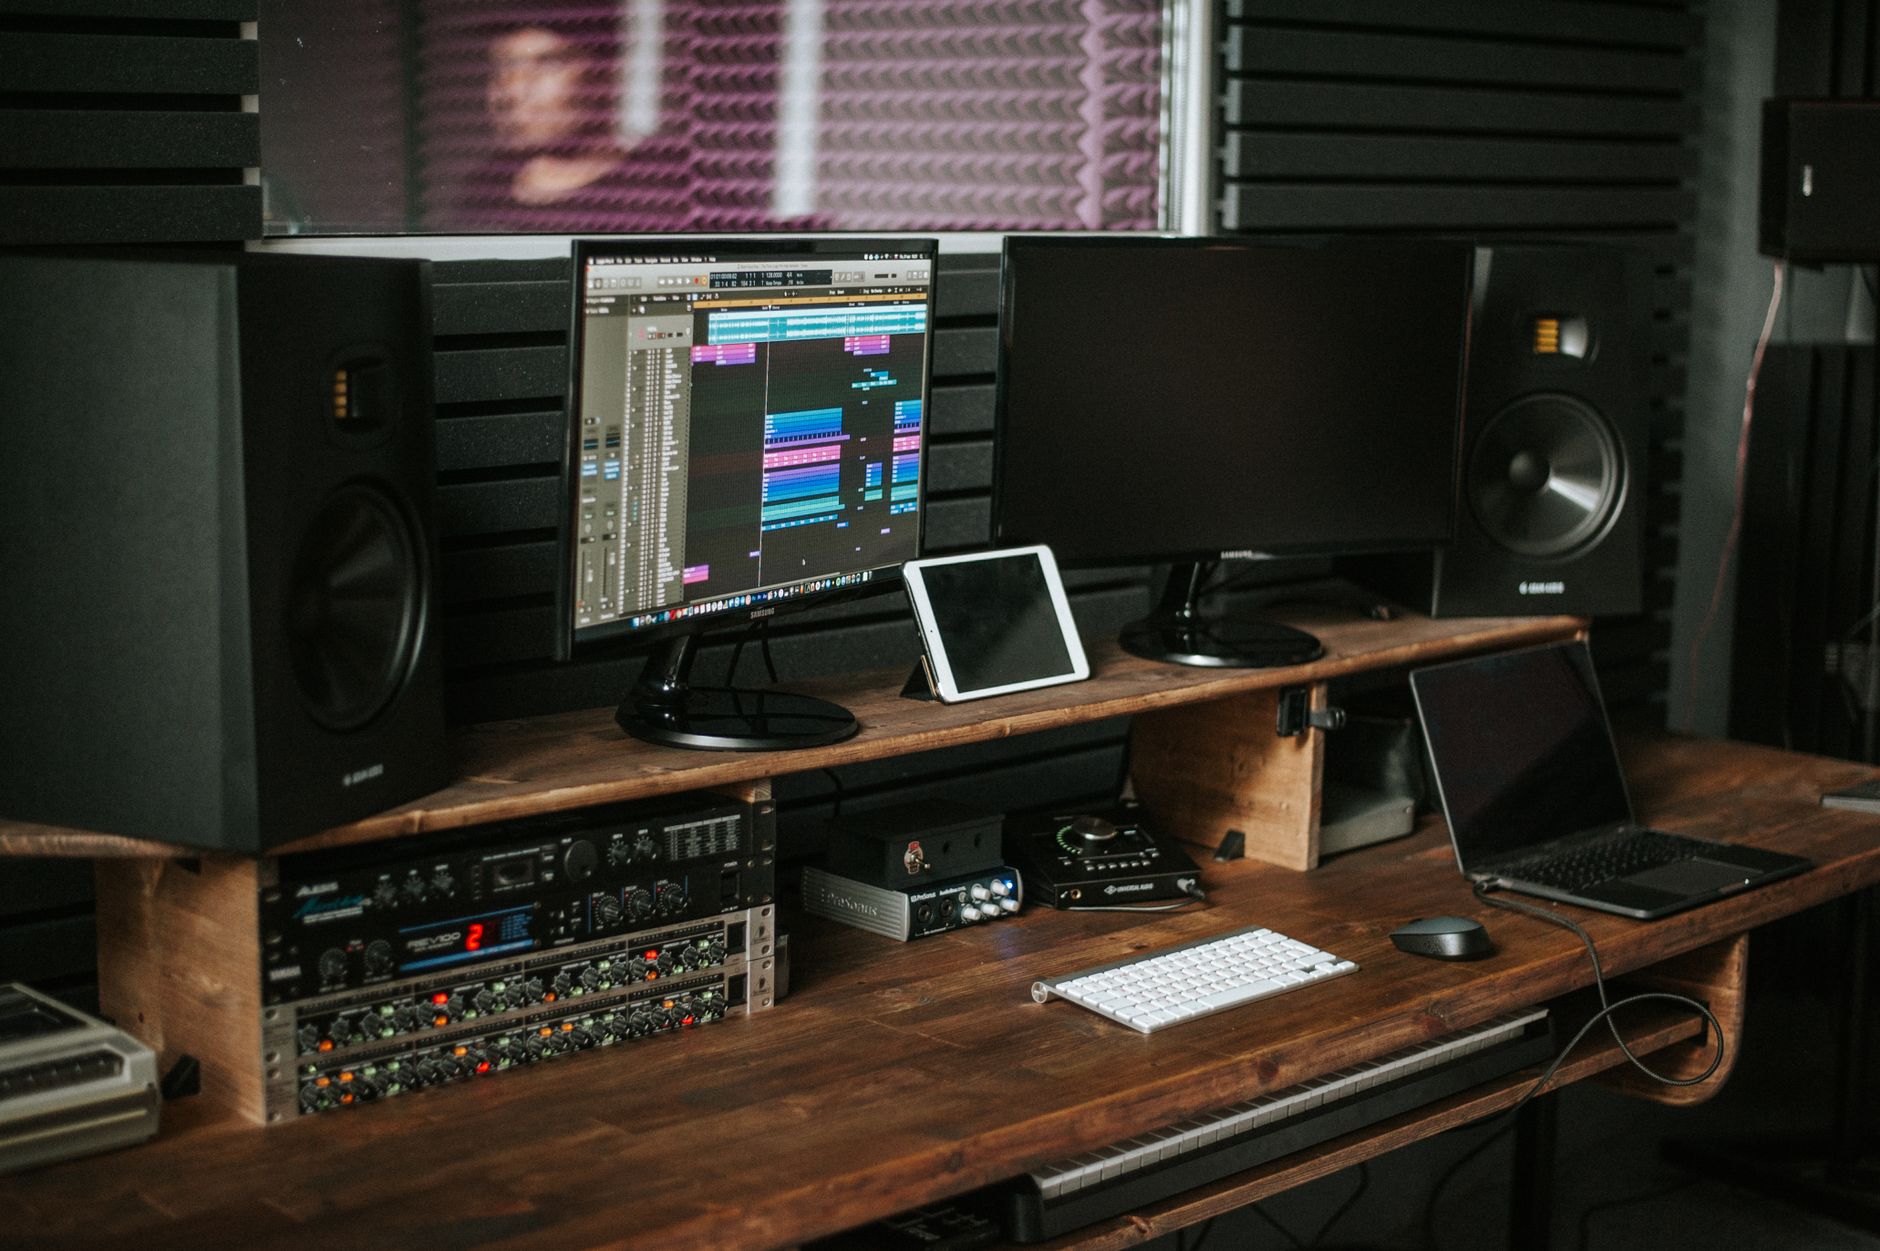 Photo: John Taran via Pexels
Most interfaces have a direct monitor switch or knob on the front panel. In your DAW, mute the input monitor on the record-armed track (or turn software monitoring off in preferences) to avoid hearing two signals — the direct hardware signal and the delayed software signal — simultaneously.
The tradeoff: direct monitoring means you hear yourself dry (no reverb, compression, or EQ from the DAW). If a vocalist needs reverb in their headphone mix to perform well, you’ll need either:
- An interface with onboard DSP effects (Focusrite’s “Air” mode, Universal Audio’s Unison)
- A hardware reverb unit in the headphone chain
- An interface with onboard mixing software (most mid-range and up)
Reduce CPU Load During Tracking
Freeze or bypass CPU-heavy plugins on tracks you’re not actively recording. A session with 20 active reverb instances will drive your buffer size up whether you like it or not. Keep plugin count lean during tracking sessions.
High plugin load forces you to run a larger buffer to avoid dropouts and crackling — which directly increases latency. Practical steps:
- Freeze tracks — most DAWs let you render a track to audio temporarily, freeing its CPU overhead
- Disable insert plugins on inactive tracks
- Use low-latency monitoring plugins — some EQs and compressors have explicit “low-latency” or “zero-latency” modes
- Watch your CPU meter — aim to stay under 70% during tracking; leave headroom
- Close background apps — browsers, especially with open tabs, compete for CPU and RAM
Sample Rate and CPU
Higher sample rates (96kHz, 192kHz) require more CPU processing per second. Recording at 44.1kHz or 48kHz keeps CPU demand lower and lets you run smaller buffers without dropout. For most recording purposes, 48kHz is the professional standard — 96kHz doesn’t improve recording quality enough to justify the doubled CPU cost during tracking sessions.
Check Your USB and Thunderbolt Chain
Shared USB bandwidth causes intermittent latency spikes that feel random but aren’t. Keep your audio interface on a dedicated USB controller port — not through a hub, and not sharing a controller with high-bandwidth devices like external drives or webcams.
On Mac, you can check which USB devices share a controller in System Information → USB. On Windows, Device Manager shows USB host controllers. Move your interface to a port on a different controller from other high-demand peripherals.
Quick checklist:
- Interface plugged directly into computer, not a hub
- No other high-bandwidth devices on the same USB controller
- Cable is the manufacturer-supplied or high-quality short cable (under 2m)
- Computer’s power settings on “High Performance” (Windows) — power saving modes throttle USB and CPU
→ See Also
- Best Audio Interfaces: The Complete Buyer’s Guide (2026)
- Best Audio Interface for Beginners (2026)
- Best Audio Interface Under $100
FAQ
How do I reduce latency when recording vocals? Enable direct monitoring on your audio interface so your signal bypasses the computer entirely. Set your DAW buffer to 128 samples, and turn off software input monitoring on the record-armed track. You’ll hear yourself instantly through the interface hardware while the DAW captures the signal for playback.
What buffer size should I use to reduce latency? 64–128 samples for recording live instruments and vocals; 512–1024 samples for mixing sessions with heavy plugin loads. At 48kHz, 128 samples produces roughly 6ms round-trip latency — below the threshold most musicians notice. Bump it back up after tracking to avoid dropouts during mixing.
Does a better audio interface reduce latency? Yes, meaningfully so. Interfaces with first-party ASIO drivers and onboard DSP — like the RME Babyface Pro FS or Universal Audio Apollo series — achieve lower round-trip latency than class-compliant budget hardware at identical buffer sizes. Published testing data from sites like Gearslutz and SoundOnSound consistently shows RME achieving sub-2ms RTL where comparable USB interfaces sit at 6–10ms.
Why is my latency high even with a small buffer size? The most common cause is the wrong driver — on Windows, verify you’re using ASIO and not WDM or DirectSound in your DAW’s audio preferences. Second cause: CPU overload. Check your DAW’s CPU meter; if it’s near capacity, freeze tracks or increase buffer size. Third: USB bandwidth contention — move your interface off a shared hub to a direct port.
Does sample rate affect latency? Yes, but not in the way most people expect. Higher sample rates (96kHz vs 48kHz) don’t directly add latency, but they double the CPU processing load, which forces you to use larger buffers to avoid dropouts — and larger buffers mean more latency. For low-latency recording, 48kHz is the practical sweet spot.
Can software alone fix latency, or do I need new hardware? Buffer size, driver choice, and CPU management resolve the majority of latency problems without spending anything. That said, if you’re on a USB class-compliant interface with no ASIO driver support, or an underpowered CPU struggling at even 256-sample buffers, hardware is the correct fix. Start with software optimizations — they cost nothing and often solve the problem completely.
Editorial methodology: Assessments are based on manufacturer specifications, published user reviews, and editorial research. Physical hands-on testing is noted explicitly where it occurred. Rankings reflect our editorial judgment and are not influenced by affiliate commission rates. Full editorial policy · Affiliate disclosure