Contents
Best Microphone for Recording Guitar Amps (2026)
TL;DR: The Shure SM57 is the best mic for guitar amp recording for most players — it’s on virtually every professional rock and metal record ever made, handles extreme SPL without flinching, and costs under $100. For fuller low-end and added dimension, pair it with a large-diaphragm condenser or a ribbon mic as a secondary room mic.
Best Overall: Shure SM57
The SM57 is the industry-standard guitar amp mic because it works on every amp, every style, and every budget. Its tailored frequency response — with a presence peak around 5–10 kHz — naturally enhances attack and bite without sounding harsh. Published testing data shows it handles SPL up to 150 dB, so cranked marshalls are never a problem.
 Photo: Anna via Pexels
The SM57 has been on guitar tracks since the 1960s. Engineers at every major studio keep multiples on hand because the mic is robust, phase-coherent, and predictable. Position it on-axis, dead center at the dustcap, for maximum brightness. Roll it to the edge of the cone to warm up the tone. Every millimeter of movement changes the sound — that’s the feature, not a limitation.
Durability matters in a live or home-studio context. The SM57 survives years of gigging, doesn’t require phantom power, and sounds virtually identical unit to unit. For home-studio use where one mic needs to cover guitar, snare, and brass, nothing in this price range comes close.
Best Ribbon Mic for Guitar Amp
Ribbon mics capture guitar amp tone with a warmth and natural roll-off that dynamic mics can’t replicate. The Royer R-10 and the AEA R84 both deliver the compressed, woody midrange that characterizes classic blues and rock recordings. Use ribbons as a secondary mic blended with the SM57 for depth, or solo for vintage-leaning tones.
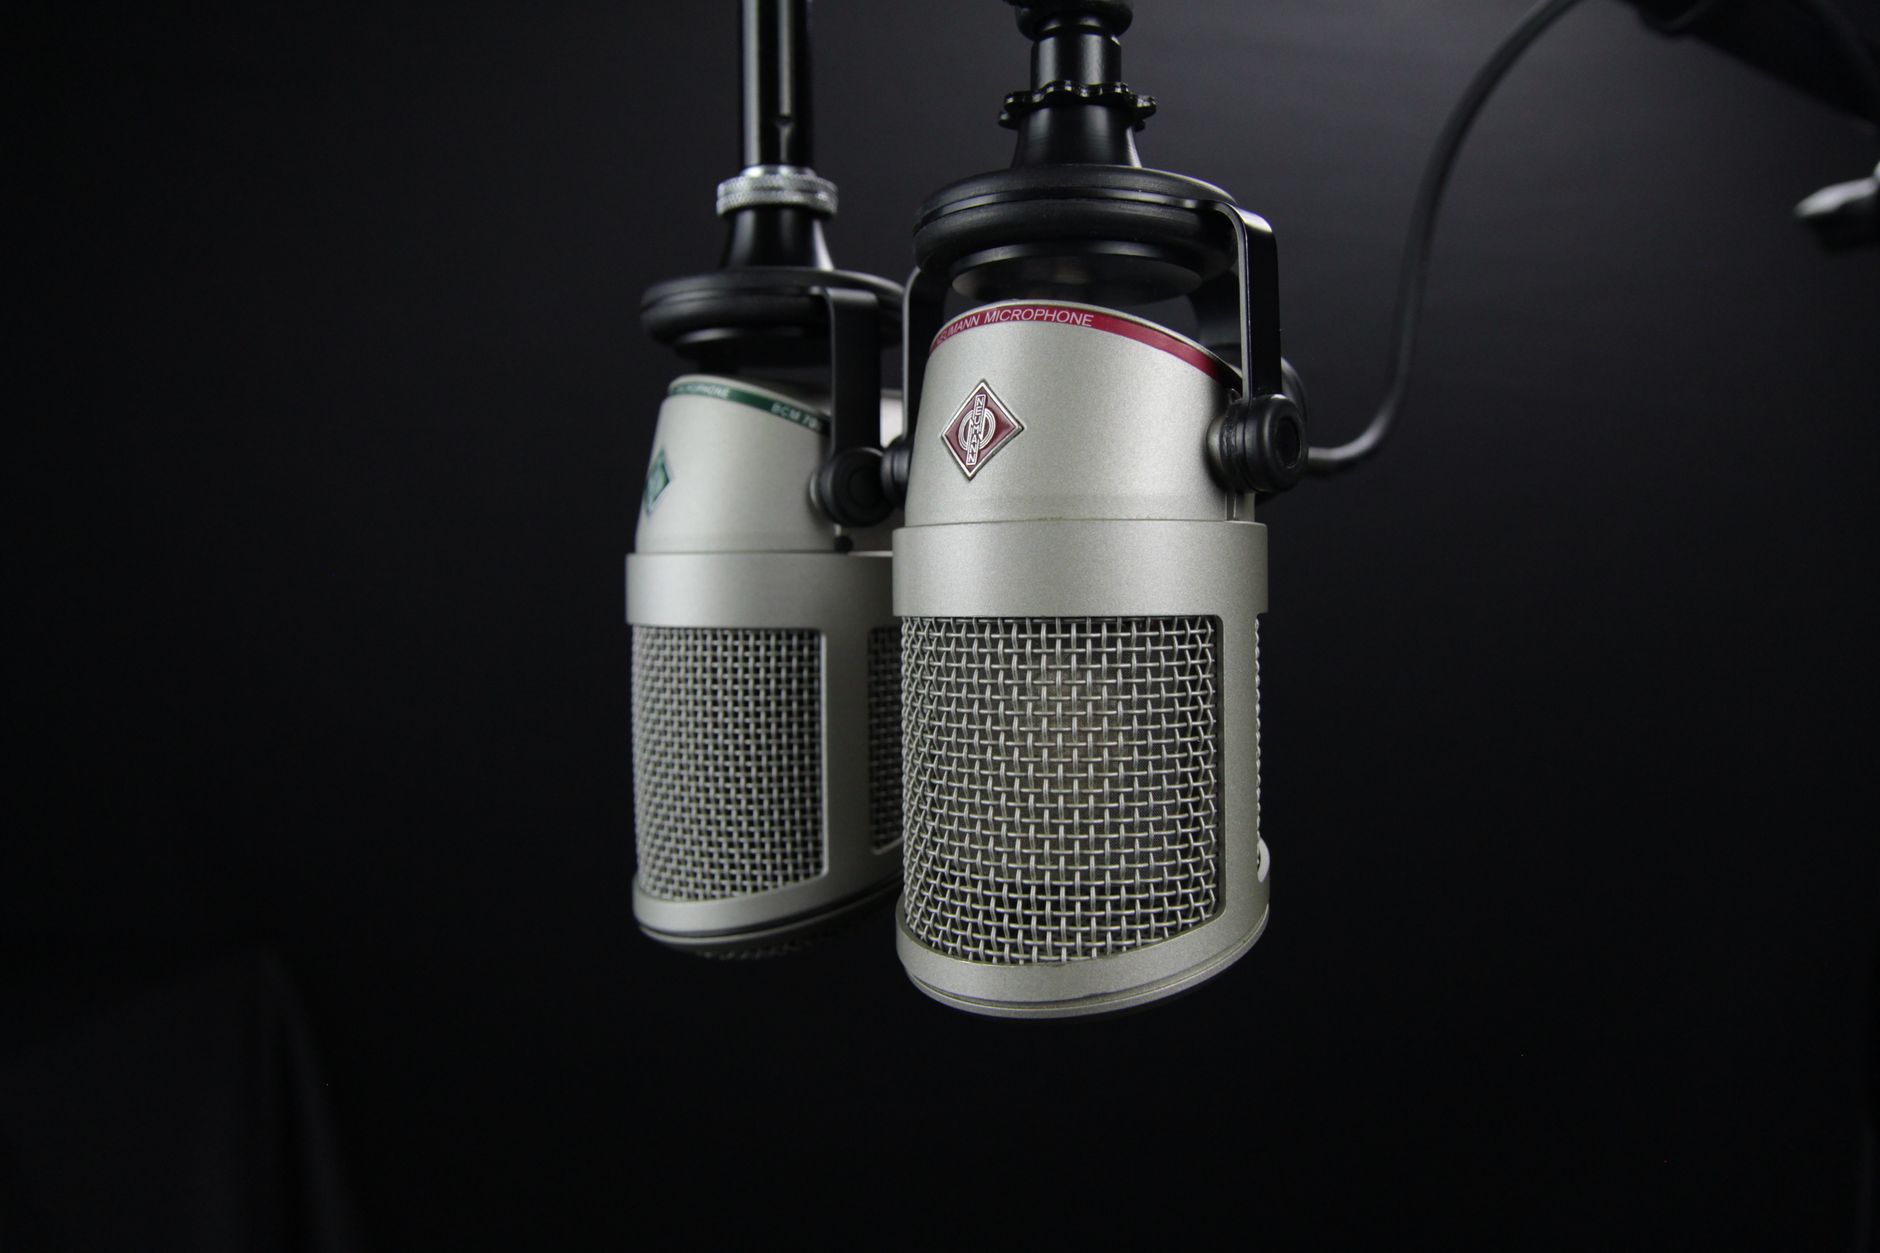 Photo: Pixabay via Pexels
Ribbons operate on a figure-8 pattern, so placement matters — they reject sound from the sides, which can help in a treated room. Keep them at least 6–12 inches from the grille to avoid proximity effect bloat and, critically, keep wind blasts away from the ribbon element. Do not put a ribbon mic directly in front of a bass-reflex port.
The Royer R-10 is the accessible entry point: it’s passive (no phantom power needed, and never apply phantom power to a passive ribbon), handles up to 160 dB SPL, and costs around $500. The AEA R84 runs higher but offers a fuller low-frequency response — preferred for clean and semi-clean amp tones. For high-gain applications, the active Royer R-121 handles transients more aggressively.
Best Condenser Mic for Guitar Amp
Large-diaphragm condensers are rarely used close-miked on loud amps — most can’t handle the SPL and the extended low-end response picks up too much mud. The exception is the Audix i5 and instruments condensers like the Neumann KM 184 , positioned 12–36 inches back as a room mic to capture space and bloom.
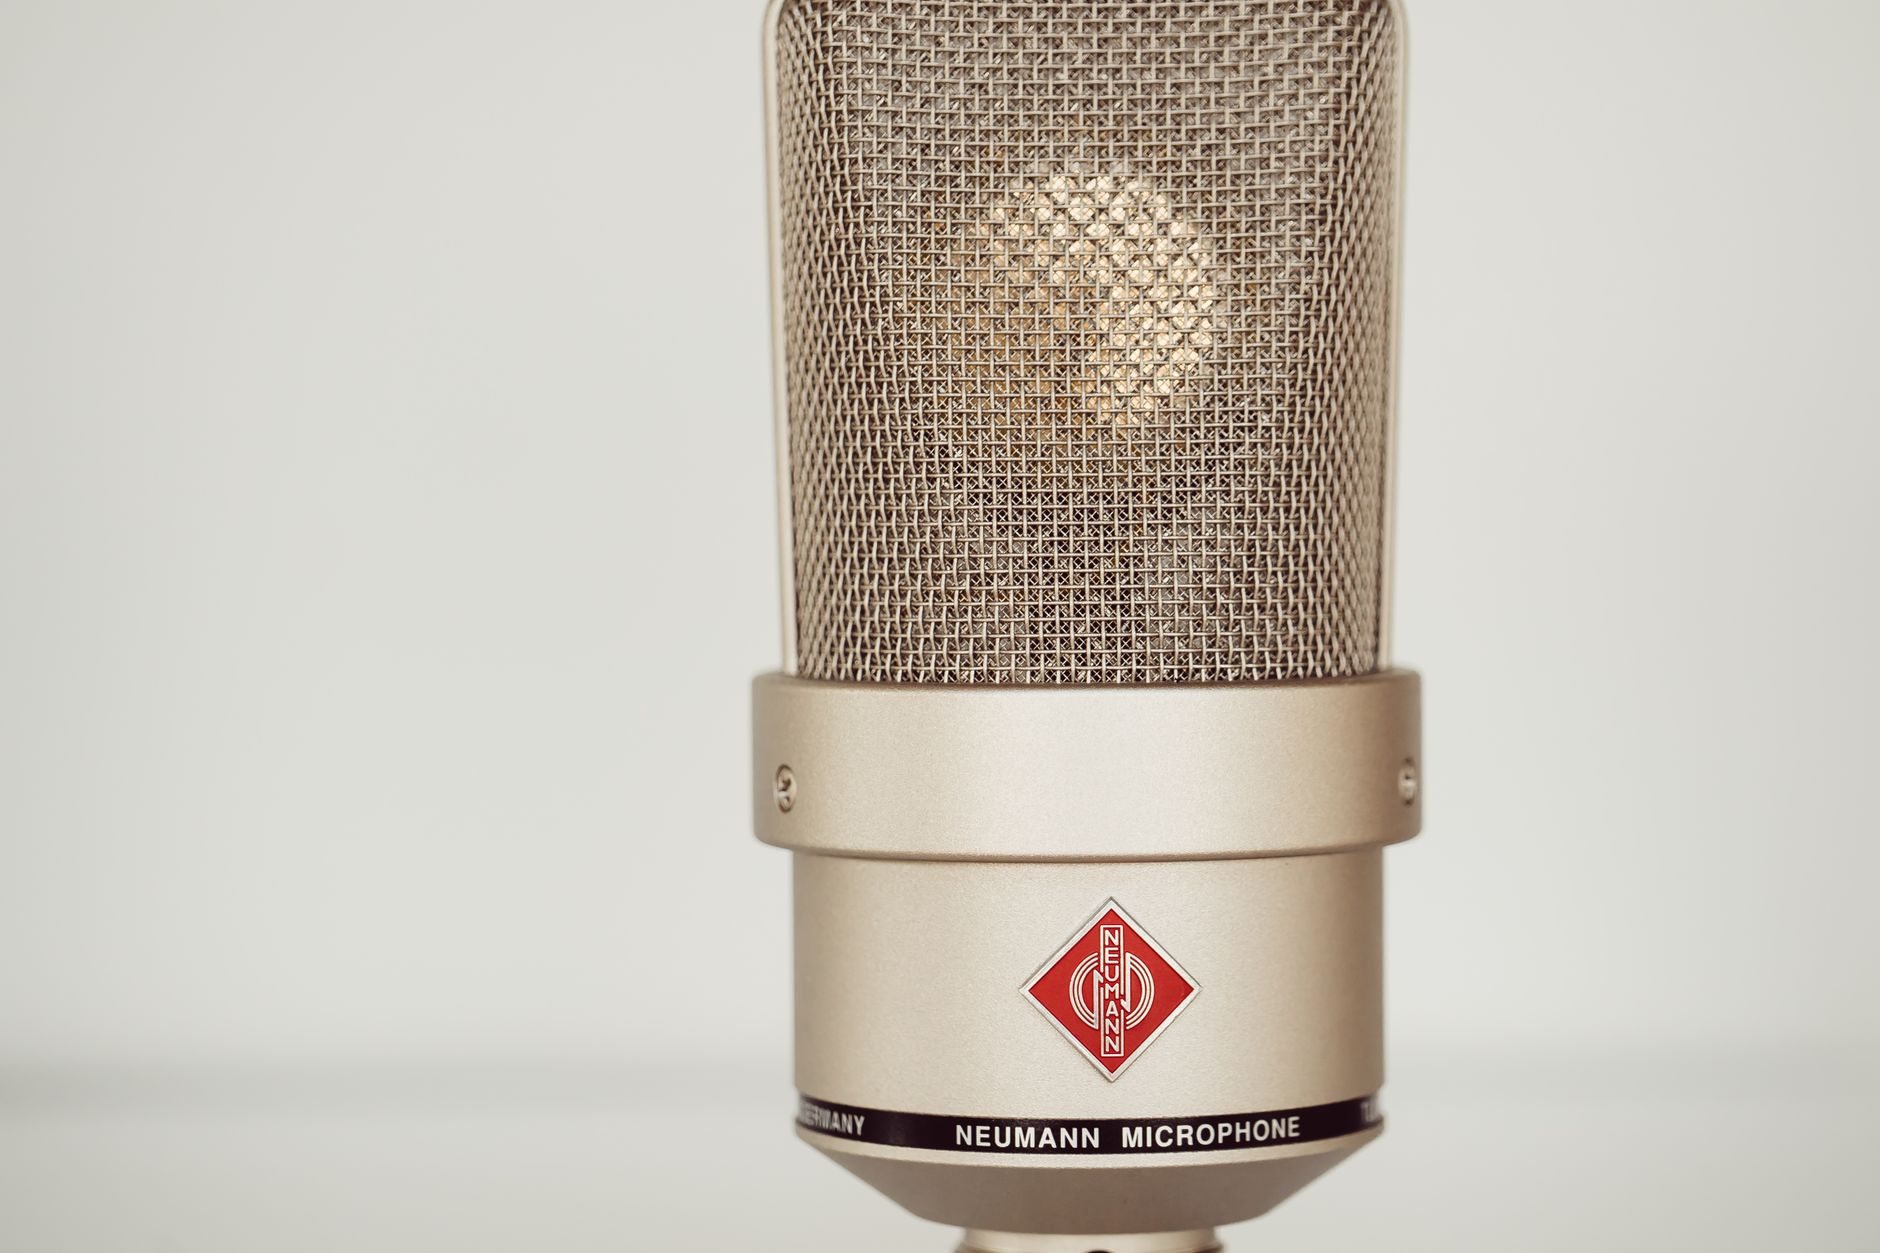 Photo: Jessica Lewis 🦋 thepaintedsquare via Pexels
The KM 184 is the go-to small-diaphragm condenser for guitar room miking. It has a tight cardioid pattern, flat response through the critical 2–8 kHz midrange, and enough SPL handling (138 dB) for moderate amp volumes at distance. Engineers at large-format studios will run an SM57 on the grille and a KM 184 across the room, blending the two tracks in the DAW for depth the close-mic alone can’t provide.
For budget-conscious home studios, the Rode NT1 makes a usable room mic when the amp is turned down — its large capsule adds air and dimension to a blended signal. Expect to highpass aggressively (80–120 Hz) to keep the room mic from adding mud to the low-mids.
Guitar Amp Mic Comparison Table
| Mic | Type | Best For | SPL Max | Phantom Required | Street Price |
|---|---|---|---|---|---|
| Shure SM57 | Dynamic | Close-mic, all styles | 150 dB | No | ~$99 |
| Sennheiser e906 | Dynamic | Hanging flat on grille | 150 dB | No | ~$199 |
| Audix i5 | Dynamic | Close-mic, tight pattern | 150 dB | No | ~$99 |
| Royer R-10 | Ribbon | Blend/vintage warmth | 160 dB | No (passive) | ~$499 |
| Royer R-121 | Ribbon | High-gain amps | 135 dB | No (active version optional) | ~$1,295 |
| AEA R84 | Ribbon | Clean/blues tones | 165 dB | No | ~$999 |
| Neumann KM 184 | Small-diaphragm condenser | Room/distance mic | 138 dB | Yes | ~$849 |
| Rode NT1 | Large-diaphragm condenser | Budget room mic | 132 dB | Yes | ~$169 |
Close Mic Positioning: Where You Place It Changes Everything
Move the mic, change the tone — no EQ needed. Center on the dustcap gives maximum brightness and attack. Moving toward the cone edge reduces presence and adds warmth. Angling off-axis reduces harshness. Getting these basics right saves time at the mix.
The cone of a guitar speaker radiates different frequencies unevenly. High frequencies beam tightly from the center; lows spread wide. A mic at the dustcap captures a brighter, more forward sound. The same mic at the surround (outer cone edge) sounds warmer and slightly scooped. Most professional engineers land somewhere between the dustcap and the midpoint of the cone, fine-tuning by ear.
Distance matters too. One to four inches from the grille cloth is standard for close-miking. Move to 12–36 inches and you introduce room tone — useful if the tracking space sounds good, problematic if it doesn’t. Most home studios benefit from close-miking and minimal room contribution.
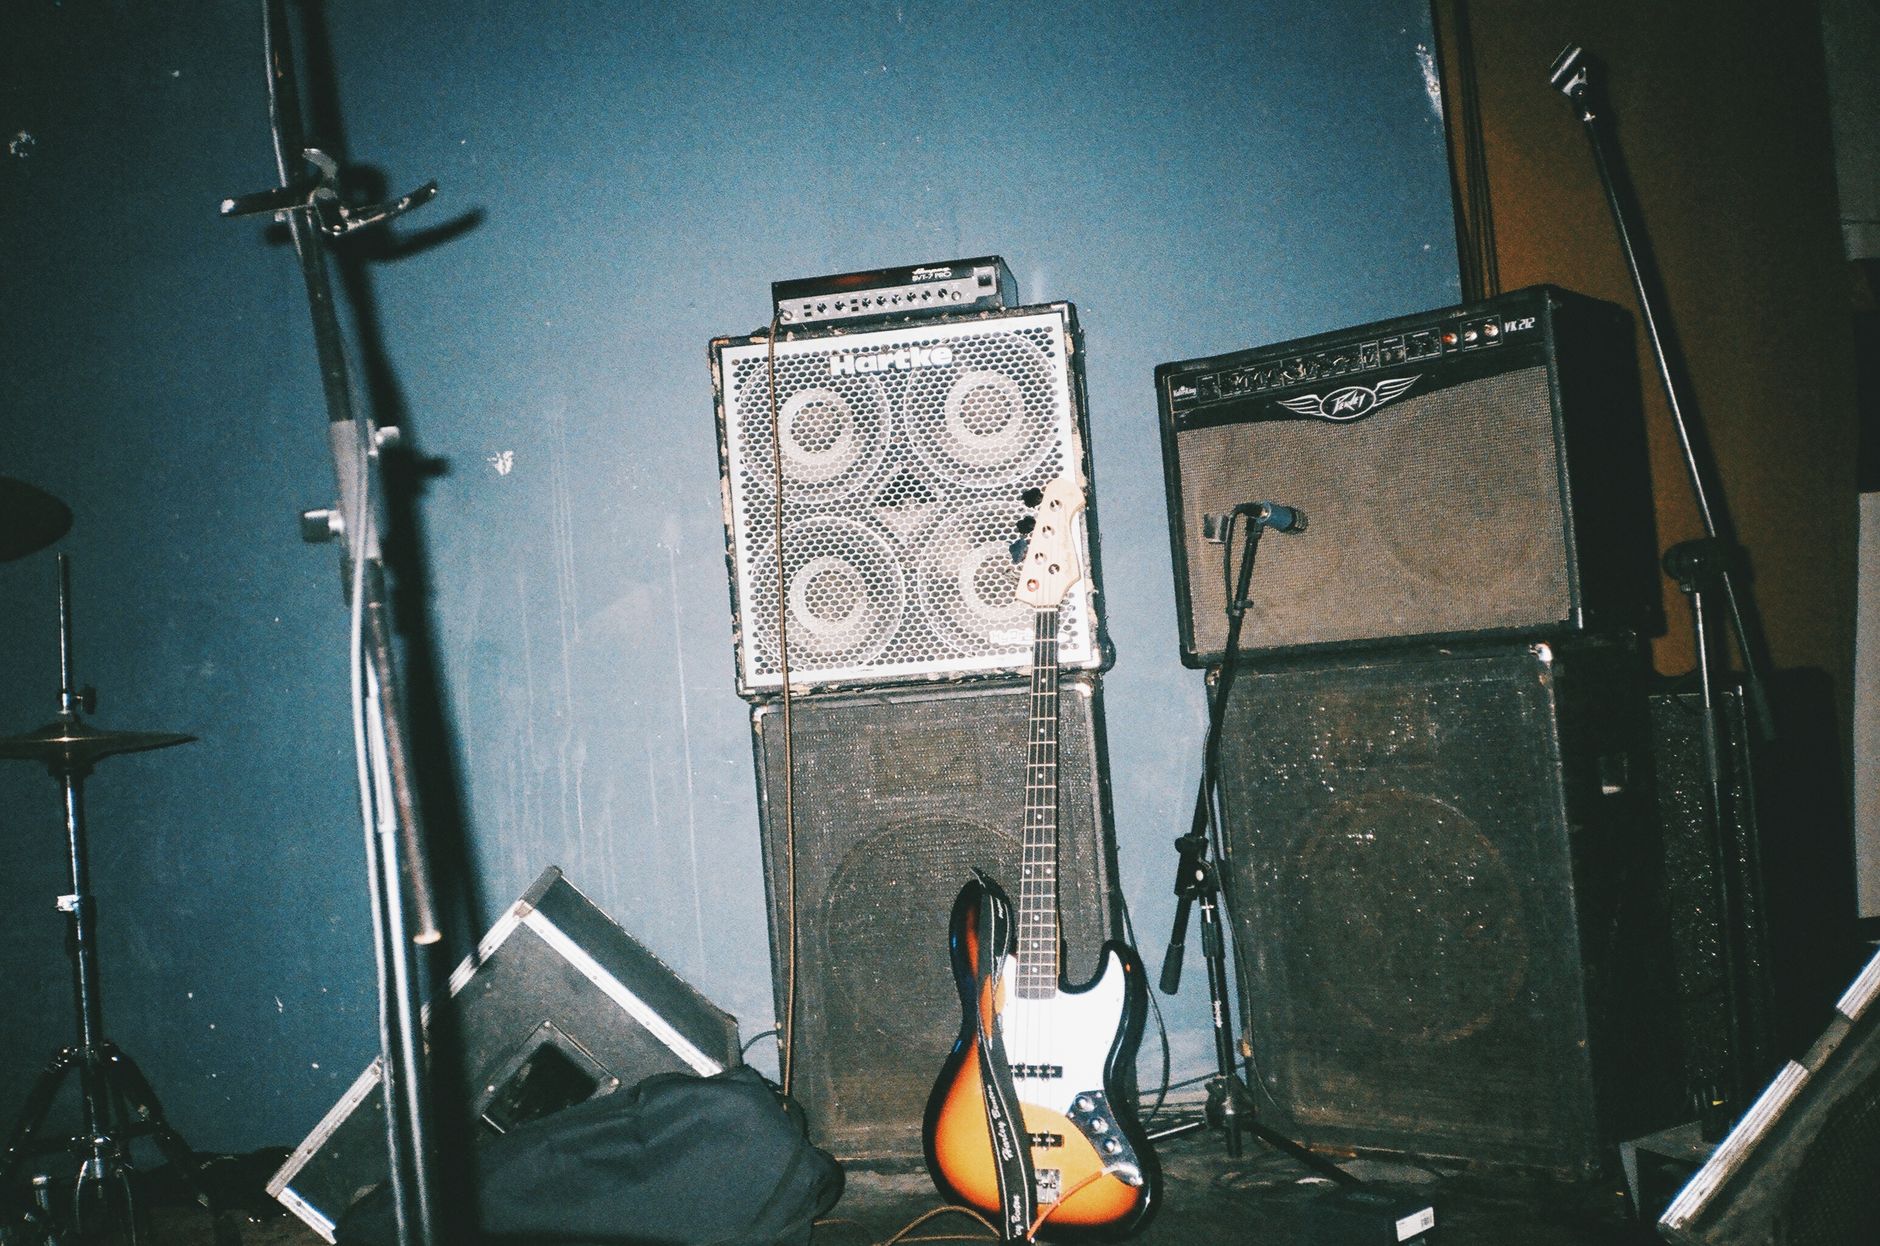 Photo: Inga Seliverstova via Pexels
On-axis versus off-axis is the final variable. Tilting the mic 10–30 degrees off perpendicular relative to the speaker softens high-frequency harshness, which is useful on bright single-coil guitars or scooped metal tones. Some engineers use this before reaching for a high-shelf EQ cut.
How to Record a Guitar Amp: Signal Chain and Workflow
Signal Chain
Guitar → Amp (speaker cabinet) → Mic (SM57 or ribbon) → XLR → Audio Interface (preamp)
       → DAW (mono or dual-track if using two mics)
Gain staging notes:
- Set amp to performance volume — don’t track quiet to “protect the gain,” because mic position at low volume won’t translate to the sound you’d get at stage volume
- Set interface preamp to unity or slightly below — dynamic mics on loud amps rarely need more than 40–50 dB of gain; watch for clipping on the interface meter
- Record at -18 dBFS average, peaks no higher than -6 dBFS — headroom for transients
- If running two mics (SM57 + ribbon or room mic), record to two separate tracks and check phase with a polarity flip — comb filtering kills the blend
Step-by-Step Workflow
- Set your amp tone at tracking volume, not bedroom volume — the character changes significantly
- Place the SM57 1–3 inches from the grille, centered on the dustcap
- Strum hard and listen to the track in your DAW — too bright, move toward the cone edge; too dark, move toward center or closer
- If using a second mic, position it at 12–36 inches from the cabinet; verify polarity alignment before committing
- Set input gain — target peaks around -10 to -6 dBFS on the interface meter
- Arm the track, hit record, track dry (no amp sim or plugins in the chain during recording — process later)
- After the take, check the waveform for clipping; if clean, move to the next part
Troubleshooting Matrix
| Symptom | Likely Cause | Fix |
|---|---|---|
| Thin, nasal tone | Mic too far off-axis or at cone edge | Move toward dustcap, reduce off-axis angle |
| Muddy, boomy low-end | Proximity effect, mic too close | Increase distance 1–2 inches; highpass at 80–100 Hz |
| Harsh, shrill highs | Mic on-axis at dustcap on bright amp | Move toward cone edge or tilt 15–20° off-axis |
| Phase cancellation (hollow sound) | Two mics out of phase | Flip polarity on one track; use the 3:1 rule for placement |
| Low output, no signal | Passive ribbon, phantom power off (or applied to wrong mic) | Check gain, confirm phantom power status, check XLR cable |
| Comb filtering | Two-mic blend with bad placement | Apply 3:1 rule: distance between mics ≥ 3× distance from source |
| Clipping/distortion in DAW | Interface gain too high | Reduce preamp gain; check peak meter during loudest passage |
Budget Picks vs. Pro Picks
For home studios under $200 total, the SM57 and Audix i5 cover essentially every guitar-amp recording need. The i5 has a slightly tighter cardioid pattern and a high-frequency response that some engineers prefer for harder rock; expert consensus suggests it’s the closest competitor to the SM57 at the same price point.
The Sennheiser e906 is a practical alternative for engineers who want a mic they can hang flat against the grille cloth without a stand arm in the way. Its supercardioid pattern rejects bleed from nearby sources, and it ships with a presence switch for three different high-frequency responses — useful for dialing in different amp characters without repositioning.
At the pro level, the Royer R-121 on high-gain amps produces a smoothness that dynamics can’t match — the natural ribbon roll-off above 10 kHz takes the edge off fizzy distortion tones without requiring heavy EQ. This is well-documented in published studio session accounts from engineers working with heavy rock and metal artists.
→ See also:
- How to Record Guitar at Home: The Complete Guide (2026)
- How to Record Electric Guitar at Home
- How to Record Guitar Without an Amp
FAQ
What is the best mic for recording a guitar amp at home? The Shure SM57 is the right answer for most home studios. It handles high SPL, requires no phantom power, and its frequency response is specifically shaped for instrument recording. According to manufacturer specifications and decades of documented professional use, it’s on more guitar records than any other microphone.
Can you use a condenser mic on a guitar amp? Yes, but with caution. Large-diaphragm condensers are sensitive to SPL and can distort on loud amps. Small-diaphragm condensers like the Neumann KM 184 work as room mics at distance. Close-miking a cranked amp with a standard condenser risks damaging the capsule — stick to dynamics or ribbons for on-grille placement.
Should I use one mic or two on my guitar amp? One mic is enough for most tracks. A second mic — a ribbon or room condenser — adds dimension and depth when blended, which can reduce the need for reverb in the mix. The critical step is checking phase coherence between the two tracks: comb filtering from misaligned mics produces a hollow, thin tone that no amount of EQ fixes.
What’s the difference between the SM57 and the Audix i5 for guitar amps? Both are dynamic cardioid mics in the same price range and both work well on guitar amps. The SM57 has a wider cardioid pattern and a presence peak around 5–10 kHz that adds presence. The i5 has a tighter pattern with more rejection and a presence peak that sits slightly higher, which some engineers find better suited for aggressive rock tones. Either is a valid choice — the differences are minor enough that mic placement has more impact than which model you use.
Do ribbon mics break easily on loud guitar amps? Modern ribbons like the Royer R-10 and R-121 are robust enough for loud amp miking — the R-10 is rated to 160 dB SPL. The main risks are phantom power (never apply 48V to a passive ribbon) and direct wind blasts from porting. Keep ribbons away from bass-reflex ports and don’t place them directly in the path of air movement from the cabinet. Used correctly, a ribbon mic on a guitar amp is not fragile.
What microphone do professional engineers use on guitar amps? The SM57 appears on the vast majority of professional rock and metal records, often paired with a ribbon or room condenser. Published studio session documentation from major facilities consistently shows SM57s as the first mic placed on any guitar cabinet. The Royer R-121 has become a standard secondary mic for high-gain work. Beyond those two, choice varies significantly by engineer preference and the specific amp and guitar sound being captured.
Editorial methodology: Assessments are based on manufacturer specifications, published user reviews, and editorial research. Physical hands-on testing is noted explicitly where it occurred. Rankings reflect our editorial judgment and are not influenced by affiliate commission rates. Full editorial policy · Affiliate disclosure