Contents
How to Position Studio Monitors Correctly
TL;DR: Position your studio monitors in an equilateral triangle with your listening position, tweeters at ear level, angled inward 30°, and pulled at least 2–3 feet from the wall behind them. This single setup decision affects your mix accuracy more than almost any other variable in your room.
Why Monitor Placement Matters More Than You Think
Direct Answer: Poor monitor placement causes bass buildup, comb filtering, and a false stereo image — meaning every mix decision you make is based on inaccurate information. No amount of monitor quality fixes a bad position.
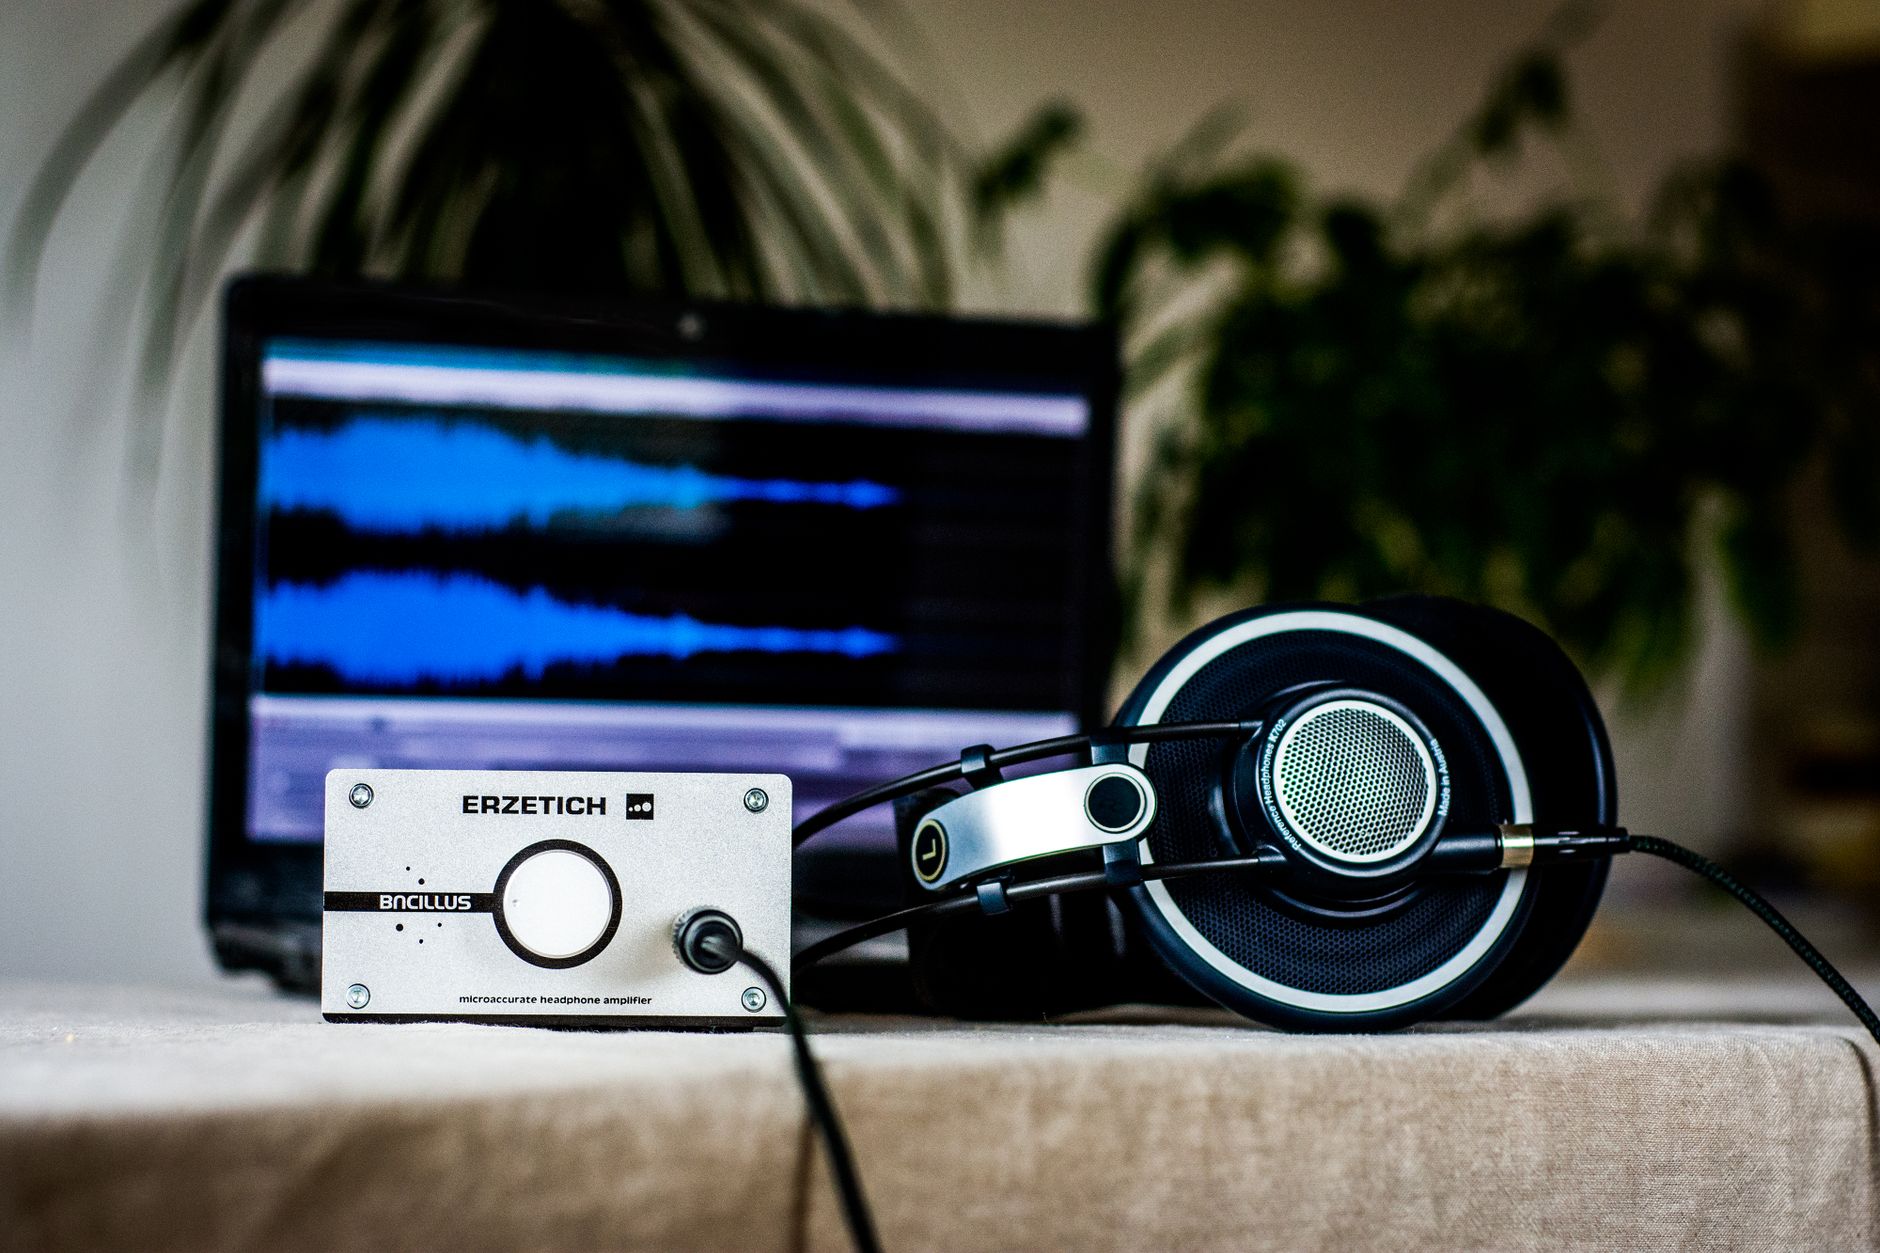 Photo: Blaz Erzetic via Pexels
The room is your biggest problem, not your monitors. Even a pair of $1,000 studio monitors sounds broken if you’re sitting in a bass node or firing sound directly at a reflective wall. The physics here are unforgiving: low frequencies are omnidirectional and pile up in room corners; early reflections arrive milliseconds after the direct sound and smear transients.
Before touching an EQ knob on any mix, you need to know you’re hearing what’s actually there. That starts with placement.
The Equilateral Triangle Rule
Direct Answer: Place both monitors and your head at the three points of an equilateral triangle — equal distance between every point. Start at 3 feet per side for nearfield monitors in smaller rooms; scale up to 4–5 feet in larger spaces.
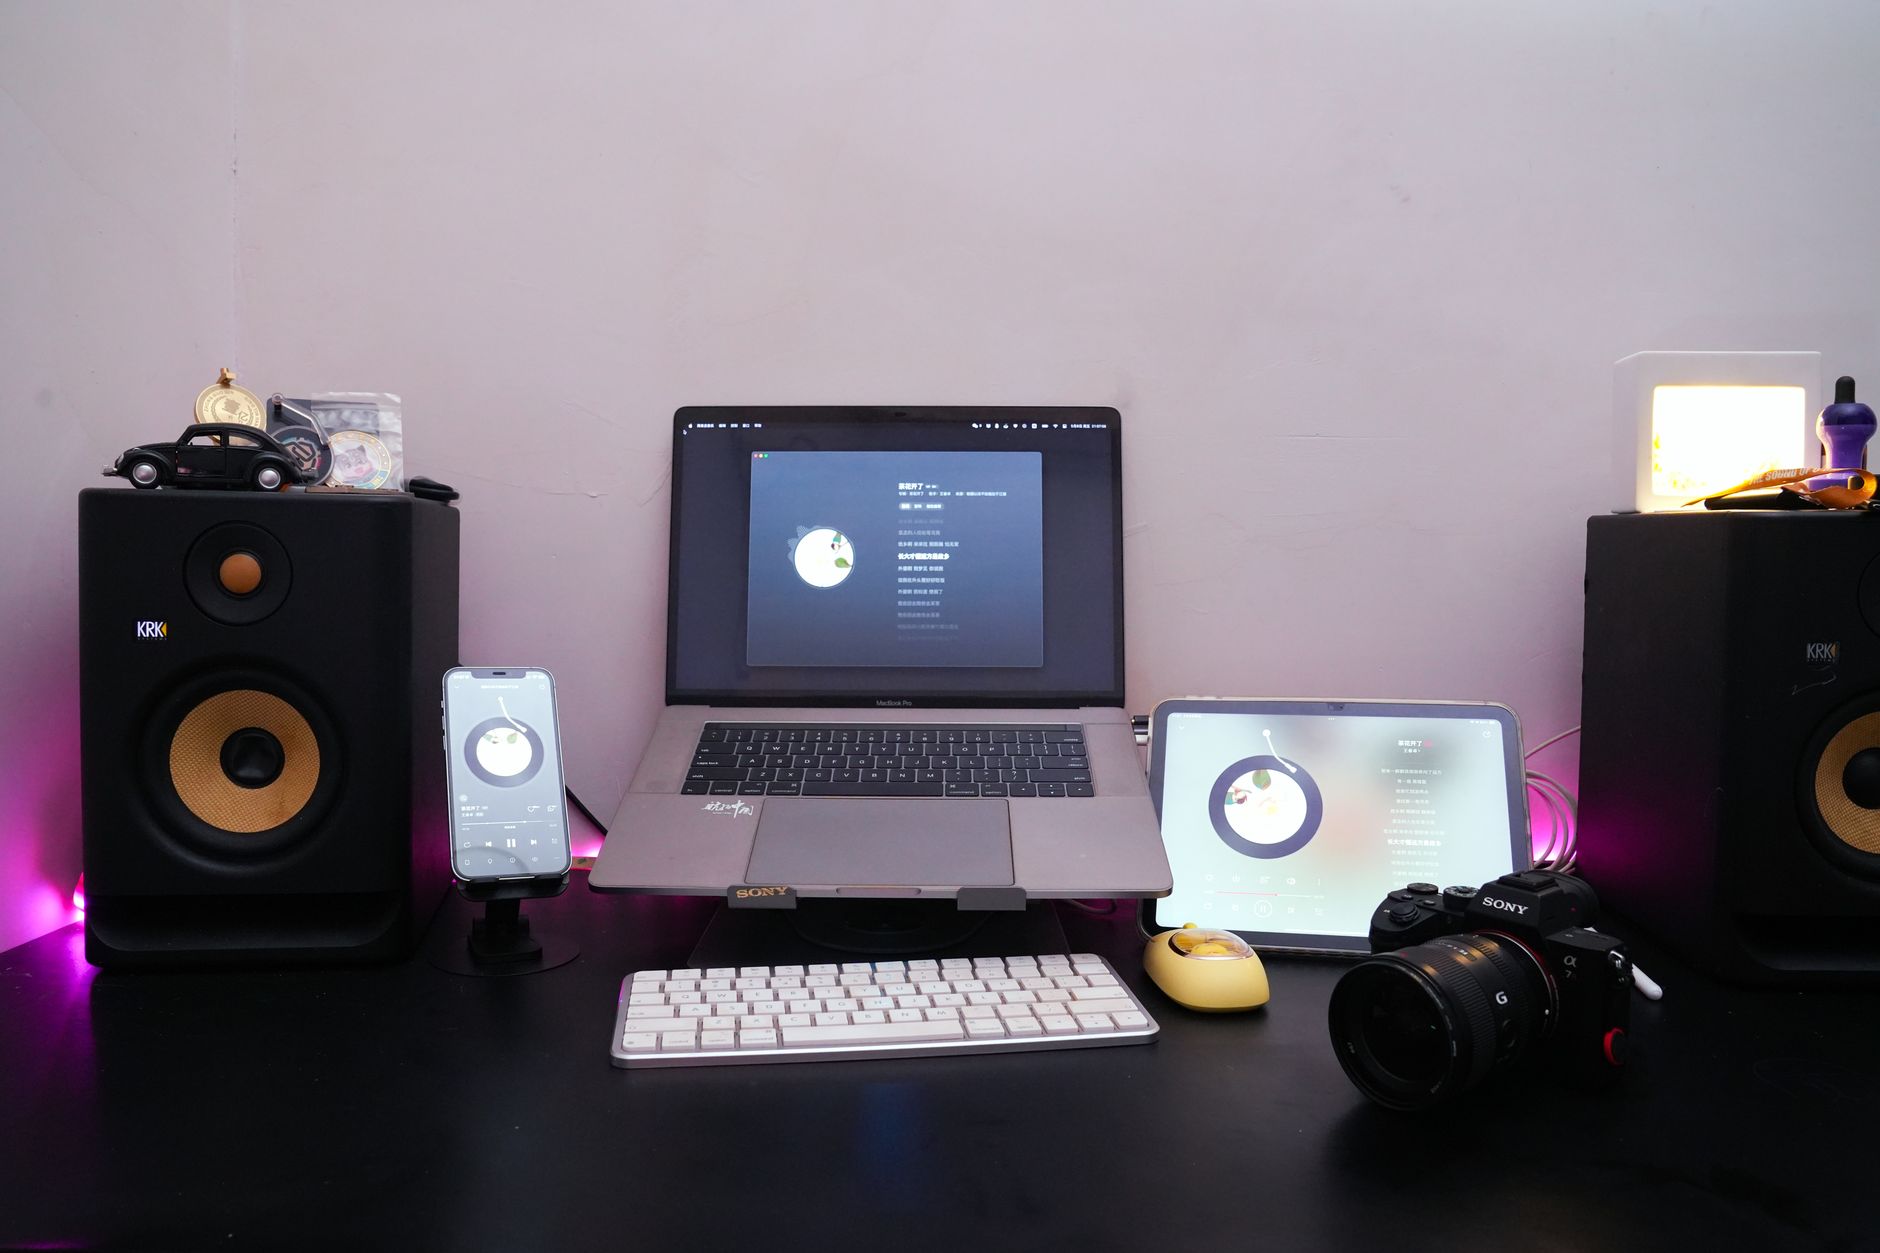 Photo: Jaqor Q.I. via Pexels
This geometry exists for one reason: you want the stereo information to arrive at both ears simultaneously, with consistent time-of-arrival from each speaker. Asymmetrical placement destroys the phantom center, which is where your kick, snare, bass, and lead vocal live.
Practical steps:
- Measure the distance between your two monitors.
- Set your listening position (the “mix position”) at that same distance from each speaker.
- Adjust the desk or chair depth until this locks in.
If your room forces you to compress this triangle — monitors too close together or you too far back — your stereo imaging collapses. Wider than equilateral and the center image becomes vague and unstable.
Tweeter Height and Toe-In Angle
Direct Answer: The tweeter should be exactly at ear level when you’re seated. Aim for 30° of toe-in (angling each monitor inward toward the listening position), which focuses the high-frequency sweet spot on your ears without causing harsh reflections off the console or desk surface.
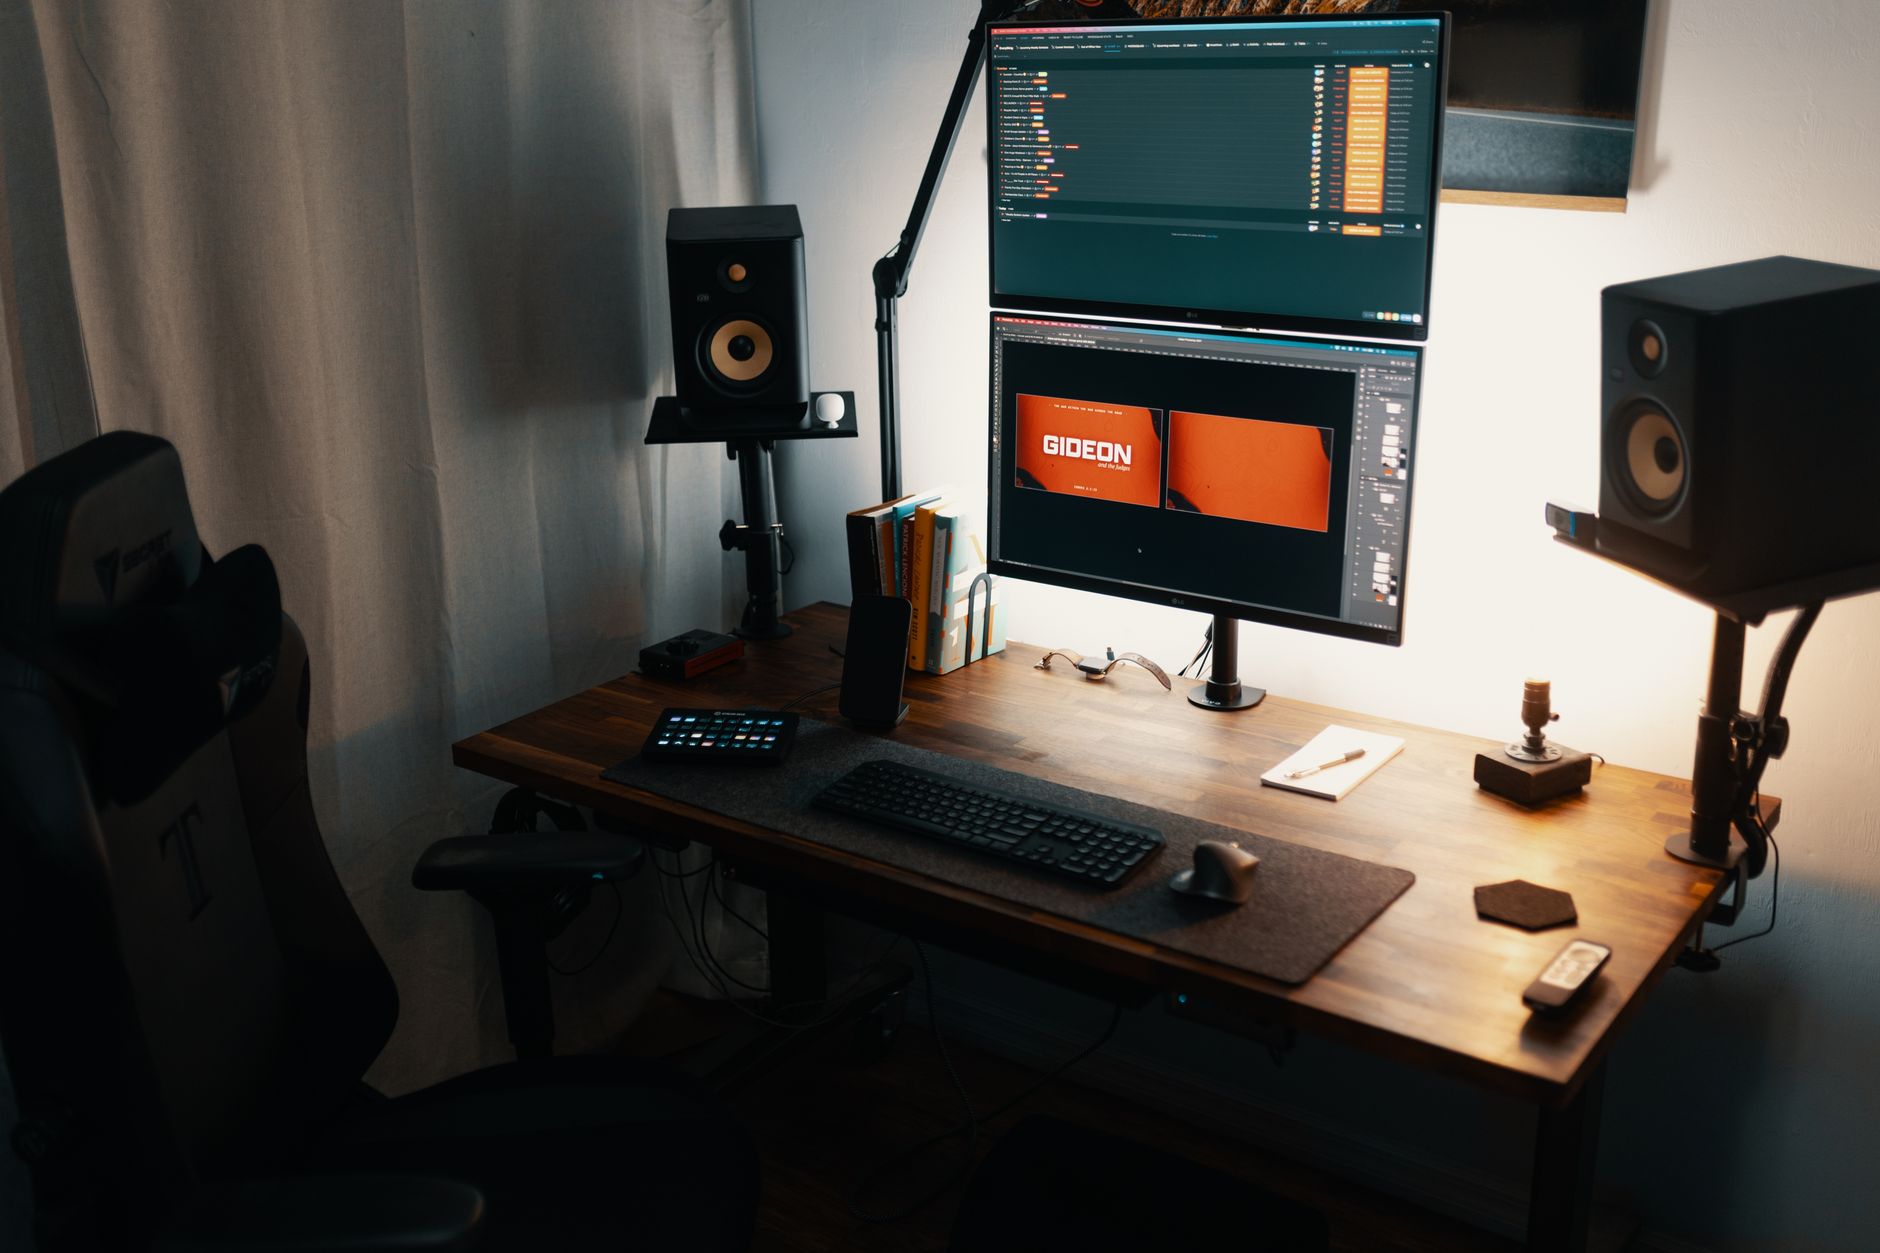 Photo: Josh Sorenson via Pexels
Getting Tweeter Height Right
Tweeters handle everything above roughly 2 kHz — where transient detail, presence, and air live. If the tweeter fires above or below your ear, you’re hearing the off-axis response of the monitor, which almost every manufacturer measures as worse than the on-axis curve.
- If your monitors are on a desk, use monitor isolation pads (like the Iso Acoustics ISO-L8R155) to tilt them upward or raise them on foam wedges.
- If they’re on stands, set stand height so the tweeter center aligns with the bridge of your nose when seated.
- Some engineers prefer the tweeter very slightly above ear level (5–10°), angled down. This reduces desk reflection. It’s a minor tweak, not a rule.
Toe-In: 30° Is Your Starting Point
Most manufacturers design their monitors to be used with 30° toe-in. Published testing data from manufacturers like Yamaha, Adam Audio, and Focal confirms the on-axis frequency response is measured at this angle. Flat-facing (0° toe-in) widens the sweet spot but blurs stereo imaging and increases side-wall reflection.
Set it practically: from your listening position, each monitor should point directly at your ears. If you can see more of the side panel than the front baffle, you’re over-rotated.
Distance From the Back Wall
Direct Answer: Keep your monitors at least 2–3 feet (60–90 cm) from the wall behind them. Bass frequencies build up between the speaker and a parallel wall — the closer to the wall, the more low-end reinforcement you’ll hear that isn’t really in your mix.
This effect is called boundary reinforcement or the “wall proximity effect.” The closer a speaker sits to a wall, the more the wall acts as an acoustic mirror for low frequencies, adding 2–6 dB of bass boost that isn’t in your mix. You compensate by cutting bass — then every mix sounds thin on other systems.
If your room physically can’t give you 2–3 feet of clearance, most monitors include a rear-panel “boundary EQ” or low-shelf filter. Use it. The Yamaha HS8 , KRK Rokit series , and Adam Audio T7V all offer this. Engage the -2 dB shelf whenever you’re closer than 2 feet to the wall.
Side Wall Distance and Symmetry
Direct Answer: Maintain equal distance from each monitor to its adjacent side wall. Asymmetry causes different early reflection timing on left and right — one side sounds louder and the reverb on that side arrives earlier, creating a false stereo imbalance.
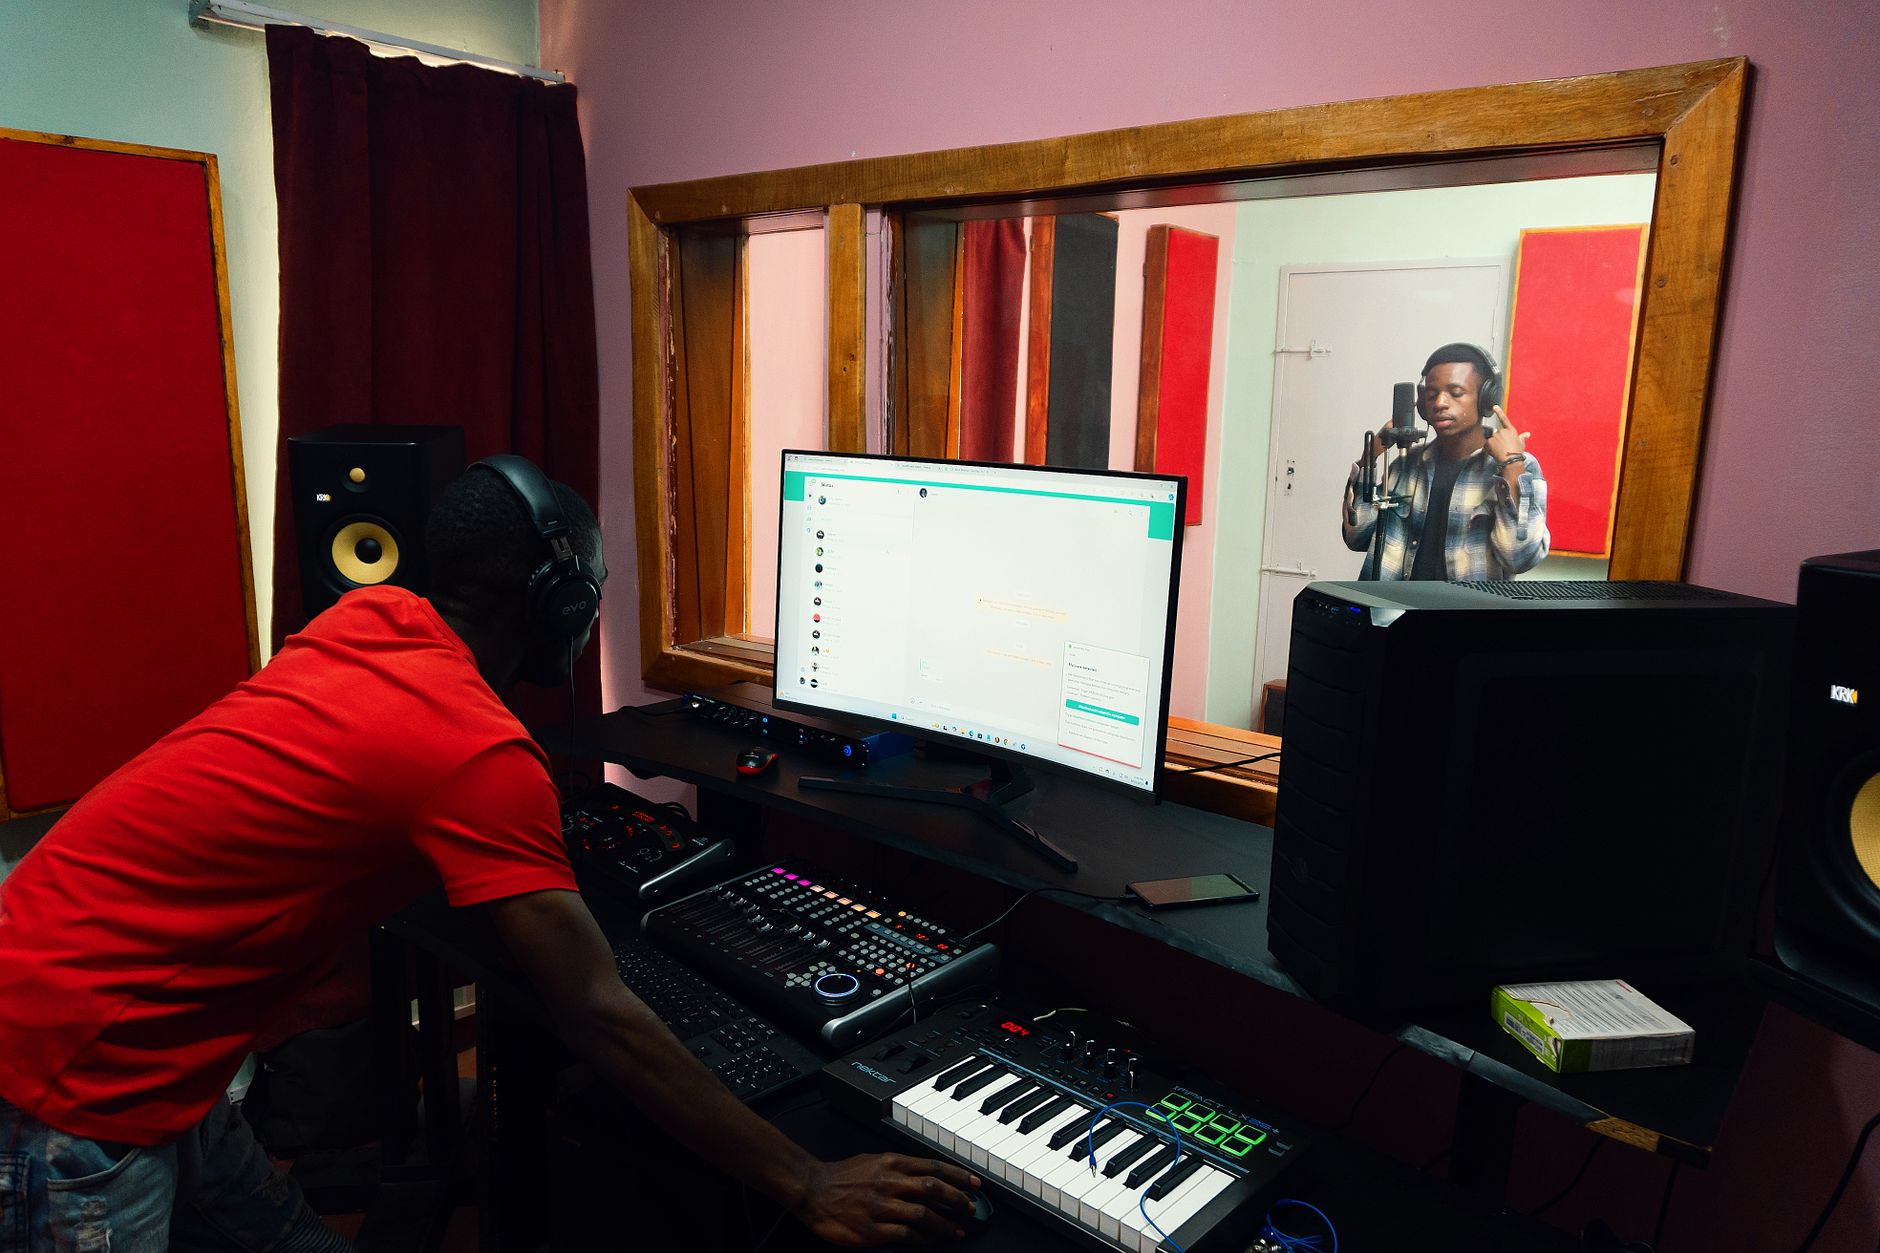 Photo: Kaiser Leo Xiv via Pexels
The Mirror Trick for First Reflection Points
First reflections from side walls hit your ears 5–20 ms after the direct sound — too close to be perceived as echo, too late to be integrated with the direct signal. The result is comb filtering: a series of frequency peaks and dips that change as you move your head.
Find your first reflection points:
- Sit at your mix position.
- Have someone hold a mirror flat against the side wall and slide it toward the front of the room.
- The point where you can see the monitor’s tweeter in the mirror is your first reflection point.
Place a 2“ acoustic panel at each reflection point. This is more effective than any monitor position tweak for controlling side reflections.
Avoid These Common Asymmetries
- Monitor placed closer to a corner on one side
- One monitor directly in front of a window, the other in front of a wall
- Different furniture/shelving mass on each side of the room
These all introduce position-dependent frequency response differences that make you chase mix problems that don’t actually exist in the audio.
Desk and Console Reflections
Direct Answer: The flat desk surface between you and your monitors creates a strong reflection called the “console reflection” that typically causes a 2–4 dB dip around 200–400 Hz. Angling monitors slightly downward (tweeters aimed at your ears, not past them) and adding a meter bridge or acoustic foam to the desk surface helps reduce it.
In practice, most home recording setups can’t eliminate this — the desk is there to hold your gear. Your options in order of effectiveness:
- Use monitor isolation pads with a tilt angle to aim the tweeter directly at ear level, shortening the reflected path’s travel distance relative to the direct sound.
- Place a 2“ wedge foam panel flat on the desk between you and the monitors.
- Accept the dip and calibrate with a measurement tool like Room EQ Wizard (REW) or Sonarworks SoundID Reference to apply correction.
Subwoofer Placement (If Applicable)
If you’re running a 2.1 system, place the subwoofer directly on the floor between your monitors or to the side — not behind you. Below ~80 Hz, low frequencies are largely non-directional, but placement too far from the satellite monitors causes integration phase issues around the crossover point (typically 80–120 Hz). Keep it within 3 feet of your main listening axis.
Placement Settings Comparison
| Setting | Common Mistake | Correct Approach | Why It Matters |
|---|---|---|---|
| Triangle geometry | Monitors too close together | Equal-distance equilateral | Stable stereo image |
| Tweeter height | Aimed at chest or above head | Exactly at ear level | Accurate HF response |
| Toe-in angle | Flat-facing (0°) | 30° toward listener | On-axis response |
| Back wall distance | Flush against wall | 2–3 ft minimum | Avoid bass buildup |
| Side symmetry | One closer to corner | Equal distance both sides | Balanced left/right |
| Desk reflection | Ignored | Foam or correction software | Accurate midrange |
Gear Review: Monitor Isolation and Correction Tools
When your placement is optimized, the remaining variables are isolation (vibration through the desk) and room correction. These are not optional extras — published measurements show isolation pads can reduce desk-coupled vibration resonances by 6–12 dB.
Specs Comparison
| Product | Type | Connections | Best For | Price Range |
|---|---|---|---|---|
| IsoAcoustics ISO-L8R155 | Isolation pad | N/A | 5–6“ monitors | ~$80/pair |
| Sonarworks SoundID Reference | Correction plugin + mic | USB (mic) | Any monitors | ~$99–$249 |
| Auralex MoPAD | Foam isolation wedge | N/A | Budget placement | ~$40/pair |
Verdict by Archetype
- First-time beginner: Get Auralex MoPAD foam pads. They’re cheap, correct for desk wobble, and provide angle adjustment. That’s everything you need to start.
- Bedroom producer: IsoAcoustics ISO-L8R155 are worth the price — they measurably decouple the monitor from the desk and offer height adjustment. Pair with REW (free) to identify your worst room problems.
- Gigging musician / project studio: Add Sonarworks SoundID Reference after physical placement is locked in. Don’t use correction software to paper over bad placement — fix placement first.
- Prosumer: Run full room measurement with REW, correct with SoundID, and treat your first reflection points with broadband panels. At this level, asymmetric room geometry is your primary remaining problem.
→ See also:
- Best Studio Monitors for Home Recording (2026)
- Best Studio Monitors Under $150
- Best Studio Monitors Under $200
FAQ
Does it matter if my monitors are horizontal vs. vertical? Yes. Most monitors are designed for vertical orientation — the tweeter and woofer vertical alignment is calculated to minimize comb filtering between the two drivers. Rotating a monitor horizontally widens the horizontal dispersion but degrades the vertical response. Only do this if the manufacturer explicitly supports it (some Yamaha and Genelec models are designed for both orientations).
How far should I sit from my studio monitors? For nearfield monitors (5–8“ woofers), 3–4 feet is the standard working distance. Too close and you’re in the near-field of each driver before they’ve acoustically integrated; too far and room reflections dominate the direct sound. Expert consensus puts the crossover point at roughly 1 meter (3.3 feet) for typical nearfields.
Should studio monitors be on stands or on the desk? Stands are preferable when they allow you to place monitors away from the desk surface (eliminating the console reflection) and position tweeters precisely at ear level. Desk placement is fine with proper isolation pads and angle adjustment. The desk itself is not the problem — the untreated desk surface acting as a reflector is.
Can I use room correction software instead of fixing placement? No — not as a substitute. Room correction tools like Sonarworks SoundID Reference or Audyssey correct for frequency response deviations, but they can’t fix time-domain problems caused by bad placement (late reflections, bass modes, stereo imaging issues). Fix placement first, use correction second.
What should I do if my room is too small for proper placement? Compress the equilateral triangle to the smallest version that still works — some engineers mix at 2-foot distances in very small rooms. Use boundary EQ filters on your monitors, treat as many reflection points as possible with absorption, and use headphone cross-checking (with a plugin like Waves Abbey Road Studio 3 or Toneboosters Morphit) to verify mix decisions that feel uncertain on speakers.
Do I need acoustic treatment before worrying about monitor placement? Get placement right first — it’s free and reversible. Acoustic treatment amplifies the gains from good placement. If your monitors are sitting in the corner firing at a bare wall, treatment will help but placement is still your biggest lever. Both matter; placement costs nothing and should be dialed in before any money is spent on panels or bass traps.
Editorial methodology: Assessments are based on manufacturer specifications, published user reviews, and editorial research. Physical hands-on testing is noted explicitly where it occurred. Rankings reflect our editorial judgment and are not influenced by affiliate commission rates. Full editorial policy · Affiliate disclosure